How to Install Plug in Landscape Lights
Install plug-in outdoor lights by first choosing a nearby GFCI-protected outdoor outlet and transformer, then planning the cable route and fixture spacing, and finally checking the total load before you wire anything. Bad layout causes voltage drop, dim end fixtures, exposed cords, and avoidable trenching mistakes. This guide covers outlet placement, transformer choice, cable routing, spacing, and load checks for a clean, low-commitment install.
How plug-in outdoor lights work
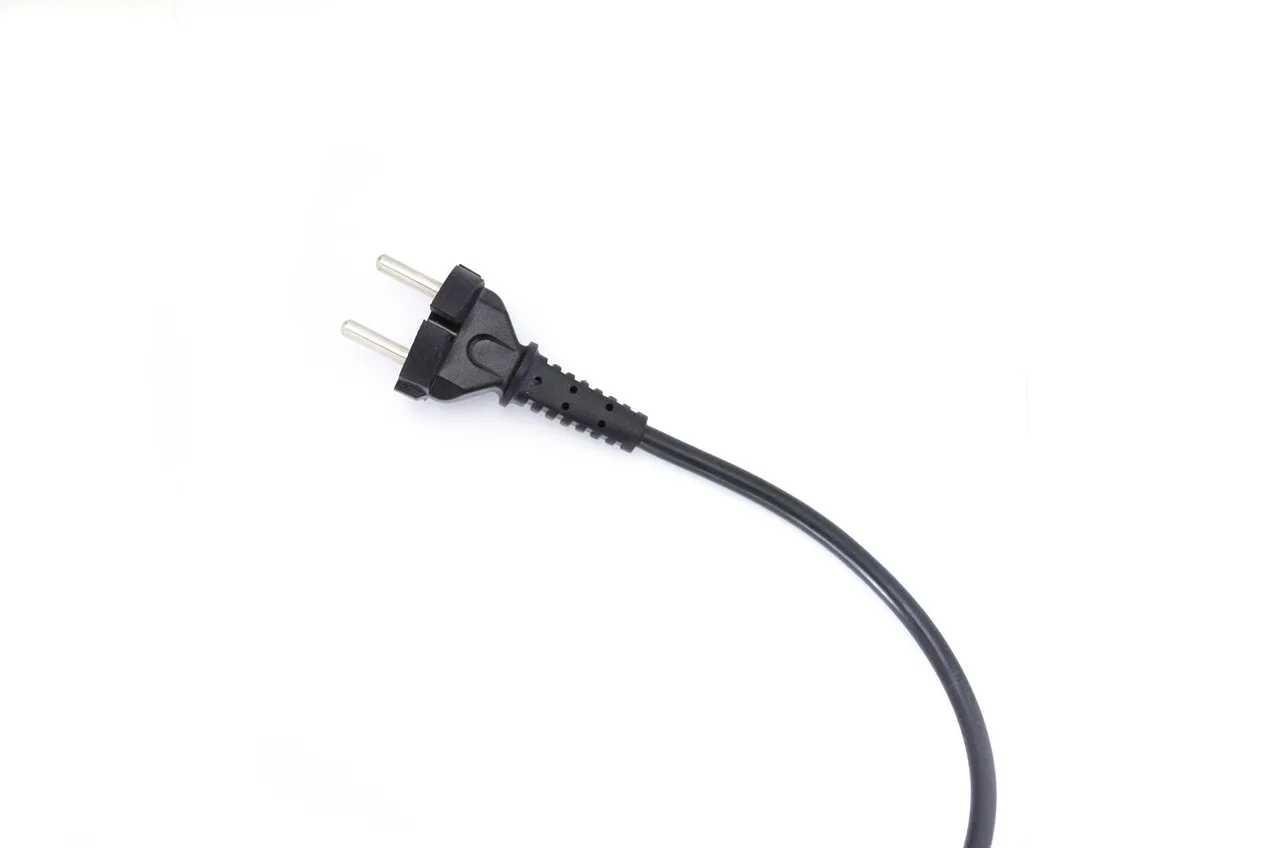


Plug-in outdoor lights use a 120V outdoor outlet to power a low-voltage transformer, which steps the line down to 12V or 24V for the fixtures. The cleanest setup keeps the cord path short, the transformer near the outlet, and the cable run planned as a hub instead of a long series chain.
Plug-in power path
The path should stay simple: outlet, transformer, main cable, fixture branches. That layout makes it easier to conceal the cord and easier to troubleshoot dimming at the far end of the run. For many residential low-voltage installs, the 12V side is commonly treated under NEC article 411, but code treatment can vary by product and installation details.
Where this setup fits best
Plug-in systems make sense for homeowners who want lighting without a permanent hardwired install. They also fit renters, seasonal setups, and yards where deep trenching is not practical. A typical low-voltage outdoor lighting setup can be a reasonable DIY project for a handy homeowner, and a typical residential system takes one full weekend.
When hardwired is the better choice
Choose hardwired lighting when you want a more permanent appearance, fewer visible cords, and a system that is built into the property. Plug-in systems are more flexible and easier to remove, but they need careful outlet placement and cord concealment to look finished.
What you’ll need
- Plug-in low-voltage transformer with 120V input, 12V or 24V output, built-in timer or photocell, and a capacity sized above total fixture wattage
- Dedicated 120V GFCI outlet near the install area
- Outdoor lighting wire, 14-gauge for shorter runs and 12-gauge for longer runs over 50 feet
- Direct-burial-rated cable
- Waterproof wire connectors that are gel-filled or silicone-filled
- Outdoor fixtures such as path lights, uplights, well lights, or spotlights
- Shovel or trenching spade
- Wire stripper and cutter
- Voltage tester or multimeter
- Stake markers, measuring tape, and string line
How do you plan the layout?
Mark walkways, steps, and focal points first, then place the outlet and transformer before you dig. Keep the cable route discreet and set fixture spacing so glare stays low. For path lights, 6 to 10 feet apart is common, while uplights usually sit 2 to 4 feet from the feature and point upward at 30 to 45 degrees.
Outlet location
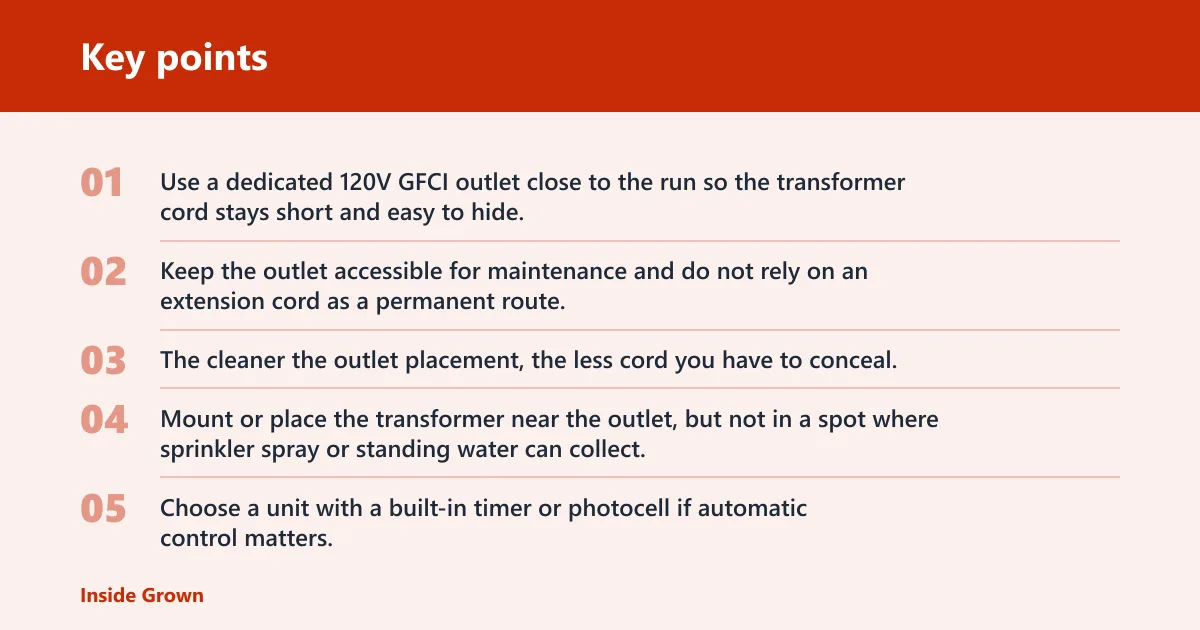
Use a dedicated 120V GFCI outlet close to the run so the transformer cord stays short and easy to hide. Keep the outlet accessible for maintenance and do not rely on an extension cord as a permanent route. The cleaner the outlet placement, the less cord you have to conceal.
Transformer placement
Mount or place the transformer near the outlet, but not in a spot where sprinkler spray or standing water can collect. Choose a unit with a built-in timer or photocell if automatic control matters. Size it to the total fixture wattage plus about 20% to 25% overhead, then choose the next standard size up.
Cable route and fixture spacing
Use a hub topology, not a long series run. That means the main cable leaves the transformer and branches to fixtures, which helps reduce voltage drop at the end of the line. Say you have six 8-watt path lights and two 12-watt uplights: add the wattage, then leave headroom so the transformer is not loaded to its limit.
| Outlet location | Transformer placement | Cable route |
|---|---|---|
| Dedicated outdoor GFCI outlet near the lighting zone | Mounted or set close to the outlet with space for service access | Short, concealed path from outlet to transformer, then branch to fixtures |
| Protected wall outlet, not a door-side plug that gets blocked | A location away from sprinkler spray and pooling water | Hub layout with branch legs to path lights and uplights |
| Accessible for reset and seasonal shutdown | Near enough to keep the cord discreet | Direct-burial cable with slack for routing and service loops |
How do you install the transformer and cable?
Install the transformer at the outlet first, then run the main cable along the planned route before you set any fixtures permanently. Keep the cable direct-burial rated, and bury it shallowly rather than leaving it loose on top of mulch. Low-voltage runs are commonly buried 6 to 12 inches deep, and some guidance allows shallower burial, but mulch-only routing leaves the wire exposed to lawn tools. Manufacturer instructions and local code can also affect how deep the cable should be.
- Verify the dig path. Call 811 before any digging or trenching, even for a shallow run. Marks can include buried gas, electric, and telecom lines, and that step is a required safety check before you disturb the ground.
- Place the transformer. Mount it near the dedicated 120V GFCI outlet and keep the plug connection protected from splash and standing water. The outlet-to-transformer path should be short and neat.
- Lay the main cable. Run the cable along the marked route with extra length for slack and rerouting. Choose wire gauge based on total wattage, run length, and allowable voltage drop, because thicker wire helps on longer or heavier-loaded paths.
- Bury the cable. Open a shallow trench and place the direct-burial cable below grade instead of hiding it only in mulch. Cover it enough to protect it from foot traffic and lawn equipment, then route branches to each fixture point.
- Check the load. Add fixture wattage, then keep 20% to 25% overhead so the transformer is not undersized. If the run is long, a multi-tap transformer can help compensate for voltage drop.
How do you connect the fixtures?
Connect each fixture with waterproof, gel-filled or silicone-filled connectors at every splice. That matters more than the fixture type itself, because moisture at a bad splice causes corrosion, intermittent output, and early failure. Check the voltage at the fixture ends against the manufacturer’s recommended range for the system you are using.
- Strip and join the leads. Match the fixture leads to the main cable at each branch point and use waterproof connectors, not standard twist-on wire nuts. Tight connections keep water out and reduce resistance.
- Set the spacing. Place path lights 6 to 10 feet apart, then adjust for beam spread and overlap. Keep uplights 2 to 4 feet from the feature and angle them 30 to 45 degrees so the beam hits the trunk, wall, or shrub without glare.
- Power up and test. Turn the system on and check the farthest fixtures first. If the end lights look dim, measure voltage at the fixture end and compare it with the manufacturer’s recommended range.
- Adjust at dusk. Fine-tune the aim when darkness falls so hot spots and glare are easier to see. A warm white color temperature of about 2700K to 3000K often reads more natural for residential spaces.
Outdoor lighting checklist
This checklist keeps the plug-in path organized from outlet to fixture. Use it before you backfill and again after the first night test.
| Setup check | What to confirm | Pass condition |
|---|---|---|
| Outlet | Dedicated 120V GFCI outlet near the transformer | Short, discreet cord path |
| Transformer | Total wattage plus 20% to 25% headroom | Next standard size selected |
| Cable | 12-gauge for longer runs, 14-gauge for shorter runs | Direct-burial rated and long enough for slack |
| Connectors | Gel-filled or silicone-filled at every splice | No exposed conductor at the joint |
| Fixture aim | Path lights, uplights, and spots aimed after dusk | Even coverage without glare |
| Failure case | What it usually means | Exact fix |
|---|---|---|
| Dim lights | Voltage drop on a long or overloaded run | Switch to 12-gauge wire, shorten the series path, or move to a multi-tap transformer |
| Exposed cord | Outlet or transformer placement left the cable visible | Re-route the transformer closer to the outlet and bury the cable below grade |
| Water ingress | Unsealed splice or connector placed where water collects | Replace the joint with gel-filled or silicone-filled waterproof connectors and raise the splice above pooling water |
| Overloaded transformer | Total fixture wattage exceeds safe capacity | Remove fixtures, upgrade to a larger transformer, or split the run into two circuits |
Common mistakes
The most common mistake is treating plug-in outdoor lights like a temporary string light setup. They still need planned outlet placement, transformer sizing, and a clean cable route. A second mistake is burying the wire only in mulch, which looks tidy for a day and becomes easy to snag later.
Another frequent error is using standard wire nuts at outdoor splices. That choice invites moisture into the joint, especially near irrigation or low spots. A common first-timer mistake is adding fixtures until the run looks full, then discovering the end lights are dim because the transformer is undersized.
If that didn’t work, the next fix is usually to shorten the run, move the transformer, or split the layout into two branches. Suppose a 60-foot run with eight path lights looks fine near the outlet but weak at the far end. The likely fix is thicker wire and a hub branch, not more wattage.
How much does a plug-in setup cost?
A small starter run can come in lower if you only light one walkway or a few focal points. A realistic shopping basket usually includes the transformer, cable, fixtures, waterproof connectors, and burial supplies. Path lights and uplights are the biggest cost drivers.
For a modest install, expect the transformer to be a separate line item, along with the cable gauge you choose for the longest run. Warm white fixtures at 2700K to 3000K are common for residential outdoor use, and integrated LED fixtures can reduce bulb changes compared with replaceable-bulb models.
Frequently asked questions
How to install low voltage outdoor lights
Call 811 before digging, bury the cable shallowly rather than leaving it in mulch, and set path lights about 6 to 10 feet apart. Warm white fixtures in the 2700K to 3000K range are a common residential choice, and the transformer should match the total load with extra capacity.