How to Use Motion Sensors in Landscape Lighting
Mount motion sensors about 6 to 10 feet high, point them across the approach path, and use a roughly 90- to 120-degree detection zone with a short delay for many landscape lights. Bad placement creates blind spots, nuisance triggers, wasted power, and lights that come on too late. This guide shows how to choose the sensor type, mount and aim it, wire it safely, and tune sensitivity, range, and timers for reliable outdoor lighting.
How motion sensors work outdoors

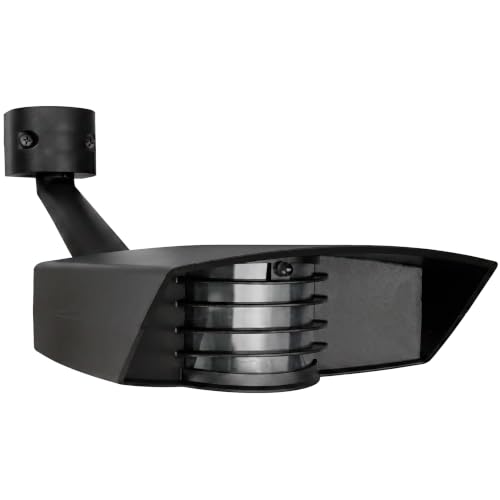
Outdoor motion sensors switch lights on when they detect movement within a fixed field of view. In landscape lighting, the key settings are detection range, detection angle, mounting height, time delay, and sensitivity. Those settings matter more than the fixture label because even a good sensor fails if it points at the wrong area or sits too close to shrubs, walls, or reflective surfaces.
Sensor types and what they see
Passive infrared, or PIR, sensors detect heat and movement changes. They are the common outdoor choice and usually work well for people and vehicles, not small animals. Microwave sensors emit microwaves and detect movement through reflected signals, so they are often more sensitive than PIR but also more prone to false triggers through thin materials or moving foliage. Dual-tech sensors combine PIR and microwave to reduce false alarms where reliability matters more than cost.
Range tells you how far the sensor can see. Angle tells you how wide it sees. Delay tells you how long the lights stay on after the last trigger. Sensitivity tells you how easily the sensor fires. Those controls need to match the site, not just the package label.
Motion sensor placement matrix
This matrix gives a practical starting point for common outdoor layouts. Treat it as a setup guide, then fine-tune after dark based on the real sightlines, nearby heat sources, and moving foliage.
| Scenario | Recommended sensor type | Mounting height | Detection angle | Sensitivity starting point | Common false-trigger risks |
|---|---|---|---|---|---|
| Front walk | PIR | 6 to 8 ft | 90 to 120 degrees | Medium | Cars in the street, porch heat, reflective glass |
| Driveway | Dual-tech | 7 to 10 ft | 90 to 120 degrees | Medium to high | Passing vehicles, headlights, moving branches, rain splash |
| Steps | PIR | 6 to 7 ft | 90 degrees | Low to medium | Side traffic, HVAC exhaust, railing reflections |
| Patio | Dual-tech | 7 to 8 ft | 100 to 120 degrees | Medium | Pets, ceiling fans, grill heat, motion from adjacent yard |
| Fence line | Microwave or dual-tech | 8 to 10 ft | 120 degrees | Low to medium | Thin barriers, moving shrubs, gaps in slats, wind |
| Retaining wall | PIR | 6 to 8 ft | 90 degrees | Low | Heat from masonry, slope reflections, nearby downspouts |
| Tree uplight | PIR | 6 to 8 ft | 90 degrees | Low | Moving canopy, trunk heat, insects near the lens |
| Flower bed | PIR | 6 to 7 ft | 90 degrees | Low | Plant sway, irrigation spray, ground reflections |
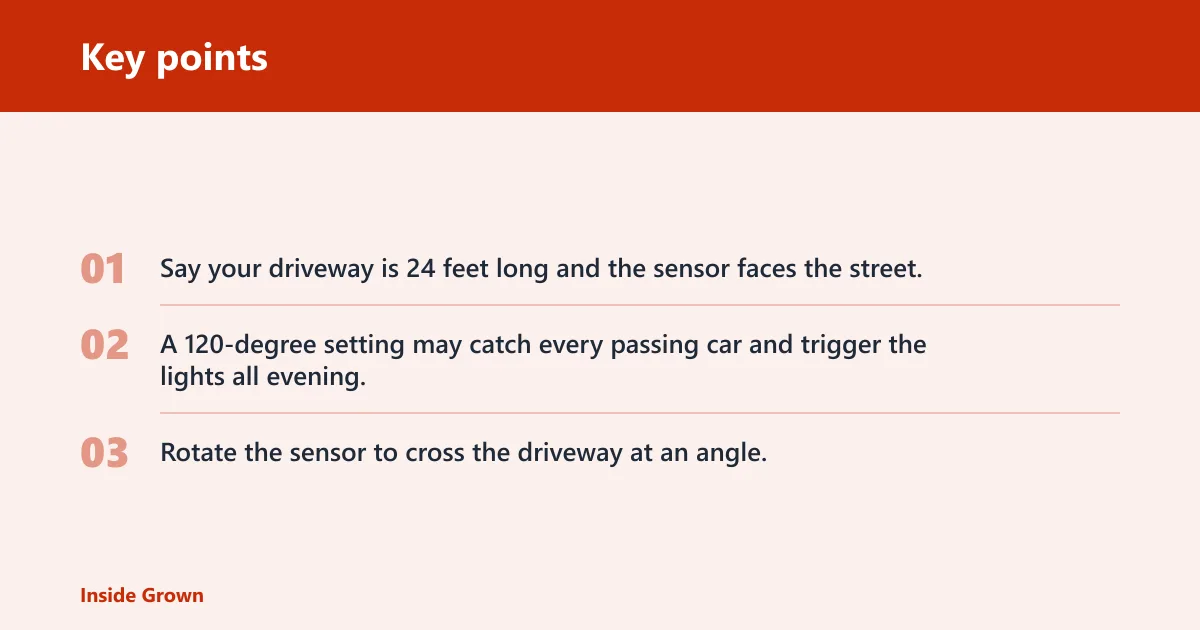
Say your driveway is 24 feet long and the sensor faces the street. A 120-degree setting may catch every passing car and trigger the lights all evening. Rotate the sensor to cross the driveway at an angle, then lower sensitivity until the lights respond to an actual approach, not traffic beyond the property line.
Where should you mount the sensor?
Mount the sensor where it can see the approach path without watching half the yard. For most path and step lighting, that means 6 to 10 feet above grade and clear of shrubs, walls, overhangs, and downspouts. Side coverage often works better than front coverage because it catches movement across the beam instead of straight toward the lens.
Use height to shape coverage
A lower mount narrows the visible zone and can help on steps and short paths. A higher mount widens the view, which can help on driveways and patios, but it also increases the chance of seeing street traffic, waving branches, or nearby heat vents. Choose the lowest height that still clears the obstruction in front of the sensor.
Keep the lens clear
Leaves, hedge growth, wall caps, and handrails can block the sensor or create a moving edge that causes nuisance triggers. Leave open space in front of the lens and avoid mounting directly above a heat source, air exhaust, or reflective stone surface. If the fixture has adjustable heads, aim the beam so it sees motion across the zone rather than straight in.
Picture a set of front steps with a shrub bed on one side. If the sensor points into the shrubs, the lights may come on from every breeze. If you move the sensor to the opposite side and aim it across the steps, the beam becomes easier to control and the false triggers usually drop.
Which sensor type should you use outdoors?
PIR is the default for many outdoor lighting jobs because it is straightforward, efficient, and usually stable for people and vehicles. Microwave sensors are more sensitive, but that same sensitivity can pick up motion through thin materials and through moving foliage. Dual-tech is the better pick when you want fewer false alarms and can accept the higher cost and slightly more setup effort.
When PIR is the right default
Use PIR when the goal is a clean trigger at a walk, step run, or entry path with limited plant movement. It is often the best match for small yards, simple layouts, and retrofit jobs where the sensor should ignore minor background activity. It also tends to fit low-voltage outdoor lighting well because the setup stays simple.
When microwave is too sensitive
Use microwave only when you need very sensitive detection and can control the surroundings tightly. It can be useful on a fence line or covered approach, but it is the least forgiving near trees, thin panels, or moving branches. If the yard has lots of motion from vegetation or nearby traffic, microwave often needs more tuning than most homeowners want.
When dual-tech is worth the cost
Choose dual-tech when the area must respond reliably and false triggers would be a real problem. It is a strong choice for driveways, patios, and mixed-use entries because both sensing methods have to agree before the lights change state. That extra confirmation usually improves stability, especially where a single PIR or microwave sensor would be too twitchy.
How do you tune sensitivity and delay?
Start with moderate sensitivity and a short delay, then adjust one setting at a time after dark. Sensitivity controls how easily the sensor fires. Time delay controls how long the lights stay on. Range and angle should already be close before you fine-tune those two controls, because bad aiming can hide the real problem.
Set a sensible starting point
For a front walk or steps, start with low to medium sensitivity and a short delay that keeps the path lit long enough to cross safely. For a driveway or patio, start at medium and increase only if the target area sits outside the detection zone. If the sensor is catching the street, reduce sensitivity before you shorten the delay.
Shorten or lengthen the delay
A shorter delay saves power and keeps the fixture from staying on after the motion is gone. A longer delay is useful on wide driveways or long walks where a person may move through the area slowly. If the lights turn off before someone reaches the door, lengthen the delay first, then widen the coverage only if needed.
Cut false triggers from wind, pets, and traffic
Lower sensitivity when small animals, blowing plants, or nearby cars trigger the lights without a real need. Re-aim the sensor away from trees and reflective surfaces. If rain or mist causes random activations, raise the mounting point slightly, narrow the angle, and test again during the same weather before changing more settings.
How do you wire motion sensors into landscape lighting?
Yes, you can add a motion sensor to low-voltage outdoor lighting if the transformer and the sensor are compatible. The low-voltage transformer converts line voltage to landscape-light voltage, and some units include photo eye or timer controls already. The transformer must support the sensor load, and the control method should not fight the motion function.
Check transformer load and control compatibility
Before adding a sensor, total the wattage of the connected fixtures and compare that to the transformer rating. Leave headroom rather than running the unit at its limit. If the transformer already uses a photo eye or timer, confirm whether those controls can work with a motion sensor or whether one control must take priority.
- List every fixture on the circuit and total the wattage.
- Check the transformer output rating and allowable load.
- Confirm whether the motion sensor is rated for the circuit voltage and current.
- Decide how the photo eye, timer, and manual override will interact.
- Install the sensor in an outdoor-rated enclosure or use outdoor-rated hardware.
- Test after dark and adjust angle, range, delay, and sensitivity one setting at a time.
Use photo eyes, timers, and manual overrides together
A photo eye can keep the system from firing in daylight, while a timer can limit overnight operation. Manual override helps when you want the lights on for a work session or gathering. The best setup usually gives motion priority during active hours, then falls back to timer or photo control when the yard does not need full responsiveness.
Weather resistance and reliability
Outdoor-rated housing and seals matter because rain, freeze-thaw cycles, dust, and corrosion can weaken connections and cloud the lens. A sensor that works indoors can fail outdoors quickly if water reaches the terminals or if the seal around the cable entry is poor. Place the unit where runoff, sprinklers, and standing water will not strike it directly.
Reduce failures before they start
Keep the sensor out of irrigation spray and away from roof drip lines. Use proper cable seals and corrosion-resistant connections. If the sensor sits near masonry, metal railings, or salt exposure, check it more often because those locations age hardware faster. A good outdoor location often matters as much as the sensor itself.
A common first-timer mistake is mounting the sensor under an eave and aiming it into a glossy patio wall. The wall reflects motion and heat back toward the lens, so the lights keep popping on with no clear reason. Moving the sensor a few feet and changing the angle usually fixes more than swapping parts.
Frequently asked questions
How do motion sensors work in landscape lighting?
They detect movement within a set zone and trigger the lights for a chosen time delay. PIR senses heat and movement changes, microwave senses reflected motion from emitted microwaves, and dual-tech uses both. For outdoor lights, the aim, height, angle, and sensitivity setting matter as much as the sensor type.
Where should I place motion sensors for outdoor lights?
Place them where they cross the approach path, not where they stare straight at it. That usually means 6 to 10 feet high, clear of shrubs and walls, and aimed across a walk, driveway, step run, or patio entry. Keep them away from exhaust vents, traffic, and moving branches.
Should I use PIR, microwave, or dual-tech sensors outdoors?
PIR is the most common outdoor choice and works well for people and vehicles. Microwave is more sensitive but can false trigger more easily around foliage and thin barriers. Dual-tech costs more, but it reduces false alarms and is a stronger option when driveway or patio reliability matters most.
How do I stop motion sensor lights from false triggering?
Lower sensitivity, shorten the detection zone, and move the sensor so it sees motion across the field rather than into it. Then check for wind-blown plants, reflective surfaces, heat vents, cars, rain splash, and pets. Fix the placement before you keep lowering the delay, since delay alone rarely solves the problem.
Can I add a motion sensor to low voltage landscape lighting?
Yes, if the transformer and sensor are compatible and the transformer can support the total load. Look for outdoor-rated hardware and confirm how the sensor works with any photo eye, timer, or manual override already on the system. The control stack should not conflict with itself.
How do I adjust motion sensor outdoor lighting?
Start by setting the mount height and aiming the sensor across the target area. Then adjust sensitivity to stop nuisance triggers, and set the delay long enough for safe passage but short enough to save energy. Make one change at a time and retest after dark so you can see the effect clearly.