Landscape Lighting for Backyard Entertaining Areas
Divide the space into dining, cooking, lounging, and circulation zones, and keep most backyard entertaining light at 2200K to 2400K with shielded fixtures, dimmers, and spacing that leaves faces visible without glare. Poor placement creates dark walk paths, harsh tables, washed-out photos, and a space that feels brighter than it needs to be. This guide covers fixture choices, spacing, glare control, color temperature, and automation by zone so you can plan the lighting layout with confidence.
Zone, layer, and control glare in your plan
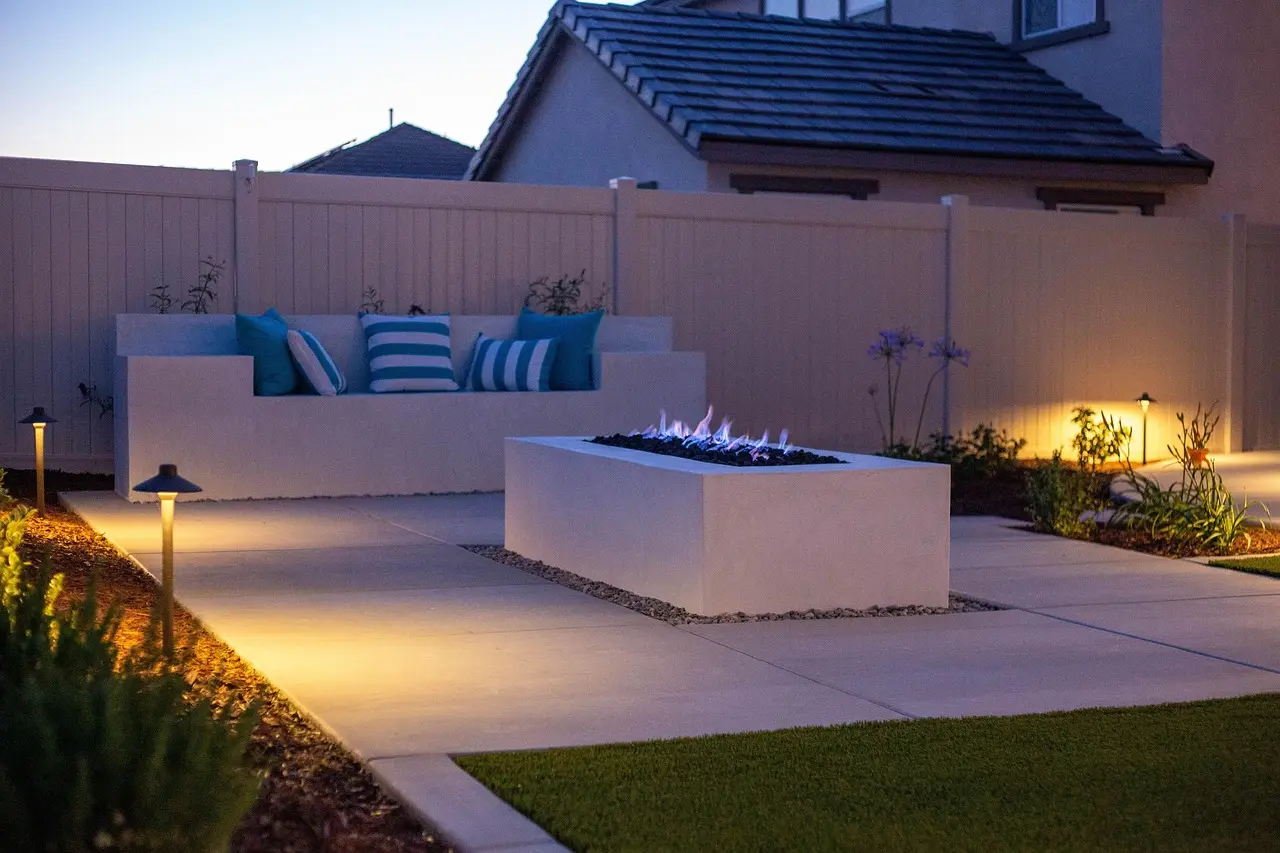

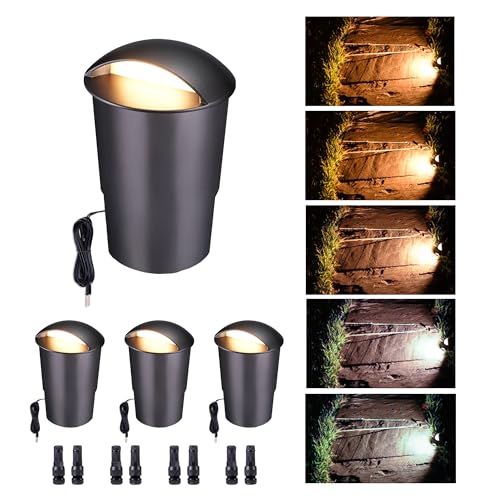

Start with the four zones
The cleanest plan starts with four jobs: see where you eat, see where you cook, see where you sit, and move safely between them. That means one layer for overhead light, one for task light, and one low layer to guide movement along edges and through transitions.
Use string lights for broad ambient coverage, path lights for movement, step lights where grades change, and accent lighting only where depth or structure matters. If one layer is doing all the work, the result is usually uneven.
Match light level to the activity
Dining needs soft, even light. Cooking needs clearer task light on the work surface. Lounging needs low, calm light that does not compete with faces, food, or a fire pit.
Circulation needs the least light, but it needs the most consistency. A path that looks bright from one end and dark from the other is still a bad path.
Keep seated areas out of direct glare
Glare control matters as much as fixture choice. Aim string lights above eye level, aim wall washers downward and outward, and keep uplights away from places where people sit for long periods. If a bulb is visible from a chair, it is probably too exposed.
Say a pergola is centered over a 12-by-14-foot dining area. A common setup is about two to three 48-foot string-light strands for that space, or roughly 96–144 feet total, although the exact result depends on the hanging pattern and how much slack is left for secure mounting points.
Backyard lighting zone map
This table turns the plan into decisions. It shows what to use in each zone, where the light should land, and the mistakes that most often create glare, dark patches, or overlit tables.
| Zone | Recommended fixture types | Target color temperature | Approximate spacing | Glare risk | Common mistakes |
|---|---|---|---|---|---|
| Dining | String lights overhead, lanterns on table edges, optional wall washing on nearby vertical surfaces | 2200K–2400K | String lights spaced to form a canopy, perimeter, pergola wrap, or tree-to-tree drape; lanterns at the table edges, not centered in the guests’ line of sight | High if bulbs hang too low or bare bulbs face seated guests | Overlighting the tabletop, using cool bulbs above 3000K, skipping dimming, or placing one bright fixture in the middle of the table |
| Cooking | Wall washing, focused task lighting under pergolas or on outdoor kitchen structures, controlled accent light for counters and grill surrounds | 2200K–2400K | Place light where hands and food work, not where guests stand; keep fixtures aimed at prep surfaces and backsplash zones | Medium to high if the grill face or prep counter reflects a bare lamp | Underlighting the grill area, using decorative string lights as the only source, or placing accent lights where they create shadow on the work surface |
| Lounging | Lanterns, low path lights near seating edges, soft uplighting on trees or beds, limited architectural lighting on nearby walls | 2200K–2400K | Keep ambient sources at the perimeter; use accent lights only to shape the space and avoid dark corners | Medium if uplights hit eyes from low seats | Lighting only the center and leaving corners black, using too many accent fixtures, or letting one bright source dominate the seating area |
| Circulation | Path lights, step lights, solar stake lights where budget matters, small architectural accents near transitions | 2200K–2400K | Path lights every 6–8 feet along walkways and borders; step lights on each change in elevation | Low to medium if fixtures are shielded and aimed down | Spacing fixtures too far apart, skipping steps, or using only decorative light and no guidance for movement |
What lights work best by zone?
The best mix is not one fixture type. It is the right combination for each job: string lights above, lanterns at eye-friendly height, path lights at ground level, step lights at level changes, and accent fixtures where you want depth or structure. That mix keeps the space usable without turning it into a lit stage.
String lights for overhead ambient light
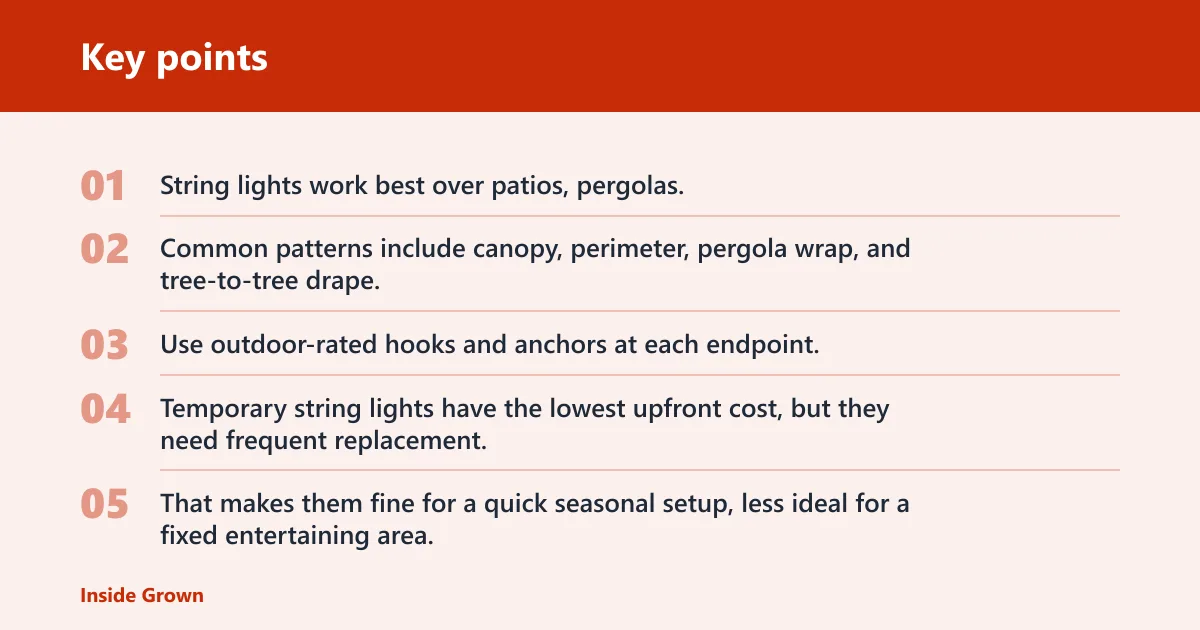
String lights work best over patios, pergolas, and dining zones because they spread soft ambient light without crowding the table. Common patterns include canopy, perimeter, pergola wrap, and tree-to-tree drape. Use outdoor-rated hooks and anchors at each endpoint; they hold better in wind and rain than tape or zip ties, and they reduce sagging.
Temporary string lights have the lowest upfront cost, but they need frequent replacement. That makes them fine for a quick seasonal setup, less ideal for a fixed entertaining area.
Lanterns for mid-level mood light
Lanterns fill the gap between overhead string lights and ground-level path lighting. They work on tables, corners, and seating perimeters, where they add shape without washing out faces.
Flameless pillar candles with built-in timers are a practical option inside lanterns, and they cost $15–$30 each. Floor lanterns typically run about $40–$80 each, so they make sense where you want more presence at the edge of a seating area or near a fire pit.
Path lights, step lights, and solar stakes for movement
Path lights should guide, not announce themselves. Place them every 6–8 feet along walkways and borders so guests can read the route without seeing a row of bright points.
Step lights are for stairs and elevation changes. Hardwired versions cost about $20–$50 per fixture and are the cleaner choice when the steps are permanent. Solar stake lights can work as a budget baseline for paths, and a set of four metal solar path lights costs about $28. Metal stakes last better than plastic, especially in loose soil or exposed areas.
Uplighting and wall washing for depth and balance
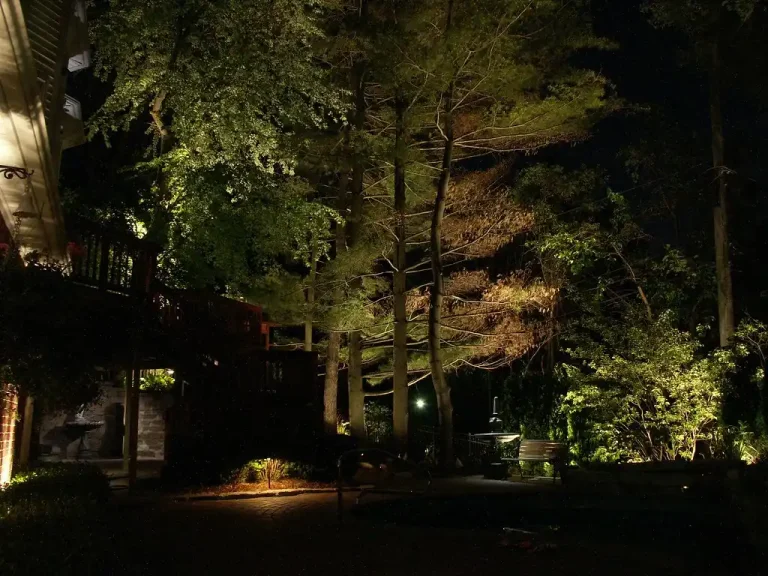
Uplighting adds depth when you aim it at trees, garden beds, water features, or sculptures. Keep it subtle. The goal is shape and focal points, not a bright beam in every corner.
Wall washing and architectural lighting soften patios, columns, pergolas, and outdoor kitchen structures. This is especially useful when a hard surface would otherwise disappear at night and leave the space feeling flat.
How should you layer light for dining, cooking, and seating?
Layering works when each layer has a separate job. Dining needs soft overhead light, cooking needs clear task light, and seating plus fire pits need low, even light that supports conversation and movement without drawing attention to every fixture.
Dining tables need soft overhead light
For dining, start above the table or seating zone with string lights or a sheltered fixture that spreads light evenly. Keep the bulbs warm white, at 2200K–2400K, because that range flatters people and food better than a cooler tone.
A common first-timer mistake is putting the brightest source directly over the table and stopping there. That creates a hot spot on the table and dark chairs around it, which is exactly the wrong balance for guests.
Grill and prep areas need clear task light
Cooking zones need focused visibility on counters, cutting areas, and the grill surface. Use wall washing, under-pergola fixtures, or other controlled task lighting so the cook can read color, texture, and doneness without casting heavy shadows.
Keep the brightest beam off the cook’s face and out of the guests’ sightline. If the grill sits under a pergola or beside an outdoor kitchen wall, lighting the vertical surface often helps more than aiming at the center of the room.
Seating and fire pits need low, even light
Lounging areas benefit from low ambient light, lanterns, and careful accent placement. A fire pit already adds a visible focal point, so the surrounding lighting should support the circle, not overpower it.
Use uplighting on nearby planting or a structure behind the seating zone instead of aiming fixtures straight at the chairs. That keeps the room readable while preserving the relaxed feel people expect around a fire.
What color temperature works best at night?
The best range for evening entertaining is 2200K–2400K. It feels warm, flattering, and calmer on the eyes than cooler lamps, which become noticeable fast in a space meant for conversation, food, and photos.
Why 2200K to 2400K feels better outdoors
Warm white in this range makes wood, stone, skin tones, and food look more natural. It also reduces the contrast that can make outdoor seating areas feel harsh after sunset.
Warm white bulbs are the most versatile choice for backyard parties because they fit dining, lounging, and circulation without forcing each zone to look the same.
Why higher than 3000K can feel harsh
Bulbs above 3000K are described as cool and utilitarian, which is useful for a workshop or utility area but usually wrong for entertaining. They can make a patio feel more exposed and less welcoming.
If a fixture must be brighter for safety, keep the beam shielded and the spread narrow. Bright and cool are two different problems, and the second one often reads as the worse one in a social space.
How to keep food and faces flattering
Keep light soft enough that eyes do not squint, but even enough that plates and faces are visible on camera. This is where dimming and spacing matter more than raw brightness.
Suppose a dining table sits under string lights and one nearby wall washer is aimed too high. The table may look fine, but the background will flare, which makes faces harder to see and photos less useful.
How do you keep paths and steps safe?
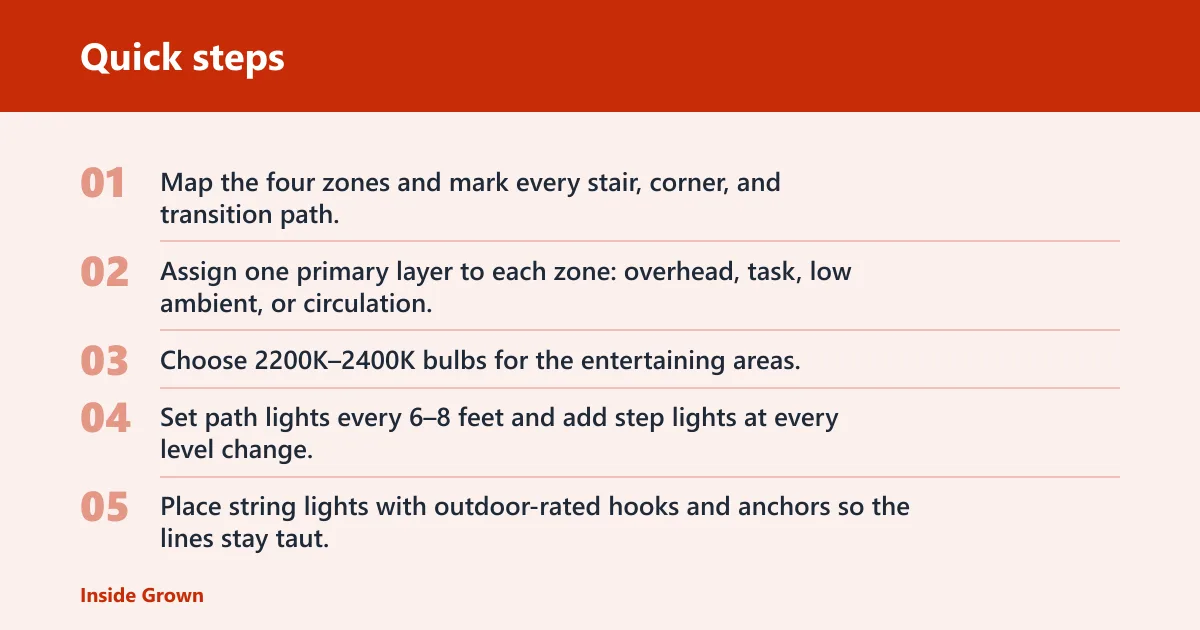
Use path lights along walkways and borders, and add step lights wherever the grade changes. Path lights every 6–8 feet usually give enough guidance without overlighting the route, and step lights make the risers readable at night.
Path light spacing every 6 to 8 feet
That spacing helps guests read the path rhythm without creating a runway effect. It also leaves darker gaps from becoming trip points.
If the walkway bends, add a fixture near the turn. If the route passes a seating edge, keep the light low and shielded so it guides feet without shining into chairs.
Step lights for elevation changes
Use step lights on stairs, deck transitions, and any small level change that could disappear after dark. Hardwired options are usually the most reliable choice for permanent steps, and they fit the same warm color temperature as the rest of the entertaining area.
Do not rely on a single bright path light to cover a stair run. A stair needs its own light source because the hazard is vertical, not horizontal.
Solar stakes versus hardwired fixtures
Solar stake lights can handle a budget path plan, especially where trenching is not practical. They are best as a baseline option, not as the only answer in a busy entertaining layout.
Hardwired fixtures cost more upfront, but they are better for permanent steps, long walkways, and areas that need consistent output through the evening. Temporary fixtures are the cheapest to buy, yet they often need more replacement over time.
- Map the four zones and mark every stair, corner, and transition path.
- Assign one primary layer to each zone: overhead, task, low ambient, or circulation.
- Choose 2200K–2400K bulbs for the entertaining areas.
- Set path lights every 6–8 feet and add step lights at every level change.
- Place string lights with outdoor-rated hooks and anchors so the lines stay taut.
- Test sightlines from seated positions and move any bare bulb that lands in the eye line.
- Add automation with an outdoor-rated smart plug or timer so the lights come on before guests arrive.
How do you automate backyard entertaining lights?
Use an outdoor-rated smart plug or timer so the lights come on before guests arrive and shut off later without manual effort. Automation matters most for string lights, lanterns, and other fixtures you would otherwise turn on one by one.
Use outdoor-rated smart plugs or timers
An outdoor-rated timer is the simplest choice when you want one schedule and few adjustments. A smart plug is better if you want more control over timing, scenes, or weekend changes.
Either way, keep the device rated for exterior use and mounted where rain, splash, and debris will not reach it directly.
Plan for turn-on time before guests arrive
Set the lights to come on before sunset if the space doubles as a gathering area. That way the lighting is already balanced when people walk out, rather than switching on after eyes adjust to the dark.
This is especially useful for a mixed-use patio with a grill, a fire pit, and a dining table. Each zone feels more intentional when the light is ready before the first person sits down.
Secure string lights with outdoor-rated hooks and anchors
Good support hardware matters because sagging changes both the look and the light pattern. Outdoor-rated hooks and anchors hold better than tape or zip ties, and they handle wind and rain with less shift over time.
That stability also helps keep bulbs out of a seated guest’s eye line, which is one of the simplest ways to reduce glare in a party space.
Frequently asked questions
How do I light a backyard entertaining area without making it too bright?
Split the space into dining, cooking, lounging, and circulation zones, then give each one only the light it needs. Use 2200K–2400K bulbs, shielded fixtures, and dimming where possible. If faces, plates, and paths are visible without hot spots, the plan is probably close.
What lights work best for a backyard patio or dining area?
String lights are the best overhead ambient layer for a patio or dining zone, and lanterns work well as mid-level mood light on tables or at the edges. Add wall washing nearby if the patio backs onto a blank wall or pergola so the space feels balanced, not flat.
How far apart should path lights be for an outdoor entertaining space?
Place path lights every 6–8 feet along walkways and borders. That spacing usually gives enough visual guidance without turning the route into a bright line of dots. Tighten the spacing at bends, steps, and transitions where guests may hesitate or change direction.
What color temperature is best for backyard entertaining lights?
Use 2200K–2400K for evening entertaining. That range feels warm outdoors and keeps people and food looking natural. Bulbs above 3000K can read as cool and utilitarian, which usually works against the relaxed tone most backyard gathering areas need.
How do I layer lighting for a backyard party area?
Start with overhead ambient light from string lights, add task light where people cook or serve food, and finish with low circulation lighting at paths and steps. Then add accent light only where you need depth, such as trees, walls, beds, or a fire-pit backdrop.
Should I use string lights, landscape lights, or both in a backyard?
Use both. String lights handle the overhead ambient layer, while outdoor lighting covers paths, steps, trees, structures, and other safety or visual tasks. A backyard that relies on only one type usually ends up either too decorative or too dark in the wrong places.