How to Avoid Dark Spots in Landscape Lighting
Avoid dark spots in outdoor lighting by aiming for overlapping pools of light, usually about 30% overlap, and fixing the real cause first: glare, voltage drop, or blocked output. If you ignore the cause, you waste fixtures, create new shadows, and still end up with uneven paths and weak curb appeal. This guide shows how to diagnose coverage problems and correct them without adding unnecessary lights.
Diagnose


How to spot dark areas
Walk the property at dusk, then again after full dark. Mark the places where safety drops first: steps, turns, entry points, and changes in grade. Then separate a true hazard from a visual gap. A dark patch beside a wall may be fine if no one walks there, while a dim landing or path edge needs immediate attention.
Most residential systems run on low-voltage outdoor lighting at 12V or 24V, so a weak area can come from layout, not just fixture count. Typical DIY setups use a plug-in transformer and about 6 to 12 fixtures, depending on lot size. That means one bad zone can affect the whole plan.
- Carry a flashlight, tape measure, and notepad.
- Mark each dark zone by location and distance from the transformer.
- Note whether the problem is a shadow, glare, or low output.
- Check whether the gap sits near the end of a long run.
What you’ll need
- Low-voltage fixtures and a transformer
- Wire, connectors, and stakes
- Tape measure, notepad, and flashlight
- Timer or photocell
- Spare lamps or LED modules
- Wire strippers and a voltage tester
Diagnosis table
| Symptom | Likely cause | Where it appears | Priority / safety impact | Quick test | Fix |
|---|---|---|---|---|---|
| Shadow from shrubs or branches | Plant growth blocking output | Near hedges, beds, or seasonal growth near fixtures | Medium; can create hidden edges and reduce wayfinding | Move foliage aside and see whether the lit area returns | Trim the obstruction or relocate the fixture a few feet |
| Bright center, dark edges | Beam too narrow | On walkways, seating areas, and planting beds | Medium; looks uneven and leaves edge zones underlit | Swap in a wider beam or compare with a flood lens | Use a wider spread or add a second fixture with overlap |
| Fixture lights the sky or wall top | Aim too high | Uplights, wall washes, and tree lighting | High; creates glare and wastes output | Lower the beam until the target surface fills the light cone | Reset aim so the beam lands on the subject, not above it |
| End-of-line lights look weak | Voltage drop on a long run | Farthest fixtures from the transformer, especially after added lights | High; can leave steps, turns, or entries underlit | Compare brightness near the transformer and at the farthest fixture | Use 12-gauge wire, shorten the run, or split the load |
| Glare with dark ground below | Over-pruned glare zone | Along paths, near benches, and at eye level | High; can reduce visibility and cause discomfort | Stand at path level and see whether the lamp source is exposed | Raise shielding, lower output, or move the fixture to a better angle |
| One area stays dark behind a hedge | Physical obstruction | Behind shrubs, retaining walls, or dense foundation plantings | Medium; can hide edges and changes in grade | Turn the fixture on and check whether the hedge blocks the beam | Move the fixture forward or relocate it outside the obstruction line |
| One fixture is dark or flickering | Fixture failure or loose connection | At the fixture head, splice, or connector point | High; a dead fixture can create a gap in a critical zone | Swap it with a known-good fixture or inspect the splice | Replace the lamp, connector, or fixture body |
| Uneven spacing along a walkway | Coverage gap between fixtures | Long straight paths, curved walks, and garden routes | Medium; makes the route feel patchy and less safe | Measure the distance between lights and compare it with the lit circle | Re-space the fixtures rather than adding one at random |
| One path section looks colder or harsher | Color mismatch | Mixed fixture brands or replaced lamps in the same run | Low to medium; mostly a comfort and appearance issue | Compare color temperature labels on the fixtures | Use warm white at 2700K to 3000K for the same run |
| Farthest fixture dims after several additions | Transformer or load mismatch | Long runs with new fixtures added later | High; may leave the end of the system too dim to be useful | Check total wattage against transformer capacity | Choose a larger transformer with 20% overhead |
| Steps are bright at the top but dark at the tread | Fixture placement too far from the walking surface | Stair runs, porch steps, and split-level entries | High; direct trip hazard | Check whether each tread has its own visible light cue | Move fixtures to cover each tread edge and overlap the spill |
| Driveway turn disappears at night | Coverage stops at the straightaway | Curves, turns, and apron transitions | High; vehicles and pedestrians can miss the edge | Stand at approach distance and look for a visual cue before the turn | Add overlap around the bend instead of concentrating light on the straight section |
| Wall wash has a visible gap | Fixture spacing or aim leaves a dead band | Facade lighting, privacy walls, and long fence sections | Low to medium; usually aesthetic, but can hide edges near doors | Check whether the gap lines up with a beam edge or fixture shadow | Re-space fixtures and lower the aim so beams overlap on the wall |
| Fixture tilt changed after frost | Soil movement or loose stake | Garden beds, soft soil, and freeze-thaw locations | Medium; can create new glare or leave a target underlit | Compare the current aim to the original line of light | Reset the stake, compact the soil, and re-aim the head |
| Connector looks green, crusty, or wet inside | Corroded connector | Buried splices, wet beds, and low spots where water collects | High; can cause intermittent failure and future outage | Inspect the splice after power is off and check for oxidation or moisture | Replace the connector and remake the splice with weatherproof parts |
Fix coverage
How do you fix the cause?
Start with the fixture position before you add another light. A dark spot often comes from poor aim, the wrong beam spread, or a fixture that sits in the wrong place for the subject. For trees, walls, and architectural features, uplights usually work best when they sit 2 to 4 feet from the feature and angle up at 30 to 45 degrees.
A porch run about 16 feet long can be used as an example where it looks fine near the entry but fades near the last step. The issue may be beam spread, not fixture count. Re-aim the closest light first, then check whether the beam reaches the edge of the walking surface without spilling into the eyes of someone standing there.
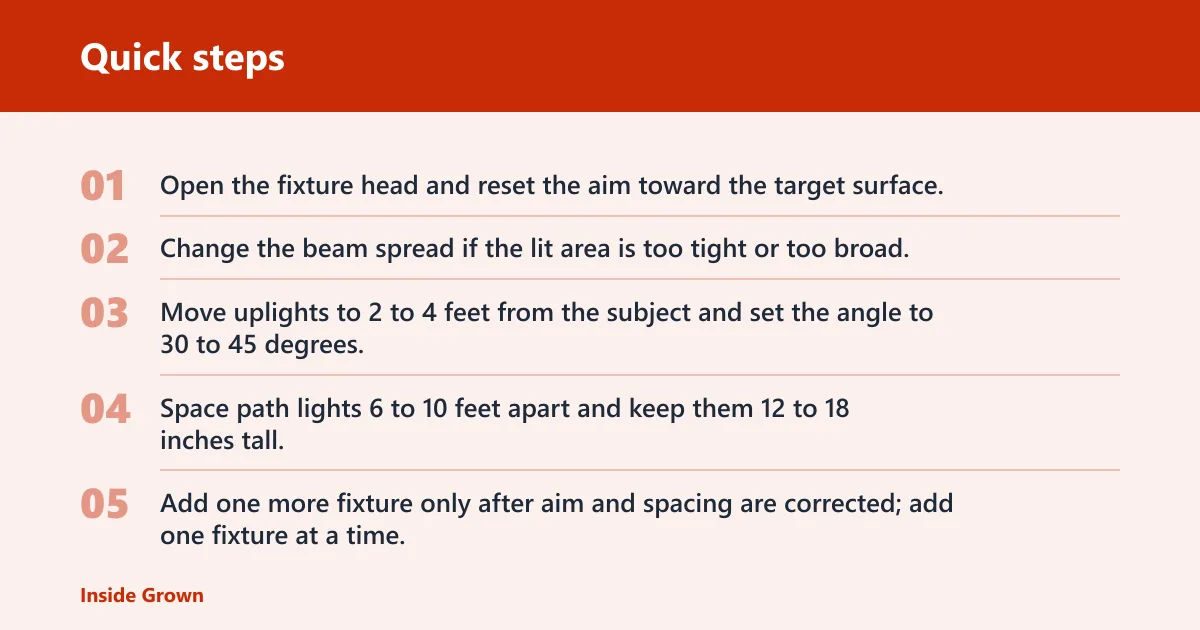
- Open the fixture head and reset the aim toward the target surface.
- Change the beam spread if the lit area is too tight or too broad.
- Move uplights to 2 to 4 feet from the subject and set the angle to 30 to 45 degrees.
- Space path lights 6 to 10 feet apart and keep them 12 to 18 inches tall.
- Add one more fixture only after aim and spacing are corrected; add one fixture at a time, then recheck.
For a path-light design example, a front walk with three fixtures and a bright blank wall nearby can look uneven even when the path is technically lit. The wall pulls attention away from the walkway, so the light seems missing where people actually step. Redirect one fixture to the stair edge and soften the wall beam.
If that didn’t work, try this next
Check the weakest point in the run for power loss. A dim fixture that stays dim after re-aiming often points to wiring, not layout. If one lamp is dead, swap it with a known-good lamp or LED module. If the far end of the line is weak, move to wire sizing and transformer load.
- Check the splice at the dim fixture.
- Test that fixture on a known-good connection.
- Compare brightness from the first fixture to the last.
- Replace failed connectors or the fixture itself if the problem follows the part.
Fix voltage drop
How do you reduce dark spots on long runs?
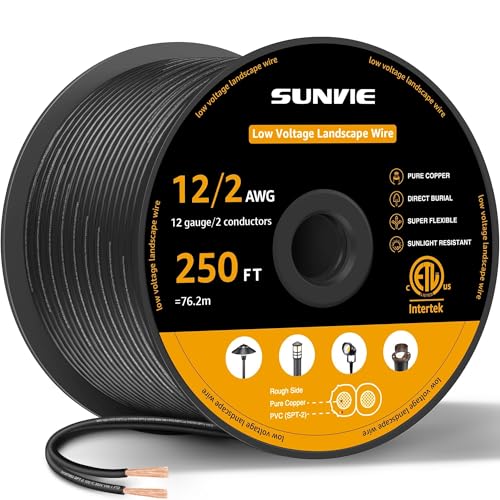
Long runs need a wiring check before they need more heads. Use 12-gauge wire for runs over 50 feet, because gauge affects voltage drop. In some guides, 16-gauge is used at 30 to 50 feet, but longer runs need the heavier wire if you want the far end to match the near end. Match the transformer to the load, too.
Transformers range from 100W to 600W capacity. Size the transformer to the total fixture wattage plus 20% overhead, and use a timer or photocell so the system runs consistently. A 300W transformer can handle 40-100 lights depending on wattage, but that range depends on the actual lamp draw, not the fixture count alone.
Voltage-drop symptoms show up as a system-design problem: the nearest lights look normal while the far end goes dull, yellowish, or inconsistent after more fixtures are added. If that pattern appears, the design decision is usually to shorten the run, split the load into separate zones, or move to heavier wire instead of simply adding more fixtures.
Landscape transformer and wire setup block
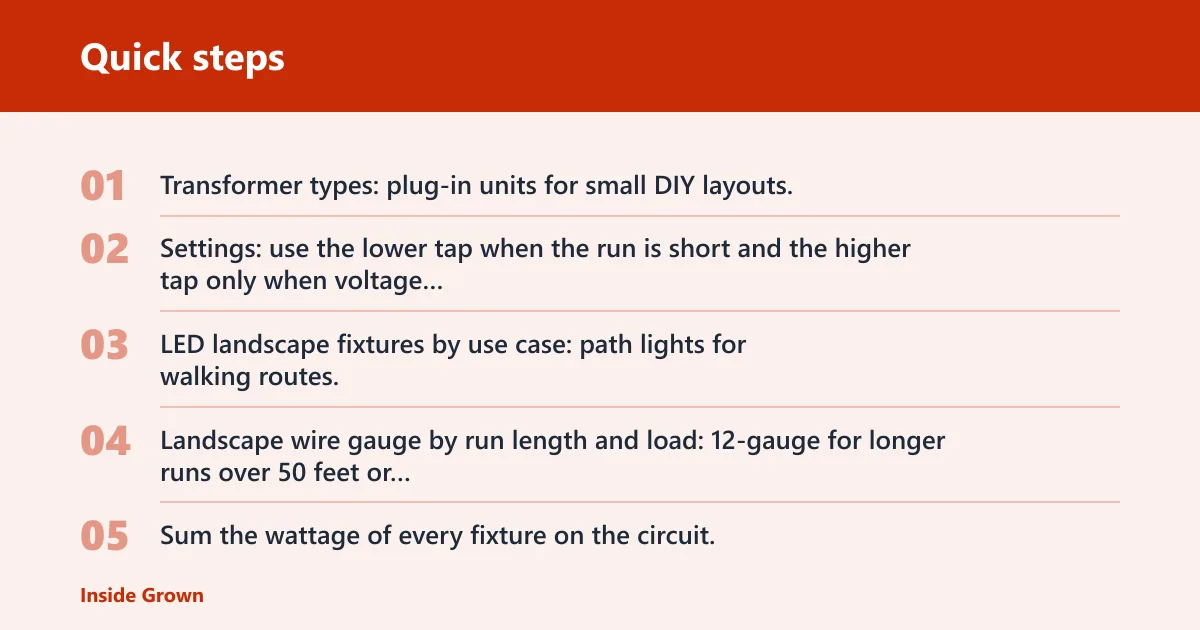
- Transformer types: plug-in units for small DIY layouts, hardwired units for larger or permanent systems, and multi-tap transformers for fine-tuning output on longer runs.
- Settings: use the lower tap when the run is short and the higher tap only when voltage drop requires it; match the tap to the measured performance, not to the label alone.
- LED landscape fixtures by use case: path lights for walking routes, uplights for trees and walls, step lights for stairs, and wall-wash fixtures for broad vertical surfaces.
- Landscape wire gauge by run length and load: 12-gauge for longer runs over 50 feet or heavier loads; 14-gauge for moderate runs where the load stays balanced; 16-gauge for shorter, lighter runs where the transformer sits close to the fixtures.
- Sum the wattage of every fixture on the circuit.
- Multiply that total by 1.2 for overhead.
- Check whether the transformer rating meets that number.
- Replace undersized wire with 12-gauge on runs over 50 feet.
- Split the load across two zones if one run stays dim.
A common first-timer mistake is to add one more fixture at the end of a long run and expect the whole path to brighten. If the line already sags, the extra load can make the far end worse. A better move is to shorten the run or divide it into two powered zones.
Reduce glare
How to balance brightness and glare
Use warm white at 2700K to 3000K for a natural, inviting glow. Cooler light can look harsh, especially on stone, wood, and planting beds. Balance matters more than total output. Path lights should guide foot traffic without forcing people to look into the lamp source.
Path lights are typically spaced 6 to 10 feet apart and are low fixtures about 12 to 18 inches tall. That spacing helps define edges without building a runway of bright spots. If a zone feels too dark, check whether the beam is pointed at the walking surface or only at nearby foliage.
- Choose warm white fixtures at 2700K to 3000K.
- Keep path lights low, about 12 to 18 inches tall.
- Set spacing at 6 to 10 feet apart, then test the overlap.
- Move any exposed lamp source out of direct eye level.
Picture a front walk with three fixtures and a bright blank wall nearby. The wall can pull attention away from the path, leaving the steps visually weak. Redirect one fixture to the stair edge and soften the wall beam. That usually restores balance without another installation.
Install safely
How to install safely
Install low-voltage lighting with enough clearance, weather protection, and burial depth to keep the system reliable. Bury cable at a consistent shallow depth that protects the wire while still allowing future access; a practical target is about 6 inches deep, while local code and product instructions may allow different depths. Use weatherproof connectors and check the run before final burial.
LED fixtures last 25,000+ hours (NEMA/LED product literature), run cooler to the touch, and usually cost less to operate than halogen. That makes them a better default for most DIY residential setups, especially when you are correcting a dark area and want the fix to hold.
- Turn power off before opening splices or moving fixtures.
- Keep connectors above standing water when possible.
- Use weatherproof connectors at every splice.
- Test the system at night before covering wiring.
- Confirm burial depth after grading and mulching are complete.
Burial depth varies by guide and local rule, but a single practical recommendation is to bury low-voltage landscape cable about 6 inches deep. That is deep enough for routine protection and shallow enough for future service; local code, manufacturer instructions, and site conditions may require a different depth.
FAQ
How to troubleshoot outdoor lighting
Troubleshoot by comparing one lit section to another. Check the transformer rating, inspect connectors, and measure distance from the transformer to the dim fixture. Then test the system at night and adjust placement before burial locks the layout in place.
What to do for dark spots
Mark the spot, identify the cause, and change one variable at a time. Re-aim the fixture first, then test a wider beam, then check wiring. If the light is still weak, split the load or add a zone instead of stacking fixtures on the same line.