How to Light Shrubs for Depth and Texture
Light shrubs for depth and texture by using at least two low fixtures per bed, commonly spaced about 3 to 6 feet apart, with one aimed for structure and one for softer fill. Done poorly, shrubs look flat, leaf detail fades, and glare or hard shadows take over the bed. This guide covers fixture selection, beam spread, spacing, and shadow control for layered shrub lighting.
What depth and texture should do


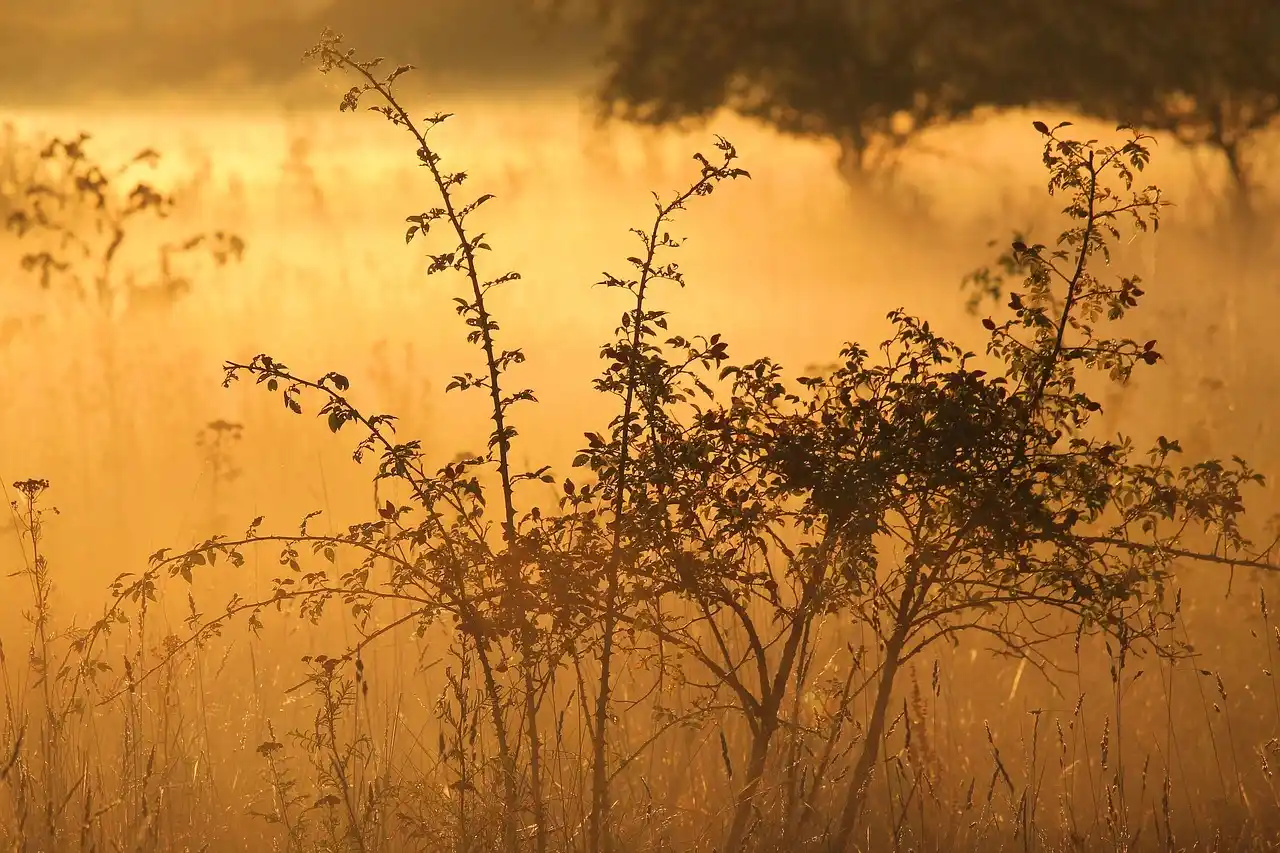
Depth means the bed reads as layers instead of one bright wall. Texture means leaves, stems, and branch lines stay visible after dark because light creates small shadow edges instead of washing everything into one bright surface.
Front-lit shrubs tend to look flat. Light from the same direction as the viewer fills in shadow and erases the surface detail that gives a rounded mound, an open shrub, or a clipped hedge its form at night.
- Use light to separate front, middle, and back planting layers.
- Keep enough shadow to show leaf edges, stems, and branch structure.
- Avoid lighting every shrub from the same front angle.
Which shrub forms read best after dark?
Rounded mounds usually read best with a soft key light plus a small amount of fill. Open branched shrubs need light that reaches through the canopy so stems and branch structure stay visible. Hedges need even coverage across the face, while mixed borders benefit from different intensities in the front, middle, and back.
- Rounded mounds: best with soft, controlled light that preserves volume.
- Open shrubs: best when light passes through the canopy and reveals stems.
- Hedges: best with even face coverage and careful glare control.
- Mixed borders: best when each layer gets a different lighting role.
Fixture choices for shrub beds
Shielded low-voltage spotlights, downlighting, and uplighting solve different problems. Spotlights place controlled light on a shrub face, downlighting pulls out leaf texture from above, and uplighting adds depth when you want trunk or branch structure to separate a shrub from the bed behind it.
- Spotlights: for precise face lighting and controlled accents.
- Downlights: for texture, soft shadowing, and a more natural night look.
- Uplights: for branch separation and stronger background contrast.
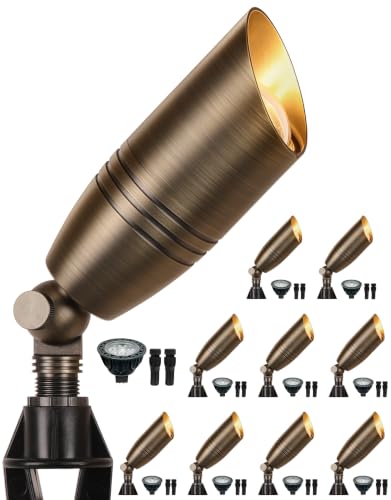
Shielded low-voltage spotlights
These are the main fixture for shrub beds. Typical shrub-light beam spreads run from narrow to medium, with many fixtures in the roughly 15 to 60 degree range; the exact spread controls whether the light reads as a crisp accent or a broader wash. Many versions use low wattage, commonly about 4 to 9 watts for LED sources, and shielding or glare guards help keep the lamp itself out of view.
Mounting height is usually low, often near the bed surface or just above it, so the beam can graze foliage rather than blast across it. A useful standoff distance is close enough to catch the shrub face, but far enough back that one hot spot does not burn a bright hole in the plant mass.
- Best for selective shrub accents and controlled face lighting.
- Use shielding to reduce glare from patios, walks, and street views.
- Keep the beam on the plant, not on the mulch or nearby hardscape.
Downlighting for leaf texture
Downlighting works best when the goal is texture, shadow layering, and a natural night look. A fixture placed above the canopy sends light downward so the upper leaves cast small shadows on lower leaves, which makes surfaces read as dimensional instead of flat.
Use a wider beam angle than you would for a tight accent. The light should sit above the top of the shrub or nearby support point, then aim down and slightly inward so the beam lands across the outer canopy and the shadow pattern stays soft, not stripe-like.
- Best when the goal is texture rather than a bright focal point.
- Place the fixture above the canopy when possible.
- Aim down and slightly inward to avoid banded light.
Uplighting for added depth
Uplighting adds depth when a shrub has visible trunk, stem, or branch structure and needs separation from the background. Aim from the trunk-to-canopy line upward, not straight at the viewer, so the bright point stays low and the canopy carries the visible shape.
Control spill light carefully. A shielded uplight with a tighter beam can separate an open shrub from a wall or taller planting behind it, but a wide, unshielded beam often flattens the bed and sends glare into sightlines.
- Best for shrubs with visible stems, trunks, or open branching.
- Use tighter beams when the shrub needs background separation.
- Avoid aiming directly toward the viewer.
Shrub lighting placement matrix
The table below gives a practical starting point for four shrub forms and three fixture types. Use it as a layout guide, then adjust for leaf density, nearby hardscape, and how much shadow you want to keep visible.
| Shrub form | Fixture type | Aiming direction | Approximate spacing from foliage | Visual effect |
|---|---|---|---|---|
| Rounded mound | Shielded spotlight | Up and slightly across the face | 18 to 36 inches | Soft volume with visible leaf edge shadows |
| Rounded mound | Downlight | Straight down from above canopy | Above the top by 12 to 24 inches | Layered highlights and a calmer top texture |
| Open branched shrub | Uplight | From trunk toward inner canopy | 24 to 48 inches | Branch definition and deeper background separation |
| Open branched shrub | Shielded spotlight | Cross-light from the side | 24 to 42 inches | Stronger side shadow and more visible branch pattern |
| Hedge or clipped mass | Downlight | Centered over the top edge | Above the top by 18 to 30 inches | Even top light with a clear edge line and texture |
| Hedge or clipped mass | Shielded spotlight | Across the front face | 18 to 30 inches | Cleaner face definition with controlled glare |
| Mixed border | Combination of all three | Front light low, middle light angled, back light higher | Varies by layer, often 24 to 60 inches | Foreground/background separation and stronger depth |
How do you layer shrubs with lights?
Layer shrubs with outdoor lighting by treating the bed like a scene with foreground, middle ground, and background. Place lower light on the front layer, a slightly stronger accent on the middle layer, and a softer back layer so each planting reads separately instead of merging into one bright mass.
Height variation matters as much as fixture count. A short shrub in front can block the stem base of a taller shrub behind it, so raise the rear light enough to create a clean edge without blasting the whole planting wall.
- Use the front layer for soft visibility.
- Use the middle layer for structure.
- Use the back layer for separation from walls, fences, or deep shade.
-
Map the bed layers.
Mark the front, middle, and back shrubs before setting any fixture. Taller shrubs belong farther back or toward the edges, because vertical change gives the lighting room to create separation.
-
Assign one main task per layer.
Use the front layer for soft visibility, the middle layer for structure, and the back layer for depth. That keeps one bright shrub from overpowering the rest of the composition.
-
Stagger the fixture heights.
Keep low fixtures low, and let downlights or higher placement handle the upper canopy. A bed that uses only one height usually reads flat because every leaf gets lit from the same plane.
-
Check the view from outside.
Stand at the approach point, not beside the bed, and see whether each layer separates cleanly. Adjust the front fixture first if the whole bed looks washed together.
Suppose a 12-foot mixed border has two rounded shrubs in front and one open-branched shrub behind them. One shielded spotlight at the front can add form, but a second, higher light on the rear shrub is what keeps the back plant from disappearing into the darkness.
How far should lights sit from shrubs?
Light-to-shrub spacing should keep the beam close enough to reveal leaf detail but far enough away to avoid hot spots at the edge of the foliage. For many beds, a starting point of about 18 to 36 inches from the foliage edge works for smaller shrubs, with wider spacing as the plant gets larger.
Dense shrubs usually need slightly more distance because the surface is thicker and can catch a brighter patch at the perimeter. Open shrubs can take a closer fixture because the beam can pass through the branches and still read as soft, layered light.
- Start outside the visible foliage edge.
- Move closer for open shrubs with airy branching.
- Move back for dense shrubs or tight hedges.
-
Start outside the drip line.
Place the fixture beyond the visible foliage edge, then aim back into the plant. That reduces the chance of a bright circle at the nearest leaves.
-
Move closer for open shrubs.
For airy shrubs with visible branch structure, shorten the standoff until the beam reads across the canopy, not just the ground. This keeps shadows inside the plant instead of on the mulch.
-
Move back for dense shrubs.
For thick hedges or tight mounds, increase distance until the brightest patch spreads out. The goal is a visible form, not a single overlit spot on the outer leaves.
How do you keep shrub lighting from looking flat?
Keep shrub lighting from looking flat by varying beam spread, angle, and color temperature across the bed. A narrow beam can define structure, a medium beam can fill the body of the plant, and a wider beam can soften transitions where one shrub meets the next.
Warm white usually renders green foliage in a softer way, while cool white can make leaf detail feel sharper and more clinical. Whatever temperature you choose, keep it consistent across fixtures in the same view so one shrub does not look disconnected from the rest.
- Use different beam spreads for structure, fill, and soft separation.
- Keep the same color temperature across the same planting view.
- Let shadows remain visible so the bed keeps depth.
Beam spread and texture control
Narrow beams work best when you want leaf edges and branch lines to stand out. Medium beams are the safest choice for most shrub beds because they hold texture without creating harsh glare. Wide beams are useful for large masses, but they can flatten detail if they are too close or too bright.
As the beam widens, the fixture can sit a bit farther from the shrub and still fill the canopy. As the beam tightens, you need better aim and more shield control, or the light will create a bright center and dark edges.
- Narrow beams define detail.
- Medium beams balance texture and coverage.
- Wide beams suit larger masses but need careful distance and output.
Warm white versus cool white
For most residential shrub lighting, warm white creates a more natural evening look on green foliage and nearby bark. Cool white can work for modern hardscape or when you want stronger contrast, but mismatched color temperatures across a bed usually draw attention to the fixtures instead of the planting.
Choose one Kelvin range for the whole shrub group and keep it consistent. Mixed temperatures can make one shrub read yellow and the next read blue, even when the fixture spacing is correct.
- Warm white tends to feel softer on foliage.
- Cool white tends to feel sharper and more contrast-heavy.
- One consistent range usually looks more cohesive across the bed.
Spill-light and glare control
Shielded low-voltage spotlights matter here. A shield, cutoff, or glare guard keeps the lamp from being visible from the street or patio, which protects the composition and reduces eye strain.
Spill light should stop at the shrub edge or land in the bed, not wash across windows, walks, or nearby lawn. If the light reaches too far, reduce wattage, widen spacing, or change the aim before adding more fixtures.
- Use shielding where viewers can see the lamp directly.
- Keep light off windows, walks, and neighboring lawn where possible.
- Adjust aim before increasing fixture count.
Timer or photocell scheduling
Use a timer or photocell so shrub lighting turns on automatically at dusk and off later in the evening. Seasonal adjustment matters because sunset shifts through the year, and automatic control keeps the bed lit when it should be and off when it should not be.
This also supports lower energy use. A shorter run time often does more for daily use than adding extra brightness that stays on all night.
- Choose automatic control so the system follows dusk.
- Use shorter run times where possible.
- Judge the look at night, not in daytime setup conditions.
-
Set the control first.
Choose a timer or photocell before final aiming. That lets you judge the real evening output, not a temporary daytime setup.
-
Reduce one variable at a time.
Change beam spread, then spacing, then output. If you change all three at once, it becomes hard to tell which adjustment fixed the flat look or glare.
-
Retest from the primary view.
Check the bed from the driveway, sidewalk, or main patio, because that is where depth and texture actually need to read well.
A common first-timer mistake is placing two bright fixtures close to a small hedge and aiming both straight at the face. The hedge becomes a white panel, the leaf detail disappears, and the viewer sees the lamp effect instead of the plant structure.
Frequently asked questions
How do you layer shrubs with outdoor lighting?
Layer shrubs by dividing the bed into front, middle, and back zones, then giving each zone a different light role. The front should stay softer, the middle should carry structure, and the back should help separate the planting from walls, fences, or deeper shade.
- Front zone: softer visibility.
- Middle zone: structure and form.
- Back zone: depth and separation.
How do you light shrubs for depth and texture?
Use angled light that creates small shadows across leaves and branch lines. Downlighting is especially useful for texture, while shielded spotlights and selective uplighting add depth by separating one shrub from the next and preventing a flat, front-lit look.
- Use angled light, not a straight frontal wash.
- Keep some shadow so texture remains visible.
- Mix downlight and side light where the bed needs more depth.
What fixtures work best for shrubs in a bed?
Shielded low-voltage spotlights are the most flexible starting point, because they control glare and can be aimed precisely. Downlights work well for texture, and uplights work best when the shrub has visible stems or needs stronger background separation.
- Spotlights: flexible and precise.
- Downlights: texture and shadow layering.
- Uplights: separation and depth.
How far should lights be from shrubs?
Start about 18 to 36 inches from smaller shrubs and move farther back for dense or larger plants. Open shrubs often tolerate a closer fixture, while dense shrubs usually look better when the light sits farther from the foliage edge to avoid hotspots.
- Smaller shrubs: begin around 18 to 36 inches.
- Dense shrubs: usually need more stand-off distance.
- Open shrubs: can often handle closer placement.
How many lights do I need for a shrub border?
There is no fixed number for every border. A practical starting point is at least two low fixtures per bed, spaced about 3 to 6 feet apart, then adjusted for shrub size, height variation, and whether you want the border to read as one group or several layers.
- Start with at least two fixtures per bed.
- Use spacing of about 3 to 6 feet as a starting layout.
- Add or shift fixtures based on layer separation and plant mass.
Should I use uplights or downlights on shrubs?
Use downlights when leaf texture and soft shadow layering matter most. Use uplights when you want trunk, stem, or inner-canopy separation. Many beds work best with a mix, because one direction alone often makes the planting either too flat or too bright.
- Downlights for texture and calm shadow.
- Uplights for structure and separation.
- Mix both when the bed needs depth from more than one angle.
How do you shape a shrub before adding lights?
The lighting question comes first, but the plant still needs a clean outline. For light pruning, the RHS notes that some shrubs need little or no pruning, and that light pruning suits evergreen and deciduous shrubs with non-vigorous shoots. Late winter or early spring is the usual timing, except for plants that bleed, which are handled in late summer or early autumn instead.
- Keep pruning selective so the plant outline stays readable.
- Prune at the timing that suits the shrub’s growth habit.
- Leave a clean form that lighting can reveal at night.
How to grow garden shrubs
For lighting purposes, grow shrubs with enough space to keep foliage from merging into one solid mass. Open structure and a clear front-to-back arrangement make it easier for light to reveal shape, texture, and depth after dark.
- Allow space between plants.
- Keep the structure open enough for light to pass through or around it.
- Preserve front-to-back separation.
How to shape bushes and shrubs
Shape them so the light can reach the surface you want to show. Remove diseased, damaged, congested, or crossing shoots, then keep the outline clean enough that the beam lands on a readable form instead of a tangled surface. After pruning, mulch and feed as the guidance advises.
- Remove damaged or congested growth.
- Keep the outline simple and readable.
- Maintain the plant so lighting reveals structure, not clutter.
- Use selective cuts rather than heavy reshaping.
- Keep the final form open enough for lighting to define.
- Watch for the plant-health issues already noted in the guidance.