How to Light a House Facade Without Harsh Shadows
To light a house facade without harsh shadows, use more, smaller fixtures set farther from the wall so the beams overlap and the light source reads larger; on textured walls, start with wider beams and lower output. Bad spacing creates hot spots, glare, and dark bands that make the front of the house look uneven. This guide covers fixture placement, beam spread, mounting distance, and how wall texture changes the result.
Facade lighting decision table
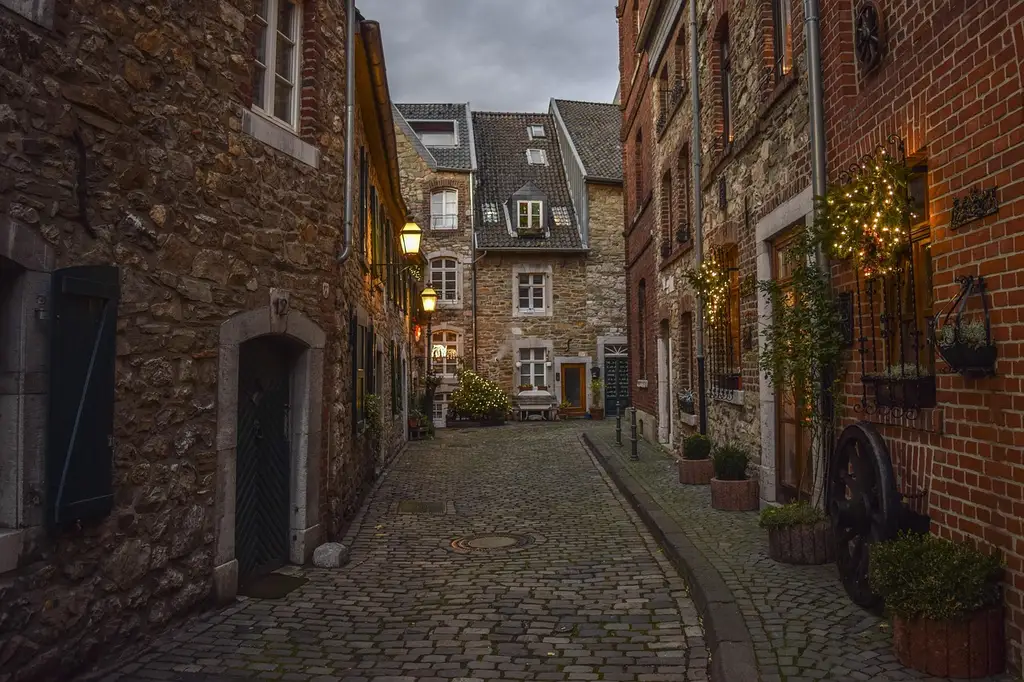


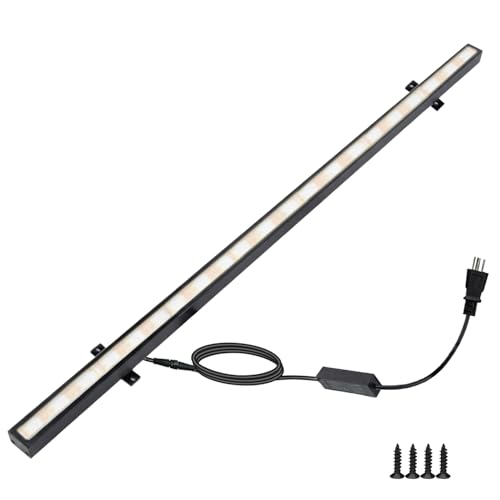
Start with the wall material, then match distance and beam spread to the surface. Choose the look first, then pick the fixture. The goal is even coverage first, with texture, trim, or columns added after the wall reads cleanly from the street.
| Wall material | Starting fixture distance from wall | Beam spread to start with | Expected shadow character |
|---|---|---|---|
| Stucco | About 3 to 5 feet | Wide beam, roughly 40° to 60° | Soft edge shadows with mild texture relief |
| Lap siding | About 4 to 6 feet | Wide beam, roughly 40° to 60° | Even wash with visible board lines if aimed too low |
| Brick | About 2 to 4 feet | Medium to wide beam, roughly 30° to 50° | Moderate texture, with shadow lines around mortar joints |
| Stone | About 1 to 2 feet for grazing, 3 to 5 feet for wash | Medium beam for wash, narrow to medium for texture | Strong texture relief; hot spots if the light sits too close |
Stucco
Stucco usually takes a wider, gentler wash because the surface is fairly even. If the fixture sits too close or the beam is too narrow, the wall can read blotchy instead of smooth. Start farther back, then dim or widen the spread until the face of the wall looks continuous.
Lap siding
Lap siding needs enough distance for the beam to cross the board edges without striping them. A medium-to-wide spread usually works best, because a narrow beam can catch each horizontal seam and create banding. If the windows are near the fixture line, tilt the beam down enough to keep glare out of sight lines.
Brick
Brick asks for a little more restraint than stucco because mortar joints and recessed courses can throw harder shadow lines. A medium beam from a moderate distance gives you enough texture without turning the wall into a pattern of bright squares. If the brick face is deep or heavily relief-cut, move the fixture back before widening the beam.
Stone
Stone is the surface most likely to reward grazing and punish bad spacing. Grazing lights are often set one foot from the wall, and that close placement brings out ridges, joints, and ledges. It works especially well on irregular surfaces like river stones, but it can also create hot spots if you aim for more brightness than the wall can carry.
How do you keep shadows soft?
Soft shadows come from a larger apparent light source, enough distance from the wall, and a beam that overlaps its neighbors. When the fixture is too narrow, too close, or aimed too steeply, shadows get harder and the wall reads as bands and patches instead of one continuous surface.
Why source size changes edge softness
A larger apparent source wraps light around edges more gradually. In practice, that means using several smaller fixtures with overlapping beams rather than one bright unit that blasts a single area. A wall with fewer shadows often looks calmer because each fixture contributes a little, instead of one fixture dominating the whole surface.
How beam angle shapes contrast
Beam angle controls spread and shadow softness. Narrow beams create higher contrast and crisper edges, which can be useful on a column or entry detail but usually work against a smooth wall wash. Wider beams reduce the jump between bright and dark zones, especially when the wall width is matched to the fixture spacing.
How wall distance affects hot spots
Distance gives the light room to spread before it hits the wall. Too close, and the center of the beam blows out while the edges fall off fast. Farther placement usually spreads the light more evenly, but you still need enough output and overlap to keep the facade from looking thin at night.
Which fixture type fits the wall?
Pick the effect first, then the fixture. Wall wash lights are the usual starting point for even facade coverage because they use a broader beam than narrow uplights. Uplights, moonlighting, grazing lights, silhouetting, and shadowing each solve a different problem, and each can fail if used as a generic answer.
Wall wash lights for even coverage
Wall wash lights spread light across a facade more evenly than narrow uplights. They work best when spaced and aimed with care, because the goal is coverage without hot spots, not a dramatic beam on a single feature. If the house has a broad front wall, this is often the cleanest place to start.
Uplights for accents and architectural features
Uplights are useful for trim, columns, rooflines, and other features you want to read after dark. They can also create harsh shadow edges and glare if aimed too steeply, especially on smooth walls. On a front facade, they work best when paired with another effect that softens the overall plane.
Moonlighting for soft, dappled coverage
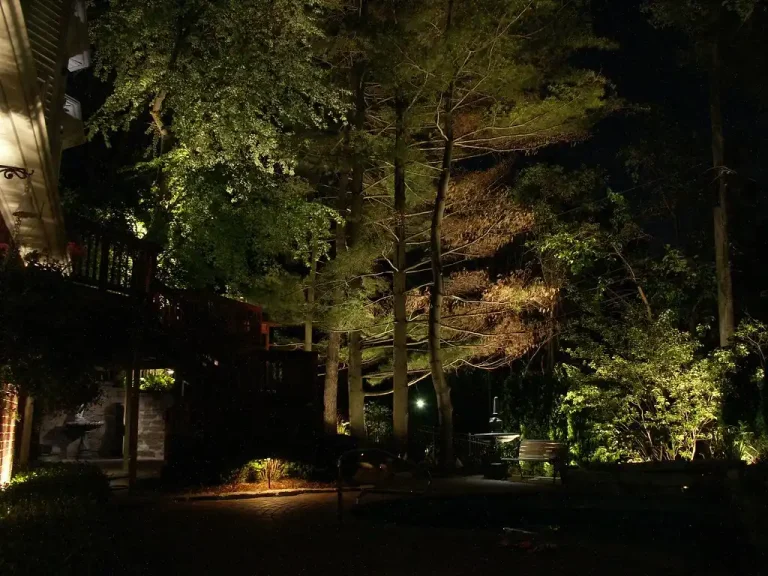
Moonlighting places the light high in a tree canopy and throws a dappled pattern across the wall and ground. The source should be at least 25 feet high, ideally higher in the canopy, so the shadow pattern feels broad instead of busy. It is a strong choice when you want a calm wash over a larger front yard.
Grazing lights for texture-forward surfaces
Grazing lights sit close to the wall, about 1 foot from the surface, and are best when the goal is to bring out texture. They are especially effective on irregular surfaces like river stone. On smoother walls, grazing can look too sharp and reveal every seam or bump.
Say your front elevation is 42 feet wide with stucco across most of the facade and a stone chimney on one side. A wide wash can carry the stucco, while a separate grazing light on the stone gives the chimney its own texture without making the whole house look busy.
How far should lights sit from the wall?
Fixture distance is one of the easiest ways to change the look without changing the fixture itself. Close placement tightens texture and raises contrast. More distance softens the beam, spreads output farther, and usually reduces the chance of a bright center with dark falloff on the edges.
Close placement for grazing
Use close placement when you want the wall itself to carry the design. About 1 foot from the surface is the common starting point for grazing. That distance works because the beam strikes the surface at a shallow angle, which lets ridges and joints cast visible shadows.
Medium placement for wash lighting
For a wall wash, move the fixture farther out so the beam has room to open before it lands. That extra distance is what helps the wall read as one plane. If the light still looks blotchy, widen the beam or add another fixture with overlap rather than moving the lamp closer.
When distance needs to increase for smoother coverage
Increase distance when the wall shows scallops, bright centers, or visible beam edges. More distance usually means softer falloff and less glare into windows or toward the street. If the wall is already textured, this also helps avoid washing out the detail that gave the facade depth in the first place.
How many facade lights do you need?
The number depends on width, beam spread, and how much overlap you need between fixtures. The cleanest look usually comes from a layout that lets each beam overlap the next by about 30%. That overlap helps the wall read as one surface instead of a row of circles.
A simple spacing rule for wide walls
For a wide front wall, start by mapping the facade into zones that match the fixture spread. A common rule of thumb is to place fixtures so their edges overlap rather than meet edge to edge. If the house has three dominant zones, such as left wing, center entry, and right wing, treat them separately before you add more units.
How to avoid scalloping between fixtures
Scalloping happens when one beam ends before the next begins, leaving a dark dip between circles of light. The fix is usually more overlap, not more brightness. If you see repeated bright-and-dark arcs across the wall, move the fixtures slightly farther apart and widen the beam, or add a lower-output unit between them.
When to split a facade into zones
Split the facade when the wall changes depth, texture, or height. A garage wing, a recessed entry, and a chimney usually do better as separate lighting tasks. That keeps the result legible and prevents one style of beam from being forced to cover surfaces that need different treatment.
How do you avoid glare and wire problems?
Glare control matters as much as wall appearance. Light aimed into windows, doors, walkways, or a neighbor’s view can turn a clean facade into a nuisance. Wiring also needs attention, because exposed cable creates safety and weather risk that gets worse over time.
Aiming down, not into sight lines
Downward-facing path and driveway lights reduce blinding glare and help people move safely around the front of the house. Facade fixtures should be aimed so they light the wall, not the eyes of someone approaching it. If a beam can be seen directly from the sidewalk or across the street, adjust the angle before adding another fixture.
Protecting cable runs
Wiring should be buried or otherwise protected. That keeps it safer from damage, moisture, and accidental cuts during yard work. Marine-grade wire is commonly recommended where exposure, moisture, or corrosion risk is higher, especially near wet soil, stone edges, or coastal air.
Where exposed wiring causes trouble
Exposed runs can fail early at connection points and can also become a tripping or snaring hazard. They are a poor fit near planting beds, steps, and low stonework where the cable can shift or be seen. If the layout forces visible runs, reroute before the fixtures go in.
Texture and shadow fixes
When a facade looks wrong at night, the fix usually comes from changing distance, angle, or beam spread before changing the whole layout. The three most common problems are hot spots on siding, washed-out brick or stone, and hard edges on smooth walls. Each one points to a different correction.
Hot spots on siding
Hot spots on lap siding usually mean the beam is too narrow, too close, or aimed at the wall with too much intensity in the center. Move the fixture back, widen the beam, or lower the output. If the siding still looks striped, add overlap from a second fixture rather than pushing one unit harder.
Washed-out brick or stone
Brick and stone can lose their depth if the light is too flat or too broad. The surface starts to look pale and one-dimensional instead of layered. Reduce output, bring the beam in closer only if you want texture, and use the wall’s natural joints and relief to guide the aim.
Hard edges on smooth walls
Smooth walls make beam edges easy to see. If the facade shows a hard circle instead of an even wash, the beam is too tight for the distance or the fixture is too near the wall. Move the light farther back, widen the spread, and let adjacent fixtures share the load across the surface.
A common first-timer mistake is mounting two bright fixtures close together on a 24-foot-wide garage wall and pointing them steeply upward. The center becomes overlit, the upper corners go dark, and the door trim throws hard shadows. One wider wash with more spacing usually reads cleaner than a pair of intense uplights.
Frequently asked questions
How do I light a house facade without harsh shadows?
Use wider beams, give each fixture enough distance from the wall, and let the beams overlap. Harsh shadows usually come from narrow spread, steep aiming, or fixtures placed too close together. Start with even coverage, then add accents only after the facade reads cleanly from the street.
What is the best fixture placement for house uplighting?
Place uplights so they strike the feature you want to emphasize without shining directly into view. For trim, columns, and rooflines, that usually means a lower angle and moderate distance from the wall. Steep aiming often creates hard shadow edges and glare on smooth siding.
How far should wall wash lights be from the wall?
Wall wash lights usually need more distance than grazing fixtures so the beam can spread before it lands. A good starting point is farther out than a close wall-graze setup, then adjust until the wall looks even instead of spotted. If the center is too bright, move back or widen the beam.
Should I use uplighting or a wall wash on a house facade?
Use a wall wash when you want even coverage across the front of the house. Use uplighting when you want to call out columns, trim, or rooflines. Many facades need both: a wash for the main wall and uplights only on the features that deserve emphasis.
How do I avoid hotspots on siding and stone?
Hotspots usually mean the light is too close, too narrow, or too bright for the surface. On siding, move the fixture back and widen the beam. On stone, decide whether you want texture or smoothness; grazing can work well on stone, but it needs careful control to avoid bright patches.
Can moonlighting reduce harsh shadows on the front of a house?
Yes. Moonlighting creates softer, dappled shadows when the source is high in a tree canopy, ideally at least 25 feet high. It is a good option when you want broader, calmer illumination across a front yard and facade, especially if the wall lighting itself needs to stay subtle.
How many facade lights do I need for even coverage?
Enough to keep the beams overlapping with no dark bands between them. The exact count depends on wall width, beam spread, and mounting height, but a 30% overlap between adjacent fixtures is a useful starting point. If the wall shows scalloping, adjust spacing before adding more fixtures.