How to Light a Garden Border Without Overdoing It
Light a garden border with up to three layers: low path or spike lights, a few aimed accents, and dark gaps between pools of light. That keeps plants readable without glare. Too many fixtures flatten the planting, expose hardware, and create hot spots that pull the eye away from the bed. This guide shows how to place, aim, and space low-level lights so the border stays calm, legible, and hidden by day.
What you’ll need


- 12V low-voltage landscape lights
- A transformer sized to the total fixture load
- Outdoor-rated cable
- Weather-rated connectors
- Shielded path lights with low-glare shades
- 1 to 3 bullet or accent lights for specimen plants
- Timer or photocell control
- Stakes, marking paint, or flags
- Measuring tape
- Small shovel or hand trowel
Garden border layout checklist
Start by defining the border, not the lighting. Measure its width, note whether the edge is straight, curved, or mixed, and record plant height now and at peak growth. A narrow border with dense planting needs less spread and fewer fixtures than a wider mixed border with taller plants and deeper viewing distance.
Mark three zones before you buy anything: the front edge, the plant face, and any focal plants. That keeps you from lighting every leaf equally, which is the fastest way to make a border look busy.
- Measure border width in feet or meters.
- Note planting density and the highest expected seasonal growth.
- Identify the edge type: mulch, stone, timber, or lawn transition.
- Mark the front edge, plant face, and focal accents with flags.
- Measure viewing distance from the main patio, path, or window.
How many lights do you need for a garden border?
Use width to set the starting count. Narrow borders often need only a few shielded path lights and no more than one accent per standout plant, while wider borders can take a slightly denser layout because the plant face sits farther from the viewer. Begin with the minimum that gives shape, then add only if dark gaps remain.
Say your border is 1.2 metres wide along a straight lawn edge. Start with two to three path lights for the run, then add one accent light only if a specimen shrub disappears at night. That is enough for clear structure without turning the bed into a row of lamps.
| Border width | Starting fixture count | Placement note |
|---|---|---|
| Up to 1 m | 2 to 3 shielded path lights per 3 m run | Use wide spacing and keep beams low |
| 1 to 2 m | 3 to 5 path lights per 3 m run | Add one or two accents only for focal plants |
| Over 2 m | 5 to 7 path lights per 3 m run | Use overlap carefully so the bed does not wash out |
A common first-timer mistake is counting every plant instead of the border as a whole. That usually produces too many fixtures, too much overlap, and no clear dark space between pools of light.
Choose the right fixtures
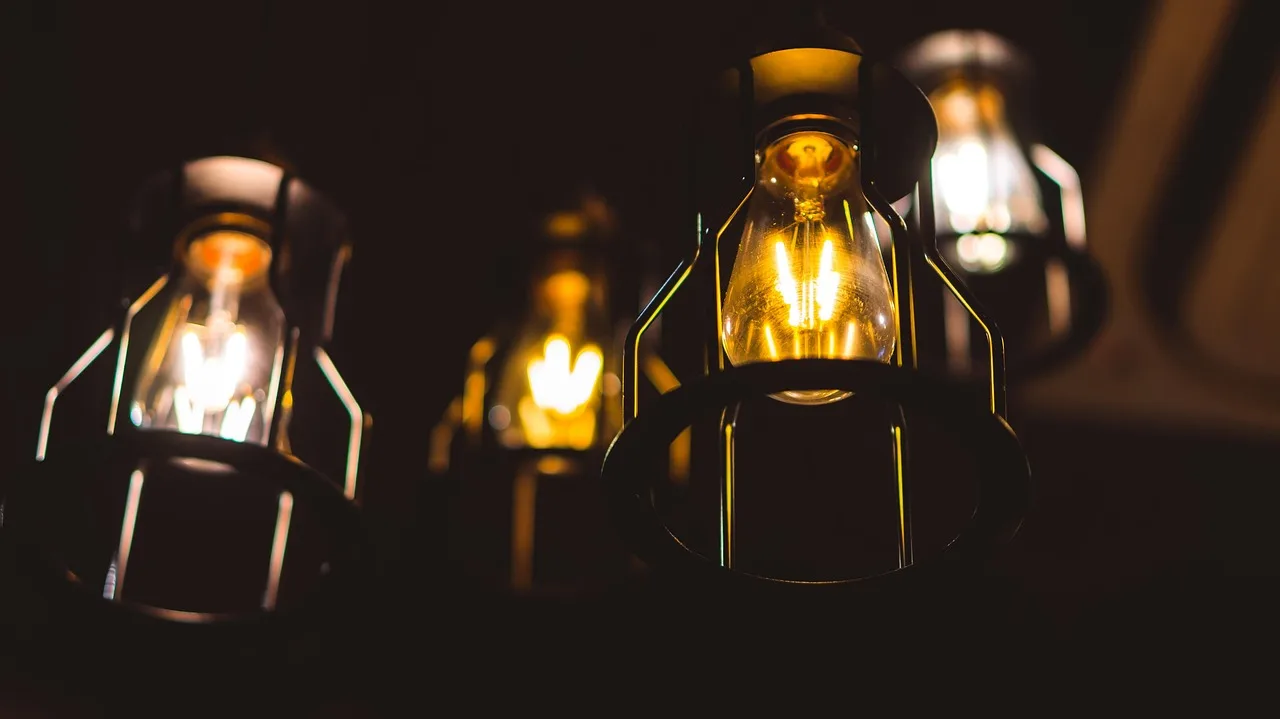
For most borders, use 12V low-voltage landscape lights. They are standard for decorative outdoor lighting, they connect to a transformer, and they are safer for DIY layouts than line-voltage wiring when installed correctly. Pair them with a timer or photocell so the border comes on automatically without staying lit all night.
Use shielded path lights for edge definition. Keep their mounting around knee level, and aim them to guide the eye along the border rather than spotlight the whole bed. Use bullet or accent lights only where a specimen plant needs a stronger read, because narrow beams can glare if they point toward seating or windows.
Match beam angle to plant scale
Narrow beams suit a single shrub, small tree, or sculptural grass clump. Wider beams suit soft wash on a broad mound or a mixed planting with several small plants that should read as one mass. Keep enough overlap to close gaps, but stop before the beams stack into hot spots.
Choose warm white and keep it consistent across all fixtures. Mixed color temperatures make planting beds look uneven at night, and cooler tones tend to read harsher against foliage and mulch.
How far apart should border lights be placed?
Set spacing by border width, not by a fixed rule. Narrow borders usually need wider spacing because the plants sit closer to the viewer, while wide mixed borders often need tighter spacing to carry light to the plant face without leaving dark holes. Straight runs can tolerate even spacing; curved and mixed edges usually need irregular spacing to follow the planting rhythm.
Keep fixtures low and out of direct view. If you can see the source from a seat or window, the spacing may be fine but the placement is wrong. In that case, lower the fixture, shield it more, or move it slightly behind foliage.
- Straight edge: start with even spacing and adjust only for focal plants.
- Curved edge: stagger fixtures slightly so the light follows the bend.
- Mixed edge: cluster lights around the strongest planting moments, then leave gaps.
Border lighting checklist
Use this as a final planning pass before trenching or fixing cables. The aim is depth, not brightness. The border should read as layered planting, with the front edge, plant face, and focal accents doing different jobs.
- Front edge: Place shielded path lights to mark the line without washing the whole bed.
- Plant face: Aim one or two fixtures into the midsection of the planting so leaves and stems still read as layered forms.
- Focal accents: Use bullet lights only for a few standout plants.
- Night test: Switch on the layout after dark, check glare from seats and windows, and mark any hotspots or visible wires.
- Adjustment pass: Move any fixture by 15 to 30 cm, then recheck before burial or final fixing.
Suppose a 4-metre curved border looks flat from the patio. Add one accent light to a taller specimen and shift the nearest path light 20 cm back from the edge. That usually restores depth without adding another lamp.
How do I keep garden border lights from causing glare?
Keep the source below eye line, shield the lamp, and aim it away from seating areas, neighbors, and windows. Glare usually comes from seeing the bulb or lens directly, not from the fact that the border is lit. If the light feels harsh, the fixture is too exposed or the beam is too narrow for the target.
For borders near a patio or bench, use low-glare shades and place the fixtures slightly behind the front edge so foliage softens the source. If a beam lands on a wall, glass door, or white fence, move the aim line down or sideways until the spill disappears.
Glare check for a 5-minute night test
- Stand at the main seat and look for visible bulbs.
- Check the view from the nearest window.
- Walk the path and note any bright points at ankle or knee height.
- Look for overlapping beams that form white patches on mulch or stone.
- Turn off one fixture at a time and see whether the border still reads clearly.
How to plan a garden border layout before installing lights
Sketch the border first, then place the lighting on paper or with temporary markers. That lets you answer how to border a garden and how to make a border in garden terms before you start digging: define the edge, decide where the planting mass begins, and assign each light a job.
Use this sequence so the layout stays controlled.
- Draw the border outline and note width changes.
- Mark the edge material, including mulch, stone, timber, or lawn.
- Draw the front edge, plant face, and any focal accents.
- Place fixture symbols based on the three-zone layout.
- Calculate transformer load from the total fixture wattage.
- Check that the transformer location is near the power source and compatible with a timer or photocell.
- Test the layout at night before burying cable.
Do not bury cable where roots are dense or where it would cut across the planting line. Run it along the back side of the border or under the mulch edge, then cover it just enough to disappear without compacting the soil.
What’s the best way to hide wires without hurting plants?
Route cable along the least disruptive path, usually just inside the border edge or behind the main root zone. Avoid slicing through established roots, and do not leave wire stretched across bare soil where it can show or be damaged. A thin layer of mulch often hides the run without forcing the cable deep into the bed.
For stone or timber edges, tuck the cable where the hard edge meets the planting area, then secure it so it cannot float up after rain. If the border transitions to lawn, cross only at the shortest practical point and re-cover the line immediately.
Common mistakes
The most common problems are easy to spot at night: too many fixtures, exposed bulbs, mixed color temperatures, and beams that overlap until the bed looks flat. Another frequent mistake is treating a narrow border like a wide one, which forces the lights too close together and makes glare worse.
- Too many fixtures: Start with the minimum count and add only after the night test.
- Visible hardware: Lower the fixture, shield the source, or move it behind foliage.
- Mixed colors: Keep every lamp in the same warm white range.
- Hot spots: Reduce overlap by widening spacing or changing beam angle.
- Wrong scale: Use narrow beams for focal plants and wider beams for soft wash.
Frequently asked questions
How do I light a garden border without overdoing it?
Use three layers at most: a few shielded path lights, one or two accents, and dark space between pools of light. Keep the plant face readable, not the entire bed uniformly bright. If a fixture can be seen directly from seating, it is probably too exposed.
What kind of lights work best along a garden border?
Shielded path lights are best for edge definition, and bullet or accent lights work well for selected focal plants. Use 12V low-voltage fixtures with a transformer, because they are common for decorative outdoor lighting and easier to manage in a DIY layout than line-voltage systems.
What color temperature is best for garden border lighting?
Choose warm white and keep it consistent across the whole border. Cooler tones can make planting beds feel harsh and can make the light appear brighter than it needs to be. Mixed temperatures also break up the visual flow of the border.
How do I hide border light wires without damaging plants?
Run the cable along the least root-dense route, usually just inside the edge or behind the planting line. Cover it lightly with mulch or tuck it beside a hard edge, and avoid cutting through roots or leaving wire exposed across soil.