How to Place Lights Around Flower Beds: Spacing Guide
Place flower bed lights a little inside the bed edge, then space them roughly 4 to 6 feet apart for low plantings; for taller shrubs, move the fixtures farther back so the beam clears foliage and still reaches the viewing angle. Poor placement leaves dark gaps, hot spots, and glare from the house or street. This guide shows how to size spacing by bed width, match fixture height to plant height, and aim the lights for a clean daytime-to-nighttime look.
This guide is part of our Landscape lighting guide series.
What to decide before you place any lights
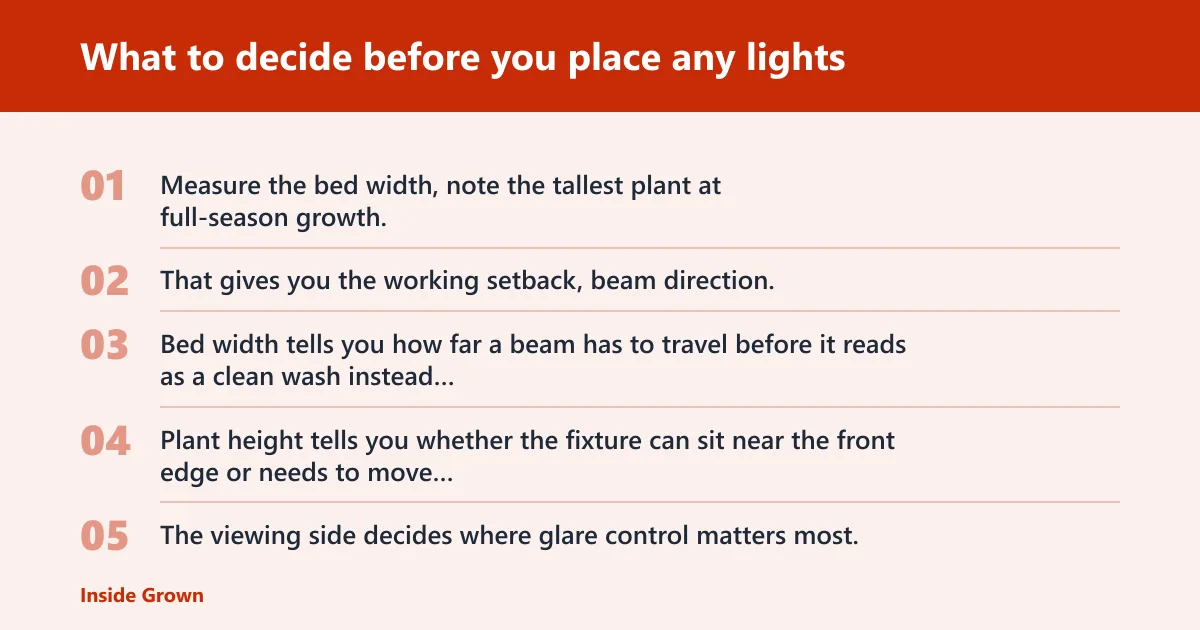

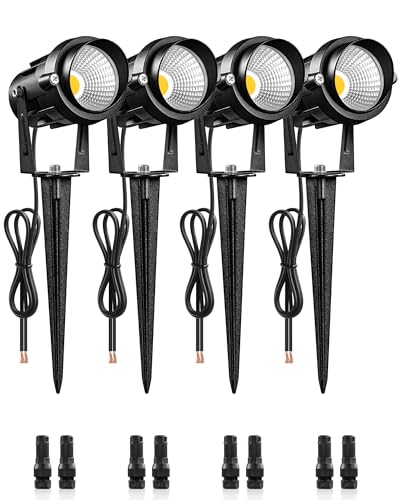

Start with the bed, not the fixture. Measure the bed width, note the tallest plant at full-season growth, and identify the main viewing side: house, sidewalk, driveway, or street. That gives you the working setback, beam direction, and height target before any wire or stake goes in the ground.
Map bed width, plant height, and the main viewing side
Bed width tells you how far a beam has to travel before it reads as a clean wash instead of a bright dot. Plant height tells you whether the fixture can sit near the front edge or needs to move back so the beam clears leaves. The viewing side decides where glare control matters most.
Also check site conditions around the planting area. Count how many hours of direct sun the bed gets each day before choosing plants. Some flower beds stay in partial shade for most of the day, and the USDA hardiness zone should match the plant’s region before planting. Those conditions affect plant size, density, and how much of the fixture remains visible.
Choose the fixture type before you mark locations
Path lights, low-voltage fixtures, and solar lights each solve a different placement problem. Path lights are usually 12 to 22 inches tall and work best for outlining bed edges. Low-voltage fixtures give steadier output for a planned layout. Solar lights fit sunny beds where accent lighting matters more than strong, even coverage.
Set the goal: outline, accent, or general glow
If the goal is a clean edge from the house and street, use path lights or low-voltage fixtures with a narrow, controlled beam. If the goal is to pick out a specimen plant, a small cluster, or a bed curve, a tighter beam can work well. For a light wash across the bed, spacing and beam width matter more than fixture count.
How far apart should lights be around flower beds?
Use bed width to set spacing, not fixture count alone. Narrow beds usually need fewer fixtures placed closer to the edge, while wide beds need either wider beam spread or more distance between lights so the light lands evenly. A good layout avoids hot spots and keeps the bed readable from the main viewing side.
Use bed width to set spacing, not fixture count alone
For low planting heights and a straight run, the common spacing range of 4 to 6 feet can work when the beam spread matches the bed width. Wider beds or taller plantings often need more separation between fixtures, or a stronger beam that reaches farther across the bed without leaving dead zones.
Adjust spacing for straight runs, curves, and corners
Straight foundation beds can often follow a simple rhythm. Curved island beds need closer attention because the beam path changes with the arc. Corners usually need either a tighter fixture interval or a different aiming angle so the light does not pool at the bend and disappear in the straight section.
Keep lights far enough apart to avoid hot spots
Hot spots happen when two beams overlap too much in one area and leave the next section dark. Picture a 14-foot border with three fixtures spaced evenly but aimed too close together: the middle plant reads bright while the ends look flat. In that case, move the heads farther apart or use a narrower beam to hold the pattern.

Which lights work best around flower beds?
Path lights fit bed edges, low-voltage fixtures suit more controlled layouts, and solar lights work best as accent pieces in sunny spots. The best choice depends on how much light you need, how consistent you want the output to be, and whether you can run wire or need a no-trench option.
Path lights for outlining bed edges
Path lights are the simplest way to trace a border. Their typical 12 to 22 inch height keeps the source low enough for edge definition without putting the lamp above most flowers. Shielded heads are better on street-facing beds, while open-top styles can create more glare if the fixture sits too near a window.
Low-voltage fixtures for consistent output
Low-voltage fixtures use a 12V system and need a transformer. That transformer converts household power to the lower voltage the fixtures need. Wire gauge planning matters because long runs and too-small wire can reduce output at the far end of the circuit. This is the standard DIY-friendly choice when the bed needs even, repeatable lighting.
Solar lights for sunny beds
Solar lights avoid trenching and wiring, which makes them convenient for small accents or seasonal layouts. Their output depends on sun exposure, so beds in partial shade may not charge well enough for steady evening use. They work best as accents, not primary illumination.
How high should flower bed lights sit?
Place the light source low enough to stay out of the main sightline, but high enough to clear the plant mass it is meant to light. Fixture height should track plant height. If the bed will keep growing through the season, leave extra clearance so the beam does not get swallowed by foliage.
Match fixture height to plant height
For low annuals, a shorter path light can sit just inside the edge and still read clearly. For mixed perennial borders, taller stems and seed heads may need the lamp slightly farther back or on a taller body so the beam passes over front growth. The goal is visible plant texture, not a bare lamp head.
Keep the light source below the line of sight where possible
When the bulb or diode sits below eye level from the house or street, glare drops sharply. That matters most for front beds viewed at a distance. If the source rises too high, it can feel like a string of miniature streetlamps rather than a bed wash.
Leave room for plant growth through the season
A common first-timer mistake is placing fixtures where spring growth looks fine, then watching summer foliage bury the head. Set the fixture with mature plant size in mind, not the look in early bloom. Leave space for stems, branching, and mulch settling.
How beam spread and color temperature change the look
Beam spread controls how widely a fixture covers the bed, while color temperature changes how plants and stone read at night. Narrow beams help with accents and curves. Wider beams help cover broader beds. Warm white usually looks softer on petals and mulch than blue-white light.
Choose narrow or wide beam spread for the bed shape
Narrow beams work for specimen flowers, small shrubs, and tight bends where you want the eye to land on one plant group. Wider beams suit broader beds and longer straight edges because they reduce the number of fixtures needed. If the beam is too narrow for the bed, the layout looks dotted instead of continuous.
Use warm white to reduce harsh plant and stone color shifts
Color temperature is usually discussed in Kelvin. Warm white, often in the lower Kelvin range, tends to keep stone, mulch, and petals from looking blue or stark. Cool white can make pale flowers look washed out and can give light-colored edging a harder edge than intended.
Avoid spill that washes out flowers or hits windows
Shielding matters here. Cutoff or hooded designs reduce spill and keep more light where it belongs. That is especially useful for street-facing beds and for beds near windows, where even a modest fixture can create a reflection that feels brighter than the bed itself.
Placement worksheet: three bed scenarios
Use this worksheet as a starting point, then adjust after dark. The numbers below are practical starting values, not fixed rules. Beam spread, plant height, and the bed’s viewing angle still decide the final layout.
| Bed scenario | Typical bed shape | Fixture count | Spacing | Beam spread | Setback from plants |
|---|---|---|---|---|---|
| Narrow foundation bed | Straight run, 2 to 3 feet wide | 3 fixtures across 12 to 18 feet | About 4 to 6 feet apart | Narrow to medium beam | 12 to 18 inches inside edge |
| Mixed perennial border | Straight or lightly curved, 4 to 6 feet wide | 4 to 6 fixtures across 18 to 30 feet | About 5 to 7 feet apart | Medium beam, some wider heads at anchors | 18 to 24 inches from dense clumps |
| Curved island bed | Rounded island, 6 to 10 feet wide | 5 to 7 fixtures around the arc | About 4 to 6 feet apart, tighter at turns | Medium to wide beam | 18 to 30 inches, adjusted to clear the curve |
Narrow foundation bed: fixture count, spacing, and setback
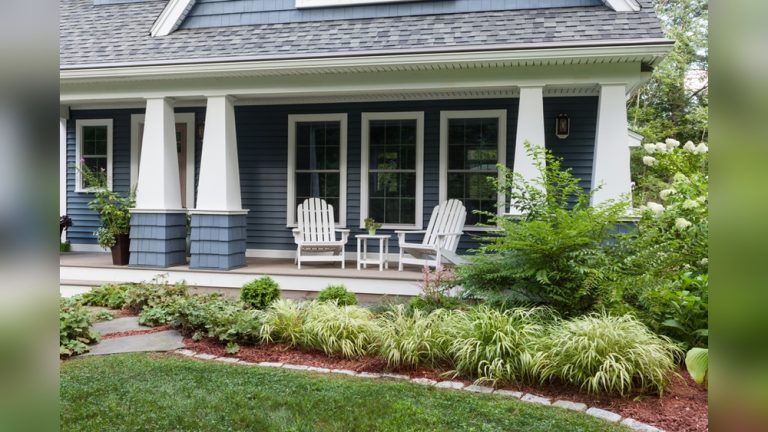
Narrow beds need restraint. Too many fixtures turn the front of the house into a bright line, while too few leave the foundation looking disconnected. Keep the heads inside the edge, use shielded fixtures near windows, and aim across the bed rather than straight out at the viewer.
Mixed perennial border: fixture count, spacing, and setback
Mixed borders change through the season, so leave space for growth and use a little more setback than a low annual bed would need. A wider beam can help blend layers of foliage, but the fixture still needs enough clearance to avoid being hidden by the tallest stems.
Curved island bed: fixture count, spacing, and setback
Curved beds need the cleanest beam control. Space fixtures so each one follows the arc instead of cutting across it. A wider beam can smooth the curve, but a very wide beam may wash past the planting and into the lawn, which makes the bed read flat from the street.
How to install and adjust the layout
Put fixtures in mulch or at the edging line where they can stay stable without crowding roots. Hide wires beneath mulch where possible, but keep access for later adjustments. Then make the layout visible at dusk, because the daytime view rarely shows glare, spill, or shadow shape.
- Mark the bed edge and note the widest plant at mature size.
- Set each fixture 12 to 18 inches inside the edge, then widen that setback for taller shrubs or denser borders.
- Lay out the wire path before burying or covering it, and plan wire gauge for the full run when using low-voltage lighting.
- Place fixtures loosely first so you can move them after dark.
- Check for glare into windows, street views, and seating areas, then shift or shield the heads as needed.
- Confirm that the beam covers the bed without washing out flowers or producing hard shadows on dense plantings.
- Secure the final positions and revisit the layout as mulch settles and plants expand.
Mulch depth and edging material affect more than appearance. Mulch helps hide wiring and stabilize stakes, but very deep mulch can make fixtures lean over time. Edging gives a cleaner line and can help preserve sightlines, yet it also limits where you can reposition a stake later if the plants grow wider than expected.
Suppose a curved front-yard island bed has tall salvia in the center and low petunias at the edge. A fixture that looked fine in spring may end up shining into the lawn by midsummer because the salvia blocks the beam. The fix is to move that head farther back and aim across the curve, not up through the foliage.
Frequently asked questions
How far apart should lights be around flower beds?
For many beds, a spacing of roughly 4 to 6 feet can be a workable starting point for low plantings, but bed width and beam spread should guide the final spacing. Wider beds and taller plants often need either a wider beam or a slightly different interval so the light lands evenly without hot spots.
Should flower bed lights point up or down?
Downward or across-the-bed aiming usually works better than pointing up. Up-lighting can throw glare toward the house, windows, or street and can make petals look flat. A low, shielded fixture that aims into the plant mass gives more control and usually reads cleaner from common viewing angles.
How bright should flower bed lights be?
Bright enough to outline the bed, not bright enough to flatten it. The right output depends on the bed size, plant density, and viewing distance. Too much light washes out flower color and can create hard shadows, so start with modest output and adjust after dark if the bed feels underlit.
How do you keep fixtures from glaring into the yard?
Use shielded or hooded fixtures, keep the source below the line of sight where possible, and aim the beam onto the bed rather than outward. If the fixture sits near a window or seating area, move it farther inside the bed or swap in a cutoff head that blocks spill.
Can you use solar lights around flower beds?
Yes, but they work best as accent lights in sunny beds. Solar lights need enough direct sun to charge well, and some flower beds may be in partial shade for most of the day. They are usually less suitable as the main light for a long border or a shaded front bed.
What kind of lights are best for flower beds?
For most DIY layouts, low-voltage fixtures are the most flexible choice because they offer controlled output and easier placement planning than line-voltage options. Path lights are best for bed edges, while solar lights fit accent roles where wiring is impractical and strong, even illumination is not the main goal.
How do you light a flower bed without hurting plants?
Keep the fixture low, avoid blasting the center of dense foliage, and leave room for seasonal growth so stems do not trap heat or block the beam. Also match the layout to plant conditions around the bed: direct sun, partial shade, and the correct USDA hardiness zone all affect how the planting develops over time.
Do flower bed lights need to be waterproof?
They need to be made for outdoor use and weather exposure, since beds see rain, irrigation, mulch splash, and seasonal temperature change. That matters for both wired and solar fixtures. Check the fixture’s outdoor rating before installation, and keep connections protected where the wiring enters the bed.