Gardening Techniques for Mulching Around Vegetables
Mulch vegetables with about a 1- to 2-inch layer of fine material near seedlings, keep it about 2 to 3 inches away from stems, and switch to about a 2- to 4-inch layer of coarser mulch around established crops. Too much mulch, or mulch packed against crowns, can slow growth, trap moisture, invite rot, and shelter pests. This guide covers mulch choices and application for seedlings, transplants, and mature vegetable rows.
When should I mulch vegetable beds?


Mulch after the soil has warmed, after weeds are removed, and while the surface still holds a little moisture. For most vegetable beds, that means after the last frosts. If the bed is dry, water first, so the mulch sits over warm, damp soil instead of dust.
A sunny, well-draining spot is the best starting point for a new vegetable bed, and beginner beds often work well at 4×4, 4×8, or about 10×10 feet. Small beds warm faster, dry faster, and are easier to mulch evenly.
What conditions to check first
- Wait until frost risk has passed for tender crops.
- Check that the topsoil is warm, not cold and sodden.
- Remove weeds before any mulch goes down.
- Water the bed to moisten the top layer.
- Choose material depth by crop stage and mulch type.
Suppose a 4×8 bed planted with young lettuce dries out between irrigations. A 3 cm layer of fine mulch can hold moisture steady without burying the crowns. The same bed in mid-summer may need a thicker, coarser top-up once plants are larger and roots are deeper.
What you’ll need
- Organic mulch: straw, grass clippings, shredded leaves, hay, or finished compost
- Unprinted cardboard for new beds or no-dig setups
- A watering can, hose, or drip line
- Hand fork or hoe for removing weeds
- Bucket or tarp for carrying mulch
- Garden gloves
- Optional: compost for surface top-dressing before mulching
Organic mulch breaks down over time and adds organic matter to the soil. Straw usually lasts longer. Grass clippings break down faster, so they need closer handling. Shredded leaves and compost fall between those two in breakdown speed.
How should I prepare the bed?
Clear weeds, water dry soil, and loosen only compacted surface soil before you mulch. In no-dig beds, add surface compost first, then mulch on top. Do not deep-dig vegetable beds unless a compacted crust is the problem; deep disturbance can dry the soil and disturb roots and soil structure.
Step 1: Weed the bed first
- Pull or hoe weeds before mulching.
- Remove rooted perennial weeds completely when possible.
- Do not cover established weeds and expect mulch to stop them.
Step 2: Water dry soil before mulching
- Water the bed to moisten the top layer.
- Wait until the surface is no longer dusty but not soggy.
- Then spread mulch evenly.
Step 3: Loosen only compacted surface soil
- Use a hand fork to break a crust, not to turn the bed over.
- Leave deeper soil layers alone.
- Level the surface so mulch lies evenly.
Step 4: Add compost before the mulch layer in no-dig beds
- Spread a thin compost layer over the bed surface.
- Set cardboard down only for new beds or no-dig areas.
- Cover with mulch after the cardboard is in place.
Cardboard is useful for new beds and no-dig setups. Use about 1 to 2 layers of unprinted cardboard, then cover it. It will decompose over time, but it should not be the only moisture barrier in a bed that already has crops growing through it.
What mulch works best for each crop stage?
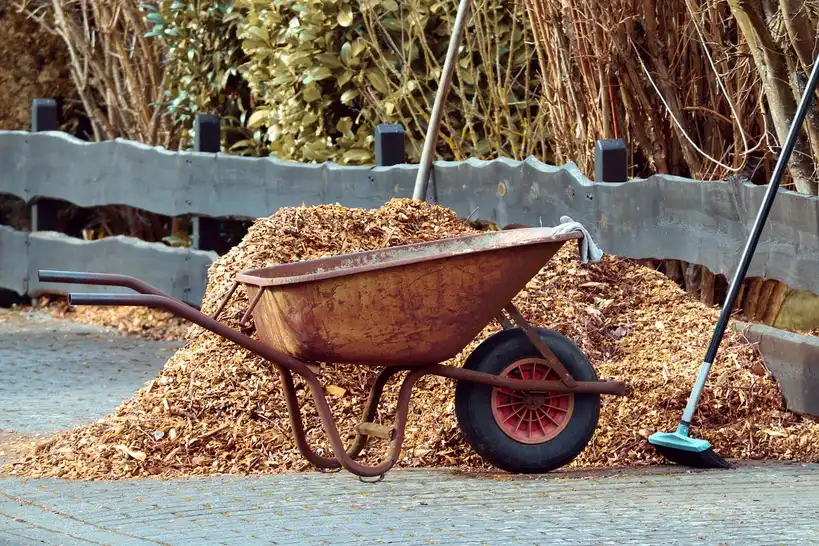
Seedlings need lighter mulch and more open space around stems. Transplants can take a slightly deeper layer once they are rooted in. Established crops can use coarser material and thicker coverage, especially in warm weather. Match the mulch to plant size, root depth, and how fast the bed dries.
Seedlings and direct-sown rows
Use fine mulch, such as shredded leaves or a light compost layer, at about 3 to 5 cm. Keep it loose so tiny stems are not buried. Direct-sown rows need the most caution, because a heavy layer can block emergence or crust over after watering.
Transplants and young starts
Set mulch farther back from the stem than you would for bare soil. Young transplants do best with a narrow clear ring and a lighter layer until roots take hold. Grass clippings can work here if they are dry and spread thinly, not piled in a wet mat.
Established crops and summer top-ups
Established crops can take coarser mulch at about 5 to 10 cm, depending on the material. Straw and shredded leaves are common because they shade soil, slow evaporation, and keep fruit clean. Top up when the layer thins, rather than waiting for bare soil to show.
Hot, dry beds versus cooler, wetter beds
Hot, dry beds need deeper coverage and faster-acting irrigation under the mulch. Cooler, wetter beds need lighter coverage and better airflow, or slug pressure can rise. Dark mulches can warm soil, which helps in cool weather but can overheat shallow-rooted crops in intense sun.
Vegetable mulch decision table
| Crop stage | Recommended material | Depth | Stem clearance | Watering step | Main failure risk |
|---|---|---|---|---|---|
| Seedlings | Fine shredded leaves or light compost | 3 to 5 cm | 5 to 10 cm ring | Water before mulching; recheck the next day | Smothering, slow emergence |
| Transplants | Straw, shredded leaves, or thin grass clippings | 3 to 5 cm | 5 to 10 cm ring | Water at planting, then mulch the moist surface | Crown rot if mulch touches stems |
| Tomatoes | Paddy straw | 8 to 10 cm | 5 to 10 cm ring | Water deeply before spreading | Soil splash, uneven moisture, stem rot |
| Courgettes | Paddy straw or shredded leaves | 8 to 10 cm | 5 to 10 cm ring | Water first, then mulch the root zone | Heat stress, shallow-root drying, slug habitat |
| Leafy greens | Fine compost or shredded leaves | 3 to 5 cm | 5 to 10 cm ring | Keep the bed evenly moist under drip or hose | Overheating, wet leaves, slug damage |
| Hot, dry beds | Straw with drip irrigation below | 5 to 10 cm | 5 to 10 cm ring | Water the soil, then top up after settling | Dry patches if the layer is too thin |
How do I apply mulch without causing problems?
Spread the right depth, leave a clear ring around stems, and check irrigation after mulching. If the bed dries fast, water under the mulch rather than over the top. If the mulch settles, add a measured top-up instead of piling on a thick blanket.
Step 1: Spread the right depth
- Use 3 to 5 cm for fine mulch.
- Use 5 to 10 cm for coarser mulch.
- Do not exceed the depth needed to cover soil.
Step 2: Keep a clear ring around stems
- Leave a 5 to 10 cm ring with no mulch around each stem or crown.
- Keep mulch off tomato stems, courgette crowns, and lettuce hearts.
- Check the ring after watering, because mulch shifts.
Step 3: Water after mulching if needed
- Run drip irrigation long enough to wet the root zone.
- If the bed was dry before mulching, water again after the layer settles.
- Keep moisture even, not soggy.
Step 4: Check irrigation coverage and top up through the season
- Lift a corner of mulch to check soil moisture beneath it.
- Add 2 cm at a time where the layer has thinned.
- Recheck after each top-up so the bed does not get buried.
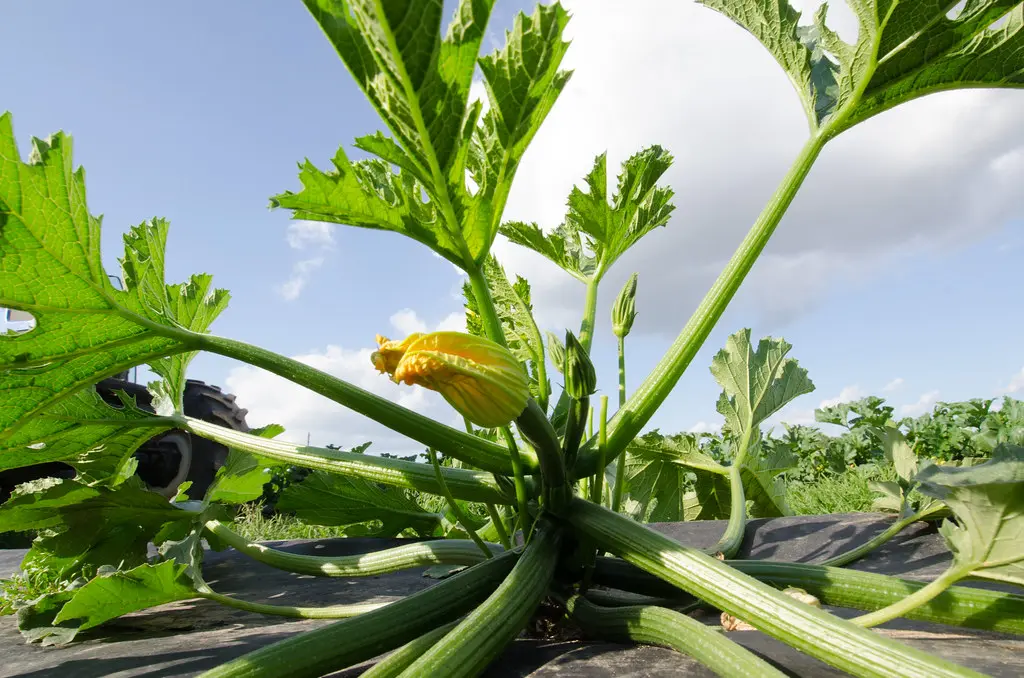
Picture a courgette bed in a hot week. The plants have shallow roots and leaves wilt by afternoon. A thick straw layer over damp soil can slow evaporation enough to keep the root zone steadier, but only if the crown stays exposed and drip irrigation still reaches the soil.
What is the best mulch for a vegetable garden?
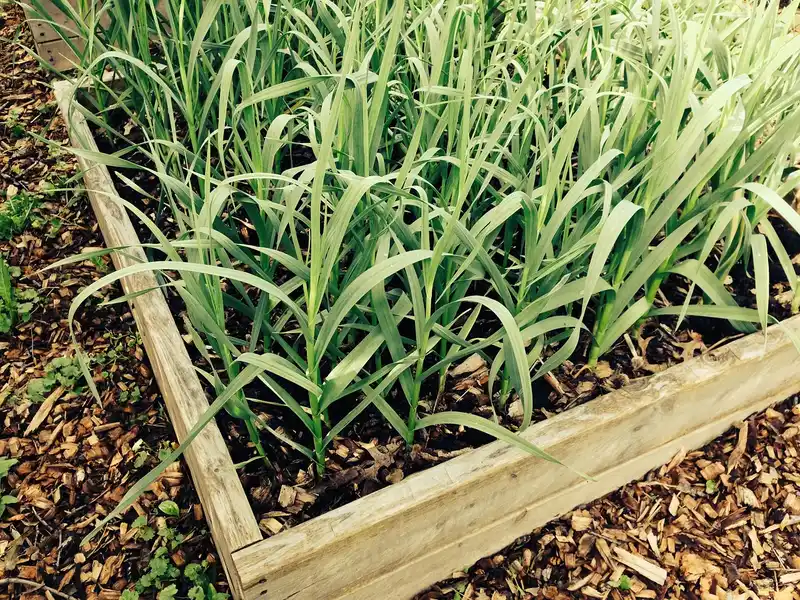
The best mulch depends on bed stage, climate stress, and how often you want to replace it. Straw is a strong all-round choice for tomatoes and courgettes. Grass clippings are cheap and close at hand, but they need thin layers. Shredded leaves and compost suit seedlings and leafy crops.
Material-by-material guidance
- Straw: good for tomatoes, courgettes, and path-side rows; breaks down slowly; usually needs seasonal top-ups.
- Grass clippings: inexpensive and easy to find; spread in thin layers or they can mat, heat up, and slow air flow.
- Shredded leaves: useful for mixed beds; moderate breakdown speed; can be refreshed after settling.
- Hay: works as a mulch if it is clean, but may contain more weed seed than straw.
- Compost: best as a surface feed and moisture buffer; usually needs topping up more often than straw.
- Cardboard: useful for new beds and no-dig setups; cover it with another mulch layer.
Grass clippings can be used as mulch in the vegetable garden, but thin layers are the safe choice. Keep them at 3 to 4 cm, let them dry a little before spreading if possible, and avoid thick fresh piles. Thick clippings can mat, restrict oxygen, and leave the soil wet underneath.
Should I mulch tomatoes differently than other vegetables?
Yes. Tomatoes do well with straw mulch because it helps keep soil splash off leaves and keeps moisture steadier around the roots. Use a deeper layer than you might use around seedlings, but keep the stem collar clear. The main aim is cleaner fruit and fewer wet-soil problems.
Paddy straw is recommended for tomatoes, courgettes, and courges, and it is listed at 8 to 10 cm depth. That depth is thick enough to slow evaporation and block light to weed seeds, but only if the bed was weeded first and the mulch does not touch the stem.
Tomato-specific notes
- Use straw or shredded leaves rather than a tight grass mat.
- Keep drip lines under the mulch if possible.
- Top-dress with compost during the season if plants are feeding hard.
- Check for stem wetness after rain or overhead watering.
Tomatoes are especially sensitive to soil splash because fruit and lower leaves sit close to the ground early in the season. Mulch lowers that splash risk, but only if the bed has enough airflow and the mulch is not shoved into the main stem.
What mistakes should I avoid when mulching vegetables?
The main mistakes are using the wrong depth, burying stems, and mulching over weeds. Other common problems include grass clippings that mat too tightly, cardboard that is left exposed, and dark mulch that overheats shallow-rooted crops in hot weather. Most failures start with too much material, not too little.
Mulch too thick or too thin
Too thin leaves soil exposed, so moisture escapes and weeds still germinate. Too thick can smother seedlings and keep the surface cold or wet. Match the layer to the mulch type: fine mulch at 3 to 5 cm, coarser mulch at 5 to 10 cm.
Stem contact and crown rot
Never pack mulch against stems. A 5 to 10 cm ring reduces rot and fungal issues around crowns. This matters most for tomatoes, lettuce, courgettes, and any transplant with a soft stem base.
Matting, slug pressure, and nitrogen tie-up
Fresh grass clippings can mat and create a damp layer that slugs like. Very carbon-heavy materials can also temporarily tie up nitrogen as they break down, especially if mixed into the soil instead of left on top. Keep the mulch on the surface and monitor young growth.
Using cardboard or grass clippings the wrong way
Cardboard should be unprinted and used in 1 to 2 layers for new beds or no-dig setups. Cover it so it does not dry out or blow away. Grass clippings should be thin, not piled. If they heat up, lift them, fluff them, and spread them thinner.
Frequently asked questions
How thick should mulch be around vegetables?
Use 3 to 5 cm for fine mulch and 5 to 10 cm for coarser mulch. Straw around tomatoes and courgettes often sits at the thicker end. If the layer is too thin, soil shows through; if it is too thick, seedlings and crowns can suffer.
How far should mulch be kept from plant stems?
Keep a ring of about 5 to 10 cm clear around stems and crowns. That gap helps prevent rot, fungal problems, and damp bark or stem tissue. The ring matters after watering too, because mulch can slide inward and close the gap over time.
Do I need to weed before mulching?
Yes. Mulch blocks light to weed seeds, but it will not fix a bed already full of established weeds. Clear the bed first, then mulch the clean surface. If you skip weeding, weeds often grow through the layer and make later cleanup harder.
Can I use grass clippings as mulch in the vegetable garden?
Yes, but keep the layer thin at 3 to 4 cm. Fresh grass clippings can mat, heat up, and slow air flow if they are too deep. They work best as a short-lived top-up around established crops, not as a thick blanket around seedlings.