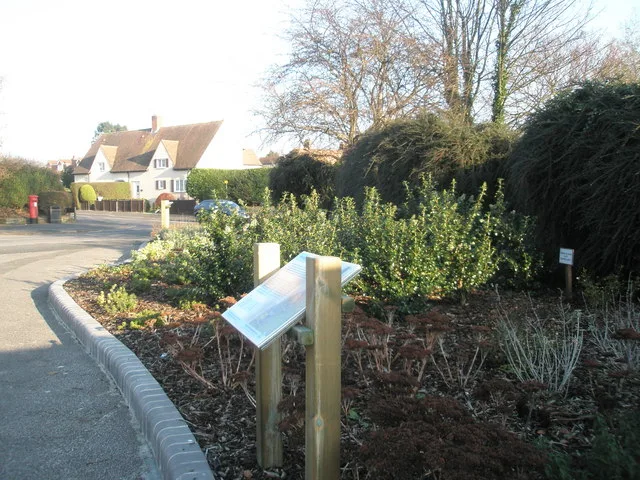
How to Plan a Small Botanical Garden at Home
Plan a small botanical garden by mapping sun, shade, wind, and moisture, then assigning about three beds to one clear theme each, such as a sun bed, a shade bed, and a transition bed. Skip that planning and the space looks crowded, plants outgrow their spots, and maintenance becomes constant rearranging. This guide shows how to read microclimates, zone a tiny yard by theme, and lay out a compact three-bed design that feels botanical without feeling crowded.
What you’ll need

- Tape measure
- Graph paper or squared notebook paper
- Pencil and eraser
- Stakes and string
- Notebook for labels and records
- Compost or leaf mould
- Mulch
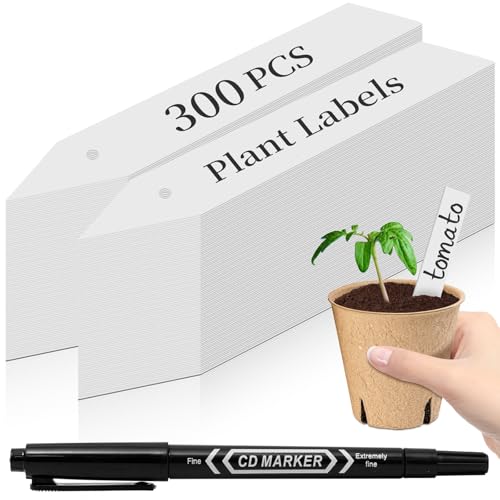
- Plant labels and a waterproof marker
- Soil test kit or lab sample envelope
- Basic edging material
How do you create a botanical garden in a small backyard?

A small backyard can become a botanical garden when it works as a documented living plant collection, not a mixed border. Start with a clear theme, a simple layout, and a plant record. Then place plants where the site already supports them, so the garden reads as organized, educational, and easy to maintain.
Start with the collection idea
Choose one main focus first. A botanical garden can be themed by region, use, or family, and that choice should fit the site. Native plants fit a local collection. Herbs fit a small culinary bed. Shade plants belong under trees or along a north edge. Dry garden plants suit hot, fast-draining spots. Pollinator beds work best where sun stays steady for much of the day.
Use a simple three-zone structure
Keep the design plain enough to maintain. One zone can hold the sun-loving plants, one can hold moisture-tolerant or shade plants, and one can act as a transition bed for specimens that sit between those conditions. A compact botanical garden needs clear beds, a main walking loop, and at least one focal point that makes the collection feel intentional.
What you should check first
Measure the full space, note access points, and record how light and water move across the yard. A good plan starts with sun by area, shade patterns, wind exposure, drainage, and the spots you can actually reach without stepping into beds. Those notes decide the layout more than plant wish lists do.
Map the site before you draw beds
Mark the yard edges, doors, gates, hose access, downspouts, and any tree roots or hard surfaces. Then note where the sun lands in morning, midday, and late afternoon. Hot fence lines can suit dry-loving plants. Shaded corners may need ferns, woodland perennials, or other low-light plants. Windy gaps dry soil faster than the rest of the yard.
Watch drainage after rain
Look for puddles, soggy edges, and places that dry too slowly. If water pools in one corner, treat that as a separate moisture zone rather than forcing every bed to match it. A compact garden fails quickly when drainage differences get ignored.
How do you design a small garden with paths and beds?
Set the main walking loop first, then place beds around it so every planting area stays reachable. Paths should guide visitors and protect soil, and the main path should be wide enough for two people side by side. In a very small garden, the layout must stay simple or the beds become hard to reach and harder to maintain.
Place the focal point where it can be seen
Use one specimen plant, a bench, a birdbath, or a small sculpture as the focal point. Put it on the main sight line from the house or gate. Then use the beds to frame it. The eye needs a clear target, especially when the space is only a few beds wide.
Keep paths practical
Paths at least 80–90 cm wide, and that is a useful floor for a small home garden. Secondary paths can be narrower, but they still need enough room for access with a watering can, pruners, and a wheelbarrow. If a path is too tight, people stop using it and start stepping into beds.
Small botanical garden planner
| Layout template | Bed count | Path width | Focal point placement | Theme examples | Plant grouping rules |
|---|---|---|---|---|---|
| 10×10 ft | 2 to 3 beds | Main path 80–90 cm; short side paths narrower if needed | Center or just off-center, visible from the entry | One sun bed, one shade edge bed, one specimen corner | Group by light first, then use 3 to 5 plants per repeated cluster |
| 10×20 ft | 3 beds | Main loop wide enough for two people side by side; secondary links narrower but accessible | At the far end or on the long axis to pull the eye through the space | Native collection, herb bed, pollinator bed | Repeat the same plant in blocks rather than scattering singles |
| Side-yard width | 1 long bed or 2 slim beds | Main walk 80–90 cm if possible; keep plant edge out of the path | At the end of the run or at a widened pocket | Shade collection, dry garden strip, fern and woodland run | Use repeated groups and staggered heights to avoid a crowded look |
How do you start a botanical garden at home?

Start with soil, structure, and a short plant list. A home botanical garden needs a clear idea, layout, and plant record. Prepare the beds before planting, install paths and edging first, then place plants that match the sun, shade, and moisture conditions already present. That order saves money and avoids rework.
Prepare the soil before planting
Add well rotted compost or leaf mould to improve structure and water-holding capacity. Test pH before deciding what to plant in each bed. If the soil drains badly, fix that before filling the space with plants. To mix amendments into the top 15–20 cm of soil, which is enough for most new beds. Raised beds make sense where drainage stays poor.
Build in stages
- Measure the yard and mark the beds with string.
- Draw the main loop and confirm that every bed is reachable.
- Test the soil and note drainage issues.
- Improve the soil with compost or leaf mould.
- Install edging, paths, and any raised sections.
- Set the focal point and place the largest structural plants.
- Plant in groups, mulch, label, and record the layout.
Budget the work in phases
Split the project into site prep, hard edging, soil improvement, planting, and labels. That keeps a small budget under control and lets the garden grow in layers. A full botanical look does not require a full build on day one. It requires repeatable structure.
What plants should you choose for a small botanical garden?
Choose plants by light, moisture, and theme instead of mixing anything that looks appealing in the nursery. A practical botanical collection needs plants that can live together for more than one season. Match sun plants to open beds, shade plants to sheltered edges, and moisture lovers to the dampest part of the site.
Use a selection framework
First sort the yard into sun, part shade, shade, dry, and damp zones. Then choose a theme for each zone. Native plants suit a regional collection. Herbs fit a culinary or sensory bed. Pollinator plants work where insects can reach the flowers. Dry garden plants belong in the hottest, fastest-draining bed. Mixing incompatible needs is the fastest way to make a small garden look tired.
Avoid the overcrowding trap
Describe the 10×10 ft yard as having one hot fence line and one damp back corner. Put drought-tolerant plants along the fence and moisture-tolerant plants in the wetter spot, then leave a clear path between them. If the same plants are forced into both places, one side will decline and the layout will stop reading as a collection.
How do you plant and label it?
Prepare the beds, install the hard structure, then plant in groups and label everything. Labels turn a small garden into a botanical collection because they make the plants legible. Use plant names, origin, and a brief theme note, and keep bed signs visible from the path.
Label for the visitor and for the record
Each label should include the plant name, origin, and theme note, such as “native shade collection” or “dry-bed specimen.” Add a bed sign at the entrance to each zone so the collection reads clearly at a glance. That matters more in a small garden because the whole site is visible at once.
Keep a maintenance log
Record flowering times, plant health, seasonal notes, watering, and pruning. A simple notebook or spreadsheet works. Write down what faded early, what stayed too wet, and what needed extra pruning. Those notes tell you which plants belong in the collection and which ones should be moved or removed.
Common mistakes
Most problems in a tiny botanical garden come from pushing too many plants into too little space. Narrow paths, mixed moisture needs, and missing records all make the garden harder to read and harder to care for. Fix those early and the space keeps its structure.
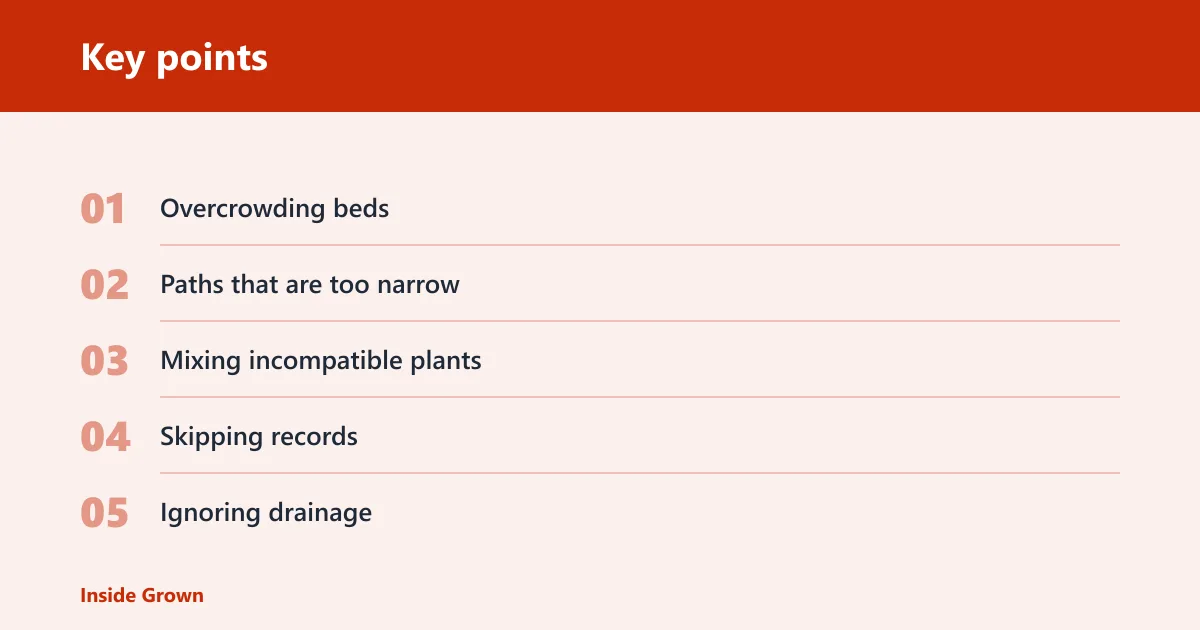
- Overcrowding beds: leave room for mature width and for access from the path.
- Paths that are too narrow: keep the main route wide enough for two people side by side.
- Mixing incompatible plants: separate dry, damp, sun, and shade zones.
- Skipping records: use labels and a maintenance log from the start.
- Ignoring drainage: correct pooling before planting the bed.
Use one simple review cycle
At the end of the season, check which plants flowered well, which stayed stressed, and which beds needed the most maintenance. If the shade bed outperformed the sun bed, the issue may be exposure or drainage rather than plant choice. Adjust one thing at a time so you can see what changed.
Frequently asked questions
How much sun, shade, and drainage should I check before planting?
Check the whole yard, not just the center. Note where full sun, part shade, and deep shade fall across the day, and watch where water pools after rain. A small garden often has several microclimates, and those differences should shape the bed plan before any planting starts.
What should I label and record in a home botanical garden?
Label each plant with its name, origin, and theme note, and add bed signs where the collection changes. In the log, record flowering times, plant health, watering, pruning, and seasonal notes. Those records help you keep the garden educational and make better decisions next season.
How do you maintain the collection?
Review the garden after one growing season, then move only the plants that the record shows are failing in that spot. A botanical garden improves through repetition and adjustment, not constant reshuffling. Seasonal notes, watering records, and pruning history will show which beds are balanced and which need a change.