How to Run Irrigation Without a Tap Using Stored Water
Use a gravity-fed drip line if your stored water sits at least 2 to 3 feet above the emitters. If the tank is ground level, use a small pump and give priority to the thirstiest plants first. A weak setup leaves dry beds, flooded pots, or a reservoir that empties before the garden gets covered. This guide shows how to size the reservoir, choose gravity or pump delivery, and set up irrigation for beds, containers, and mixed plantings.
Water without a tap: the basic options

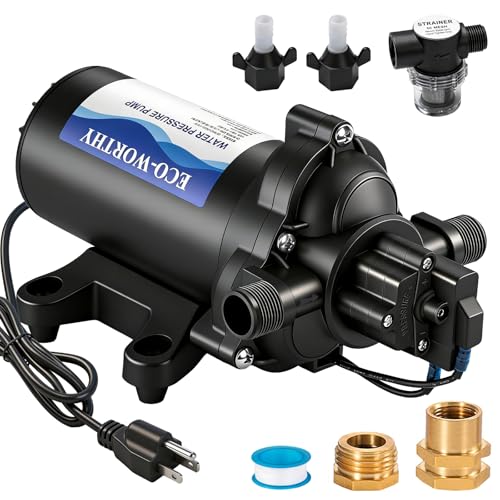

If you do not have an outdoor tap, you can still water with stored rainwater, a bucket, a watering can, or limited greywater. The right choice depends on how high the reservoir sits, how far water must travel, and whether you need to serve one pot or a full bed.
Stored water sources you can use
A rain barrel or water butt is the most common starting point. It often connects to a gutter downspout and can hold 50 to 100 gallons, which is enough for short runs, small beds, or repeated hand watering. Buckets and tanks work too, as long as they are covered or screened to keep out debris and insects.
Household greywater can also supplement irrigation, but only when it is free of harsh soaps, bleach, and other chemicals. Use it promptly. If local guidance limits greywater on edible crops, follow that rule.
Manual watering versus automated watering
Manual watering is the simplest option when storage is limited or the garden is small. A watering can or bucket gives you direct control over each pot and root zone. Automation makes more sense when the bed count rises, the hose run gets longer, or watering needs to happen on a schedule.
A 2-gallon watering can covers roughly 4 to 6 medium pots per trip, but it also weighs about 16 pounds when full. That makes it practical for small container groups, not for broad borders or dense vegetable beds.
Which option fits a small garden?
For a balcony, a few containers, or a short row of herbs, a watering can or a battery drip kit can be enough. For a mixed garden with beds and pots, drip irrigation from a barrel is usually the better fit, provided the reservoir has enough height or a pump supports the run.
Rain barrel and greywater basics
Stored water works best when you protect it from debris and match it to the plants you want to serve. The biggest practical difference is not the source itself; it is whether the water can move cleanly through the system without clogging or losing pressure.
Rain barrel setup and lid safety
Rainwater collection usually uses barrels, buckets, or tanks placed under roof gutters or other collection points. A covered or screened opening matters because it reduces leaves, grit, and insects entering the tank. That matters even more if the water will feed drip lines.
Picture a 60-gallon water butt feeding two short beds and six containers. If the lid is open to debris, the first problem will not be “not enough water.” It will be blocked emitters, uneven wetting, and a filter that needs cleaning too often.
Greywater safety limits
Greywater can help in a pinch, but treat it as a limited input, not a full substitute for clean irrigation water. Do not use it if it contains bleach, harsh cleaners, or strong soap residues. Keep it separate from sensitive crops if local guidance says to do so.
Greywater also needs prompt use. Storing it for long periods increases odor and sediment concerns, which makes clogging more likely in thin tubing and emitters.
What stored water can and cannot feed
Stored water can feed watering cans, soaker hose, drip lines, and short hose runs. It cannot be assumed to behave like mains pressure. That is why the delivery method has to match the source height and the plant demand.
Gravity-fed irrigation setup
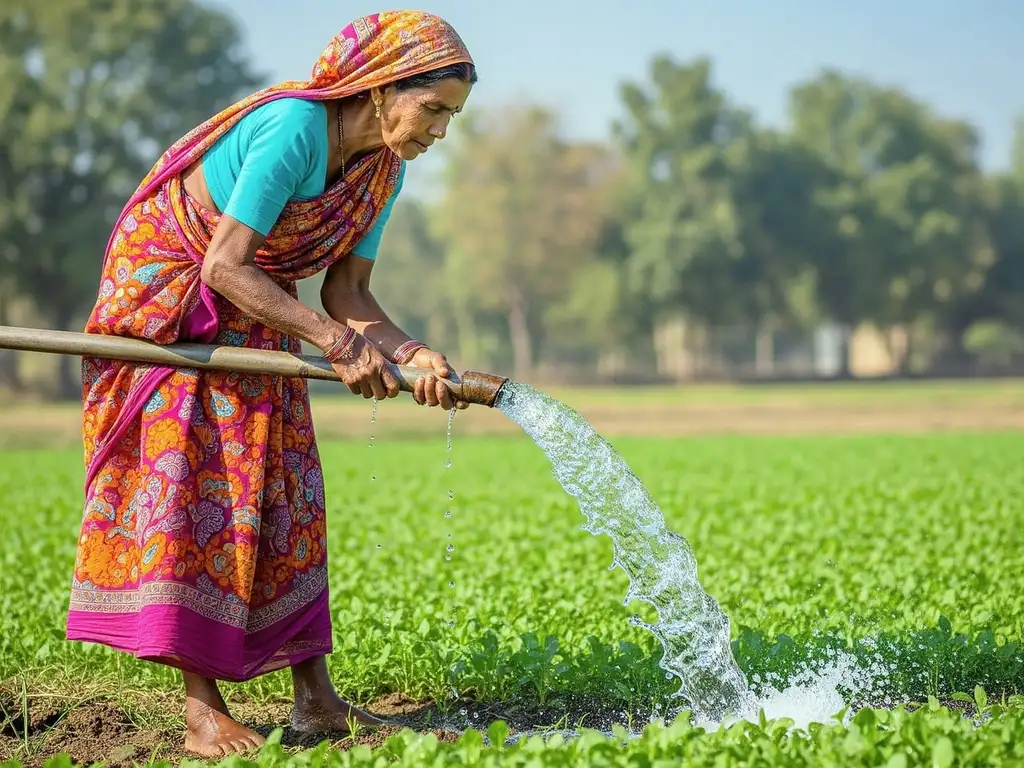
Gravity-fed irrigation works when the reservoir sits above the plants and the run is short enough that flow losses stay manageable. It is a good fit for low-pressure emitters, small beds, and simple layouts. It is a poor fit for long hose runs and dense beds with many outlets.
When gravity is enough
A gravity-fed drip line is usually the first system to try when your reservoir is raised and close to the planting area. If the tank is only slightly higher than the emitters, flow can be weak. That is why the practical lift limit matters.
Use gravity alone when the tank sits at about 1.5 m or less above the emitters and the layout is short. Above that point, gravity may still work, but the margin gets thin once you add bends, filters, junctions, and multiple outlets.
Reservoir height and lift limits
The lift from reservoir to emitter is the real decision point. A barrel on a sturdy stand often gives enough head height for a small bed. A tank on the ground usually does not. Stable placement matters because the reservoir must stay level while full.
A common first-timer mistake is to place the barrel on blocks that wobble under load. The result is uneven flow, stress on fittings, and a higher chance of leaks at the connection points.
Short runs, low-pressure emitters, and stable placement
Short runs reduce friction and help each emitter get closer to the same share of water. Low-pressure emitters are better than a layout built for tap pressure, because stored water usually cannot push through a long network at the same rate.
Stored water irrigation decision matrix
Use this matrix to match the source, lift, and garden size to the watering method. It is a planning tool, not a universal rule, but it will keep you from choosing a system that cannot move water far enough.
| Reservoir type | Elevation above plants | Garden size / planting type | Best method |
|---|---|---|---|
| Rain barrel / water butt | Under 1.5 m | Small beds, a few containers, short rows | Gravity-fed drip line or soaker hose |
| Rain barrel / water butt | Under 1.5 m | Mixed containers and herbs | Drip kit with filter and pressure regulator |
| Ground-level tank | 0 m to 0.5 m | Dense beds, longer runs, larger plots | Pump-assisted drip system |
| Bucket or small cask | Any low lift | Balcony pots, travel setups | Battery drip kit or watering can |
| Greywater container | Short, direct delivery only | Non-edible plants or permitted crops | Immediate manual watering |
Choose by plant demand, too. Containers and vegetable crops often need more frequent watering than borders; BBC Gardeners’ World recommends containers and vegetable crops be watered for 30 minutes every day, while borders can be watered once a week for a similar duration. The storage and delivery method has to support that schedule without starving the last emitters in line.
Do you need a pump or battery kit?
You need a pump when gravity alone cannot keep flow steady across the run, or when the bed is dense enough that one raised barrel cannot supply enough pressure. Battery kits are better for temporary, balcony, or travel use, where portability matters more than capacity.
Pump-assisted drip for longer runs
A sustainable setup can connect rainwater to irrigation, but a pump may be needed to match tap-like pressure. That matters most when the reservoir is at ground level, the hose run is long, or the bed has many emitters. Pump support also helps when the line must split across several zones.
Suppose a garden has one barrel, one long run to a back border, and a second run to containers on a patio. Gravity may water the closest pots first and leave the farthest line weak. A small pump helps equalize the system.
Battery drip kits for balconies and travel
Battery-operated drip kits typically cost $30 to $80, and they suit balconies, weekend travel, and small container groups. They are useful when you need a compact system that does not depend on a raised tank. They still need clean water and sensible emitter spacing.
When pressure regulation still matters
Even with a pump, drip irrigation should use pressure regulators and filters. A regulator keeps flow from becoming excessive for thin tubing and emitters. A filter reduces clogging risk, especially with rainwater or greywater that may carry fine debris.
Drip, soaker hose, or watering can?
The best method depends on whether you are serving roots, rows, or a few isolated pots. Drip is the most precise, soaker hose suits broader soil areas, and watering cans are best when the area is small or the storage supply is limited.
Drip irrigation for root-zone watering
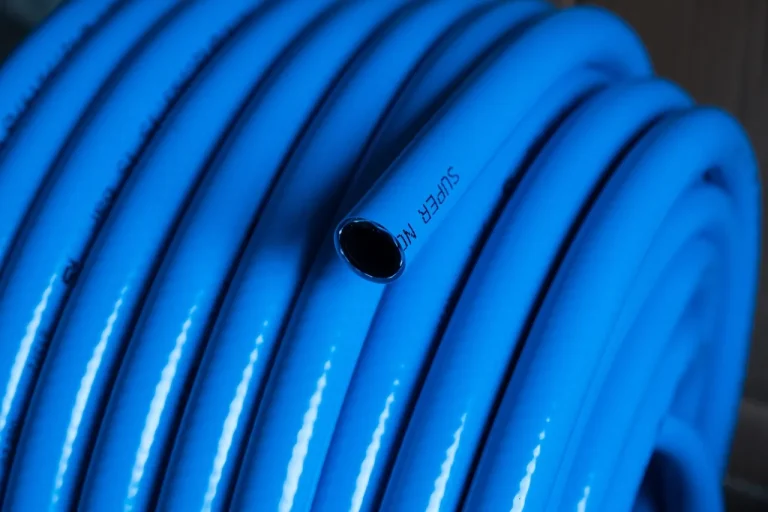
Drip systems use thinner pipes joined with a junction unit, and the nozzles or emitters sit over the plants’ root zones. That keeps water near the roots instead of wetting the whole surface. It also helps when the reservoir is limited, because the delivery is targeted.
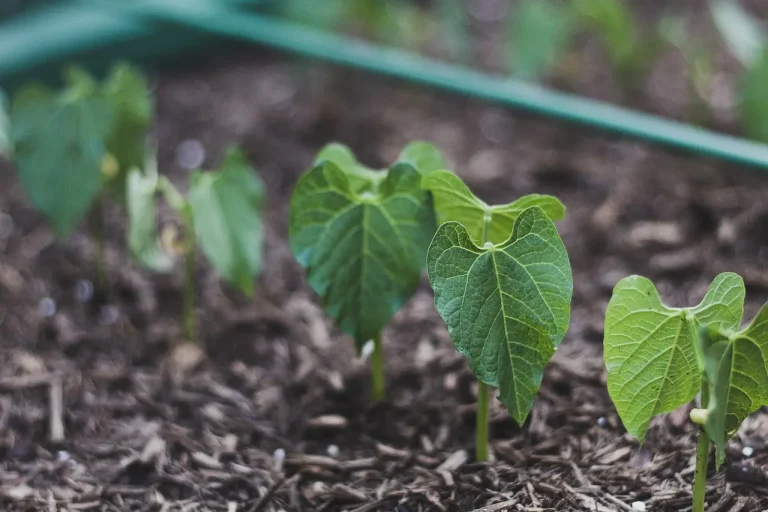
For stored water, place emitters near each plant’s root zone and not halfway between plants. That small shift can matter more than adding another line segment.
Soaker hose for beds and rows
Soaker hose is a porous irrigation hose that suits borders and vegetable plots. It waters soil gradually through pores and can be placed around trees or along plant rows. It is simpler than drip, but it still needs screening and careful placement to avoid uneven wetting.
Manual watering for containers and small plots
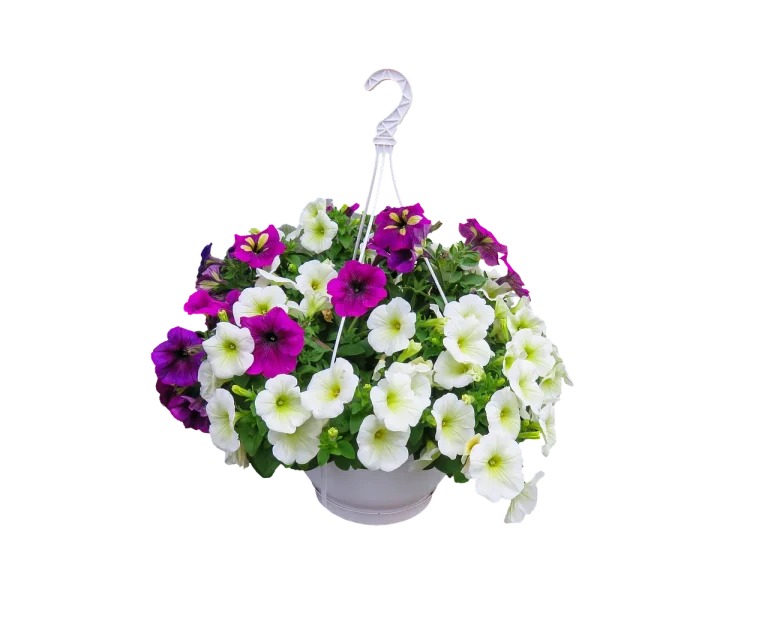
Watering cans and buckets are the simplest fallback for containers, hanging baskets, and very small beds. They also avoid pressure problems entirely. Use them when storage is low, when you need to spot-water a few thirsty plants, or when a system is under maintenance.
Irrigation checklist
Stored water systems fail most often at the filter, the regulator, or the first emitter. Build the system so those parts are easy to reach, clean, and replace. That matters more with rainwater and greywater than it does with clear mains water.
- Use a covered reservoir or screened opening. Mesh screens keep debris and insects out of stored water.
- Place a filter before the drip line. This reduces grit entering thin tubing and emitter passages.
- Add a pressure regulator for drip systems. It helps maintain consistent flow and protects fragile drip parts.
- Keep tubing runs short where possible. Long runs raise the chance of low flow at the far end.
- Use junctions and emitters that are easy to inspect. Clogs show up first at fittings and outlet points.
- Flush the line after sediment-heavy water use. This helps remove buildup before it hardens in the tubing.
- Inspect the reservoir cover before each fill.
- Clean the screen or mesh when debris collects.
- Check the filter before the watering cycle begins.
- Open the end of the line occasionally to flush sediment out.
- Confirm each emitter is still positioned at the root zone.
Stored water irrigation troubleshooting table
If the system fails, the symptom usually tells you where to look first. Dry spots suggest placement or flow imbalance. Leaks point to fittings or pressure. Sediment points to storage and filtration.
| Symptom | Likely cause | Fix |
|---|---|---|
| Dry spots at the far end | Low flow from weak gravity or long runs | Shorten the run, raise the reservoir, or add a small pump |
| Leaking emitters | Pressure too high or fittings not seated | Install a pressure regulator and recheck junctions |
| Low flow everywhere | Filter blockage or reservoir too low | Clean the filter and verify reservoir height |
| Siphoning after shutoff | Line layout allows backflow or unwanted drain-down | Break the siphon point, raise outlets, or adjust the routing |
| Clogged emitters | Sediment in stored water | Screen the reservoir, add filtration, and flush the line |
| Uneven container watering | Emitters not centered on root zones | Move each emitter directly beside the plant base |
A common first-timer mistake is to blame the pump before checking sediment. A fine layer of grit in a barrel can create the same symptom as weak pressure: one pot stays dry, another gets too much, and the last emitter barely drips.
Frequently asked questions
How do I water my garden without a tap?
Use stored rainwater, a watering can, a bucket, or a small drip system fed from a barrel or tank. Match the method to the reservoir height and the size of the planting area. Small container groups can be hand-watered, while beds usually need drip or soaker delivery.
Can I run drip irrigation from a water butt?
Yes, if the water butt is raised enough and the line is short. A water butt can feed a drip system, but you should use a filter and a pressure regulator. If the butt sits at ground level, a small pump is usually the better choice.
What is the best way to water plants without an outside faucet?
For most mixed gardens, a raised rain barrel feeding a drip kit is the best balance of control and efficiency. For a balcony or travel setup, a battery drip kit fits better. For a few pots, a watering can is still the simplest option.
How do I set up a gravity-fed irrigation system?
Place the reservoir above the plants, keep the run short, and use low-pressure drip parts or soaker hose. Aim for stable placement and put emitters near root zones. If the lift is weak or the layout is long, switch to a pump-assisted design.
Do I need a pump to use rainwater for irrigation?
Not always. Gravity can work when the barrel or tank sits high enough and the run is short. You need a pump when the reservoir is ground level, the bed is dense, or the line is too long for gravity to maintain useful flow.
How do I stop drip irrigation from clogging when using stored water?
Screen the reservoir, clean the filter, and flush the line regularly. Use a covered barrel or tank, keep mesh over the opening, and place emitters where they are easy to inspect. Greywater needs extra caution because soap and sediment can worsen clogging.