How to Prune a Bonsai Tree for a Natural-looking Silhouette
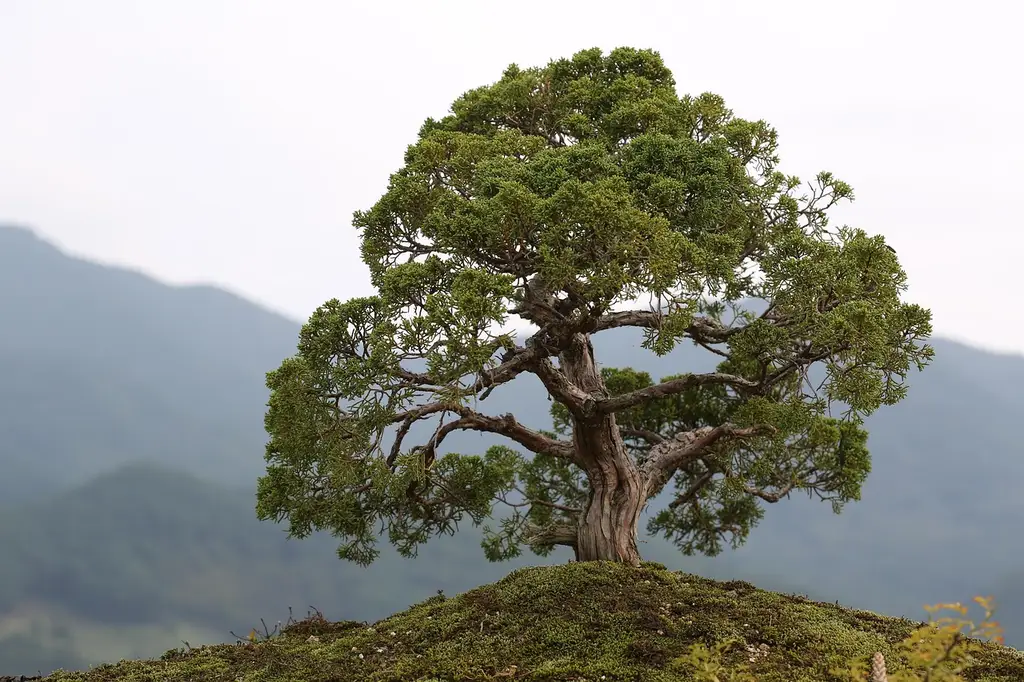
Prune one weak or crossing shoot at a time. Keep uneven branch spacing, open negative space, and a taper that narrows toward the tip. If you chase symmetry, the tree can look stiff, flat, and artificial. This guide shows where to cut, what to keep, and how to shape indoor or outdoor bonsai for an age-like silhouette.
Shaping branches for a balanced and organic silhouette


What you’ll need
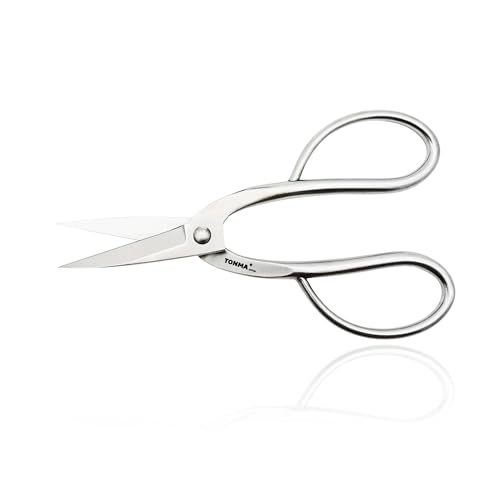
- Bonsai pruning scissors for twigs and small shoots.
- Concave cutters for thicker branch removals where you want a less visible scar.
- Bonsai training wire for flexible branches that pruning alone cannot place.
- A clean way to sterilize blades between cuts.
- A front-view marker, such as a temporary tag or a fixed viewing angle.
- Gloves if the species has sharp needles or brittle twigs.
How do you choose the branches to cut?
Start with dead, damaged, crossing, inward-growing, downward-growing, and crowded branches. Those are the first pieces that blur the canopy line and block light. Keep the branches that help the tree read as layered and irregular, not evenly spaced like a fan.
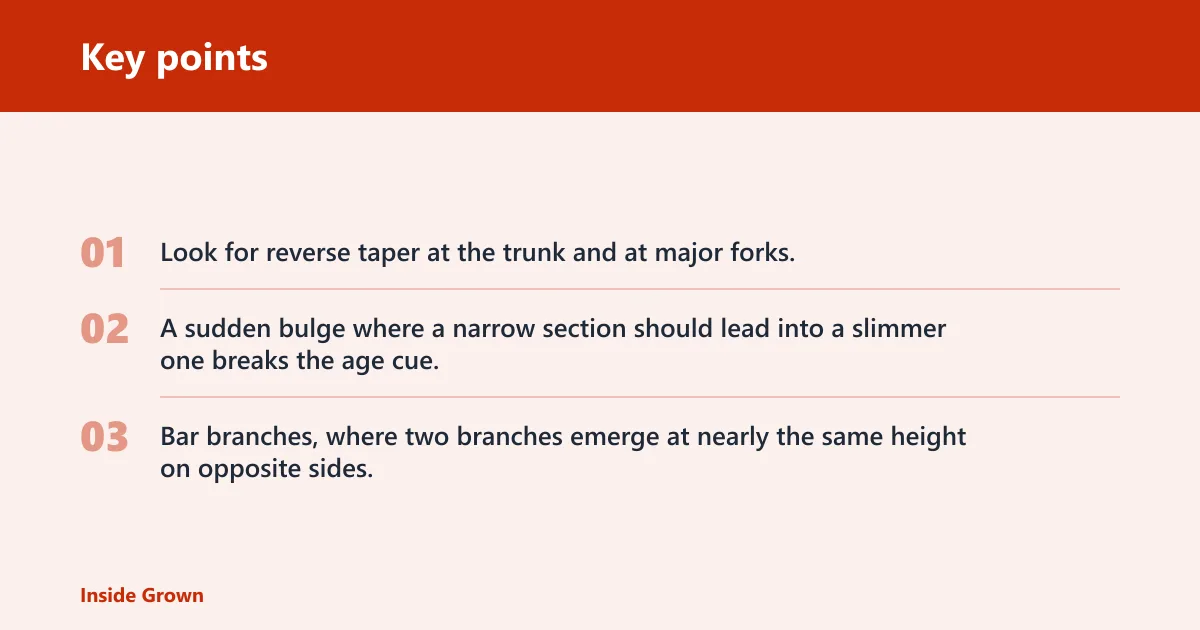
Look for reverse taper at the trunk and at major forks. A sudden bulge where a narrow section should lead into a slimmer one breaks the age cue. Bar branches, where two branches emerge at nearly the same height on opposite sides, can also flatten the design and should usually be corrected.
Branch-by-branch natural silhouette checklist
| Check | Yes / No | Keep, shorten, wire, or remove | Reason |
|---|---|---|---|
| Branch is dead, broken, or diseased | Yes | Remove | Clears weak growth first and reduces decay risk |
| Branch crosses or rubs another branch | Yes | Remove or shorten | Prevents rubbing scars and visual clutter |
| Branch grows straight down | Yes | Remove | Downward growth weakens the canopy line |
| Branch grows inward toward the trunk | Yes | Remove or shorten | Improves airflow and keeps the interior open |
| Branch adds to a crowded node | Yes | Remove | Prevents one-node congestion and lumpiness |
| Branch helps keep irregular spacing | Yes | Keep | Stops the tree from reading as overstyled |
| Branch helps the canopy stay wider at the bottom and lighter at the top | Yes | Keep or shorten | Maintains the silhouette rule that reads as natural |
| Branch is flexible enough to wire cleanly | Yes | Wire | Use wire only when pruning cannot set direction |
How do you prune for a natural silhouette?
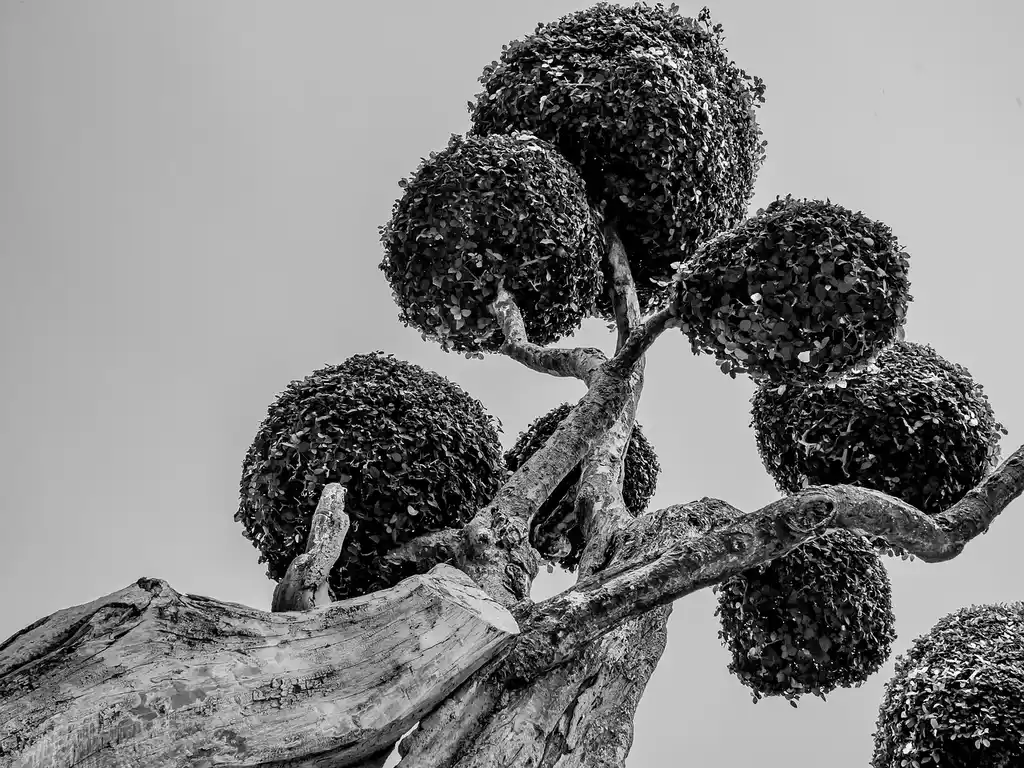
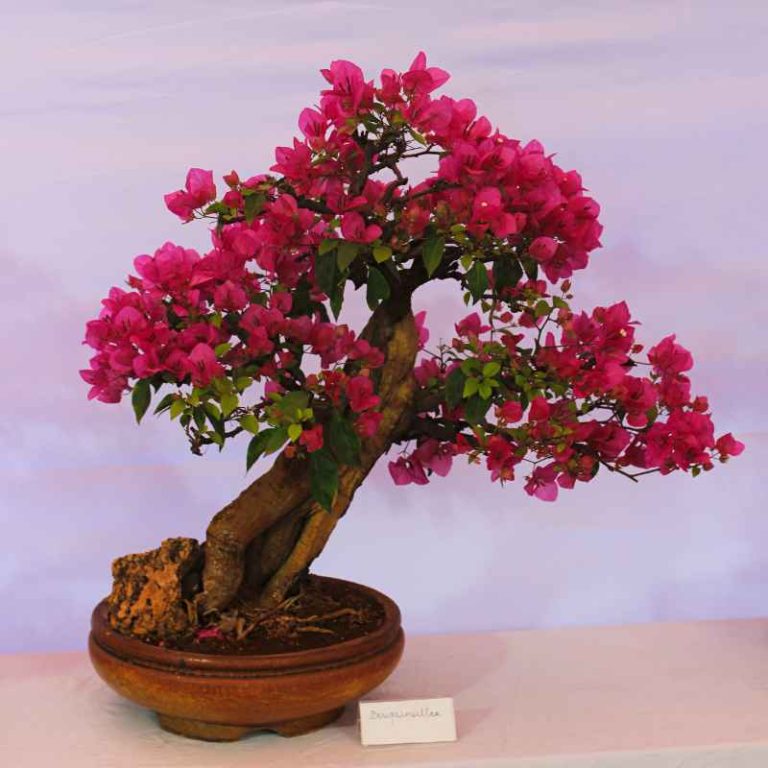
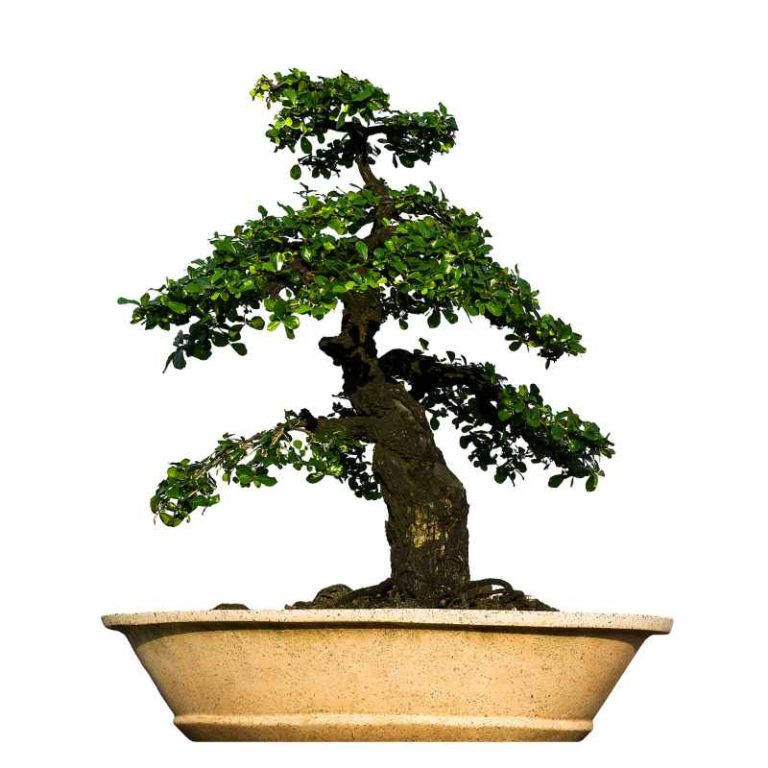
Set the front view before any cut, then read the canopy line as a whole. A natural silhouette is wider at the bottom and lighter at the top, with enough open space to show branch structure. The goal is not a perfect outline. It is a believable one.
Use directional pruning to steer the next flush of growth. Cut about 45 degrees above an outward-facing or upward-facing node so the next shoot moves away from the trunk or lifts the line slightly. That keeps the outline open without forcing every branch with wire.
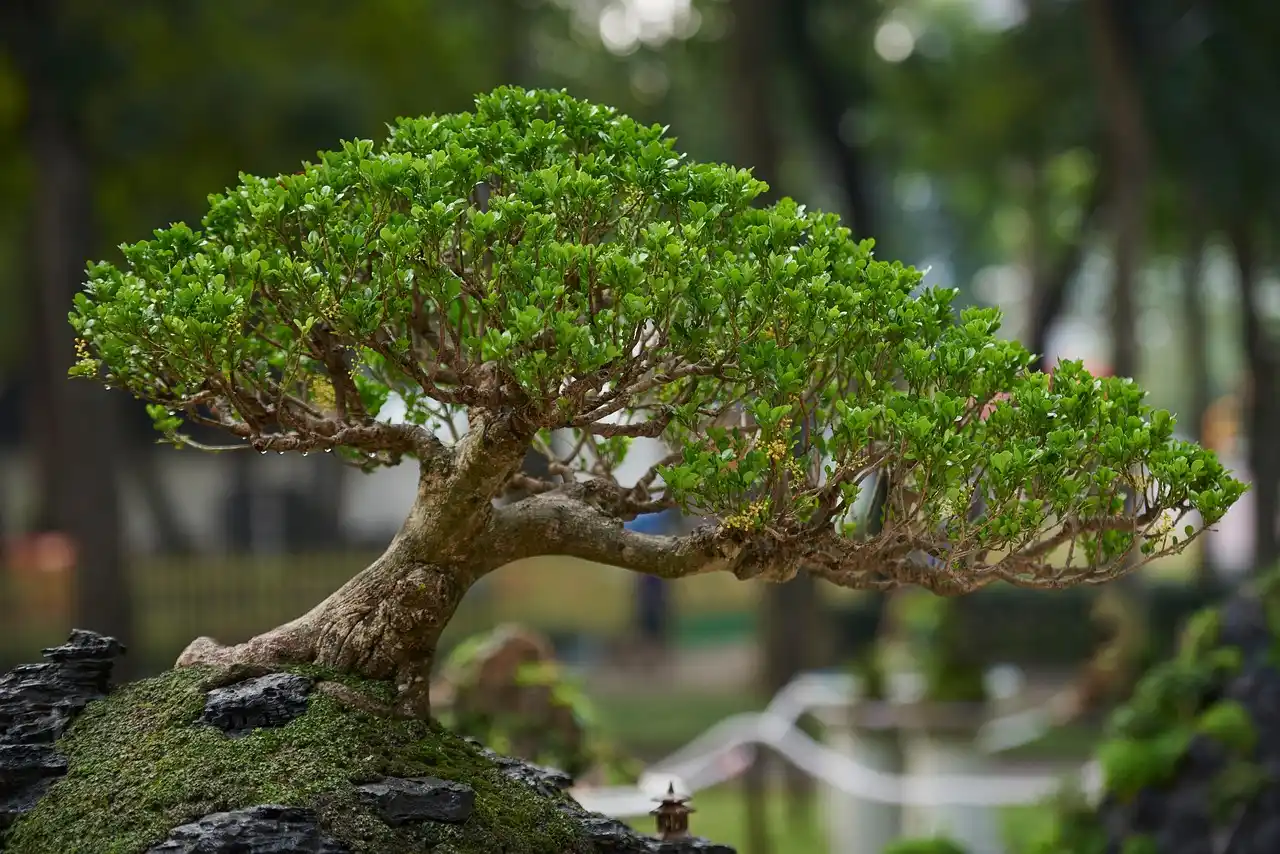
Shorten long shoots instead of flattening every branch to one level. Leave gaps between branch pads. Those negative spaces matter as much as the leaves or needles. They let the trunk, branch angles, and taper read clearly from a distance.
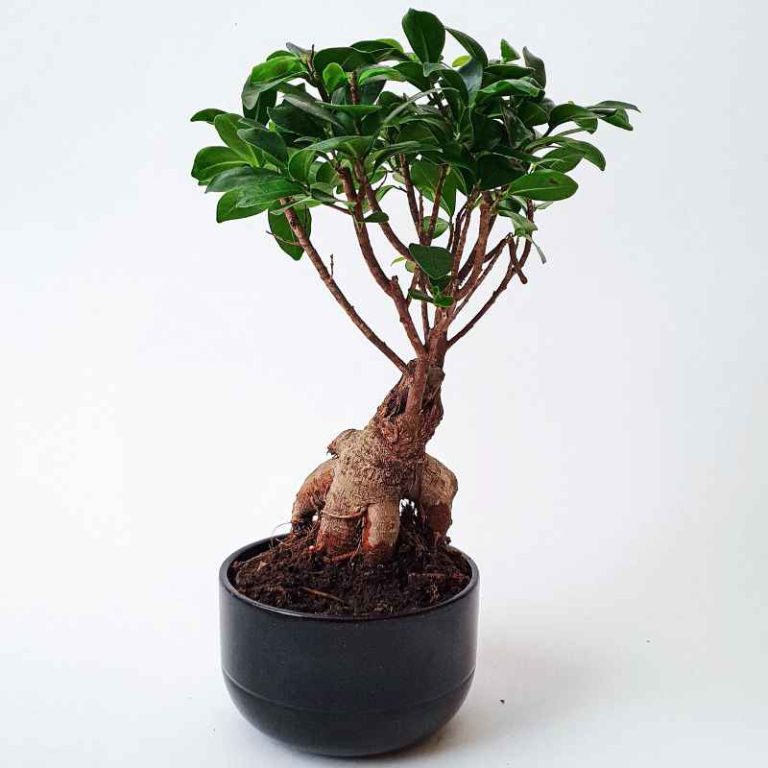
Suppose a ficus ginseng on an indoor shelf has a long top shoot with 6 leaves and two short lower branches with only 2 leaves each. Let the top shoot reach the common 4 to 6 leaf range, then prune it back to 2 leaves. Keep the lower branches uneven so the canopy does not become a tidy dome.
A common first-timer mistake is to cut every side branch to the same length after choosing the front. The tree may look neat for a week, then lose depth. Leave one branch slightly longer, one slightly shorter, and one partly open so the silhouette feels lived-in rather than drafted with a ruler.
How much can I cut off a bonsai at one time?
Begin with light cuts and reassess after each pass. Keep cuts light and remove small amounts before deciding on more. A common rule of thumb is to avoid removing more than 20–30% at one time, especially if the tree is already weak or recently repotted.
Structural pruning belongs in larger, less frequent cuts. It is generally done once a year around early spring before new growth emerges. Maintenance pruning is different. It uses smaller cuts during active growth, and maintenance pruning every 2–4 weeks during spring and summer helps prevent leggy growth.
- Inspect the tree from the front view and mark the canopy line.
- Remove dead or damaged growth first.
- Remove crossing, inward-growing, downward-growing, and crowded branches.
- Make structural cuts only where the trunk line or branch layout truly needs correction.
- Shorten active shoots above a suitable node.
- Wire only flexible branches that still need position changes.
- Stop after each round and compare the tree to its original balance.
Keep the tree stable after each step. If a cut changes the silhouette too much, pause and let the next flush decide the final adjustment. That is safer than trying to force the entire shape in one session.
When is the best time to prune a bonsai tree?
Trim back new growth during spring and summer to maintain a compact, proportional shape. Light pruning fits the active growth season, while heavy structural work is usually better reserved for early spring before new growth emerges. Species timing matters, so use the tree’s vigor and recovery speed as the final guide.
Ficus ginseng tolerates repeated light trimming in indoor conditions better than many conifers, which usually need more restraint. Pines, junipers, and deciduous trees do not all respond the same way. A pine often needs more careful timing around candle or flush growth, while a deciduous tree may backbud more readily after a clean directional cut.
If the tree is weak, newly repotted, drought-stressed, or dropping foliage, postpone silhouette work. That is not the moment for a larger structural cut. Keep only obvious cleanup work, then wait for stronger growth before changing the outline.
Should I prune or wire first when shaping a bonsai?
Prune first when a branch is clearly in the wrong place, then wire only what still needs directional control. Wiring is for flexible branches that can bend without cracking. Pruning is for removing clutter, correcting crossings, and opening space before you start placing the survivors.
Use bonsai training wire only on flexible branches and check it weekly. Remove it before it bites into bark. If pruning alone can create the line you want by cutting above an outward-facing or upward-facing node, skip the wire. If the branch needs a sharper bend, wire after the major cuts are decided.
Picture a juniper with one long side shoot and two short interior twigs. Remove the twig that crowds the center, then wire the long shoot only if it still breaks the line of the canopy. That keeps the branch spacing irregular and the structure readable.
What tools do I need to prune a bonsai tree safely?
Use bonsai pruning scissors for twigs and small shoots because they make precise, clean cuts. Use concave cutters for branch removal, especially on thicker structural cuts where you want to minimize visible scars. Sterilize the blades between trees, and between cuts if you move from damaged tissue to healthy tissue.
Keep wire close by, but do not treat it as a default tool. It belongs on flexible wood that needs position changes, not on stiff branches that will crack under force. A clean cut and a clean angle usually matter more than adding more tools.
How do I stop a bonsai from getting lopsided after pruning?
Rotate a bonsai 180 degrees every week to even out light exposure. That helps one side from racing ahead while the other side thins out. After pruning, check whether the top still feels lighter than the base and whether the branch mass remains distributed across the front and rear.
If one side starts to dominate, shorten the strongest shoots there and let weaker zones recover before they get cut again. A top that grows too dense can pull the eye upward too hard. Keep the lower structure a bit fuller so the whole tree still reads as anchored.
Say a small indoor ficus leans toward a window and the right side pushes out two long shoots in 2 weeks. Rotate it about 180 degrees each week, then shorten the longer side shoots back to about 2 leaves once they pass the 4 to 6 leaf range. That keeps the outline from drifting off-center.
How do I maintain a bonsai silhouette after the first prune?
Use maintenance pruning every 2–4 weeks during spring and summer, then recheck the front view after each session. The goal is to preserve the shape you built without freezing the tree into one flat outline. Trim back new growth before it turns leggy, and keep the canopy open enough to show branch structure.
Post-prune recovery tracker
| Check date | New shoot length | Wire bite risk | Canopy still reads as natural? |
|---|---|---|---|
| 2 weeks | Measure the longest new shoot from the last cut point | Low / medium / high | Yes / no |
| 4 weeks | Measure again and compare side-to-side growth | Low / medium / high | Yes / no |
| 8 weeks | Measure again and check whether the outline is filling in evenly | Low / medium / high | Yes / no |
If the canopy starts to close too much, shorten the strongest new shoots first. If a wired branch starts to bite, remove the wire right away rather than waiting for a deeper mark. Keep the negative space visible. That is what keeps the tree from turning into a rounded green mass.
Common mistakes
Over-thinning is one of the biggest problems. A tree with too few pads and too much open trunk can look weak instead of natural. Leave enough foliage to support recovery and to keep the silhouette wider at the bottom and lighter at the top.
Another mistake is cutting every branch to the same length. That creates a tidy shape, but it also erases the irregular spacing that makes a bonsai feel old. Leave one branch slightly longer or lighter if it helps the front view read with depth.
Other failure modes are easy to miss. Reverse taper makes the trunk look swollen in the wrong place. Bar branches flatten the line. Congestion at one node creates a knuckle effect. Downward growth and crossing growth can crowd the frame and hide the branch structure.
If that didn’t work, try this next
If the tree still looks crowded, remove one more crossing or inward branch, not several at once. If the outline still feels lopsided, rotate it 180 degrees weekly and shorten only the strongest side shoots at the next maintenance pass. If the wire is biting, take it off before it scars the bark.
Frequently asked questions
How do you prune a bonsai tree to look natural instead of overstyled?
Choose one front view, then keep uneven branch spacing and visible negative space. Remove the obvious faults first, then shorten shoots above outward-facing or upward-facing nodes. A natural silhouette is wider at the bottom and lighter at the top, with gaps that let the branch structure show.
How do I know which branches to remove on a bonsai?
Start with dead or damaged growth, then remove crossing, rubbing, inward-growing, downward-growing, and crowded branches. After that, look for reverse taper, bar branches, and one-node congestion. Keep the branches that support a believable outline and remove the ones that flatten it.
Can I prune a bonsai without wiring it?
Yes. Directional pruning can do a lot on its own. Cut above an outward-facing or upward-facing node to steer the next shoot, then reassess after new growth extends. Wire only the flexible branches that still need help holding position.
How often should I trim a bonsai to keep its shape?
Maintenance pruning every 2–4 weeks during spring and summer helps keep the tree compact. Light pruning during active growth prevents leggy shoots from taking over. Structural pruning belongs on a slower schedule, usually once a year around early spring before new growth emerges.