How to Build a Berm with Soil and Mulch
Build a berm with roughly 70% compactable soil and about 30% coarse sand or compost. Place it in about 4- to 6-inch lifts, then shape the sides to about a 3:1 slope so rain sheds instead of cutting channels. If you skip light compaction or use mulch in the core, the mound settles, slumps, and can wash out in the first storm. This guide covers shaping, layering, drainage, mulch placement, and the first-rain check.
What a berm is and when to build one
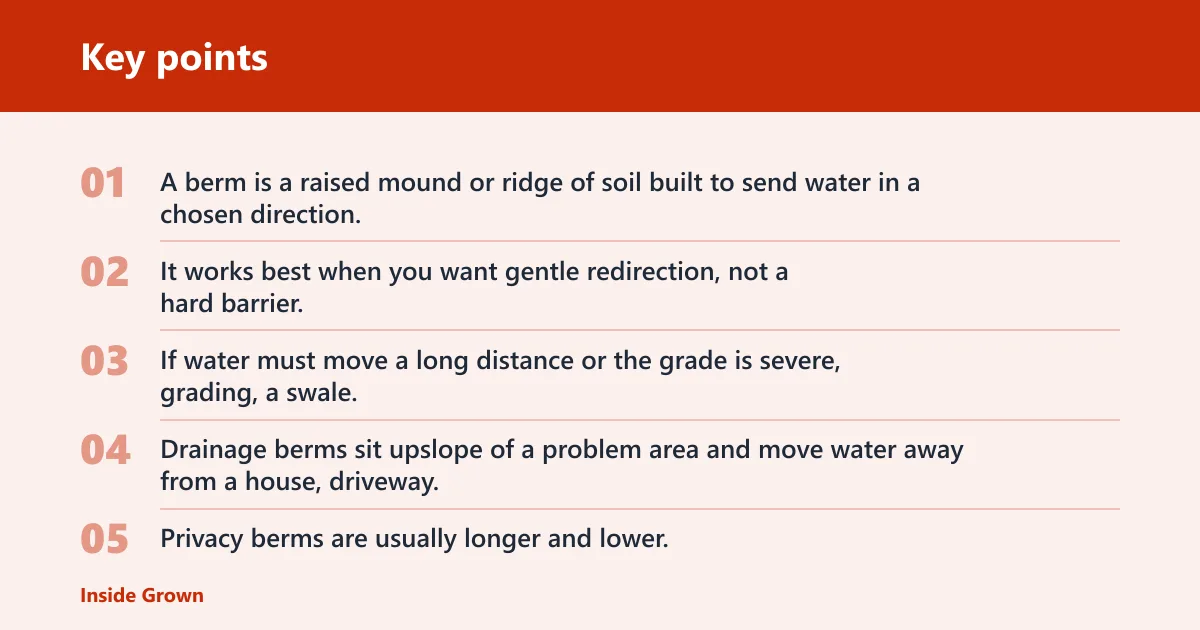


A berm is a raised mound or ridge of soil built to send water in a chosen direction, screen a view, support planting, or add height where flat ground needs structure. It works best when you want gentle redirection, not a hard barrier. If water must move a long distance or the grade is severe, grading, a swale, or a drain may be the better fix.
Berm uses for drainage, privacy, and planting
Drainage berms sit upslope of a problem area and move water away from a house, driveway, fence, or low spot. Privacy berms are usually longer and lower, with a wider footprint so shrubs and grasses can grow without crowding. Planting berms are often used for visual interest and better root-zone drainage in heavy soil.
Picture a side yard that stays damp after rain because the lot falls toward the foundation. A low berm placed upslope can redirect sheet flow if it is shaped correctly and does not block an existing outlet path. A privacy berm, by contrast, needs more length than height, because a steep mound is harder to plant and easier to erode.
When a berm is the wrong fix
If water already moves fast through the area, a berm can create runoff problems instead of solving them. It can also fail near a foundation if it sends water toward the structure, or if it blocks a route that used to drain safely. In those cases, regrading, a swale, or a drain line is usually a better choice.
A common first-timer mistake is building a berm next to a fence line because it looks tidy, then discovering that the mound traps water on one side and pushes it toward the other. The right answer depends on where the water goes after the berm is in place, not just on the berm’s shape.
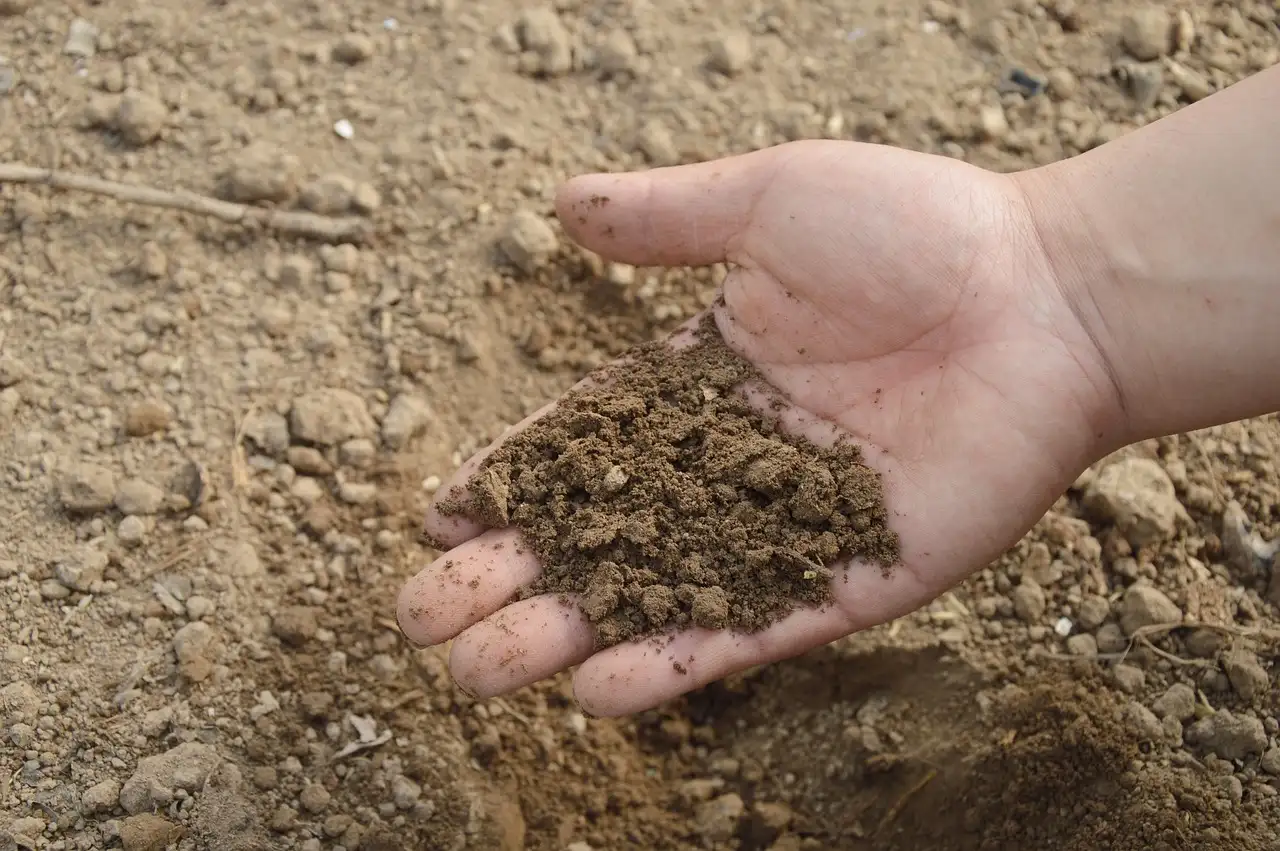
Build the core with soil or screened fill, not mulch. Add material in lifts, tamp lightly, and shape the final slope after the mound reaches full height. Mulch goes only on the surface as erosion control. It is not structural and should not be buried through the core.
Build in lifts with screened fill or topsoil
Use screened topsoil or a soil-and-sand mix that drains better than clay alone. Place it in 4- to 6-inch lifts and tamp each lift lightly with the back of a shovel or a tamper just enough to remove big air pockets. Heavy compaction is a problem; it can reduce infiltration and make planting difficult.
- Lay the first lift and rough in the footprint.
- Lightly tamp to settle the layer, not seal it.
- Add the next lift and repeat until the berm is near final height.
- Check the crest line, then adjust the slope before the last lift.
- Let the berm sit through a rain or a deep watering, then fill low spots.
Shape the settled slope and crest
Keep the finished slope gentle. A 3:1 slope means 3 feet of horizontal run for every 1 foot of rise, which is far easier to mulch and plant than a steeper face. Build the rough shape slightly high and smooth it after settling, but do not count on the mound to steepen or hold itself up later.
Steeper faces are more prone to erosion, especially where foot traffic, downspout splash, or concentrated runoff hits the mound. If a section must be steeper for space reasons, use temporary stabilization such as erosion netting, close planting, or coarser temporary cover until roots take hold.
Add mulch at the right depth
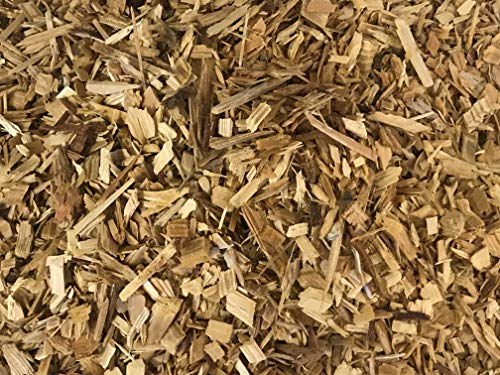
Spread mulch 2 to 3 inches deep over the finished berm surface. Keep mulch off plant stems and trunks, because piled mulch traps moisture and can lead to decay. On a steep berm, too much mulch can slide, so use the thinner end of the range unless plants and groundcovers are already holding the soil.
Landscape fabric can go under mulch in some designs, but it is not the default choice for a planting berm. It can suppress weeds for a time, yet it also complicates planting and can make maintenance harder later. Use it sparingly, mainly where you do not plan to disturb the surface much.
How to size the berm and estimate materials
Measure the planned length, the finished height, and the widest footprint before you buy soil or mulch. A simple berm with 3:1 side slopes uses a triangular cross-section, so you can estimate soil volume from length and height. Plan for some settling after rain, and order extra material so the berm can be topped up later.
Measure length, width, and height
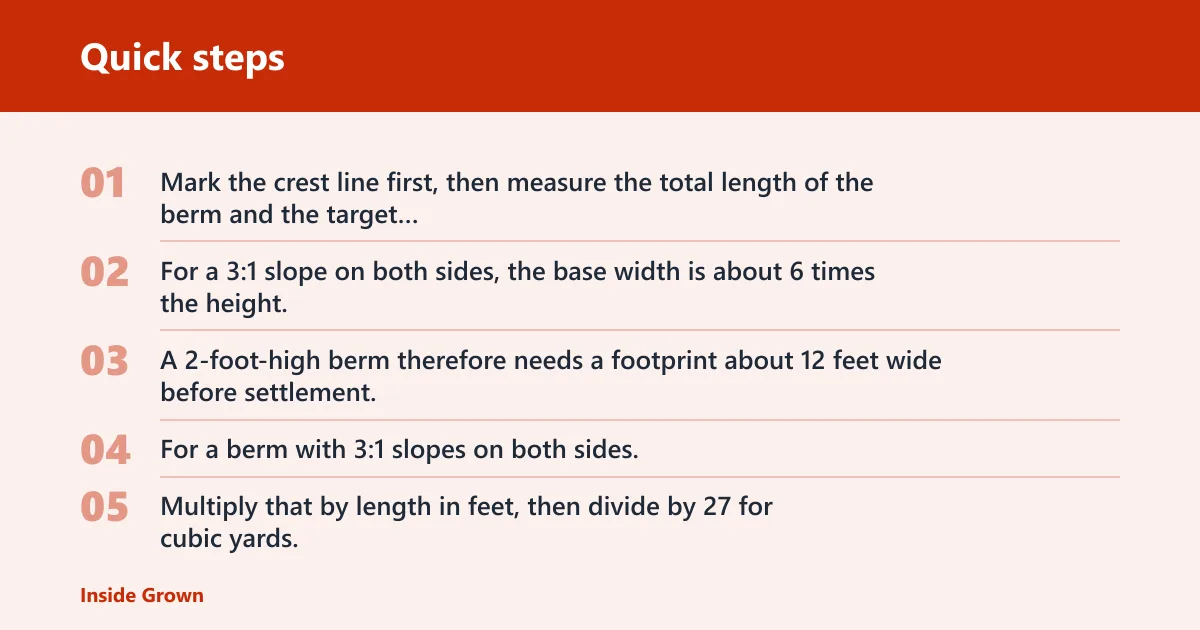
Mark the crest line first, then measure the total length of the berm and the target finished height. For a 3:1 slope on both sides, the base width is about 6 times the height. A 2-foot-high berm therefore needs a footprint about 12 feet wide before settlement.
Estimate soil volume and mulch quantity
For a berm with 3:1 slopes on both sides, use this volume shortcut: cross-section area equals 3 × height squared, with height in feet. Multiply that by length in feet, then divide by 27 for cubic yards. For a berm about 18 feet long and 2 feet high, the volume is about 8 cubic yards before settlement allowance.
| Dimension | Formula or assumption | Result for 18 ft x 2 ft |
|---|---|---|
| Berm volume | 3 × h² × length | 216 cu ft = 8 cu yd |
| Settlement allowance | Add 10% to 20% | About 8.8 to 9.6 cu yd |
| Mulch area | Both side faces, about 6.32 ft slope length each | About 227 sq ft |
| Mulch depth | 2 to 3 inches | About 1.4 to 2.1 cu yd |
Account for settling after rain
Soil settles after construction, especially if it was moved dry and then soaked by rain. Order 10% to 20% more soil than the base estimate if the berm must hold a finished height after the first season. Do not solve settlement by packing the berm hard; that creates a dense core that sheds water poorly and slows root growth.
Choose the right location before you move soil
Set the berm where it sends water away from structures and does not block existing drainage paths. The highest point should not push water toward a foundation, garage slab, driveway edge, or fence post line. Mark the footprint first, then confirm where runoff will go after the berm is built.
Keep runoff away from structures
For drainage berms, place the high side upslope from the area you want to protect. The finished surface should guide water toward a safe outlet, not into a new low spot. If the site falls toward a structure, a berm alone may worsen the problem unless the water has a clear path around the area.
Avoid blocking existing drainage paths
Look for downspouts, shallow swales, compacted travel lanes, and low points that already move water. A berm should not dam those routes unless the plan includes another way for water to leave the site. Soil texture matters too: clay holds water longer, while sand lets water move through faster.
Mark the footprint and crest line
Use a hose, rope, or marking paint to outline the berm before digging or dumping soil. Mark the crest line separately from the toe of the slope. That makes it easier to keep the shape consistent while you build in lifts and keeps the finished profile from wandering into walkways or drains.
Berm planning checklist
Use this checklist before you buy soil or start shaping. Each berm type needs a different height, a different placement, and a different level of erosion control. The goal is to keep the mound stable after the first rain and avoid creating a new drainage problem.
| Scenario | Recommended height range | Slope guidance | Soil layering order | Mulch depth | Failure-risk checklist |
|---|---|---|---|---|---|
| Drainage berm | 6 to 18 inches | Gentle 3:1 or flatter | Subgrade check, screened fill, topsoil cap | 2 inches | Settling, runoff toward structures, root exposure, water redirection failure |
| Privacy berm | 24 to 48 inches | 3:1 preferred; 4:1 easier to plant | Base fill, shaped topsoil, planting layer | 2 to 3 inches | Settling, slumping, root exposure, runoff channels on long slopes |
| Planting berm | 12 to 30 inches | 4:1 where possible; 3:1 minimum | Screened fill, fertile topsoil, surface mulch | 2 to 3 inches | Settling, mulch sliding, root exposure, water redirected into low spots |
What should you plant on a berm?
Choose plants that can handle sun, wind, and faster surface drying. Native shrubs and grasses are usually the best starting point because they establish roots that help hold exposed slopes. For steep or dry berms, pick drought-tolerant species with root systems that can knit the soil together without needing constant irrigation.
Native shrubs for slope stability
Native shrubs work well on privacy berms and larger planting berms because they add structure and anchor soil. Place them in staggered rows instead of a straight line so their roots cover more of the slope. Leave enough room for mature spread, since overcrowding can create weak spots where runoff cuts between stems.
Grasses and groundcovers for erosion control
Grasses and groundcovers help cover bare soil quickly and reduce the chance of rain carving channels. On a newly built berm, seed or plug them after the final shaping and mulch layer are in place. Temporary erosion control may still be needed while roots fill in, especially on sun-baked or windy slopes.
What to avoid on exposed slopes
Avoid plants that need rich, constantly moist soil if the berm is dry and exposed. Very large shrubs can also be risky if they are planted too close together, because the root zone becomes crowded and harder to water evenly. Keep mulch away from trunks and stems, and do not bury plants in the slope face.
How do you keep a berm from washing out?
Keep water gentle, surface cover even, and the slope well anchored with plants or temporary protection. The first rain is the test. If the berm holds its shape then, it usually only needs small fixes, not a rebuild. Most washouts come from runoff concentration, weak compaction, or mulch that was too deep.
Water gently after construction
Water with a soft spray or slow hose soak, not a hard stream. The goal is to settle the soil without carving channels. After the first watering or rain, inspect the slope for seams, low spots, and places where water is splitting around the crest or cutting down the face.
Watch for settling, runoff, and slumping
Expect some settling after rain, especially on berms built from loose topsoil. Small dips can be topped up once the mound has stabilized, but wait until the shape stops changing from one soaking to the next. If one side slumps more than the other, the slope may be too steep or the core too soft.
Fix low spots before they grow
Small depressions turn into water channels. Fill them early with soil, then smooth the surface and reapply mulch at the same 2- to 3-inch depth. If runoff keeps forming in the same place, add more groundcover or adjust the grade so the water leaves the berm in a safer direction.
Suppose a 12-foot berm near a driveway starts shedding mulch toward the pavement after the first heavy rain. That usually means the slope is too steep, the mulch is too thick, or the runoff path points the wrong way. Reworking the grade early is easier than repairing a carved channel later.
Frequently asked questions
How to build a berm for landscaping
Start by deciding whether the berm is for drainage, privacy, or planting, because each one needs a different height and placement. Build the mound mostly with soil in 4- to 6-inch lifts, shape gentle slopes, then finish with 2 to 3 inches of mulch and the right plants.
How to build a berm in yard
Mark the footprint, check how water already moves across the yard, and place the berm so it does not block drainage paths. Build in layers with screened topsoil or fill, tamp lightly, and watch for settling after rain before you add more material or final plantings.
How to build a garden berm
A garden berm should have a stable core, a broad footprint, and a finished slope that is easy to maintain. Use soil, not mulch, for the body of the mound, then top it with mulch and plants that can handle the site’s sun, wind, and moisture conditions.
What is a berm in gardening?
In gardening, a berm is a raised mound of soil used to guide water, screen views, or create visual height in a yard. The important part is not the mound alone, but how it is placed, sloped, and planted so it stays stable after rain.
What to plant on a berm?
Use native shrubs, grasses, and groundcovers that tolerate exposure and help bind the soil. On sunny or dry berms, drought-tolerant choices usually perform better than moisture-loving plants. Space them so roots can spread, and keep mulch off stems and trunks to avoid rot.