Gardening Techniques for Making Leaf Mold at Home
Make leaf mold by collecting fallen leaves, shredding them if you can, keeping them damp like a wrung-out sponge, and choosing a bin or bag; in small spaces, shred first for faster breakdown. Too-dry piles stall, soggy piles go slimy, and whole leaves can take years to finish. This guide shows which method to use, how to prevent breakdown failures, and how to get usable material sooner.
How leaf mold works
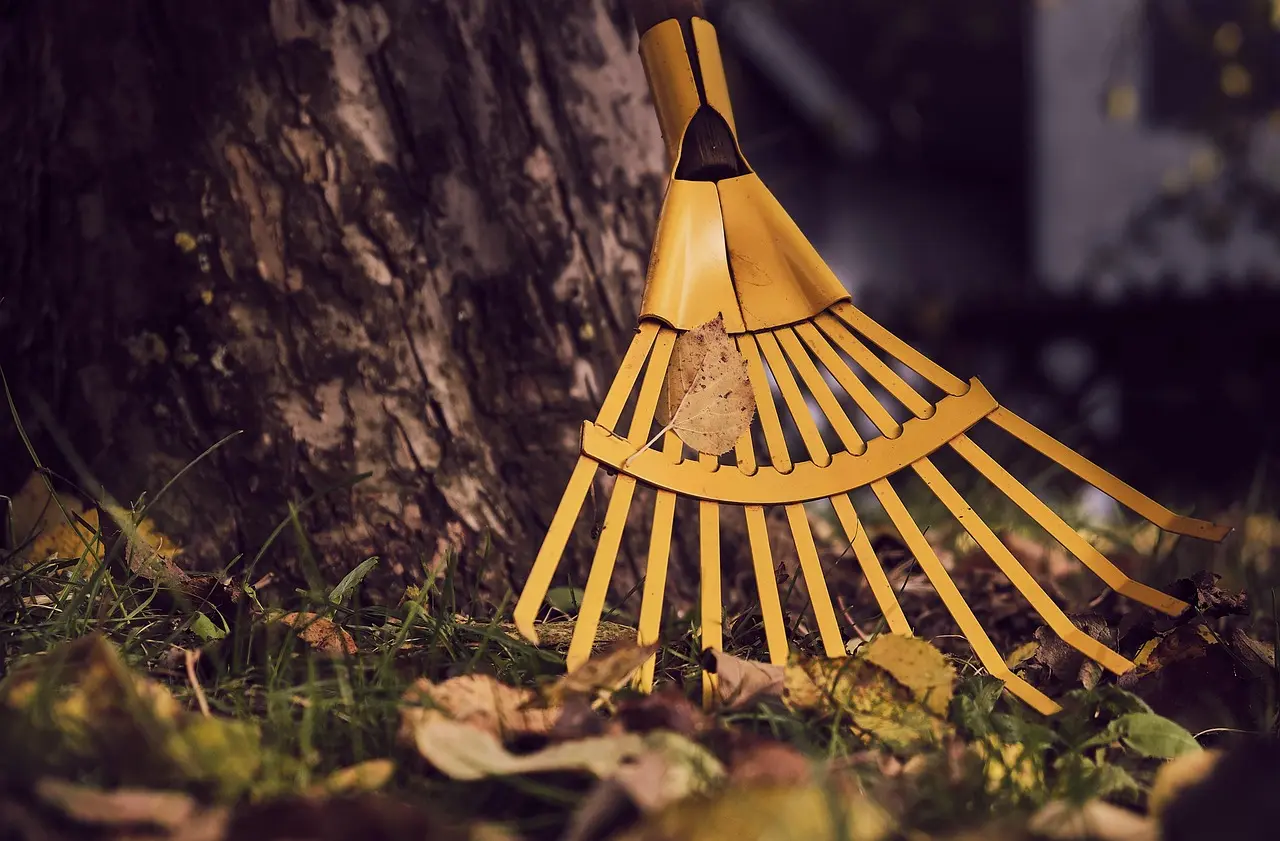


Leaf mold is the partly decomposed end product of fallen leaves. It carries little nutrition, but it holds water well and finishes as a crumbly brown material for mulch or soil amendment. Composting and leaf mold both rely on decay, but leaf mold is leaf-only and slower.
That difference matters. Compost usually includes a mix of nitrogen-rich and carbon-rich materials, while leaf mold can be made with only leaves and time. If you want material that holds moisture, improves soil texture, and gives containers or beds a gentler amendment, leaf mold fits well. If you want faster nutrient release, compost is the better tool.
Why leaf mold matters for mulch and clay soil
You can spread leaf mold on the soil surface as mulch, or mix it into the top 6 to 12 inches of clay soil to loosen sticky texture and help water move through it. It does not replace fertilizer. It changes how soil feels, drains, and holds water.
What you’ll need
- Deciduous leaves gathered in fall
- A wire fencing enclosure or plastic garbage bags
- Water source: hose, watering can, or sprayer
- Gloves
- Optional: mower, leaf shredder, or string trimmer for smaller pieces
- Optional: nitrogen source for slow, dry, or coarse piles
Choose your setup for leaf mold
Pick the setup that matches your space and how soon you need usable material. Larger piles hold moisture better. Bags work in tight spaces, but they need venting, drainage, and occasional remixing to avoid odor and slimy leaf packs.
Wire fencing enclosure for larger volumes
A recommended shape is a 6-foot-diameter ring made from 3- or 4-foot-tall wire fencing. This holds a big load of leaves, keeps them contained, and leaves enough air movement around the pile. It also makes topping up easier as more leaves arrive in fall.
Plastic garbage bags for small spaces
Bags suit balconies, patios, and small yards. Use sturdy plastic garbage bags, fill them with damp shredded leaves, and poke or slit several drainage and air holes. Shake or remix the contents when they start to mat. Without that, the center can go sour or stay wet too long.
When to choose each method
Choose a ring if you have a steady leaf supply and can spare outdoor space. Choose bags if space is limited or if you want a smaller, easier-to-move batch. If speed matters, shredded leaves in bags usually finish faster than whole leaves in a loose heap.
Leaf mold batch planner
| Setup | Leaf volume | Container choice | Moisture target | Estimated finish window |
|---|---|---|---|---|
| Small yard | About 1 to 2 large collection bags | One or two plastic garbage bags with holes | Damp like a wrung-out sponge | About 6 months to 2 years |
| Medium yard | Several bags’ worth of leaves | 3- or 4-foot-tall wire fencing ring about 6 feet across | Evenly moist through the pile | About 1 to 2 years |
| Bag method | One batch per bag cluster | Plastic garbage bags, vented and remixed | Moist, not dripping | About 6 months to 2 years |
How do you make leaf mold at home?
Collect fallen deciduous leaves, shred them if you want faster breakdown, pack or pile them in a ring or bag, and keep them damp as they settle. Then wait. With the right moisture and some air movement, the leaves slowly collapse into a crumbly brown finish.
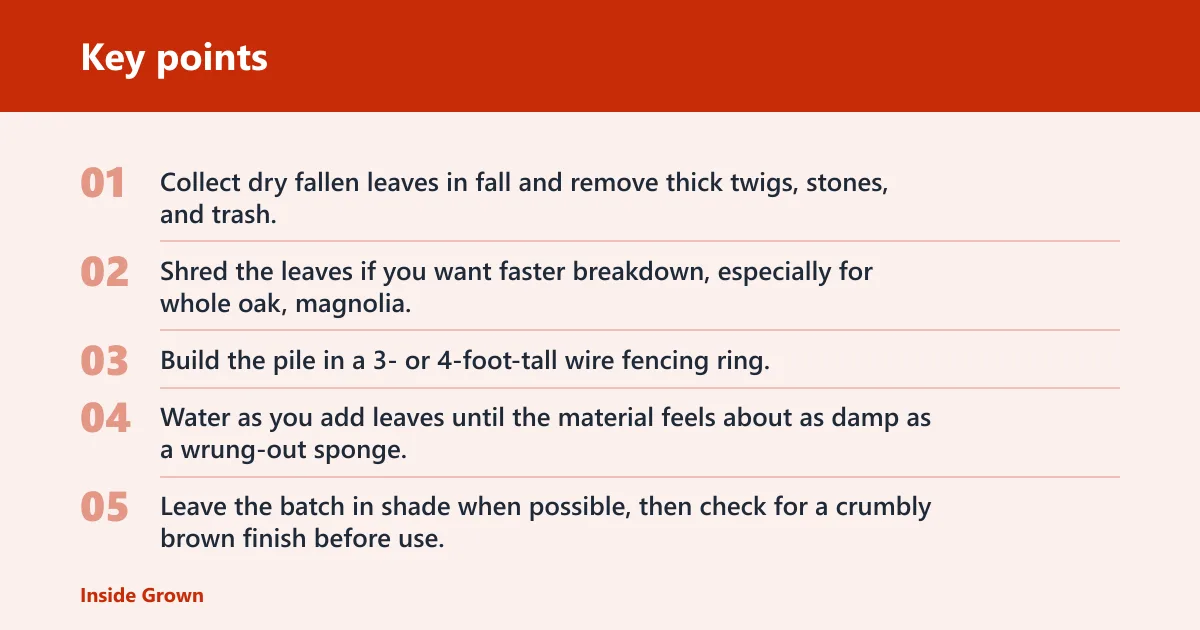
- Collect dry fallen leaves in fall and remove thick twigs, stones, and trash.
- Shred the leaves if you want faster breakdown, especially for whole oak, magnolia, or other tough leaves.
- Build the pile in a 3- or 4-foot-tall wire fencing ring, or fill vented garbage bags with damp leaves.
- Water as you add leaves until the material feels about as damp as a wrung-out sponge.
- Leave the batch in shade when possible, then check for a crumbly brown finish before use.
Shredding matters because it creates more surface area for microbes. Say your pile is a 6-foot ring of whole maple leaves. If the center stays dry, the top may look settled while the interior remains leafy. Shredding and watering as you build keeps that from happening.
Leaves from black walnut, American elm, and hickory can go into leaf mold, but they may need extra time before use. Juglone concerns are about decay time, not automatic rejection. The safest move is to let those leaves finish longer than the rest of the batch.
How can you speed it up?
Use smaller pieces, steady moisture, and shade. Those three changes do most of the work. If the leaves are coarse or stubborn, a nitrogen source can help microbes move faster through the pile, especially when the leaves are very dry or slow to collapse.
Use smaller pieces and better airflow
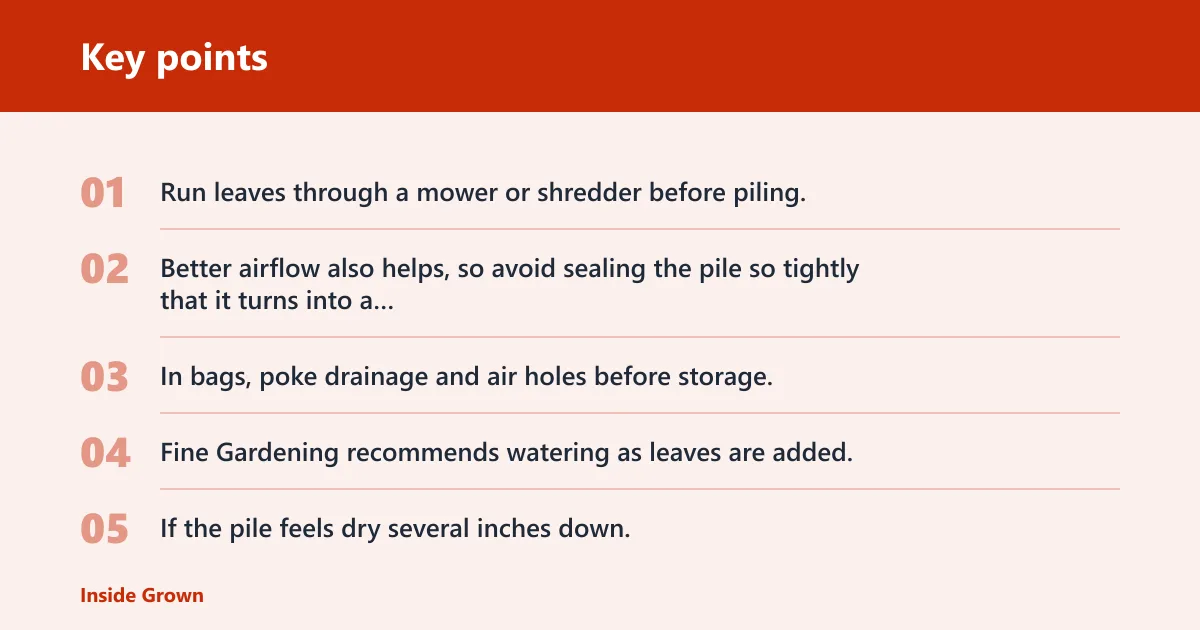
Run leaves through a mower or shredder before piling. That is the simplest speed-up method. Better airflow also helps, so avoid sealing the pile so tightly that it turns into a packed mat. In bags, poke drainage and air holes before storage.
Add moisture without making it soggy
Water the pile as leaves are added. Fine Gardening recommends watering as leaves are added, and it also notes that shade reduces evaporation. If the pile feels dry several inches down, add more water and turn or mix the batch so the outer dry leaves do not protect a dry core.
Use shade and, if needed, a nitrogen source
If the pile sits in full sun, evaporation slows decay by drying the outer layer. Move it to shade or cover it lightly. If the leaves are still stubborn after shredding and watering, add a nitrogen source in thin layers. A common first-timer mistake is adding too much at once, which can push the pile toward slime instead of steady decay.
Leaf mold troubleshooting matrix
| Symptom | Likely cause | Immediate correction | Expected time gain |
|---|---|---|---|
| Dry, crispy leaves that do not settle | Not enough moisture | Water until the pile feels damp through the center, then cover or shade it | Several weeks faster than leaving it dry |
| Slimy smell or wet collapse | Too much water and too little air | Open the pile, mix in dry shredded leaves, and improve drainage | Several weeks faster than waiting it out |
| Leaves form a matted top layer | Whole leaves packed too tightly | Break up the mat, shred future additions, and remix the pile | 1 to 3 months faster in small batches |
| Little visible change after months | Cold pile, coarse leaves, or no moisture management | Shred, water, and add a nitrogen source if the pile is still coarse | Several months faster in slow batches |
Suppose a bag in a shady corner stays soggy and smells sour after rain. Cut more vents, tip the bag to drain, and remix in dry shredded leaves. That one change usually works better than adding more water or sealing the bag tighter.
Common mistakes
Leaf mold fails most often because the pile is too dry, too wet, or packed too tightly. It also fails when the leaves are expected to finish before they are ready. Fix the setup early, not after the whole batch stalls.
- Leaving the pile too dry: water as you add leaves and check the center after a few days.
- Packing leaves too tightly: mix in shredded material and avoid compressing the batch into a sealed mat.
- Using the wrong leaves too early: black walnut, American elm, and hickory need extra decay time.
- Expecting full breakdown too soon: whole leaves can take about two years to finish.
Prevention is simple. Keep new leaves damp, add them in layers, and store the pile where it will not bake in direct sun.
How do you tell when it is ready?
Finished leaf mold is crumbly, brown, and soft, with few visible leaf shapes left. Partial material still has obvious leaf ribs, stiff pieces, or a springy texture. If it feels more like shredded leaves than soil, leave it longer.
For pots and beds, use the finished portion first and keep the coarse pieces in the next batch. A pile can look dark before it is truly ready, so texture matters more than color alone.
Frequently asked questions
How long does leaf mold take to make?
Expect a wide range. A leaf mold pile can take about two years to finish, and some batches mature in six months to two years. Shredded leaves, shade, and steady moisture push the timing toward the short end. Whole, dry, matted leaves stay on the long end.
Do you need to shred leaves for leaf mold?
No, but shredding helps. It increases surface area, which gives microbes more to work on and usually shortens the wait. If you are filling bags or want faster use in a small space, shred first. Whole leaves still work, but they usually break down more slowly.
Should leaf mold be watered or kept dry?
Keep it moist, not dry. The same source recommends watering as leaves are added, and the pile should stay damp like a wrung-out sponge. Dry piles stall. Waterlogged piles can go slimy, so add moisture in stages and let excess drain or air out.
Can you make leaf mold in garbage bags?
Yes. Plastic garbage bags work well for small spaces if you add drainage and vent holes, keep the leaves damp, and remix them when they mat. Bags can trap too much water, so check for odor and standing moisture. If that happens, open the bag and add dry shredded leaves.
What leaves are best for leaf mold?
Deciduous leaves gathered in fall are the main input. Maple, birch, and similar thinner leaves usually break down faster than thicker, waxier, or tougher leaves. Black walnut, American elm, and hickory can still be used, but give them extra time before you apply the finished material.
Can leaf mold be used in potting mix?
Yes. Leaf mold can substitute for peat moss in potting mixes, where it improves aeration and water retention. Use finished, crumbly material rather than half-rotted leaves. If the batch still has obvious leaf pieces, leave it out of containers and keep it in the pile longer.
Is leaf mold good for clay soil?
Yes. Leaf mold can loosen sticky clay when mixed into the top 6 to 12 inches of soil. It helps the soil hold moisture while improving how it moves through the root zone. For heavy clay, use it as an amendment, not just a surface mulch.