How to Sterilize Soil for Landscape Planting
For garden planting, reused soil is often heat-treated only when it shows disease, fungus, heavy weed seed, or pest pressure; for small batches, a common guide is to heat it to about 180°F (82°C) for around 30 minutes, but not hotter. Done badly, it can spread pathogens, kill helpful biology, or leave weed seeds alive. This guide shows when soil treatment makes sense, which method fits each scale, and how to do it with the least disruption.
Should you sterilize garden soil?
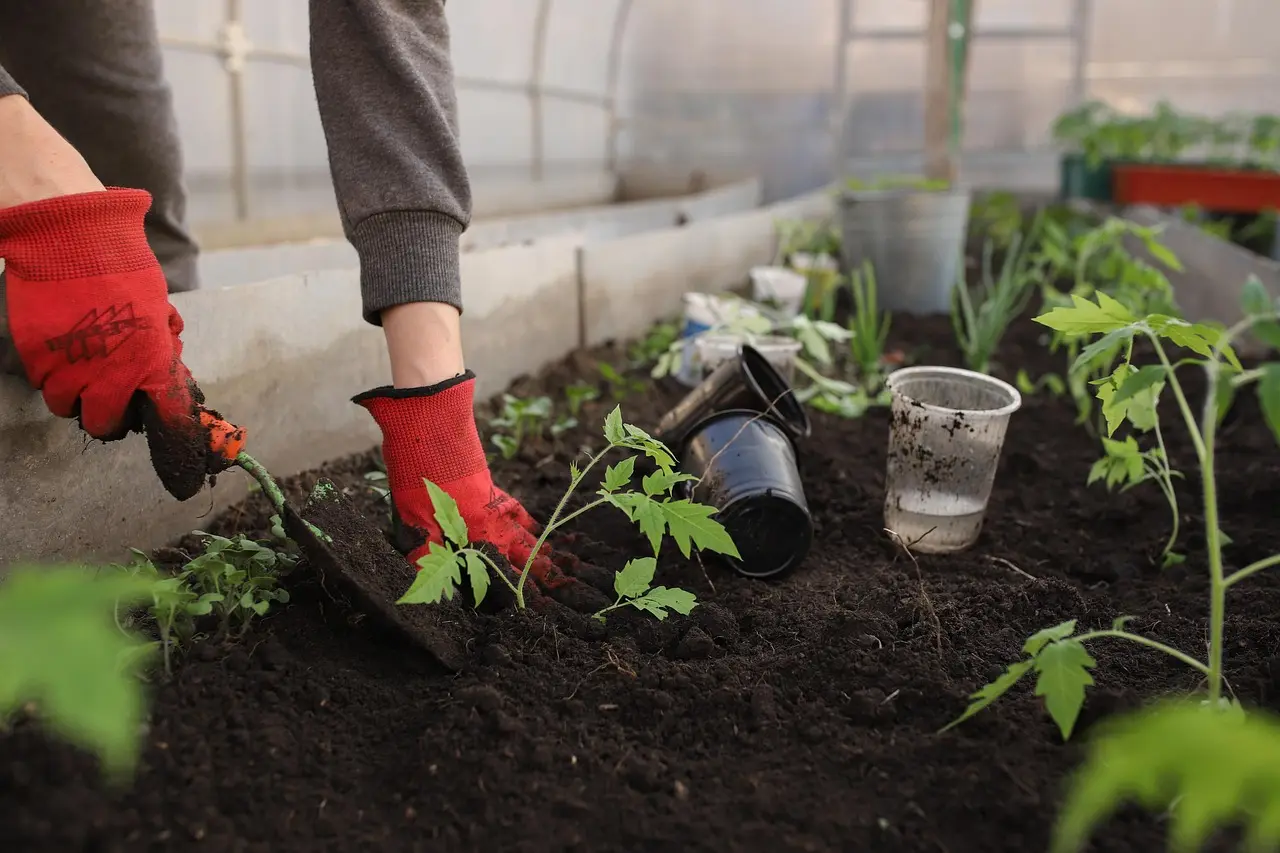
Sterilize only when the soil itself is the risk source: reused container mix, seed-starting trays, or a local disease problem after a plant failure. Skip it for healthy in-ground beds and fresh purchased topsoil unless you have a clear contamination issue. Garden soil is harder to heat evenly, and routine sterilizing can do more harm than good.
Soil sterilization can help reduce weed seeds, pathogens, insect eggs, fungi, and mold. It does not keep soil sterile for long after handling. The moment soil is moved, mixed, or exposed outdoors, microbes and debris can return.
What sterilizing helps
Use it as a rescue step for soil that has already had a problem: damping off in seed trays, a pot that kept rotting roots, or a transplant hole tied to a known disease. Seed-starting mix is a common use case because young seedlings are vulnerable, and small batches are easier to heat evenly. Fresh commercial mix is often already treated, so it may not need another pass.
When you should skip it
Skip sterilizing an established garden bed that is otherwise healthy. In-ground soil has structure, organic matter, and a living microbial community that you usually want to preserve. If the soil is new, bagged, and clean, the better move is often to plant directly.
Say your raised bed had a wilted tomato plant with obvious soil-borne disease in one corner. Treating that small zone can make sense. Picture a healthy front-yard bed with no disease history. Sterilizing the whole bed would be unnecessary and disruptive.
What you’ll need
- Heat-safe container or tray for the soil
- Moist soil, not soaked soil
- Foil, lid, or vented cover
- Oven, microwave, or steam setup
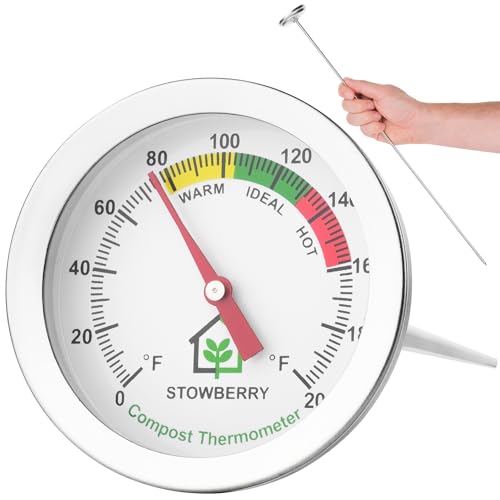
- Probe thermometer for checking soil temperature
- Gloves and a clean scoop
- Clean surface or bag for cooling treated soil
- For outdoor work, a clear plastic bag or tray for solarization
For oven or microwave treatment
Use a shallow container that fits the appliance safely. For the oven method, soil should be about 3 to 4 inches deep, and no more than 4 inches deep. For the microwave, use a microwave-safe container with venting.
For steam or pressure-cooker treatment
Use a rack above water so the soil is exposed to steam, not direct boiling water. Shallow containers work best, and foil helps hold moisture in place while still allowing steam penetration.
For solarization outdoors
Have a clear bag or tray ready for a large batch that will sit in direct summer sun. Solarization depends on trapped heat and time, so the container has to hold moisture and exclude cooler air.
How do you sterilize soil at home?
Moisten the soil, cover or contain it, heat it only to the target range, and let it cool before use. The goal is risk reduction, not maximum heat. Overheating can damage seedlings and may create unwanted compounds, so temperature control matters more than cranking up the heat.
- Break up clumps and moisten the soil evenly.
- Load it into a covered or vented container that matches your method.
- Heat until the soil reaches the target temperature for the problem you are trying to solve.
- Hold that temperature for the needed time, then cool the soil completely before planting.
For small batches, that often means a covered tray in the oven or a vented container in the microwave. For larger outdoor batches, solarization is usually less disruptive than trying to bake a big pile of soil indoors.
How hot should soil get?
Use the temperature that matches the pest or disease you are trying to suppress. Many soil-borne fungi, mold, and some diseases are addressed at 145°F for 30 minutes. Soil-borne insects need 160°F. Weed seeds require 180°F.
Temperature targets and outcomes
| Target temperature | What it helps suppress | Practical meaning for garden planting |
|---|---|---|
| 145°F | Most viruses, diseases, fungi, and mold | Good for disease-prone reused soil that does not have a heavy weed-seed load |
| 160°F | Soil-borne insects | Useful when grubs, larvae, or insect pressure is part of the problem |
| 180°F | Weed seeds | Better when the main issue is contaminated reuse soil or seed-tray weeds |
| 212°F | Heat-resistant viruses and seeds | Only for cases that truly need that level; it raises the risk of damage to the soil itself |
Why overheating is a problem
Too much heat can harm seedlings, dry out the soil structure, and reduce the usefulness of the mix after treatment. If the soil is intended for seed starting, stop at the lowest effective temperature. For a garden bed, the better answer may be replacement or spot treatment instead of pushing heat higher.
Choose the right method
Match the method to batch size. Oven and microwave work best for small to medium-small amounts. Steam fits small batches with close temperature control. Solarization is the large outdoor option when you have time and summer sun.
Oven method for medium-small batches
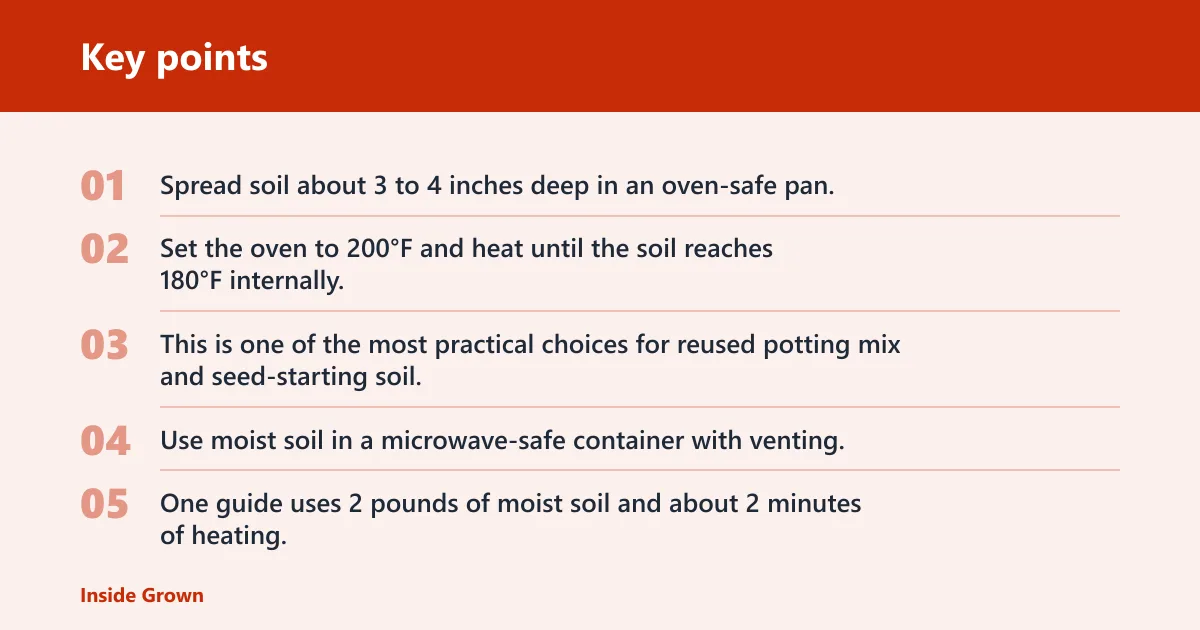
Spread soil about 3 to 4 inches deep in an oven-safe pan. Set the oven to 200°F and heat until the soil reaches 180°F internally, then hold for 30 minutes. This is one of the most practical choices for reused potting mix and seed-starting soil.
Microwave method for tiny batches
Use moist soil in a microwave-safe container with venting. One guide uses 2 pounds of moist soil and about 2 minutes of heating, while another rule of thumb is about 90 seconds per pound. Use these only as rough starting points and check the temperature rather than trusting the clock alone, because microwave output varies and batch size matters.
Steam or pressure cooker for small batches
Set the soil on a rack above water and steam it in a covered pot or pressure cooker. One guide uses 10 pounds of pressure for 15 to 30 minutes, and another says to steam for at least 30 minutes at 180°F. Follow the manufacturer’s instructions for venting and pressure control.
Solarization for large outdoor batches
For big outdoor batches, moisten the soil, seal it in a bag or cover it in a tray, and leave it in direct summer sun. Solarization is best for large outdoor batches during summer and takes four to six weeks. It is slower, but it avoids the uneven heating of oversized indoor batches.
Common first-timer mistake: using the microwave for too much soil at once. Suppose you have 8 pounds of reused mix for a patio container. Split it into smaller loads instead of trying to heat one deep pile, because the center may stay cool while the edges overheat.
Should you sterilize this garden soil?
This table helps you decide whether sterilizing, replacing, solarizing, or skipping the step is the better move. The key question is scale plus risk. A small contaminated batch is a different problem from a healthy garden bed.
| Scenario | Risk level | Recommended action | Method | Batch size | Red flags |
|---|---|---|---|---|---|
| Reused container mix | Moderate to high if the old pot had disease or pests | Sterilize or replace if the problem was severe | Oven, microwave, or steam | Small to medium-small | Root rot, fungus gnats, mold, weed seeds |
| Seed-starting trays | High sensitivity, even when the soil looks clean | Use treated mix or sterilize reused mix | Oven or microwave | Tiny | Damping off, poor germination, crusting, old tray residue |
| Planting holes after disease | High in a known disease spot | Spot-treat only the affected soil or replace it | Solarization for larger spots; heat for extracted soil | Small localized area | Wilt, canker, repeated failure in the same hole |
| New purchased topsoil | Low unless the bag was contaminated | Usually skip sterilization | None needed in most cases | Any | Clumping, bad odor, visible mold, insects |
| Established garden beds | Usually low to moderate, depending on disease history | Skip routine sterilization; treat only a problem zone | Solarization or targeted replacement | Large outdoor area | Healthy soil structure, worms, active plant growth |
Common mistakes
The biggest errors are heating too long, using the wrong method for the batch size, and recontaminating the soil after it cools. Soil that looks clean can pick up new spores, debris, or weed seeds fast if it is dumped onto a dirty bench or mixed with contaminated tools.
- Do not overheat the soil. Stop at the target temperature and hold time.
- Do not use a deep pile for oven or microwave work. Keep the load shallow so heat reaches the center.
- Do not put cooled soil back into a dirty container. Use a clean bucket, tray, or bag.
- Do not treat pressure-cooker work casually. Use a rack above water and follow the manufacturer’s instructions for venting and pressure control.
- Do not sterilize a healthy garden bed by default. Use it only where the risk is clear.
Prevention matters after the treatment. Once the soil cools, move it straight into a clean container or planting hole so it does not pick up fresh contamination from the yard.
Frequently asked questions
How do you sterilize soil for seed starting?
Use a small batch, moisten it, and heat it in a covered or vented container. For seed-starting soil, the oven or microwave is usually the easiest choice because trays are small and young seedlings are vulnerable to damping off. Fresh commercial mix is often already treated.
How to sterilize potting soil for reuse
Remove old roots and debris first, then heat the moist mix in a shallow layer. For reuse, the oven method is often the simplest for a medium-small batch: about 3 to 4 inches deep, 200°F oven setting, and a 30-minute hold once the soil reaches target temperature.
How long do you heat soil to kill pests and seeds?
Use the target that matches the problem, then hold it long enough for the job.
How to sterilize soil naturally
Solarization is the main low-intervention option. Moisten the soil, seal it in a bag or cover it in a tray, and leave it in direct summer sun for four to six weeks. It is best for larger outdoor batches where heat from the sun can build and stay trapped.
What temperature kills pests, fungi, and weed seeds in soil?
Use 145°F for many soil-borne fungi, mold, and some diseases, 160°F for soil-borne insects, and 180°F for weed seeds.
Should you sterilize garden soil before planting in the garden?
Usually no. For established garden beds, routine sterilization is rarely the best first move. Reserve it for a known disease spot, a reused batch with contamination, or a small transplant hole that has a clear problem history. Healthy in-ground soil is usually better left alone.