How to Replace a Cracked Landscape Light Lens
Replace a cracked outdoor light lens by matching the fixture’s exact lens diameter, shape, retention method, and gasket thickness before buying; if any one of those is wrong, the new lens can leak, rattle, or fail to seat. A bad match lets water reach the socket and corrodes the fixture fast. This guide shows how to identify the lens, bezel, and gasket stack, verify part compatibility, and swap the lens without breaking the seal.
What you’ll need

- Flat-head or Phillips screwdriver, depending on the retaining screws
- Needle-nose pliers for clips, springs, or stubborn hardware
- Flashlight for reading labels and checking the housing seat
- Voltage tester if you open any wired compartment
- Replacement lens that matches the fixture brand, model, and opening size
- Replacement bezel or housing ring if the old one is bent, cracked, or corroded
- New gasket or seal, preferably the style the fixture was designed to use
- Corrosion-resistant replacement screws or mounting hardware
- Clean cloth and a mild, non-abrasive cleaner approved for outdoor plastics and glass
Landscape light lens replacement checklist
Start with the fixture, not the lens. Outdoor light assemblies can include the lens, bezel or housing ring, gasket or seal, and mounting hardware, and the replacement only works when those parts match the opening and retention style. Many assemblies are direct drop-in for 5–7 inch diameter openings, but that range does not replace a measurement from the actual fixture.
| Fixture type | Lens diameter range | Mounting style | Gasket condition | What to replace |
|---|---|---|---|---|
| Path light | Measure the actual opening; some fall within common 5–7 inch assemblies | Screw-on or clip-on | If flattened, cracked, or missing, replace it | Lens only if bezel is straight; bezel and gasket if fit is loose |
| Bullet light | Measure face diameter and lens thickness together | Screw-on | Replace if water stains or splits are present | Lens and gasket; bezel if threads or ring are damaged |
| Well light | Measure opening diameter and housing depth before ordering | Clip-on or ring-retained | Replace on any sign of compression or cracking | Lens, gasket, or whole fixture if the shell is corroded |
| Hardscape light | Use part number plus exact face size | Usually screw-on | Replace if the seal has flattened | Often bezel and lens together |
| Step light | Confirm opening size and face diameter | Clip-on or screw-on | Replace if moisture has reached the cavity | Lens or full top assembly, depending on model |
Measure the fixture, not the broken lens
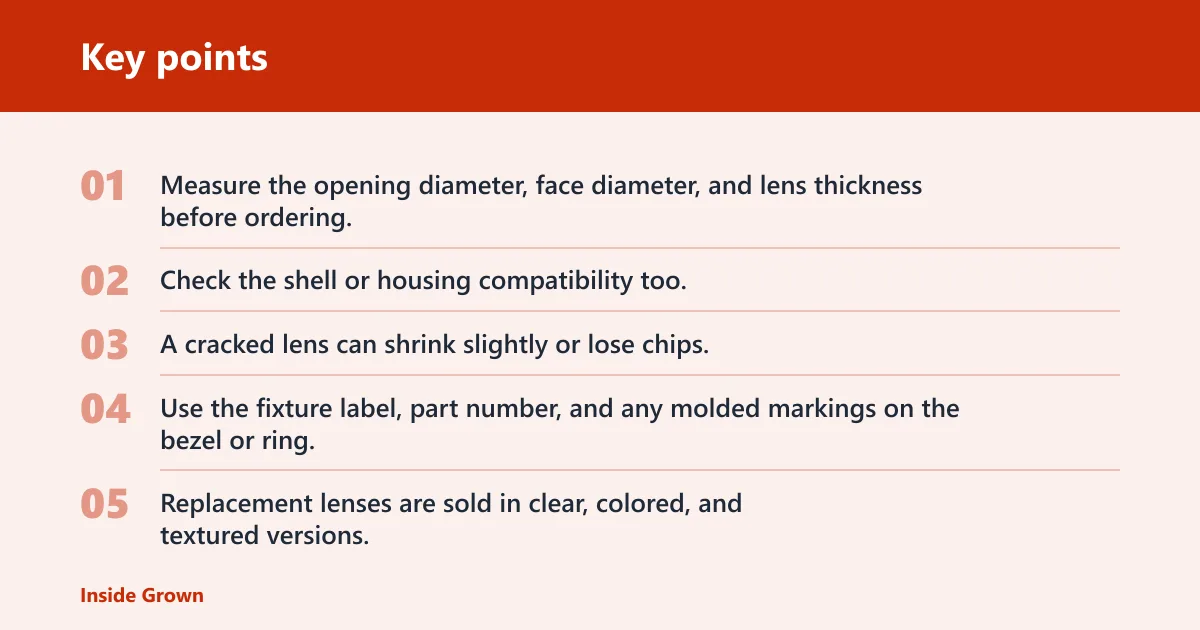
Measure the opening diameter, face diameter, and lens thickness before ordering. Check the shell or housing compatibility too. A cracked lens can shrink slightly or lose chips, so the old part is a poor template if you rely on it alone. Use the fixture label, part number, and any molded markings on the bezel or ring.
Match the lens style and material
Replacement lenses are sold in clear, colored, and textured versions. Some use polycarbonate plastic for impact resistance, and others use tempered glass for clarity. Choose the same style unless the fixture maker lists an alternate part. If the old lens is fogged, clouded, or brittle from UV or chemicals, that points to age-related failure as well as crack damage.
How do you know which part failed?
The cracked lens may be the only failed part, but a bent bezel, worn gasket, or damaged housing opening can make the new lens leak or sit crooked. Look at the whole stack before ordering. If the ring is warped, the seal is flattened, or the opening is chipped, a lens-only repair is often a false economy.
Cracked lens
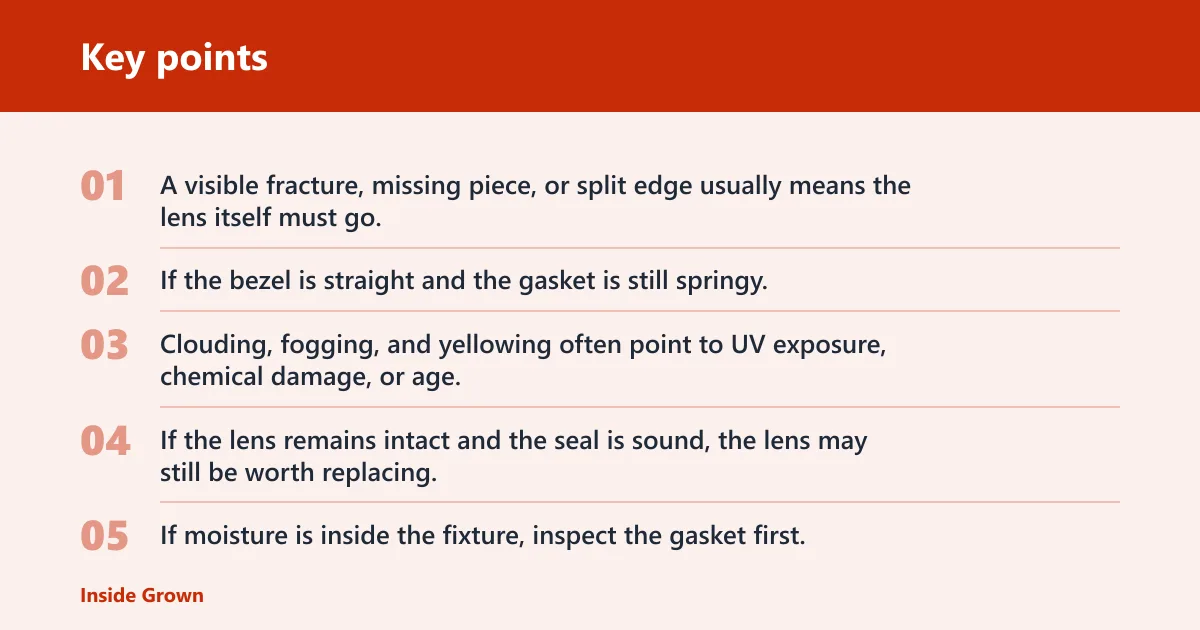
A visible fracture, missing piece, or split edge usually means the lens itself must go. If the bezel is straight and the gasket is still springy, a lens-only replacement can be enough.
Cloudy or fogged lens
Clouding, fogging, and yellowing often point to UV exposure, chemical damage, or age. If the lens remains intact and the seal is sound, the lens may still be worth replacing. If moisture is inside the fixture, inspect the gasket first.
Bent bezel or damaged retaining ring
If the bezel will not sit flat, the lens may never seal correctly. A screw-on ring with stripped threads or a clip-on ring with broken tabs usually needs replacement with the lens.
Flattened or missing gasket
Worn or cracked gaskets can cause leaks around the bulb area. If the gasket is hard, split, or missing sections, replace it. Water intrusion can lead to complete light failure, so do not reuse a seal that has lost its shape.
Replace the lens only after the fixture is de-energized and the parts match the opening. For low-voltage outdoor lighting, switch off the branch circuit or unplug the transformer before opening the housing. If the fixture is wired beyond the low-voltage side, confirm that the power is off with a tester before touching conductors.
- Shut off the branch circuit or unplug the low-voltage transformer, then verify the fixture is off.
- Remove the bezel or retaining ring with the correct screwdriver or pliers. Keep track of screws and clips.
- Lift out the cracked lens and the old gasket together if they come free as a stack.
- Clean the seat, lens ledge, and housing opening. Remove grit, old seal fragments, and corrosion.
- Install the new gasket first, then seat the new lens, then reinstall the bezel so the ring sits evenly.
- Use corrosion-resistant screws or the original hardware in good condition, then tighten only until snug.
- Restore power and check for rattling, wobble, or condensation after the fixture runs.
Say your path light has a cracked clear lens, a straight bezel, and a flat gasket but the opening measures differently from the seller’s listing. Stop there. Ordering by appearance alone can leave a 6-inch lens in a housing that needs a tighter fit.
Can you replace just the lens or do you need the whole fixture?
Lens-only replacement is fine when the fixture body is sound, the bezel matches, and the seal still closes evenly. If the bezel is warped, the gasket is shot, or the shell is corroded, a bigger replacement is the safer call. Many modern outdoor lights also use lens caps or top assemblies that are not sold as loose lenses.
When lens-only replacement is fine
Choose lens-only repair when the housing opening is intact, the ring sits flat, and the gasket is still compliant. This is the lowest-cost fix when the lens is the only damaged part.
When the bezel also needs replacement
If the lens seats poorly, the ring is distorted, or the clip tabs are broken, replace the bezel with the lens. A mismatch at the ring often causes the leak, not the crack itself.
When a full fixture swap makes more sense
Choose a full fixture replacement if the shell is rusted, the opening is damaged, the wiring compartment shows water intrusion, or the part is no longer sold in matching form. That is also the better choice when the seller cannot verify the part number from photos and measurements.
How do you keep water out after the repair?
Water control depends on the gasket, hardware, and seating surface working together. Replace a cracked or compressed gasket during the lens swap, and keep the bezel even all the way around. If the fixture has already leaked, check for corrosion on the seat before reassembly, because a clean lens will not fix a damaged seal surface.
Seat the gasket correctly
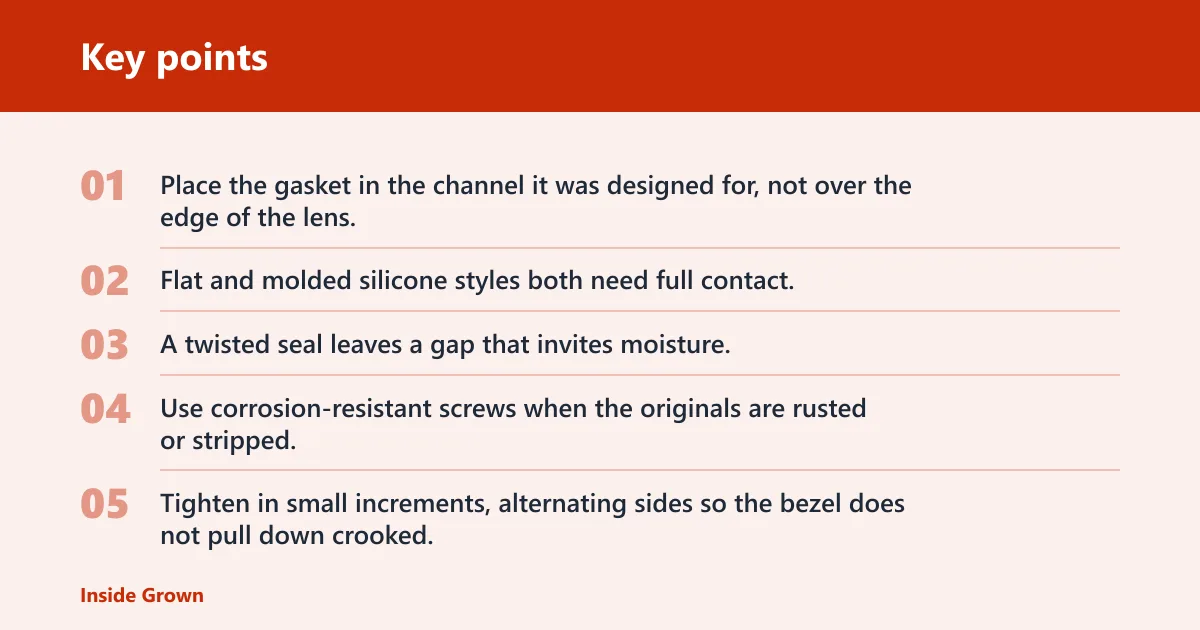
Place the gasket in the channel it was designed for, not over the edge of the lens. Flat and molded silicone styles both need full contact. A twisted seal leaves a gap that invites moisture.
Tighten hardware evenly
Use corrosion-resistant screws when the originals are rusted or stripped. Tighten in small increments, alternating sides so the bezel does not pull down crooked. For a stubborn clip-on ring, reset each clip before final tightening.
Watch the lens material
Polycarbonate plastic can be scratched by abrasive cleaners and some solvents, which can shorten its life. Use a mild cleaner and a soft cloth instead. Tempered glass is less prone to scratching, but the seal still matters more than the lens material once the fixture is reassembled.
Suppose a well light keeps fogging after a lens swap. The most likely issue is not the lens shape but the seal path. Recheck the gasket thickness, the ring fit, and the screw tension before ordering another part.
Common mistakes
- Guessing the part from the broken lens alone instead of checking the label, opening size, and mounting style.
- Ignoring whether the fixture uses screw-on or clip-on retention.
- Reusing a gasket that is flattened, cracked, or swollen.
- Mixing up lens, bezel, and housing ring when ordering parts.
- Using abrasive cleaners on polycarbonate plastic.
- Replacing the lens while leaving water-damaged hardware in place.
- Assuming a universal replacement lens will fit without verifying diameter and retention method.
If that didn’t work, try this next
If the new lens still will not seat, replace the bezel or housing ring next, because a bent ring can defeat an otherwise correct lens. If the fixture still leaks after that, stop and replace the whole assembly rather than forcing a compromised shell back into service.
How do I replace a cracked landscape light lens?
First, shut off the branch circuit or unplug the low-voltage transformer. Then remove the bezel, lift out the cracked lens and gasket, clean the seat, and install matched replacement parts. The key is not the swap itself; it is matching the lens diameter, mounting style, and gasket thickness before you start.
Frequently asked questions
How do I measure a landscape light lens so I order the right part?
Measure the opening diameter, the face diameter, and the lens thickness separately, then compare those measurements with the fixture label and part number. If the seller asks for photos, send clear shots of the lens front, bezel, gasket, and housing opening so the part can be verified before you buy.
Can I use a universal replacement lens on my fixture?
Only if the universal part matches the exact opening size and retention style. Universal parts are not a safe default for path, well, hardscape, or step lights because the bezel and gasket stack can differ. If the seller cannot confirm fit from photos and measurements, avoid it.
How do I know if the bezel or gasket also needs replacement?
Replace the bezel if it is bent, corroded, warped, or loose in the housing. Replace the gasket if it is cracked, flattened, or missing chunks. If either part prevents a flush seat, the lens may fit on paper but still leak after reassembly.
What tools do I need to swap out a cracked light lens?
Use a screwdriver, needle-nose pliers, flashlight, and a voltage tester if any wired compartment is opened. If screws are rusted, add corrosion-resistant replacement hardware to the list. A mild cleaner and soft cloth help with the seat and lens edges.
How do I stop moisture from getting into the light after replacement?
Install a new gasket if the old one is flattened or split, tighten the bezel evenly, and confirm the housing opening is clean and undamaged before reassembly. If condensation returns, the seal path is still compromised and the fixture should be rechecked before more water reaches the socket.
How do I repair led landscape lights if the lens is cracked?
For LED fixtures, the lens repair is the same, but water intrusion is more likely to damage the electronics behind the lens. Shut off the transformer, replace the lens and gasket with matched parts, and inspect for moisture around the board or module before restoring power.