Gardening Techniques for Repotting Bonsai Trees
Repot bonsai when roots circle the pot, drainage slows, or the root ball begins to lift upward; a common rule of thumb is every 1 to 3 years, with vigorous species often needing it more often and mature trees less often. Skip it or cut roots too hard, and you can stall growth, trigger leaf drop, or lose the tree. This guide shows how to diagnose root crowding, prune roots by species tolerance, choose soil and pot timing, and manage the first month after repotting.
When should I repot a bonsai tree?
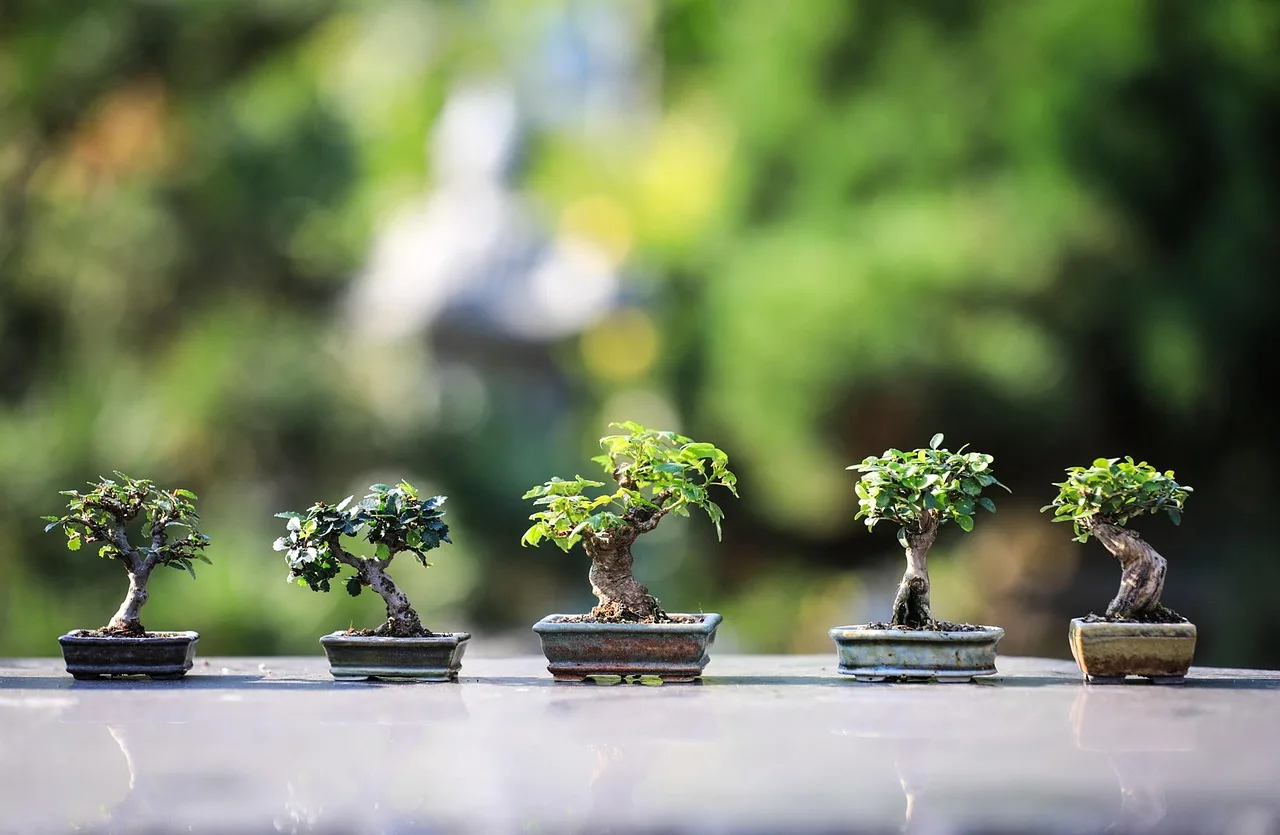


Repot when roots crowd the pot enough to slow water movement, distort the soil surface, or lift the tree out of the container. For many deciduous bonsai, spring just before strong growth is often a safe general repotting window; many conifers are commonly handled a bit earlier or slightly later if they are active but not pushing hard growth. Emergency repotting is different. Use it when drainage has collapsed, roots are rotten, or the tree is physically lifting from the container.
Maintenance repotting is planned. Emergency repotting is corrective. That distinction matters because maintenance work lets you keep some fine roots and move the tree into fresh, particle-based soil on a schedule. Emergency work asks you to solve a root problem first, even if that means less root pruning and a shorter recovery period.
Bonsai repotting decision table
| Tree condition | Action to take | Risk level |
|---|---|---|
| Circling roots visible at the pot edge | Plan a maintenance repot and comb roots outward before pruning | Low to moderate |
| Water pools on the soil surface or drains slowly | Repot soon; inspect for compacted soil and blocked drainage holes | Moderate |
| Root-bound lift-out: the root mass comes out as a solid cylinder | Repot now and remove only what the species can tolerate | High |
| Broken roots from a fall or rough handling | Trim damaged tissue cleanly and reduce top growth stress afterward | Moderate to high |
| Wrong season for the species but roots are still healthy | Delay if possible; repot only if the tree is failing in place | Moderate |
| Rotten smell, black roots, or standing water in the pot | Emergency repotting with heavy soil removal and damaged-root cleanup | High |
Say your maple drains in 2 minutes but the root ball still lifts as one piece. That points to root crowding rather than just a dry surface. A conifer with the same symptom usually gets a more conservative root prune than a deciduous tree at the same stage.
What you’ll need to repot a bonsai tree
For bonsai repotting, keep the focus on clean tools, open soil, and a container that supports the root pad without crowding it. The goal is not more materials; it is the right materials arranged so water moves through quickly, roots stay airy, and the tree can anchor firmly after the move.
- Bonsai pot. Use a shallow container sized to the root mass, with drainage holes and wire tie-down points. The pot depth should support the root pad without burying the trunk flare.
- Bonsai soil mix. Use a particle-based mix with fast drainage. Common components include akadama, pumice, and lava rock, screened to a consistent particle size.
- Root rake. Use this before pruning to comb out circling roots and expose the trunk flare.
- Concave cutters. Use them for clean root and branch cuts close to the root base. Clean cuts heal with less visible scar tissue than torn cuts.
- Drainage mesh. Cover the drainage holes to keep soil from washing out while still letting free water flow.
- Tie-down wire. Anchor the tree so it does not wobble while new roots form. Aluminum or copper are commonly used.
- Watering can or hose with a gentle rose. Use this to settle the soil without blasting particles out of place.
- Chopstick or thin stake. Use it to work soil into gaps around the roots after the tree is set in the pot.
How often do bonsai trees need repotting?
How often you repot depends on species, vigor, and age. Juvenile trees grow faster and often need repotting more often; mature trees can stay in the same pot longer because their roots fill the container more slowly. As a broad guide, many bonsai fit a 1-3 year interval, but the right answer is the one your roots and drainage tell you.
Conifers usually repot less aggressively than deciduous bonsai. Deciduous trees often recover well from a more active root refresh during the correct seasonal window. Conifers can be less forgiving of heavy root removal, so the interval may be similar, but the cut volume is usually smaller. Japanese maple, juniper, ficus, pine, and azalea all fit that general pattern, but each should still be judged by vigor, soil condition, and seasonal timing.
What soil should I use for repotting bonsai trees?
Use a fast-draining, particle-based mix, not standard garden soil. Bonsai roots need air around each particle, and screened material keeps pore spaces open. Akadama holds some moisture and nutrients, pumice adds pore space and lightness, and lava rock supports drainage and structure. Together, they help roots branch instead of circling in a dense, wet clump.
Screen the mix so particle size is consistent. Fine dust clogs drainage holes and packs into the root mass; oversized chunks leave voids that dry too fast. For many small bonsai, a mix centered around 2-4 mm particles works well, while larger trees can use slightly larger particles. Keep the size consistent across the pot for even watering.
How to repot a bonsai tree
Start by preparing the pot, then move through the roots carefully enough to preserve fine feeders while removing what is crowded, rotten, or exhausted. The safest repot keeps the tree stable from the start, places fresh soil evenly through the root mass, and ends with firm anchoring and a thorough watering.
- Prepare the new pot. Cover the drainage holes with mesh, thread tie-down wire through the anchor points, and add a thin base layer of soil. The pot should be shallow enough to support the root pad without leaving excess depth below it.
- Remove the tree carefully. Slide the tree out and inspect the root ball before cutting anything. If the root mass comes out intact and dense, plan a measured reduction rather than a full tear-apart.
- Comb roots outward. Use a root rake to loosen circling roots and expose the trunk flare. Remove old, compacted soil as you go so you can see where healthy roots begin.
- Prune roots by tolerance. Use concave cutters to shorten thick roots cleanly and remove damaged tips. Keep the cut volume conservative on conifers and more active on deciduous species when they are repotted at the correct time.
- Seat the tree firmly. Set the tree at the right height, add soil in 1-inch additions, and work it through the roots with a chopstick. Recheck the height after each addition so the trunk flare stays visible.
- Secure the trunk. Tighten the tie-down wire so the tree does not move in the pot. Movement breaks new root contacts, which slows recovery and can dry out fine roots.
- Water until clear. Water thoroughly until runoff is clean from the drainage holes. That settles particles around the roots and removes loose dust from the mix.
Picture a 6-inch maple that has a solid root cylinder and a soil mix full of fines. The better move is not to force the same pot again with the same soil. A shallow pot with screened particles, mesh-covered drainage, and a reduced but careful root prune gives the tree a real recovery path.
How much root pruning is safe?
Safe root pruning depends on species tolerance and the tree’s condition, not on a fixed percentage for every bonsai. A healthy deciduous tree in the right season can often handle more root reduction than a conifer. If the tree is weak, dry, or repotted outside its best window, cut less. The goal is to keep enough fine roots to feed the canopy through the first month.
Start by removing only the roots that are circling, damaged, rotten, or too long for the new pot. If more root mass must come off, do it in stages over successive repotting cycles rather than all at once. A common first-timer mistake is trimming until the root pad looks tidy; tidy is not the goal. Viable fine roots are.
Japanese maple and azalea usually call for a more conservative touch than a vigorous deciduous seedling, while juniper and pine typically need especially cautious root reduction even when the tree looks healthy. Ficus is generally more forgiving of root work than most conifers, but it still responds best when the cut volume stays modest and the tree is actively growing.
If that didn’t work, try this next
- Reduce canopy stress. Move the tree to lighter shade and avoid strong wind for the first 2 weeks. Less transpiration helps the reduced root system keep up.
- Check drainage again. If water sits on top for more than a few seconds, lift the pot and verify the drainage holes are open. Blocked mesh or packed soil can mimic root failure.
- Hold fertilizer back. Delay feeding until new growth resumes. Fertilizer on a stressed root system can add pressure the tree cannot use.
How should I water and place the tree after repotting?
Water right after repotting, then adjust based on the new soil’s drain rate. The first watering settles particles and restores contact between roots and mix. After that, water only when the upper layer begins to lose moisture, because overwatering a freshly repotted tree can leave roots air-starved.
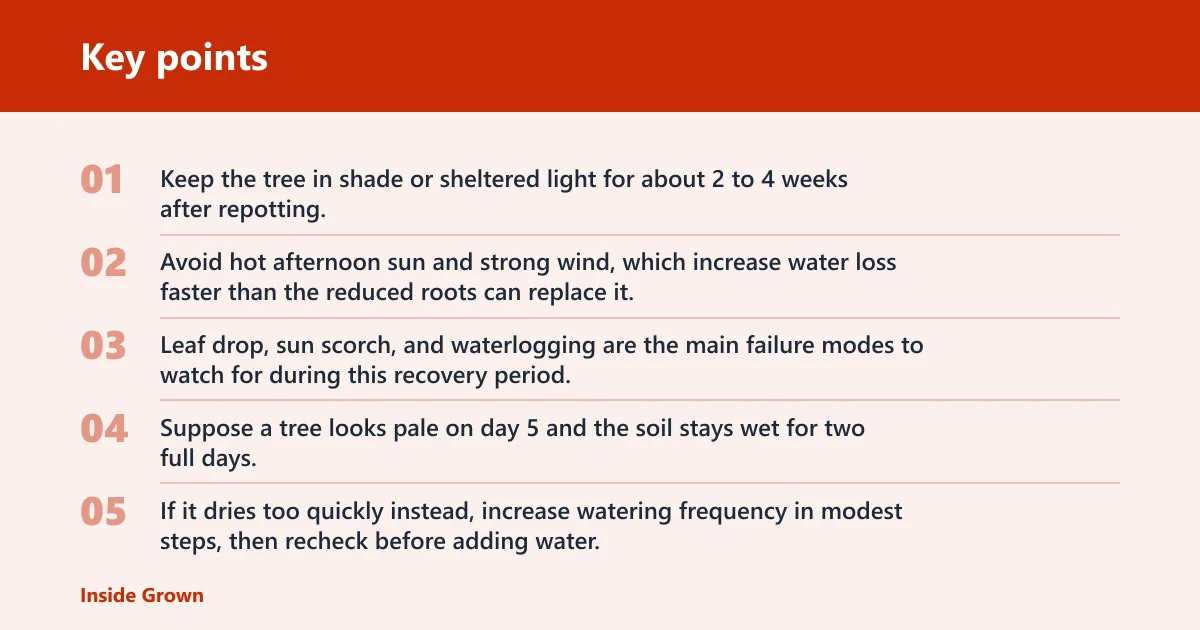
Keep the tree in shade or sheltered light for about 2 to 4 weeks after repotting. Avoid hot afternoon sun and strong wind, which increase water loss faster than the reduced roots can replace it. Leaf drop, sun scorch, and waterlogging are the main failure modes to watch for during this recovery period.
14-day aftercare checklist
| Day | Watering | Light | Fertilizer |
|---|---|---|---|
| 1 | Water thoroughly once; let excess drain completely | Shade or sheltered bright light | Pause |
| 2-3 | Check daily; water only when the surface starts to dry | Keep protected from hot sun and wind | Pause |
| 4-7 | Water based on soil dryness, not a fixed schedule | Keep in filtered light | Pause |
| 8-10 | Resume normal checks; avoid saturation | Introduce brief morning sun if growth is steady | Delay unless new growth is obvious |
| 11-14 | Water as needed for the mix and weather | Return gradually toward the tree’s usual site | Begin light feeding only if the tree is clearly recovering |
Suppose a tree looks pale on day 5 and the soil stays wet for two full days. That is a sign to move it to brighter air circulation, not to add more water. If it dries too quickly instead, increase watering frequency in modest steps, then recheck before adding water.
Hold fertilizer back until the tree is pushing fresh growth again. Feeding too early can force the canopy to demand more than the reduced root system can supply. A measured restart protects both recovery and future ramification.
Prevent problems by repotting before the root mass becomes a hard cylinder, and use the right particle size from the start. That makes the next repotting cleaner and cuts the chance of a long recovery.
Common mistakes to avoid
Do not repot only because the pot looks too small. A shallow bonsai pot is supposed to be shallow. Repot because the roots need it, the drainage has slowed, or the seasonal window is right.
Do not use dense soil with fines from ordinary potting mix. It holds too much water, collapses around the roots, and defeats the point of repotting.
Do not leave the tree loose in the pot. Movement tears fresh root tips and slows establishment.
Do not cut roots heavily on a stressed tree or outside the species’ preferred timing. If the tree is weak, take less at this repot and return later.
Frequently asked questions
How do I know if my bonsai is root bound?
Lift the tree from the pot, or check for roots circling the inside wall, water pooling on top, and a root mass that holds the pot’s shape when removed. If the tree comes out as one tight cylinder, it is root bound enough to repot now.
What tools do I need to repot a bonsai tree?
You need a shallow bonsai pot with drainage holes and tie-down points, drainage mesh, tie-down wire, a root rake, concave cutters, and a watering tool with a gentle flow. Each one has a job: uncover, trim, anchor, or settle the root system without damaging it.
Should I water a bonsai right after repotting?
Yes. Water immediately until it runs clear from the drainage holes, then let the pot drain fully. After that first soak, switch to moisture-based watering instead of a fixed schedule, because freshly repotted roots can fail in saturated soil.
How do I keep a bonsai healthy after repotting?
Keep it in shade or sheltered bright light for 2 to 4 weeks, monitor moisture daily, and delay fertilizer until recovery is visible. Protect the tree from strong sun, wind, and standing water. Stable aftercare matters as much as the repot itself.