How to Test Soil pH for a Vegetable Garden
Test vegetable-garden soil pH with a lab test, digital meter, or home kit; many crops grow best at about pH 6.0 to 7.5, while potatoes are often grown in a more acidic range, around pH 4.8 to 6.3. Wrong pH can lock up nutrients, cut yields, and make fertilizer fixes miss the mark. This guide shows which test to choose, how to sample soil correctly, and when a reading calls for lime or sulfur.
What you’ll need


- A home pH kit, digital soil pH meter, or lab submission form
- Clean plastic bucket or bowl for mixing soil
- Small trowel or soil probe
- Distilled water for kit methods that require it
- Clean gloves
- Paper towel or clean cloth for wiping a probe
- Labels for separate beds, containers, or zones
How do you collect a soil sample?
Take soil from several spots in the bed, mix it well, and sample from about 6 to 8 inches deep. Skip spots recently fertilized, composted, manured, or treated with ash, because those areas can distort the reading and hide the pH your vegetables actually face.
- Mark 5 to 10 spots across the bed or zone.
- Remove surface mulch and debris.
- Dig each core to about 6 to 8 inches deep.
- Put the cores in a clean bucket and break up clumps.
- Mix thoroughly, then remove roots, stones, and debris.
- Save a portion for testing and keep the rest as backup.
Sample each zone separately
Raised beds, containers, and mixed-use plots can differ from one end to the other. A bed beside concrete, for example, may read differently from the shadier side. Test each distinct zone on its own so one number does not stand in for the whole garden.
Say your 4-by-8-foot raised bed gets compost in one half and none in the other. A single scoop from the middle can miss both patterns. Separate samples make the reading more useful and reduce the chance of a bad lime or sulfur decision.
Which pH test method fits your garden?
The best method depends on the balance you need between accuracy, speed, and cost. Lab testing gives the clearest result and can include nutrient analysis. Home strips, chemical kits, and digital meters are faster, but they are less complete and more sensitive to sampling mistakes.
| Method | Accuracy | Turnaround time | Approximate cost band | Sample depth | Best use case | Common failure mode |
|---|---|---|---|---|---|---|
| Laboratory soil test | Highest | Days to a couple of weeks | Free to low cost through many extension offices | About 6 to 8 inches | Before planting, after a major pH correction, or when crop growth is uneven | Poor sampling or sending soil from a recently amended spot |
| Home strip kit | Moderate | Minutes | Low | Shallow mixed sample | Quick check before planting or for a rough screen | Dirty sample, wrong water, or hard-to-read color match |
| Chemical home kit | Moderate | Minutes | Low to moderate | Shallow mixed sample | Home use when you want a clearer reading than a simple strip | Using tap water instead of distilled water in methods that require it |
| Digital pH meter or probe | Moderate to good when calibrated | Minutes | Moderate | Directly into moist soil | Repeated checks across multiple spots in beds, containers, or raised beds | Poor calibration, dirty probe, or dry soil |
Pick the method by the decision you need
If you only need to know whether the soil is close enough, a home kit or probe can be enough. If you need a correction plan, a lab test is better because it can show pH and nutrient composition together. That extra detail matters when growth is off and you need to know whether pH, not just fertilizer, is part of the problem.
Use clean water and clean containers
Many home methods call for distilled water. Tap water can change some results, especially if it is hard or treated. Wash the bucket, cup, and meter probe before use, because fertilizer residue, compost dust, and old soil can shift the reading.
How do you read the results?
Soil pH runs from 0 to 14, with 7 neutral. Below 7 is acidic and above 7 is alkaline. One pH unit equals a tenfold change in acidity, so a small number shift matters more than it looks.
Use crop targets, not the number alone
Most vegetables do best near neutral, and many crops perform around 6.0 to 7.5. That range is where most nutrients become available. Some vegetables want narrower targets: potatoes prefer 4.8 to 6.3, tomatoes 5.5 to 7.5, and beans 5.5 to 6.8.
Suppose a tomato bed reads 6.4. That is inside the normal vegetable range and inside the tomato range, so a correction is usually unnecessary. A potato bed at 6.4, though, sits above the optimal range and may deserve attention if growth or quality has been poor.
Vegetable pH action guide
Use the reading to decide whether to leave the soil alone, watch it, or correct it. If the number sits within the crop’s target, do nothing. If it is near the edge, monitor and retest. If it is clearly outside the crop range, plan a correction after testing confirms the pattern.
| Reading | Action | What to do next |
|---|---|---|
| Within the crop target | Leave alone | Plant and retest on the normal schedule |
| Slightly outside the target, but close | Monitor | Check the same bed again and compare with plant growth |
| Clearly outside the target | Amend now | Use lime to raise pH or sulfur to lower pH, then retest later |
Choose lime or sulfur only after testing
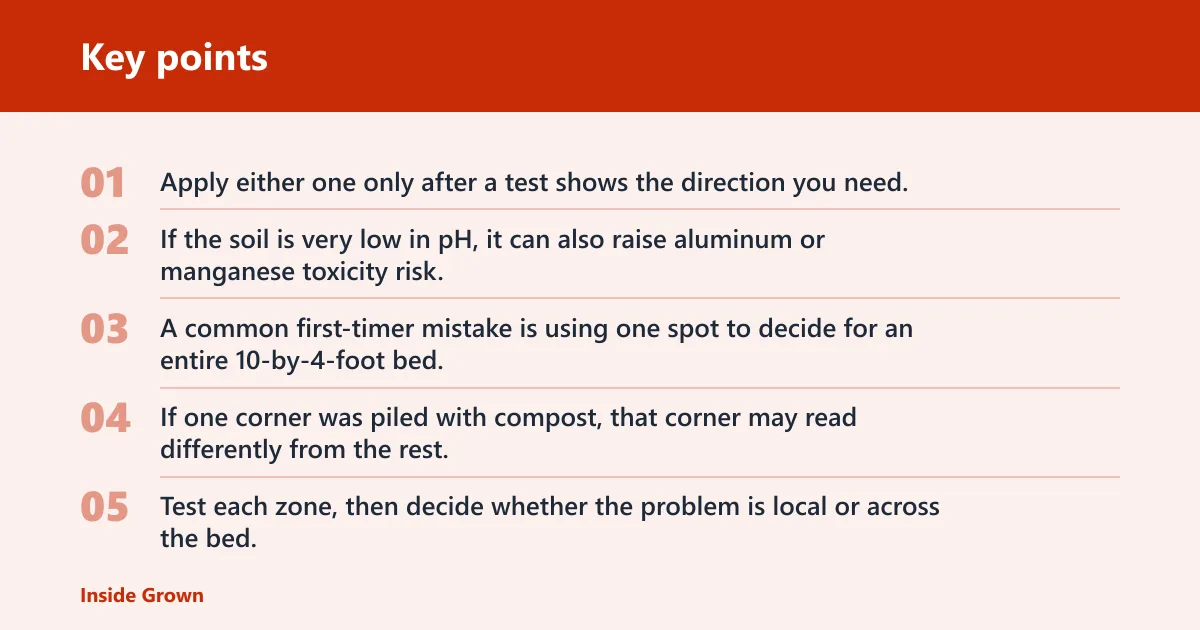
Lime raises pH. Sulfur lowers it. Apply either one only after a test shows the direction you need, because guessing can push the soil farther from the right range. If the soil is very low in pH, it can also raise aluminum or manganese toxicity risk.
A common first-timer mistake is using one spot to decide for an entire 10-by-4-foot bed. If one corner was piled with compost, that corner may read differently from the rest. Test each zone, then decide whether the problem is local or across the bed.
When should you retest?
Test before planting, then repeat after a meaningful correction or when crop growth suggests the pH may have shifted. Beds that receive compost, manure, ash, or frequent fertilizer deserve extra attention. Containers and raised beds often change faster than in-ground beds, so check them separately.
- Retest after a lime or sulfur application has had time to work.
- Retest before each new planting cycle in beds that change crops often.
- Retest each container or raised bed on its own schedule.
- Retest sooner if one section grows poorly while another does fine.
If that does not solve the question, the next step is not more amendment. It is another sample from the same zone, collected cleanly and mixed well, so you can tell whether the first result was a bad sample or a real shift.
Common mistakes
Bad samples cause most bad readings. Fresh fertilizer, compost, manure, or ash can distort pH, and wet or debris-filled soil can do the same. Tap water can also interfere with some home methods, so use distilled water where the instructions call for it.
- Testing only one spot: Sample several areas because pH can vary widely.
- Using a recently amended patch: Skip spots that received fertilizer, compost, manure, or ash.
- Skipping probe care: Clean and calibrate digital meters before each use.
- Using sloppy soil: Remove roots, stones, and excess water before testing.
- Correcting without a reading: Do not add lime or sulfur until the test says which direction to go.
Frequently asked questions
How do I test soil pH for my vegetable garden?
Mix a representative sample from several spots, then use a lab test, home kit, or digital meter. A lab test gives the most complete result because it can show pH and nutrient composition. If the reading falls near the crop target, you can usually leave the soil alone.
What is the best way to test garden soil pH at home?
A digital meter is useful if you need repeated spot checks in beds or containers, but it must be cleaned and calibrated. A home strip or chemical kit is better for a quick one-time check. Use distilled water where the kit instructions call for it.
How do I check garden soil pH before planting vegetables?
Sample the bed before fertilizers or amendments go in, because those products can skew the result. Take several cores from about 6 to 8 inches deep, mix them, and test the blended sample. Then match the number to the crop’s target range before planting.
What pH level is best for a vegetable garden?
Most vegetables do best between 6.0 and 7.5, which is near neutral to slightly acidic soil. Some crops need narrower targets, so check the crop you are planting instead of relying on one garden-wide number. Potatoes, for example, prefer a lower range than beans.
Should I use a home kit or lab test for soil pH?
Use a lab test if you need the most accurate result or want nutrient analysis with it. Use a home kit if you need a fast screen and the soil seems fairly uniform. For raised beds, containers, and mixed-use plots, a lab test is often worth the wait.
How do I collect a soil sample for pH testing?
Take multiple samples from across the bed, dig to about 6 to 8 inches, and keep altered spots out of the mix. Blend the soil in a clean container, remove debris, and test the mixed sample. Separate beds or zones should be sampled separately.
How often should I test vegetable garden soil pH?
A yearly test is a solid baseline for most gardens, with extra checks after major amendments or repeated crop problems. If you grow in containers or raised beds, test more often because pH can move faster there. Recheck before you add lime or sulfur again.
How often should you test?
For most vegetable gardens, a yearly check is a practical rhythm, especially before planting season. Test sooner after major amendments, after a poor season, or when you move from one crop family to another with different pH needs. Beds and containers should be treated as separate units.