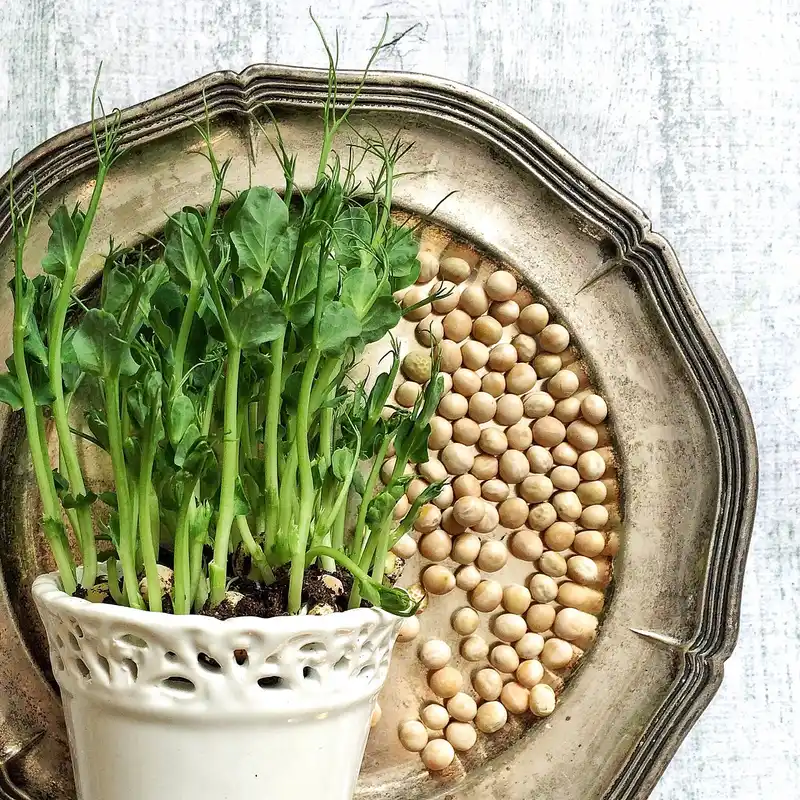
How to Start Microgreens From Seed at Home
Start microgreens from seed at home by choosing easy crops like radish, broccoli, or mustard, sowing seeds in an even, single layer in a shallow tray, and watering from the bottom after the first misting. The wrong crop or too much water leads to mold, rot, and thin stands. This guide shows the simplest tray setup, seed choices, watering, and light plan for quick starts with fewer losses.
Microgreens at home: the fast setup


What microgreens
Microgreens are edible seedlings harvested young, at the first true leaves stage. They are usually 1 to 2 inches tall, grown in soil or another growing medium, and harvested in 1 to 3 weeks. They are ready to use in a matter of days, not months.
Microgreens vs. sprouts
Sprouts are grown and eaten before they develop true leaves, often in water or a jar. Microgreens grow in a tray with a medium and are cut above the root line. That difference matters because tray-grown microgreens need airflow, light, and bottom watering.
Why this method fails less often
The lower-risk path is simple: use a shallow tray, keep the medium damp but not soggy, match soak time to the crop, and add light as soon as the shoots emerge. Thick sowing works best when the seed layer is even, not piled in clumps.
What you’ll need
- One shallow tray with drainage holes
- One solid tray underneath to catch and hold water
- Food-safe reusable plastic trays, often a standard 1020 tray size, about 10 by 20 inches
- Seed starting mix, potting mix, or coco coir
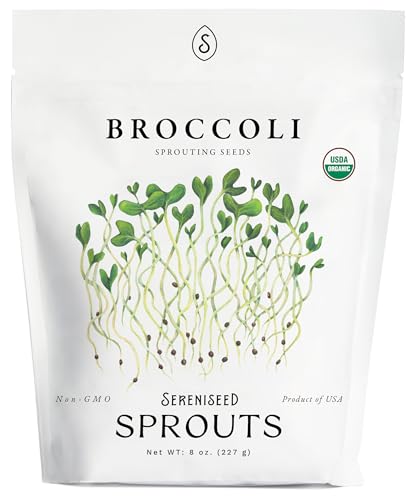
- Microgreen seeds, such as radish, broccoli, kale, arugula, pea, sunflower, basil, or cilantro
- A spray bottle for the first wetting
- A clean blackout weight is often about 2 to 5 pounds
- A grow light if a sunny windowsill is not enough
- Clean scissors or snips for harvest
Tray and medium setup
A shallow tray with drainage holes and a second tray underneath is the standard setup. Fill the upper tray with growing medium about 3/4 to 1 inch deep, then moisten it until it feels like a wrung-out sponge. That texture gives seeds moisture without turning the tray into a swamp.
Seeds, weight, and light
Regular packet seeds can work if they are untreated and suitable for edible use, but some growers prefer seeds sold specifically for microgreens because they are often sold in bulk and can be more cost-effective. A weight keeps the lid or blackout cover in place, helps roots push down, and helps shoots shed seed coats. If a bright window is weak, uneven, or shaded, use a grow light for 12 to 16 hours per day.
Which microgreens are easiest for beginners?
Radish, broccoli, kale, arugula, pea, sunflower, basil, and cilantro are all reasonable first crops, but they do not behave the same. Fast, forgiving seeds are usually the best first choice because they germinate evenly and show problems early. Radish and broccoli are especially useful when you want a short turnaround.
Seeds to soak first
Pea shoots are soaked overnight before sowing. Sunflower microgreens are also soaked overnight. Those larger seeds absorb water slowly, so soaking helps them wake up more evenly and reduces patchy emergence.
Seeds to skip soaking
Radish, broccoli, kale, arugula, basil, and cilantro are commonly sown dry. Basil and cilantro can be slower and less even than brassicas, so beginners often do better starting with radish or broccoli before trying them.
Microgreens starter matrix
| Crop | Soak? | Blackout days | Expected harvest window | Difficulty | Common failure risks | 3-step troubleshooting |
|---|---|---|---|---|---|---|
| Radish | No | 3 to 4 | 8 to 12 days | Easy | Mold from dense wet mats; uneven germination if seed bed is clumpy | 1) Reduce bottom water. 2) Increase airflow. 3) Thin clumps with a fork next sowing. |
| Broccoli | No | 3 to 4 | 7 to 21 days | Easy | Weak stands from low light; patchy growth if the medium dries | 1) Move closer to light. 2) Recheck moisture at tray corners. 3) Sow more evenly next time. |
| Kale | No | 3 to 4 | 10 to 21 days | Easy | Slow start; seed coats sticking to tops | 1) Extend blackout one day. 2) Keep the lid weighted. 3) Raise humidity slightly, not the water level. |
| Arugula | No | 3 to 5 | 10 to 14 days | Easy to moderate | Patchiness from uneven sowing; legginess in low light | 1) Sow more evenly. 2) Add stronger light. 3) Press seed into the surface before blackout. |
| Pea | Yes, overnight | 3 to 5 | 10 to 21 days | Easy | Rot if soaked too long; mold if airflow is poor | 1) Drain well after soaking. 2) Run a fan nearby. 3) Use a thinner seed layer next round. |
| Sunflower | Yes, overnight | 3 to 5 | 10 to 14 days | Easy to moderate | Hulls sticking; damping off in wet trays | 1) Rinse after soaking. 2) Keep medium just moist. 3) Harvest before stems get coarse. |
| Basil | No | 5 to 7 | 14 to 21 days | Moderate | Slow germination; uneven stands | 1) Hold blackout longer. 2) Keep the surface evenly damp. 3) Check that seeds are not buried too deep. |
| Cilantro | No | 5 to 7 | 14 to 21 days | Moderate | Uneven sprouting; weak growth in low light | 1) Crumble seed clusters before sowing. 2) Add light sooner. 3) Recheck tray moisture twice daily. |
How do you start microgreens from seed?
Fill the tray, moisten the medium, sow seeds thickly, press them in, and cover the tray for blackout. The key is to make a tight, even seed layer without burying the seeds too deep. After germination begins, remove cover and move the tray into light.
- Fill the shallow tray with seed starting mix or coco coir to about 3/4 to 1 inch deep.
- Water the medium from the top once so the whole layer is evenly damp.
- Sow seeds in a dense, single layer with no bare gaps.
- Press seeds gently into the surface so they contact the moist medium.
- Cover the tray and place a 2 to 5 pound weight on top for the blackout period.
- Check once daily, then uncover when shoots have lifted the cover and most seeds have sprouted.
- Move the tray under bright light or a grow light for 12 to 16 hours a day.
Say your radish tray is a 10 by 20 inch tray and the seed layer looks patchy at one corner. Add a thin pinch of seed to that corner only, then press it in again before blackout. Changing one variable keeps the rest of the tray from getting overcrowded.
Do microgreens need soil or water?
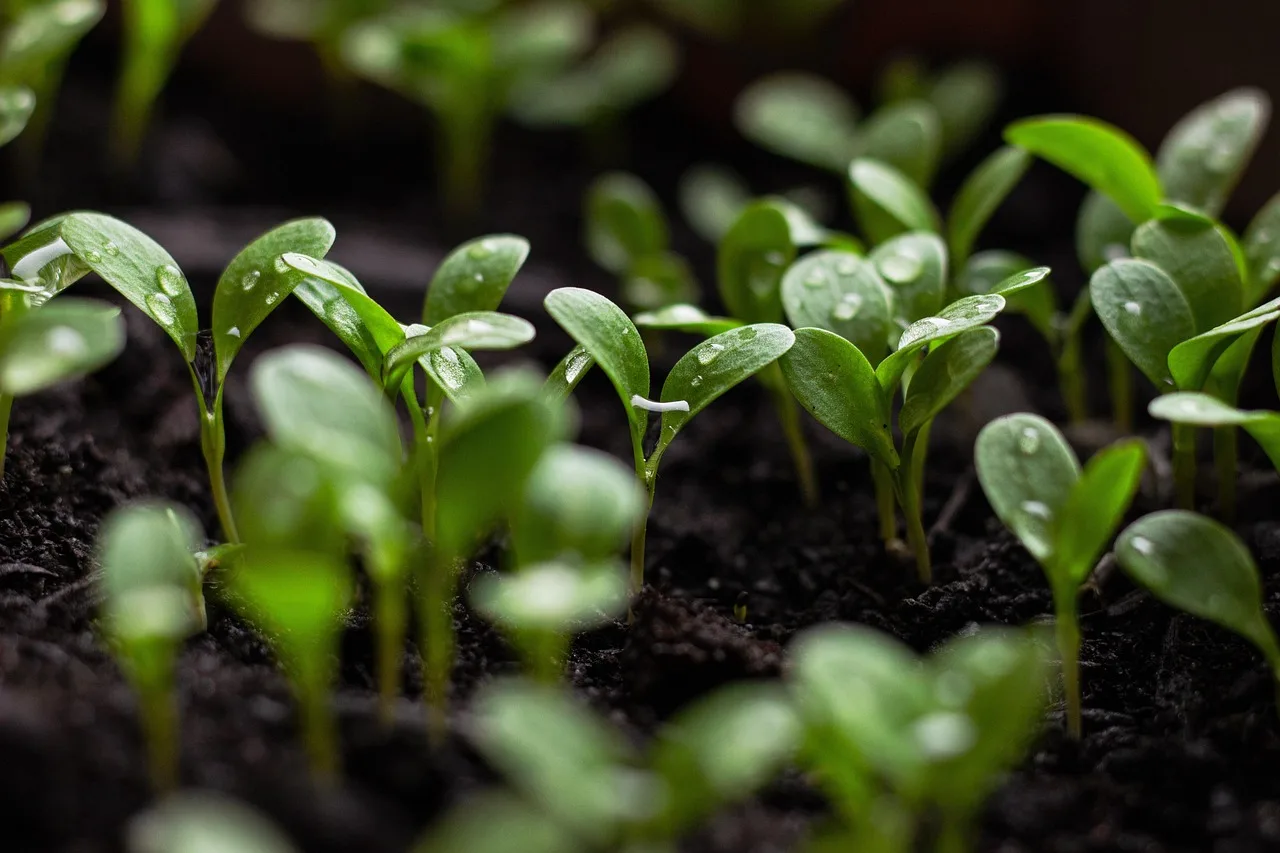
Microgreens need a medium, not a jar of standing water. They grow in soil, seed starting mix, or coco coir, then get water from below so roots can draw moisture without the stems sitting wet. A sunny windowsill can work, but a grow light is better when the window does not give even brightness.
Bottom watering basics
Set the tray in the solid tray and pour water into the bottom tray, not over the leaves. One guide uses about 1 to 2 cups in the bottom tray at a time, but the real target is medium moisture rather than a fixed amount. Refill only after the top feels lighter and the surface starts to dry.
How often to water
Microgreens do not need constant misting. Misting can help right after sowing, but it does not keep roots evenly supplied for long. Check daily, and add water from below whenever the medium feels only slightly damp at the top. If the tray is heavy and wet, wait.
When a grow light helps
Use a grow light when the window is weak, shaded, or produces uneven stems. Most microgreens need 12 to 16 hours of light a day under grow lights. Good light keeps the stems shorter and the leaves greener.
Suppose a sunflower tray sits on a kitchen windowsill in winter and the stems lean hard toward one side. Move it under a centered grow light for 12 to 16 hours a day and rotate the tray once daily. That usually fixes the tilt faster than watering changes alone.
Common mistakes and fixes
Mold, damping off, yellowing, legginess, poor germination, and uneven stands usually come from the same few causes: too much water, not enough airflow, weak light, or seeds spread too unevenly. Fix the setup before changing the crop.
Mold or damping off
- Stop top misting and switch to bottom watering only.
- Increase airflow with a nearby fan on low, not directly blasting the tray.
- Lift the cover earlier if the seed bed is already sprouting.
If that did not work, reduce sowing density by about one-quarter on the next tray and use a drier surface at sowing time. A soggy seed bed is the usual trigger.
Poor germination
- Check whether the crop needs soaking, such as pea or sunflower.
- Recheck the blackout period and keep the tray covered until most seeds have cracked.
- Re-sow thin spots with a fresh pinch of seed and press it in.
If that did not work, move the tray to a steadier 60 to 70°F spot and keep the medium evenly damp, not saturated. Cold, dry, or uneven conditions all slow germination.
Yellowing or leggy growth
- Move the tray closer to the light source or switch to a grow light.
- Extend light time to 12 to 16 hours per day.
- Keep the cover off once the shoots are upright.
Prevention is simple: sow evenly, water from below, and give stronger light on day one after emergence. Yellowing usually means the shoots are stretching for light or the medium has stayed too wet.
How long do microgreens take to grow from seed?
Most microgreens are ready to cut in 1 to 3 weeks, and one guide says they are harvested after 7 to 21 days. Radish can be ready in 8 to 12 days. Pea, sunflower, basil, and cilantro usually take longer, especially when the room is cool or the light is weak.
When and how to harvest
Cut when the first true leaves show, using clean scissors or snips. Harvest in dry conditions and store the cut greens dry in the fridge. Wet greens spoil faster, so skip rinsing until right before use.
Cost path for a first setup
A simple setup starts with two trays, a bag of mix or coco coir, seed, and a light if the window is not enough. The tray pair is often the cheapest fixed part, while the seed cost depends on crop and whether you buy bulk microgreen seed. The first harvest cost is usually driven more by seed and light than by the tray itself.
Frequently asked questions
How do I plant microgreens at home?
Plant them shallowly. Fill the tray with about 3/4 to 1 inch of medium, press the seed onto the surface, and do not bury most crops deeply. Pea and sunflower are the main beginner crops that benefit from overnight soaking before sowing.
Can I grow microgreens from regular seeds?
Yes, if the seeds are untreated and intended for edible use. Many gardeners use regular packet seeds for brassicas and herbs, but bulk microgreen seeds are often more cost-effective for repeated trays and may be easier to measure evenly.
How often do microgreens need watering?
Water when the top of the medium starts to dry and the tray feels lighter, usually by adding water to the bottom tray. A common starting point is 1 to 2 cups in the reservoir, then recheck after it soaks up. Do not keep the tray constantly flooded.
Do microgreens need grow lights indoors?
Not always, but they often do. A bright windowsill may be enough for a short crop, while weaker winter light usually needs a grow light. Most microgreens do best with 12 to 16 hours of light each day under artificial light.