How to Use Heat Mats for Seed Starting Safely
Use a heat mat only for crops that germinate best at 70–85°F, and unplug it as soon as sprouts emerge. Too much bottom heat can dry mix, speed damping off, and ruin whole trays. This guide covers tray setup, thermostat use, crop-by-crop temperature targets, and safety checks.
What a seedling heat mat does


A seedling heat mat adds bottom heat under a tray so the root zone stays warmer than the room. That matters because horticultural mats can raise the soil temperature by about 5° to 10°F, and warm-season crops often germinate more evenly in that range, according to university extension guidance and seed-company germination charts.
Heat does not help every seed. University and seed-company charts commonly place most crops in a broad 65° to 85°F germination band, but some cool-season crops slow down or fail when the mix gets too warm. Lettuce is especially heat-sensitive: seed-company charts and extension resources note that it germinates best around the mid-60s and can lose vigor as temperatures rise above about 70°F.
When heat helps and when it does not
Use bottom heat for seeds that want warmth at sprouting, especially tomatoes, peppers, eggplants, and okra. Skip it for seeds that prefer cooler germination conditions, or use it only if your room is so cold that the mix falls below the crop’s preferred range.
Picture a basement start area that sits near 60°F. A tray of peppers may benefit from a mat and a thermostat. A tray of lettuce in the same space usually should not sit on the same heated surface, because excess warmth can slow or uneven germination.
Standard tray sizes and fit
Tray fit matters more than many beginners think. A standard 10 x 20-inch mat is built around one standard tray size, and a centered tray gives more even root-zone contact than an overhanging or off-center setup. That matters most when you pair the mat with domes and bottom trays in a common germination system.
If the tray overhangs the mat, edge cells often warm unevenly. If the mat is much larger than the tray, the setup can still work, but the contact pattern may be less even unless the tray sits squarely in the warm zone.
How do you set up a heat mat safely?
Set the mat on a level, dry surface and keep the tray centered on it. Use a mat made for horticulture, with waterproof or moisture-resistant construction, and make sure the electrical cord stays out of standing water. Recognized safety certification such as UL, ETL, CSA, or a manufacturer-listed equivalent is the right baseline for indoor use, but waterproofing still does not make poor outlet or cord placement safe.
Safety is not only about the mat surface. For continuous indoor use, look for recognized safety certification from a major testing body, and keep the electrical parts away from splash zones. Waterproofing helps the mat survive a wet seed-starting environment; it does not replace safe cord routing, outlet placement, or load management.
IPX4 vs IP67 for seed-starting environments
IPX4 means splash resistance from any direction, which is usually enough for an indoor seed-starting shelf where trays are watered carefully and the mat is not exposed to standing water. IP67 means dust-tight and protected against temporary immersion, which is stronger than most home seed-starting setups need. Even with IP67, keep outlets high, cords dry, and plugs off the floor.
For indoor seed starting, IPX4 is often sufficient if the mat sits on a dry shelf and the grower waters trays normally. IP67 is more robust for harsh, wash-down, or spill-prone conditions, but it does not make a cord safe if it runs through puddles or a low outlet gets splashed.
Level placement and dry surface rules
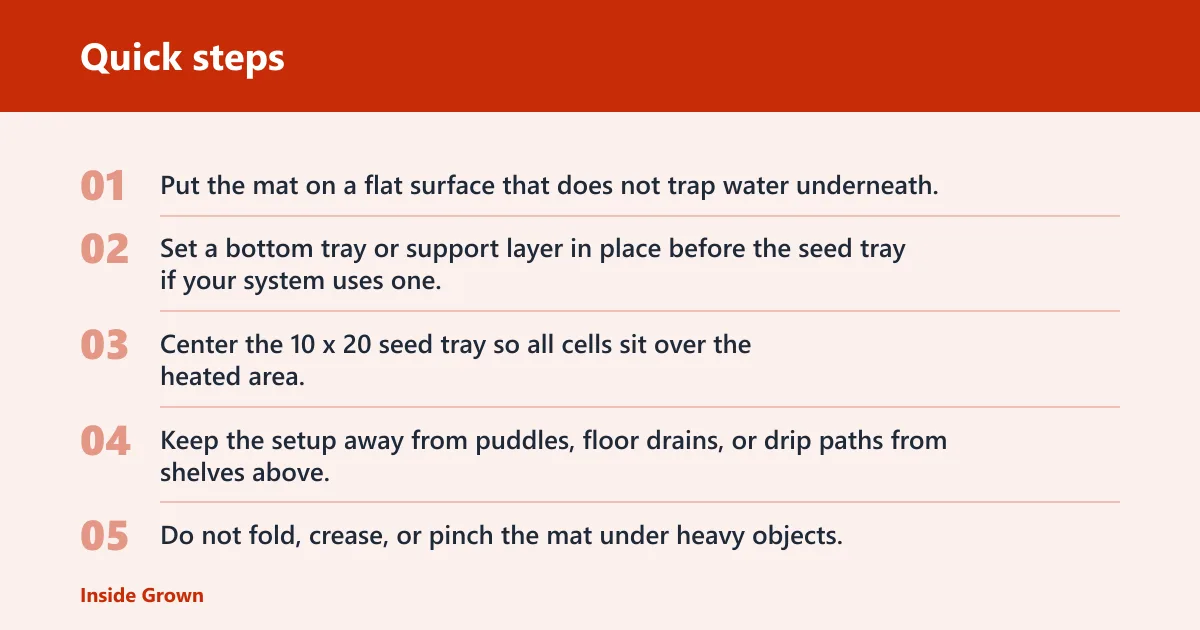
- Put the mat on a flat surface that does not trap water underneath.
- Set a bottom tray or support layer in place before the seed tray if your system uses one.
- Center the 10 x 20 seed tray so all cells sit over the heated area.
- Keep the setup away from puddles, floor drains, or drip paths from shelves above.
- Do not fold, crease, or pinch the mat under heavy objects.
Cord, outlet, and water safety checks
Route the cord so it does not hang in a puddle or run across a walkway. Use a grounded outlet or protected power strip in a dry location. Never plug seed-starting equipment into an outlet that already feeds a space heater, aquarium gear, or another heavy load if that circuit is already busy.
The Almanac warns against using electric blankets for seed starting, and it also says not to use a heating pad for seedlings. Those household substitutes are not built for the moisture, contact pattern, and long continuous run time that seed starting usually needs.
Using humidity domes without trapping excess moisture
A humidity dome keeps moisture in and slows drying on heated trays, but it should not create a sealed chamber with no airflow. Keep the dome on during germination if the mix dries fast, then vent or remove it once sprouts appear and the seedlings need more air movement.
Too much moisture plus warmth can create damping-off risk. Keep the mix evenly moist, not saturated, and let the surface lose a little shine between waterings if the cells stay wet for long stretches.
Thermostat or no thermostat?
A thermostat is optional for some simple setups, but it becomes valuable when room temperatures swing or the crop is heat-sensitive. The Almanac notes that some mats are thermostatically controlled, and that control helps keep the root zone in range instead of letting the mat run hot all day.
If you start only a few trays in a stable room, a mat without a thermostat can work. If you start peppers in a cold basement, or if the room warms up during the day and cools at night, a thermostat is worth adding.
Why temperature control matters
Heat mats can raise soil temperature by about 5° to 10°F, but that increase is not always consistent from room to room. Harvest to Table says mats may warm soil roughly 10–20°F above room temperature, which suits warm-start crops but is too much for seeds that like cooler conditions.
Use a thermostat to keep the mat from running past the crop’s target. That matters most when the room is already warm, when several trays are stacked close together, or when the crop needs a narrower germination band.
How to use a soil thermometer to verify root-zone heat
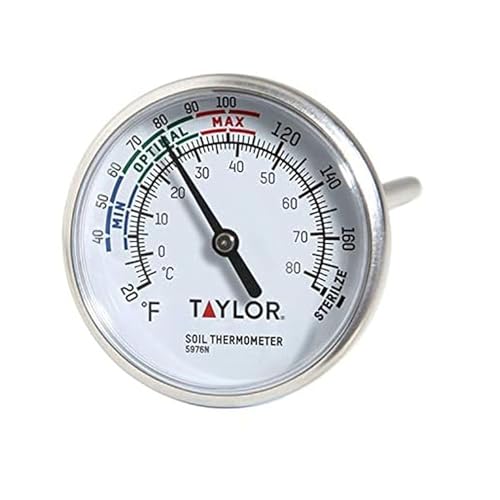
Use a soil thermometer to check the mix, not just the room air. Insert it into the seed-starting mix near the root zone and compare the reading with the crop target. That is better than guessing from the mat setting alone, because tray depth, dome use, and room temperature all change the actual soil temperature.
If the mix is above the crop’s preferred range, reduce heat, lift the tray briefly, or unplug the mat and recheck. If it is below range, improve contact, close the dome, or add a thermostat if the temperature keeps drifting.
Which seeds benefit most from heat mats?
Warm-season crops usually benefit the most from bottom heat, especially tomatoes, peppers, eggplants, and okra. Seed-company germination charts and extension guides commonly place these crops in warmer germination ranges than lettuces and other cool-season crops, which is why bottom heat often speeds sprouting and improves uniformity for them.
What matters is the crop’s germination range, not just the calendar. If your room is already near the upper end of the crop’s preferred range, adding a mat may do little or may push the mix too warm.
Warm-season crops that usually benefit
Tomatoes often respond well to moderate bottom heat when started indoors. Peppers and eggplants are even more likely to benefit because they prefer warmth at sprouting. Okra also prefers warmth and is a strong candidate for a mat in cool indoor spaces.
For these crops, a thermostat often pays off if the room temperature shifts more than a few degrees across the day. That is especially true in basements, garages, and drafty spare rooms.
Cool-season seeds that usually skip bottom heat
Many cool-season crops do not need a heat mat. Lettuce is the clearest example here, since germination drops off sharply above about 70°F in university extension and seed-company guidance. Other cool-season seeds often germinate best with moderate room warmth, not extra bottom heat.
Common first-timer mistake: putting every tray on the same heated shelf because it seems efficient. That can waste seed and create uneven trays, with warm lovers sprouting while cool lovers stall.
Why crop type changes the decision
Seed type changes the target temperature, the need for a thermostat, and even whether a humidity dome is useful. A tray of peppers may want steady warmth and a dome. A tray of lettuce may want cooler conditions, lighter moisture, and faster removal from heat once sprouting begins.
Seed mat checklist
Use this checklist before you plug in a mat. It covers the main safety and crop-fit decisions that keep indoor seed starting predictable. If several boxes are no, fix the setup before adding heat.
| Section | Yes | No |
|---|---|---|
| Placement safety: mat sits on a level, dry surface with no standing water underneath | ☐ | ☐ |
| Placement safety: cord routes away from water, traffic, and pinch points | ☐ | ☐ |
| Placement safety: mat is made for seed starting and has a safety certification such as UL listing | ☐ | ☐ |
| Temperature control: crop has a warm germination target or a clear need for bottom heat | ☐ | ☐ |
| Temperature control: thermostat is installed when room temperature swings or the crop is heat-sensitive | ☐ | ☐ |
| Temperature control: soil thermometer is available to verify root-zone temperature | ☐ | ☐ |
| Moisture management: humidity dome fits without sealing the tray airtight | ☐ | ☐ |
| Moisture management: mix stays moist, not soggy, during germination | ☐ | ☐ |
| Crop-fit decision: tray is a standard 10 x 20 or otherwise sits fully within the heated zone | ☐ | ☐ |
Crop-fit decision rules
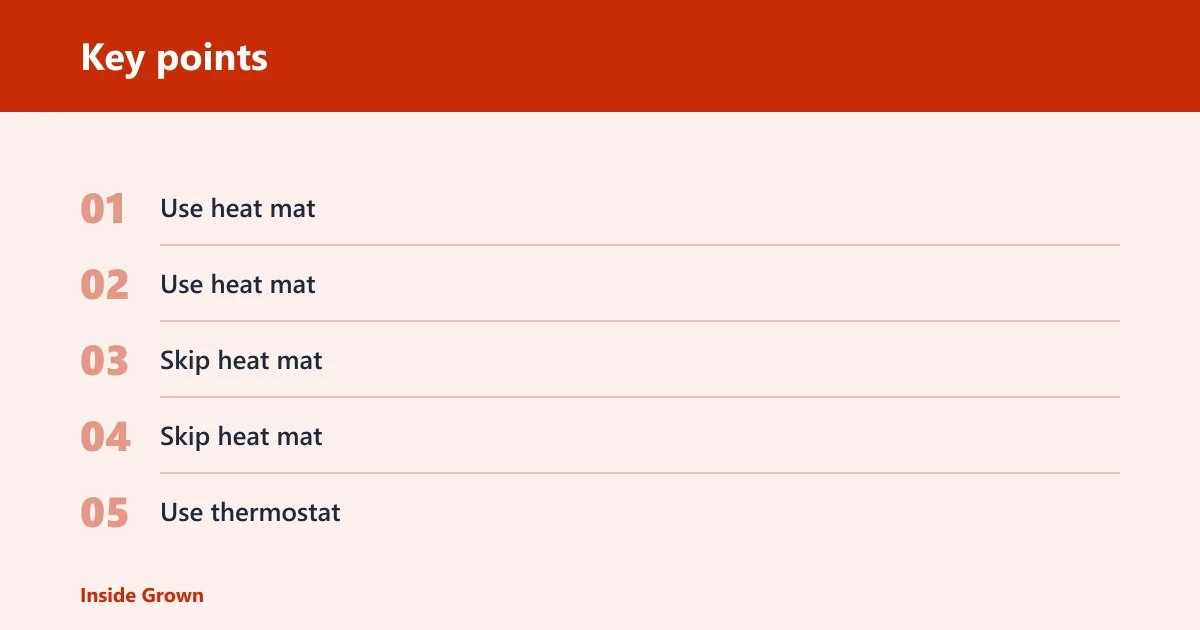
- Use heat mat for tomatoes, peppers, eggplants, and okra if your room is cool or unstable.
- Use heat mat when the seed packet or crop target calls for warm germination and the tray sits on a proper mat fit.
- Skip heat mat for lettuce and other cool-season seeds that can slow down in warm mix.
- Skip heat mat if the room already stays in the crop’s germination range and the tray is sprouting evenly.
- Use thermostat if you cannot hold a steady root-zone temperature by room conditions alone.
| Seed category | Use heat mat | Skip heat mat |
|---|---|---|
| Tomatoes | Often | Only if room stays warm and stable |
| Peppers | Usually | Rarely in cool indoor spaces |
| Eggplants | Usually | Rarely in cool indoor spaces |
| Okra | Usually | Only if germination area is already warm |
| Lettuce | Usually no | Usually yes |
| Other cool-season crops | Only when room is too cold | Usually yes |
How long should the mat stay on?
Leave the mat on only during germination, and keep it on continuously if the crop still needs bottom heat for sprouting. The Almanac advises leaving the mat on 24 hours a day until sprouting. After emergence, many crops should come off the mat or move to a cooler setup.
During germination
Run the mat nonstop while the seeds are in their germination phase unless a thermostat cycles it off to hold target temperature. Check the mix daily. Heated trays often dry faster, especially under domes and under lights, so the surface can change from moist to crusted quickly.
After sprouts emerge
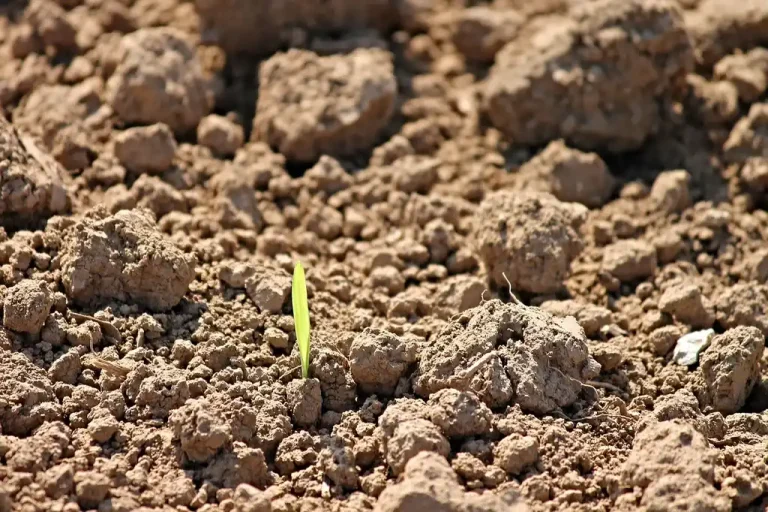
Once the first seedlings break the surface, reassess immediately. If the crop is a warm-season type that still benefits from gentle warmth, you can keep heat going briefly while watching the soil temperature closely. If the crop is a cool-season type, remove the tray from the mat or switch the mat off.
Can a heat mat overheat seedlings? Yes. Overheating shows up as stretched growth, dry cells, stalled germination, or seedlings that collapse after a fast sprout. Excess warmth can also dry the medium so much that roots struggle even when the top looks only lightly dry.
When to remove trays from the mat
Remove the tray when the crop has sprouted and the soil no longer needs bottom heat for the next stage. A tray of lettuce should come off quickly after emergence. A tray of peppers may stay on a little longer if the room is cold, but the mat should still stop as soon as the seedlings no longer need it.
Say your 10 x 20 tray of peppers germinates in a basement that swings between 62°F and 68°F. A thermostat can keep the root zone steadier than room air alone, but the tray still should come off the mat once the seedlings are up and the roots are ready for normal indoor growing conditions.
Frequently asked questions
How long should a heat mat stay on for seed starting?
Keep it on through germination, and for many crops that means 24 hours a day until sprouting. Once sprouts appear, decide crop by crop whether the tray still needs bottom heat. Warm-season crops may keep it briefly; cool-season crops should usually come off right away.
Do seedling heat mats need to stay on 24/7?
Usually yes during germination, because seedlings respond to steady root-zone warmth more than to short heat bursts. The key exception is a thermostat-controlled setup, which may cycle the mat to maintain a target temperature. Either way, do not leave it on longer than the crop needs.
Should you use a thermostat with a seed heat mat?
Use one when room temperatures swing, when you start heat-sensitive crops, or when you want more consistent results from tray to tray. It is especially useful in basements, garages, and other spaces that change temperature through the day. For simple warm rooms, it is optional.
How do you keep seed trays from drying out on a heat mat?
Use a humidity dome, but vent it if condensation stays heavy. Water thoroughly before heat goes on, then check the mix daily because heated trays dry faster than unheated trays. Keep the medium moist, not saturated, so you do not invite damping-off problems.
When should you remove seedlings from the heat mat?
Remove them as soon as the crop no longer needs bottom heat. For lettuce and other cool-season seedlings, that is often right after emergence. For tomatoes, peppers, eggplants, and okra, move them off once they have sprouted and are ready for normal indoor growing temperatures.