
How Far Apart Should Path Lights Be Placed?
Start with path lights 6 to 8 feet apart, then tighten to 4 to 6 feet on narrow or dark walks and open to 8 to 10 feet on wider, brighter paths. Too much spacing leaves dark gaps and uneven footing; too little wastes fixtures and creates glare. This guide shows how path width, ambient light, fixture output, setback, and visual rhythm change the spacing.
Why path light spacing changes


There is no single spacing number that fits every path light. The right layout depends on walkway width, nearby ambient light, fixture output, beam spread, and how the path bends or changes level. A path light is a low-mounted outdoor light that sends light downward for walkways, planting beds, driveway edges, and steps.
Path width changes how many fixtures you need and whether one side is enough. Ambient light changes how much overlap you need. Fixture shape matters too: a broader shade can spread light across a wider ground area, while raising the source can extend the lit zone.
What affects spacing most
Walkway width is the first divider: narrow paths need tighter spacing and wider paths need more overlap across the center. Dark sites usually need closer fixture placement than moderately or well-lit sites. Higher output, wider beam spread, broader shade diameter, and taller stem height can all widen the useful light pattern, while a stronger setback or a narrower beam usually pushes spacing tighter.
Fixture setback matters because it changes where the beam lands. A light placed farther from the edge can soften glare and widen the look, but it also has to throw enough light back onto the walking surface. That balance is why the same fixture can work in one layout and fail in another.
Path width and geometry
Narrow paths can feel crowded fast if fixtures are too close together or placed directly across from each other. Wider walks can tolerate more distance between fixtures, but they still need enough overlap to avoid dark bands in the center. Curves, corners, steps, and entry transitions often need tighter spacing than a straight run.
Geometry matters because a straight line makes patterns obvious. On a simple straight walk, identical spacing can read as stiff and repetitive. On a curve, a slightly uneven rhythm often looks more natural and still guides the eye and footfall.
Ambient light level
Dark outdoor areas usually need closer spacing than paths near a house, porch, or other lit zone. A path beside a garage wall, entry light, or window may need fewer fixtures because the surrounding light already does part of the work. In a darker side yard, the same path may need more overlap to keep footing clear.
Fixture output and beam spread
Higher lumen output does not automatically mean fixtures should be farther apart. Bright lamps can still create harsh pools of light if the fixture design sends light in a tight beam or leaves the lens exposed. A wider beam spread or a broader shade can let you widen spacing, but only if the light still lands where people walk.
Fixture output should match the design of the light. Narrow spot-style path lights need tighter spacing. Wider flood-style beams can cover more distance, but they still need to be aimed and placed so the ground stays even rather than patchy.
How far apart should path lights be?
Start with the path itself, not the fixture. For many residential walkways, a common starting range is about 6 to 8 feet apart, then adjust based on width, ambient light, and the fixture’s beam spread. On narrow or dark walks, move closer to about 4 to 6 feet. On wider, brighter paths, spacing can open to about 8 to 10 feet.
The aim is steady visibility without flooding the area with light. Look for soft overlap between fixtures, not isolated bright circles. If the path reads like a dotted line at night, the spacing is too wide or the output is too low for the layout.
Use overlap to avoid dark gaps
Spacing should create overlap where one fixture’s light reaches into the next fixture’s area. That overlap matters as much as brightness. Without it, the path can feel segmented, and the eye will notice every dark transition.
Say your 4-foot-wide side path has two bright fixtures 10 feet apart. The centers may look fine from a distance, but the walking surface between them can fall into a dim strip. Moving the fixtures closer, or widening the spread with a different shade, usually works better than adding more wattage alone.
Adjust for curves and transitions
Curves often need a shorter spacing rhythm than straight sections, especially where the path turns toward a door or steps down. Transitions at driveways, landings, and stairs often deserve their own layout, since those are the places where people need the clearest footing.
For a bend, place fixtures so the light follows the turn rather than pointing straight ahead through it. If the path widens near an entry, increase spacing gradually instead of jumping from a tight rhythm to a loose one in a single step.
How far from the walkway should fixtures sit?
Place path lights into the planting bed rather than right on the border when possible. A common setback is about 12 to 24 inches from the path edge. That keeps the fixture out of the kick zone, softens the line, and reduces the hard-edged runway look that edge-hugging placement can create.
Setback also changes the look of the beam. A fixture that sits too close to the paving can throw a hard pool of light and expose the lens. Moving it into soil or mulch often gives the light room to spread and makes the pattern feel less rigid.
Why edge-hugging placement looks harsh
When fixtures sit right on the border, the line between light and dark can feel mechanical. The path can read like a border stripe instead of a walking route. That effect is stronger on straight paths with identical spacing and fixtures on both sides.
Planting bed placement is often a better home for path lights because it lets the stem and shade sit away from foot traffic while still lighting the route. The fixture is easier to place at a useful angle, and the planting bed helps hide the hardware during the day.
When one side is enough
One side can be enough on a narrow path, a path near a wall, or a route with decent ambient light from the house or driveway. One-sided placement can also work when the path curves and the fixtures need to trace the outside edge. On wider walks, a single side may leave the far edge dim unless the fixture output is strong and the beam is broad.
Should path lights alternate sides?
Alternating sides can look more natural on some paths, especially on longer runs where a repeated pattern would feel stiff. It also helps avoid direct opposite pairs, which can make a walkway look overly formal. On many ordinary walkways, staggered placement is the cleaner choice.
That said, alternating sides is a layout choice, not a rule. Narrow walks, straight entry paths, and short runs near steps or doors may be better with a single side or a carefully staggered pattern that avoids visual symmetry.
When direct opposite placement causes problems
Fixtures placed directly across from each other can create a formal look. On a narrow walk, they can also double the brightness in the same section and leave the middle feeling hot while the rest of the route stays dim. That is where the runway effect starts to show up.
A common first-timer mistake is lining up every fixture in the same place on each side of a straight path. The result often feels too obvious. Shift one side forward or back a little, or use just one side where the path is narrow and the planting bed gives enough spread.
How to handle narrow and wide walks
Narrow walks usually do better with one side only or a staggered layout that avoids mirror-image pairs. Wider walks can accept alternating sides if the fixtures are not perfectly matched across from each other. The wider the path, the more important it is to keep the center lit without making the edges look overdone.
Suppose a 5-foot-wide front walk runs from the driveway to the porch. If the site is already bright from the entry light, a staggered one-side layout may be enough. If the same walk sits in a dark side yard, closer spacing and a few fixtures on both sides may make the route easier to read.
Path light spacing decision table

Use this table as a starting point, then fine-tune after dark. Narrow paths are roughly 3 to 4 feet wide, standard paths about 4 to 6 feet wide, and wide paths about 6 feet or more. Dark sites have little nearby ambient light, moderate sites have some spill from the house or driveway, and well-lit sites already have strong surrounding illumination.
Beam spread and fixture form also matter. A narrower beam, shorter stem, or smaller shade usually tightens spacing. A broader beam, taller stem, or larger shade usually allows a wider layout if the light still reaches the walking surface evenly.
| Path width | Light condition | Starting spacing | Setback from edge | Lumen/output band | Beam spread | Stem height | Shade diameter effect | Layout note |
|---|---|---|---|---|---|---|---|---|
| Narrow | Dark | 4 to 5 feet | 12 to 18 inches | Low to medium | Narrow to medium | Lower stem keeps light close to the ground | Smaller shade keeps the pool tight | Use one side or a staggered pattern; avoid paired fixtures across from each other. |
| Narrow | Moderate ambient | 5 to 6 feet | 12 to 24 inches | Medium | Medium | Medium stem can balance spread and glare | Moderate shade helps soften edges without overextending the beam | One side often works; stagger only if the path bends or dark spots remain. |
| Narrow | Well-lit | 6 to 8 feet | 12 to 24 inches | Low to medium | Medium to wide | Taller stem may widen coverage if glare stays controlled | Broader shade can reduce harshness and spread light more evenly | Keep the pattern loose and avoid over-lighting the edge. |
| Standard | Dark | 5 to 6 feet | 12 to 24 inches | Medium | Medium | Medium stem usually works best for general coverage | Moderate to broad shade supports overlap across the center | Stagger sides on longer runs; tighten near turns and steps. |
| Standard | Moderate ambient | 6 to 8 feet | 12 to 24 inches | Low to medium | Medium to wide | Medium stem can keep the beam useful without exposing the lens | Moderate shade usually gives the best balance of spread and control | One side or staggered sides both work; let the geometry decide. |
| Standard | Well-lit | 8 to 10 feet | 12 to 24 inches | Low | Wide | Higher stem can help reach the center of the path | Broader shade softens bright nearby light and reduces contrast | Use fewer fixtures and keep the rhythm relaxed. |
| Wide | Dark | 4 to 6 feet | 18 to 24 inches | Medium to high | Medium to wide | Taller stem helps cover a wider walking area | Larger shade can spread light without creating a hot spot | Stagger both sides so the center stays readable. |
| Wide | Moderate ambient | 6 to 8 feet | 18 to 24 inches | Medium | Wide | Medium to tall stem can help the beam clear shrubs and edging | Broad shade supports wider spacing if glare stays low | Use staggered sides near curves or entries; single-side layouts may leave a dim edge. |
| Wide | Well-lit | 8 to 10 feet | 18 to 24 inches | Low to medium | Wide | Taller stem can help keep the light legible in a brighter setting | Wide shade can prevent the layout from looking too point-like | Keep spacing open, but watch for dark bands in the middle. |
For paths near driveways, steps, or landings, treat the transition as its own zone. Those spots often need tighter spacing or a different fixture type than the main walk. The same principle applies to walkway light placement: the closer the change in level or direction, the more likely the layout needs a tighter rhythm.
How to fine-tune layout after dark
After-dark testing is the last step, not an optional one. Walk the path once the lights are on and look for glare, overlap, and dark transitions. Small moves can change the whole feel of the layout, especially near curves, steps, and entry points.
If the fixtures look too bright in one spot and too dim in the next, adjust the spacing before adding more lights. The aim is even visibility, not a row of bright points. If the lens is visible from normal standing height, try shifting the fixture deeper into the bed or changing the angle.
Step-by-step spacing method
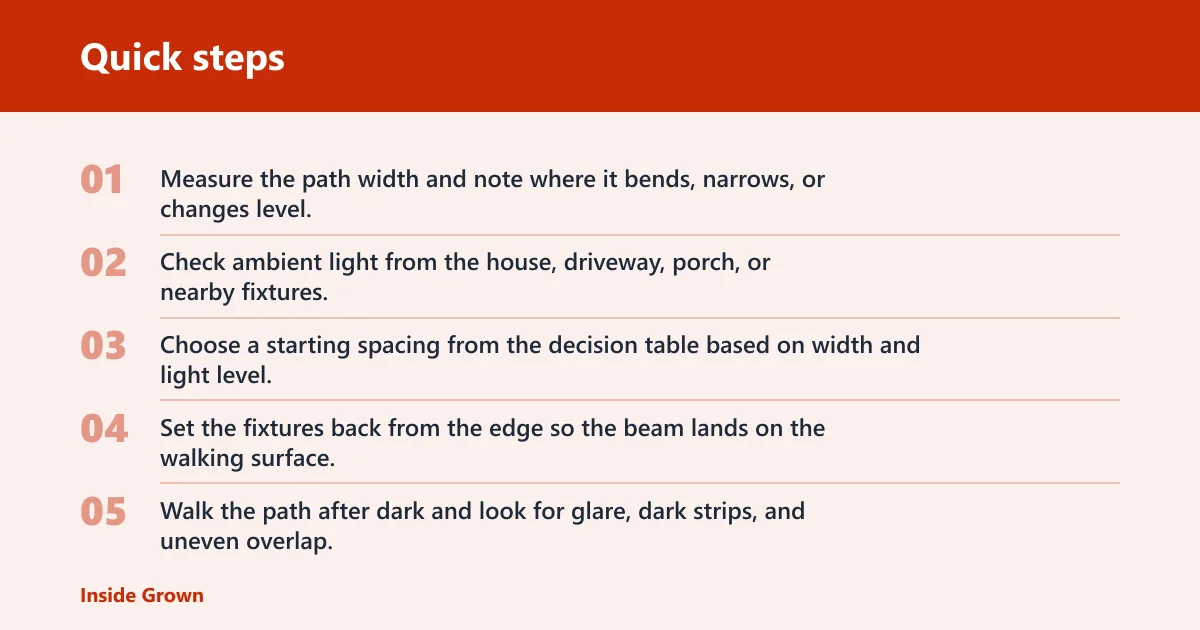
- Measure the path width and note where it bends, narrows, or changes level.
- Check ambient light from the house, driveway, porch, or nearby fixtures.
- Choose a starting spacing from the decision table based on width and light level.
- Set the fixtures back from the edge so the beam lands on the walking surface, not just the border.
- Walk the path after dark and look for glare, dark strips, and uneven overlap.
- Move fixtures closer for dark gaps, or farther apart if the light feels crowded or harsh.
- Retest curves, entries, and steps until the route reads cleanly from a normal walking position.
How far apart path checklist
- Is the middle of the path lit without bright hot spots?
- Can you see tread edges, turns, and changes in level clearly?
- Does any fixture expose the lens from standing height?
- Are opposite fixtures creating a runway look?
- Do curves and transitions need tighter spacing than the straight runs?
Check glare and hot spots
Glare usually means the fixture is too close to the viewing angle, the lens is too exposed, or the output is too high for the spacing. Hot spots can come from narrow beam spread or from fixtures placed too near each other. Both issues are easier to solve with placement than with more brightness.
Shift fixtures to fix dark transitions
If a curve falls into shadow, move one fixture closer to the bend and shift the next one so the overlap lands where the turn begins. If a path crosses from a bright porch area into a dark side yard, tighten the first few fixtures at the transition, then relax the spacing farther out.
Test steps, curves, and entry points
Steps need enough light to show tread edges clearly. Curves need enough spread to guide the eye through the turn. Entry points need a calmer rhythm so the path does not feel abrupt when it meets a driveway, patio, or front door approach.
Picture a curved garden walk that leaves a patio and drops into a side yard. If every fixture sits 8 feet apart in a straight line, the bend will likely look underlit. Moving one light closer to the turn and pulling the fixtures 12 to 24 inches into the planting bed usually gives the curve a smoother read.
Frequently asked questions
How far apart should walkway lights be?
Walkway light placement often follows the same logic as path lights: start around 6 to 8 feet apart and tighten or open the spacing based on the site. Straight, dark walks need more overlap. Curved or well-lit walks can usually use wider spacing without losing visibility.
How far to space pathway lights?
Use the path width first. Narrow walks usually need closer spacing and one-side or staggered placement. Standard walks can start in the middle of the 6 to 8 foot range. Wider walks may need 8 to 10 feet if the fixtures have a broad shade and enough beam spread.
How far apart to place landscaping lights?
For planting beds along a path, spacing depends on whether the lights are doing walkway duty or accent duty. If they help guide movement, use the same path-light logic. If they are only for plants, spacing can be looser, but the path still needs clear footing and low glare.
How do I avoid the runway effect with path lights?
Avoid a perfectly even line with identical spacing and direct opposite pairs. Shift fixtures slightly, use a staggered rhythm, and pull them 12 to 24 inches into the planting bed when possible. The aim is soft overlap and a more natural pattern, not a row of runway markers.