What Do You Use to Store Seeds for Gardening Long-Term?
Saving seeds is more than just a gardening habit—it’s a powerful practice that connects you to the cycles of nature, increases your gardening self-sufficiency, and can help preserve rare or heirloom plant varieties. But successful seed storage is not as simple as tossing seeds in a drawer and hoping for the best.
Proper long-term storage is essential for maintaining seed viability, germination rates, and ultimately, the health of your future gardens.
Whether you’re a backyard hobbyist, a homesteader, or a serious seed saver, understanding the best methods and materials for long-term seed storage can make a world of difference. From airtight containers to climate control, the right techniques can extend a seed’s lifespan by years or even decades.
In this article, you’ll discover the science behind seed preservation, the most effective storage solutions, and actionable strategies to ensure your seeds stay fresh and ready to grow.
Key Takeaways
- Seed viability depends on proper storage conditions—mainly cool, dry, and dark environments.
- Airtight containers such as glass jars and vacuum-sealed bags are ideal for long-term storage.
- Desiccants like silica gel packs help control humidity and prevent seed spoilage.
- Labeling and organization systems are crucial for tracking seed age and variety.
- Case studies show that seeds stored with best practices can germinate after decades.
- Climate control (refrigeration or freezing) significantly extends seed shelf life.
Credit: homegrown-garden.com
The Science Of Seed Longevity
Understanding how and why seeds lose viability over time is the foundation of effective storage. Seeds are living organisms, and their longevity depends on factors like genetics, moisture content, temperature, and exposure to light.
How Seeds Age And Lose Viability
Seeds naturally age due to biochemical breakdowns that occur within their cells. High moisture and temperature accelerate this aging process, leading to reduced germination rates. According to research published by the United States Department of Agriculture (USDA), seeds stored at room temperature lose viability much faster than those kept in cooler environments.
Over time, the cell membranes within a seed become less effective at keeping out damaging molecules, and the DNA inside can also break down due to oxidative stress. Lipid peroxidation—the degradation of fats in the seed—can cause the membranes to become leaky, allowing for further deterioration.
In addition, enzyme activity within the seed can continue at a slow rate, leading to the depletion of stored nutrients and a decline in the seed’s ability to sprout.
Key Factors Affecting Seed Shelf Life
- Moisture: Seeds with high moisture content are prone to mold and bacterial growth. Even a small increase in moisture can create microenvironments for fungi and bacteria, which can rapidly destroy a seed collection. Seeds harvested after rain or in humid conditions must be dried thoroughly to prevent spoilage.
- Temperature: High temperatures speed up metabolic activity, causing seeds to age faster. Enzymatic reactions that degrade vital nutrients and structures are greatly accelerated at higher temperatures. For example, a seed stored at 77°F will lose viability much faster than one kept at 41°F.
- Light: Exposure to light can trigger premature sprouting and degradation. Some seeds are particularly sensitive to light, which can break down chlorophyll precursors and other essential compounds.
- Oxygen: Oxidation can damage seed tissues over time. Oxygen reacts with organic molecules in the seed, leading to the formation of free radicals and other reactive compounds that can harm DNA and proteins.
A general rule known as Harrington’s Rule states that for every 1% decrease in seed moisture and 10°F decrease in storage temperature, seed life doubles (Wikipedia). This highlights the importance of creating an environment that is both dry and cool for the longest possible shelf life.
Typical Seed Lifespans
Different seeds have varying natural lifespans. For example, tomato and bean seeds can last up to 5 years under optimal conditions, while onion and parsnip seeds may only remain viable for 1-2 years. Some seeds, like those of certain grains or legumes, have been known to germinate after decades under ideal storage.
Conversely, seeds with thin coats or high oil content tend to have shorter viable periods.

Credit: www.tenthacrefarm.com
Best Containers For Long-term Seed Storage
Choosing the right container is the cornerstone of seed preservation. The ideal container will protect seeds from air, moisture, pests, and fluctuating temperatures.
Airtight Glass Jars
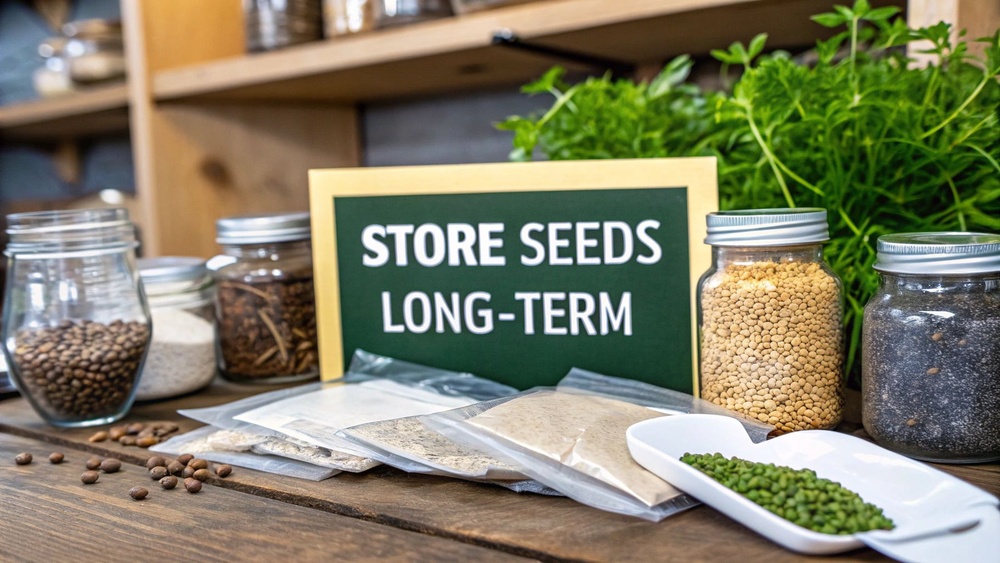
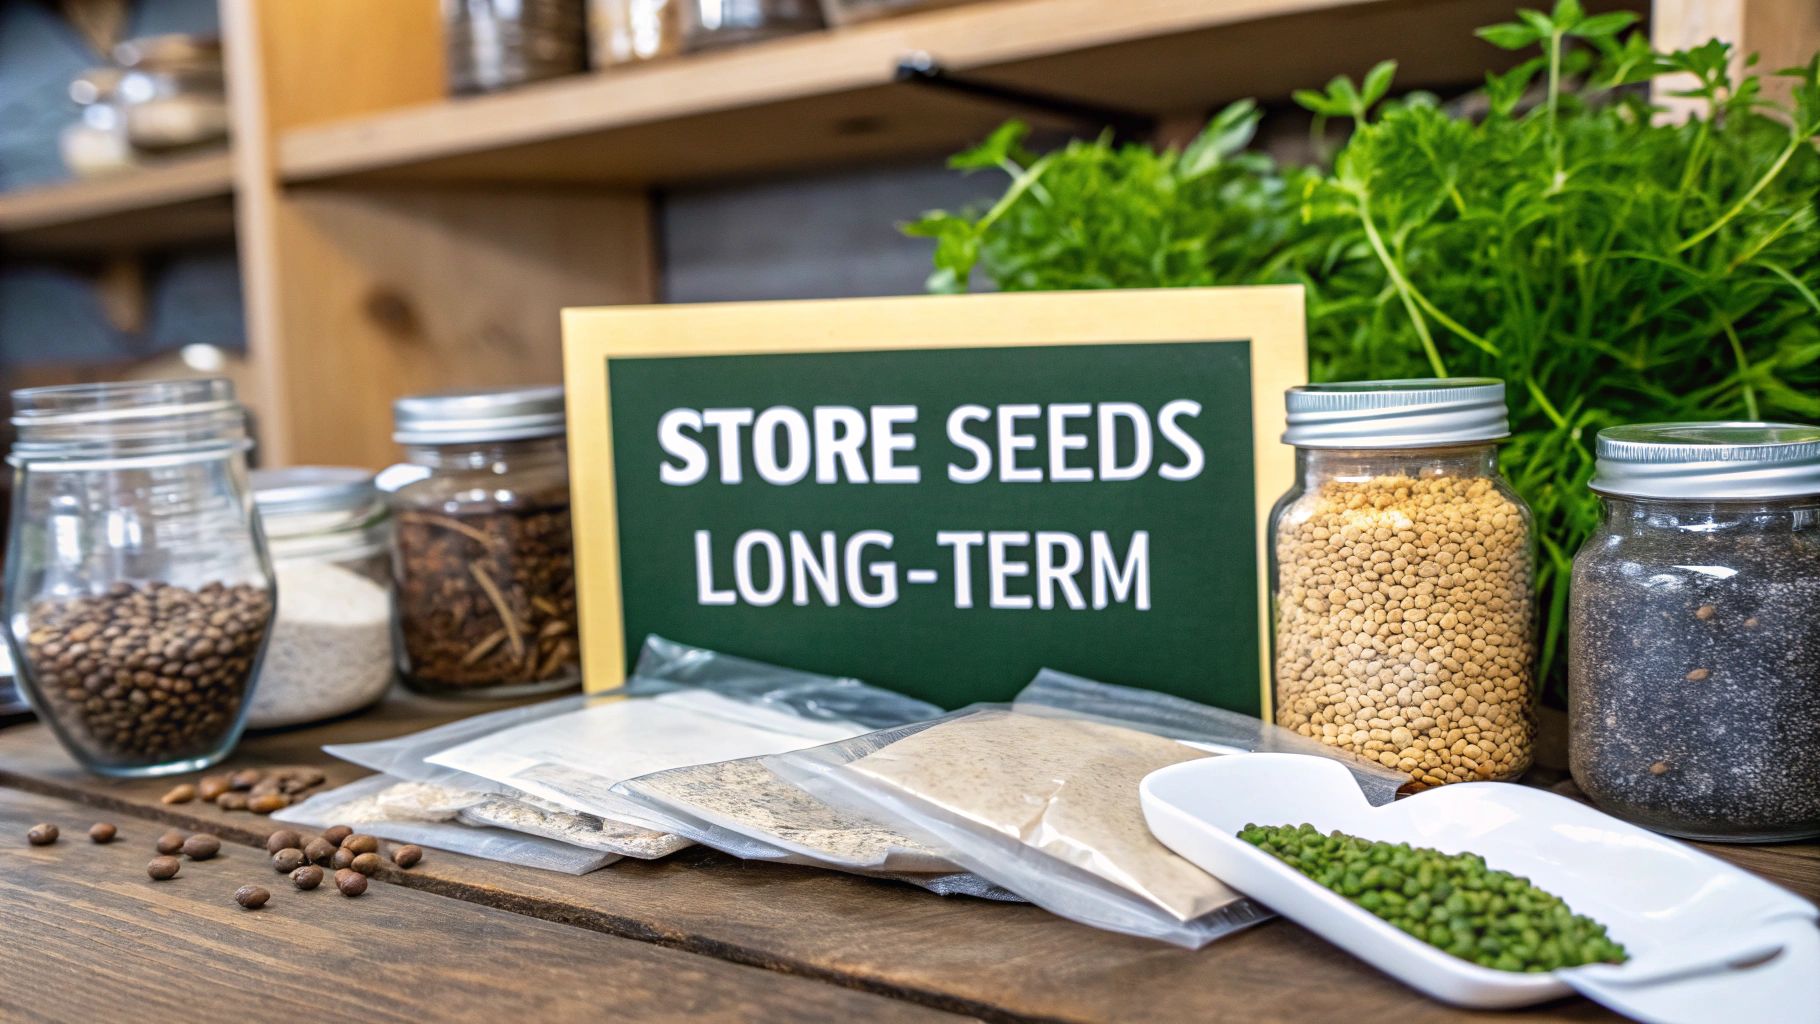
Glass mason jars with rubber-sealed lids are widely considered one of the best options. They are impermeable to air and moisture, reusable, and non-reactive. For added protection, vacuum-seal the jars to remove as much air as possible. Glass is also transparent, which makes monitoring internal moisture or condensation easy, though jars should be stored in a dark place to prevent light exposure.
Glass jars come in various sizes, making them versatile for both small and large seed collections. Wide-mouth jars are particularly helpful for accessing and organizing seeds. When using glass, ensure the seals are intact and check periodically for chips or cracks that could compromise the airtightness.
Vacuum-sealed Bags
Vacuum-sealed bags remove air completely, drastically reducing the risk of oxidation and moisture intrusion. They are lightweight, space-saving, and excellent for bulk seed storage.
Vacuum sealing is especially beneficial for seeds that will be stored in the freezer, as it prevents freezer burn and the formation of ice crystals that can damage delicate seed tissues. Resealable vacuum bags are available for those who frequently access their seeds, though single-use bags offer the best seal for very long-term storage.
Plastic Containers With Gaskets
While plastic is less ideal due to potential permeability, high-quality polypropylene containers with silicone gaskets can offer solid protection. These are a practical choice for gardeners who need to organize large collections.
Some plastic containers are designed specifically for seed storage, with built-in humidity control features or modular compartments. Always ensure plastics are food-grade and BPA-free to avoid chemical leaching, and check for a tight-fitting seal to keep out air and moisture.
Metal Tins
Aluminum or tin containers provide protection from light and pests. Ensure that tins have tight-fitting lids and, ideally, a rubber or silicone seal.
Metal tins are excellent for storing small quantities of rare or precious seeds. They are also stackable and can be labeled easily. However, if using tins in humid environments, check periodically for signs of rust, as this can compromise both the seed and the container.
Real-world Example: Glass Jars Vs. Plastic Bags
A 2020 home gardener experiment in Vermont compared tomato seeds stored for 3 years in glass jars and in standard zip-top plastic bags. The glass jar batch had a 90% germination rate, while the plastic bag batch dropped to 60%—highlighting the importance of using airtight containers. The gardener also noted that the plastic bags were more prone to pest infestations, while the jars stayed pest-free.
Comparison Table: Pros And Cons Of Common Seed Storage Containers
| Container Type | Pros | Cons | Best For |
|---|---|---|---|
| Glass Jars | Excellent seal, reusable, non-reactive | Breakable, heavier | Home seed banks |
| Vacuum-Sealed Bags | Removes air, compact, inexpensive | Requires equipment, single-use | Bulk storage, long-term backups |
| Plastic Containers | Lightweight, easy to organize | May allow air/moisture, possible chemical leaching | Short-term or organized collections |
| Metal Tins | Blocks light, pest-proof | May rust, seal not always perfect | Heirloom or rare seeds |
Credit: homegrown-garden.com
Environmental Conditions For Optimal Storage
Beyond the container, the environment in which you store seeds can make or break their longevity. The three pillars are cool, dry, and dark.
Temperature Control
Seeds last longest at temperatures between 32°F and 41°F (0°C-5°C). Household refrigerators are a practical option, while upright freezers are suitable for very long-term storage. The Svalbard Global Seed Vault stores seeds at -0.4°F (-18°C), preserving them for decades or centuries (Crop Trust).
For most home gardeners, a dedicated mini fridge or chest freezer can provide an ideal storage environment. Avoid placing seeds in the door compartments, where temperatures fluctuate more. Instead, store them in the back or bottom, where conditions are most stable.
Humidity Management
Seeds should be stored at 8% or lower moisture content. High humidity leads to fungal and bacterial growth. Use desiccants like silica gel packs or powdered milk in containers to absorb excess moisture.
In especially humid climates, double up on desiccants or invest in a dehumidifier for your storage area. Some advanced seed savers use hygrometers to monitor the humidity inside their storage containers and adjust as needed. If storing seeds for long periods, check and refresh desiccants every six months or after any signs of moisture.
Light Exclusion
Store seeds in opaque or dark containers and keep them away from sunlight. Light can trigger biological processes that reduce viability.
Even brief exposure to light can start the germination process in some light-sensitive seeds, so it’s best to handle seeds in low light and use containers that fully block out sunlight. Store containers in a cupboard, closet, or other shaded location.
Oxygen Reduction
While not always necessary for home gardeners, some seed banks use oxygen absorbers in sealed containers for maximum longevity.
Oxygen absorbers are small packets that chemically bind oxygen, further reducing the potential for oxidative damage inside airtight containers. For home use, combining desiccants with airtight sealing is usually sufficient, but oxygen absorbers are an inexpensive addition for those who want to mimic professional seed bank standards.
Example: Using A Refrigerator For Seed Storage
A school garden program in Minnesota extended the viability of lettuce and carrot seeds from 2 to 6 years by storing them in labeled mason jars with silica gel packs in a dedicated refrigerator, rather than a classroom cabinet. They noticed a dramatic improvement in germination rates, and the seeds remained free from mold and pests throughout the storage period.
Preparing Seeds For Long-term Storage
Proper preparation before storage is just as critical as the storage environment. This phase involves cleaning, drying, and packaging seeds to set the stage for long-term preservation.
Cleaning And Sorting Seeds
Remove all plant debris and chaff to reduce the risk of mold and pests. For wet seeds (like tomatoes), ferment and rinse thoroughly before drying.
Chaff and plant matter can hold moisture or harbor insects, so careful cleaning is essential. Use sieves, screens, or tweezers for small seeds. For wet-seeded crops like squash or cucumbers, allow the seed pulp to ferment for several days before rinsing and drying—this helps break down germination inhibitors and kills some seed-borne pathogens.
Drying Seeds To Safe Levels
Seeds should be dried to a moisture content of 6-8%. You can use a food dehydrator set to a low temperature (under 95°F), or air dry seeds on a screen in a well-ventilated area for 7-14 days.
To test dryness, try the “bite test”—properly dried seeds are hard and brittle, not soft or chewy. You can also use a digital moisture meter for more accuracy, which is especially useful for large or valuable collections.
Packaging For Storage
Pack seeds in small, airtight envelopes or packets before placing them in your main storage container. Use paper for short-term or plastic for long-term storage.
Packaging seeds in small quantities prevents the entire collection from being exposed to air or moisture each time you access them. When using paper, ensure the packets are sealed and stored in a secondary airtight container for added protection. Mylar bags are another popular option for their durability and excellent barrier properties.
Labeling For Organization
Label each packet with:
- Plant variety and species
- Harvest date
- Source (garden, purchased, swapped)
- Special notes (e.g., heirloom status)
This information is essential for tracking seed age and performance. Consider adding a batch number or unique code for cross-referencing with your digital or written records.
Case Study: Community Seed Library Success
The Richmond Grows Seed Lending Library in California attributes its 80%+ annual germination rates to rigorous cleaning, air drying, and strict labeling protocols, paired with storage in airtight glass jars (Richmond Grows). Their process includes community workshops on proper seed saving and storage, reinforcing best practices across their network of gardeners.
Advanced Storage Techniques
For gardeners and organizations wanting to maximize seed shelf life, advanced methods like freezing, desiccants, and silica gel monitoring can offer additional security.
Freezing Seeds
Most seeds can be frozen without damage if they are dried to safe levels first. Freezing halts metabolic processes and can preserve seeds for decades. Always allow containers to reach room temperature before opening to avoid condensation.
When freezing, use containers with minimal headspace to reduce the amount of trapped air, and always label with the date and seed variety. Some seeds, such as those of tropical plants, are damaged by freezing; always check species-specific requirements. For most temperate vegetables and grains, freezing is a highly effective method.
Using Desiccants
Add silica gel packets or homemade desiccants (like dried rice or powdered milk in a tissue) to containers. These absorb residual moisture, especially in humid climates.
Silica gel can be recharged by drying in an oven at low heat and reused multiple times. For added peace of mind, use more than one packet for large containers or in particularly damp environments.
Monitoring Moisture With Indicators
Some seed savers include humidity indicator cards in their containers. These change color if moisture rises, signaling that a desiccant needs replacement.
Humidity indicator cards are inexpensive and easy to use, providing at-a-glance assurance that storage conditions remain optimal. If you notice a color change, it’s a sign to check and replace desiccants and to inspect for possible leaks in the container.
Vacuum Sealing For Extra Protection
Use a vacuum sealer to remove air and seal seeds in pouches before placing them in a secondary container. This dual protection is common in professional seed banks.
Vacuum sealing not only limits oxygen exposure but also compacts the seeds, saving space and making storage more efficient. Be careful not to crush fragile or large seeds when vacuum sealing.
Example: Heirloom Tomato Seeds Frozen For 12 Years
A gardener in Oregon reported a 75% germination rate on heirloom tomato seeds frozen since 2010. The seeds were dried to 7% moisture, vacuum-sealed with silica gel, and thawed slowly before planting. This demonstrates that even delicate seeds can be successfully stored for over a decade when best practices are followed.
Organizing And Managing Your Seed Collection
Long-term seed storage is not just about preservation—organization ensures you know what you have and when to use it. A well-managed seed bank prevents waste and maximizes your gardening potential.
Inventory Tracking
Create a simple spreadsheet or use garden planner apps to track:
- Varieties and species
- Harvest and purchase dates
- Packet quantities
- Germination test results
Regularly updating your inventory helps you plan plantings, identify which seeds need to be replenished, and avoid accidental duplication. For larger collections, consider using seed management software or cloud-based apps for backup and sharing.
Rotation And Replenishment
Practice first in, first out—use older seeds before new ones. Regularly replenish your stock with fresh seeds to maintain high germination rates.
Annual germination tests can help identify when seeds are losing viability, enabling you to prioritize their use. For staple crops, set a reminder to harvest and save new seeds every season or two.
Systematic Labeling
Use color-coded stickers or numbers to categorize seeds by year or family (e. g. , greens, roots, legumes).
Grouping seeds by type or planting season simplifies planning and reduces the risk of misplacing or overlooking important varieties. Some gardeners use waterproof labels or tags for added durability.
Sharing And Swapping
Organized collections make sharing or swapping seeds with friends, neighbors, or seed libraries easier and more reliable.
Documenting each seed’s origin and characteristics adds value for recipients and helps maintain the integrity of rare or heirloom varieties. Many communities host annual seed swaps, and being organized ensures you’re ready to participate.
Example: Digital Seed Bank Management
A suburban homesteader in Texas uses a Google Sheet with QR codes on each seed jar, linking directly to detailed notes and harvest logs. This system reduced lost or expired seeds by 50% over two years. The homesteader also shares the QR codes with friends during seed swaps, streamlining record-keeping and collaboration.
Troubleshooting Seed Storage Challenges
Even with careful planning, problems can occur. Knowing how to identify and resolve issues early can save your seed collection.
Signs Of Spoilage Or Decline
Common indicators include:
- Mold growth
- Unpleasant odors
- Discoloration
- Noticeable insect activity
Discard any affected seeds immediately to prevent contamination. Mold can quickly spread in enclosed containers, while pest infestations can devastate an entire collection.
Dealing With Pests
Tiny insects like weevils or moths can infest seeds. To prevent this:
- Freeze new seeds for 48 hours before storage.
- Inspect regularly and use airtight containers.
- Store seeds away from pantry items.
If you discover pests, remove affected packets, clean containers thoroughly, and consider re-freezing the remaining seeds as a precaution.
Reviving Older Seeds
If seeds are several years old, perform a germination test:
- Place 10 seeds on a damp paper towel.
- Keep warm and moist for 7-10 days.
- Count how many sprout to estimate viability.
If germination is low, sow more seeds per planting hole or use for microgreens. Some gardeners also soak older seeds overnight or use a dilute hydrogen peroxide solution to encourage sprouting.
Responding To High Humidity
If you detect moisture, replace desiccants and consider re-drying seeds. Move containers to a drier environment if possible.
In cases of widespread moisture, empty containers and air-dry seeds before repackaging. Consider investing in higher-quality containers or adding additional layers of protection.
Case Studies: Successes And Lessons Learned
Real-world experiences highlight the difference good storage makes. Here are three examples from community seed savers and serious gardeners.
Case Study 1: Urban Gardener’s Five-year Bean Storage
An urban gardener in Chicago stored heirloom beans in glass jars with silica gel, in a basement fridge. After five years, germination rates held steady at 85%, compared to only 40% for similar beans kept in kitchen cabinets. The gardener attributes success to rigorous drying, airtight containers, and consistent cool temperatures.
Case Study 2: Community Seed Bank Preserves Ancient Wheat
A community seed bank in Maine preserved a rare wheat variety by vacuum-sealing seeds with silica gel and storing them in a deep freezer. After 15 years, the seeds germinated at 70%, ensuring the survival of a heritage crop (Organic Seed Alliance). The bank also regularly rotates its collection, ensuring ongoing viability and genetic diversity.
Case Study 3: Home Seed Swap Challenges
A group of gardeners in Florida used paper envelopes in a humid shed, leading to mold and a total loss of several varieties. Switching to airtight containers with desiccants and indoor storage reversed the problem the following year. The group now holds annual seed cleaning and packaging workshops to promote best practices.
Data Table: Expected Seed Longevity By Storage Method
| Seed Type | Room Temp, Paper Envelope | Glass Jar, Refrigerator | Vacuum-Sealed, Freezer |
|---|---|---|---|
| Lettuce | 1 year | 5 years | 10+ years |
| Tomato | 3 years | 7 years | 15+ years |
| Bean | 2 years | 6 years | 10+ years |
| Onion | 1 year | 3 years | 7+ years |
| Pea | 2 years | 5 years | 10+ years |
Essential Supplies And Where To Buy Them
Having the right supplies makes seed storage easier and more effective. Here are key items and where you can reliably source them.
Glass Mason Jars And Lids
Widely available at supermarkets, hardware stores, and online retailers. Look for brands with a reputation for durability and a good seal. Some online specialty stores offer bulk discounts for larger collections.
Silica Gel Packs
Buy food-grade silica gel packs from specialty suppliers or online platforms like Amazon. Choose packs with color indicators so you can easily see when they’ve absorbed their capacity and need recharging.
Vacuum Sealers And Bags
Home vacuum sealers are available at department stores and cooking supply shops. Consider models with adjustable settings for delicate seeds and compatible reusable bags for sustainability.
Humidity Indicator Cards
Find these through lab supply companies or seed-saving specialty stores. They are inexpensive and can be included in every container for added peace of mind.
Reliable Seed Sources
Purchase seeds from reputable organizations:
Supporting these organizations ensures you receive high-quality seeds and helps preserve genetic diversity in the global seed supply.
Frequently Asked Questions
How Long Can Seeds Last In Storage?
The lifespan of seeds depends on the type, preparation, and storage method. Most vegetable seeds last 1-5 years at room temperature, but with optimal conditions (dry, airtight, and cold storage), many seeds can remain viable for 10 years or more.
For example, tomato and lettuce seeds stored in a freezer with desiccant can last 10-15 years. Some grains and legumes have even sprouted after several decades when properly stored.
Can You Store Seeds In The Freezer?
Yes, you can store most seeds in the freezer for long-term preservation, provided they are dried to a safe moisture content (usually 6-8%). Freezing halts metabolic activity and prevents aging. Allow containers to reach room temperature before opening to avoid condensation.
Exceptions include some tropical or recalcitrant seeds, which do not tolerate freezing.
What Is The Best Way To Keep Seeds Dry?
The best way to keep seeds dry is by using airtight containers (like glass jars or vacuum-sealed bags) with desiccants such as silica gel packs. Store in a cool, dry place away from direct sunlight. Use humidity indicator cards to monitor moisture inside containers.
If you live in a humid climate, increase the amount of desiccant and check containers more frequently.
How Do You Know If Stored Seeds Are Still Good?
Test seed viability with a simple germination test: dampen a paper towel, place 10 seeds on it, roll it up, and keep it warm for 7-10 days. If most seeds sprout, they are still viable. You can also check for mold, off smells, or visible damage as signs of spoilage. Seeds that have lost color, appear shriveled, or emit a sour odor should be discarded.
Are Paper Envelopes Safe For Seed Storage?
Paper envelopes are suitable for short-term storage in low-humidity environments, but for long-term storage, they are not ideal since they allow moisture and air exchange. For best results, place paper packets inside airtight containers with desiccants. If storing for more than a year, consider transferring seeds to plastic or glass containers.
References
- Wikipedia: Seed bank
- Crop Trust: Svalbard Global Seed Vault
- Richmond Grows Seed Lending Library
- Organic Seed Alliance
- Seed Savers Exchange
- Johnny’s Selected Seeds
By investing a little time and care into your seed storage practices, you can build a resilient, diverse, and thriving garden year after year. The right containers, preparation, and organization will ensure your seeds are ready to sprout into healthy plants whenever you need them—connecting you to the ancient tradition of seed saving and the promise of future harvests.
With diligent attention to detail and a commitment to best practices, you can contribute to the preservation of plant diversity for generations to come.