How to Revive a Dying Houseplant Step by Step
To revive a dying houseplant, first diagnose light, water, roots, pests, and temperature, then change only the most likely cause. Wait about 7 days between major fixes unless roots are rotten or pests are active. Fixing the wrong problem can stress the plant further and speed up decline. This guide gives you a step-by-step triage workflow to identify the cause before you water, prune, or repot.
What you’ll need

- Finger or a moisture meter for a soil check
- Clean pruning shears or scissors
- Fresh potting mix suited to the plant
- Pot with a drainage hole
- Paper towels or gloves for roots and pests
- Optional: a second saucer so standing water can be emptied quickly
What should I do first if my houseplant is dying?
Stop changing everything at once. Check the soil first, then roots if the soil does not explain the problem, then pests, then light. Overwatering is the most common houseplant problem, so a watering change should be based on moisture, not a fixed schedule. Do not fertilize yet.
How to revive a plant step by step
- Move the plant to bright, indirect light while you diagnose it.
- Check the soil with a finger to about 2 inches deep.
- Empty any water sitting in the saucer.
- Inspect leaf undersides and joints for pests.
- Slip the plant from the pot only if soil and light do not explain the decline.
- Trim dead foliage with clean scissors.
- Repot only if roots are cramped or the mix has broken down.
- Recheck after about 24 hours, then again after about 2 weeks.
Is the soil too wet or dry?
Use a finger test or moisture check before watering. Wet, heavy soil points to overwatering, while bone-dry, shrinking soil points to underwatering. A heavy pot also suggests the mix is still holding water. Watering frequency should follow soil moisture, not a calendar.
How to tell overwatered from underwatered
If the pot feels heavy and the soil sticks together, hold off on watering. If the mix has pulled away from the pot and feels dusty below the top layer, the plant likely needs water. Yellow leaves often point to overwatering, while crispy edges and limp stems often point to underwatering.
Say your pothos sits in a 6-inch pot on a shelf near a north window and the soil still feels damp 4 days after the last watering. That leans toward too much water, not thirst. A single thorough watering can perk pothos back up within hours when drought is the issue.
Are the roots still healthy?
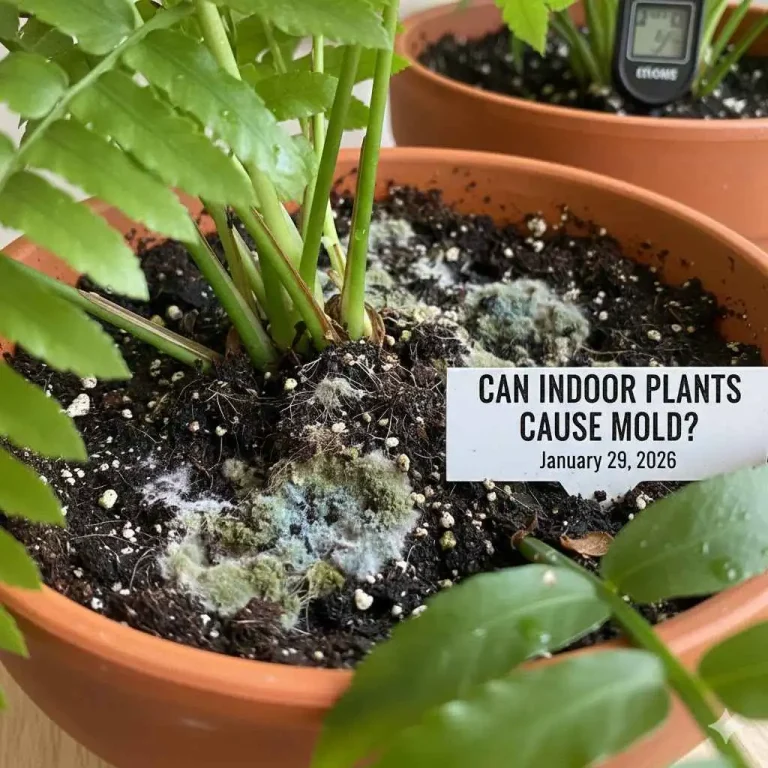
Inspect roots when changing the soil does not explain the decline, or when watering changes have not helped. Healthy roots are firm and white, cream, or light tan. Mushy, dark, or foul-smelling roots indicate rot and change the rescue plan from simple watering correction to cleanup and fresh mix.
When to lift the plant from the pot
Ease the root ball out if the plant keeps declining after a soil check, if the pot drains poorly, or if roots are showing through the drainage holes. Root inspection is needed when the top of the plant looks stressed but the soil logic does not fit.
If roots are mostly firm and pale, the plant can often recover with better watering and light. If many roots are slimy or smell bad, cut away the damaged parts with clean shears and move the plant into fresh, free-draining mix. That is the point where root rot changes the plan.
Could pests be causing the decline?
Check the undersides of leaves and leaf joints for spider mites, mealybugs, scale, and thrips. Isolate the plant before other changes if you see moving specks, cottony residue, shell-like bumps, silver streaking, or webbing. Pests can weaken a plant quickly and make every other fix less effective.
What to look for on leaves
Spider mites leave fine webbing and stippled leaves. Mealybugs look like white fluff. Scale appears as fixed bumps on stems and leaf joints. Thrips can leave silvery marks and distorted new growth. A damp cloth can remove some pests, but severe infestations often need repeated cleaning and isolation.
Suppose a prayer plant has curling leaves, fine webbing, and tiny pale dots on the undersides. That points to spider mites, not a watering problem. Move the plant away from others first, then clean the leaves and repeat the check every few days until no new webbing appears.
When should you repot?
Repot only when the roots are cramped or the mix has broken down. A pot with a drainage hole helps excess water escape and prevents standing water, which should not sit constantly in the pot or saucer. Fresh mix is part of the fix after root rot or when the old mix has compacted.
When not to repot yet
Do not repot just because the plant looks tired. If the soil is already wet, the roots are not inspected yet, or the plant is a fern or tropical that may be reacting to light or humidity, repotting can add stress. Wait until the cause is clearer unless rot is obvious.
Use a fresh, free-draining potting mix suited to the plant. Succulents need a faster-draining mix than tropicals. Ferns and prayer plants usually prefer evenly moist soil, but they still need drainage. If roots are poking through the holes, that is a sign the plant needs more space.
Rescue decision table
| Symptom | Most likely cause | First corrective action | One mistake to avoid |
|---|---|---|---|
| Drooping | Underwatering or root rot | Check soil moisture at 2 inches, then inspect roots if the soil is not dry | Do not water again without checking the mix first |
| Yellowing | Overwatering | Stop watering until the top and lower soil dry more evenly | Do not add fertilizer to “green it up” |
| Crispy tips | Underwatering or too much light | Check moisture, then shift to bright, indirect light | Do not move a stressed plant into harsh sun |
| Mushy stems | Root rot or stem rot | Cut away damaged tissue and inspect roots immediately | Do not leave the plant in wet, compacted mix |
| Leaf drop | Water stress, light stress, or winter slowdown | Check soil and light before changing anything else | Do not repot before ruling out watering problems |
| Spotting | Leaf spot disease or pest damage | Trim badly marked leaves and check for pests on undersides | Do not mist heavily if spots are spreading |
| Webbing | Spider mites | Isolate the plant and wipe leaf undersides clean | Do not return it to the plant shelf too soon |
| Rootbound roots | Cramped roots | Repot into a slightly larger pot with drainage and fresh mix | Do not choose an oversized pot |
How to help a dying plant without making it worse

Make one change, then pause. Bright, indirect light is the safest recovery light condition for most houseplants. Harsh sun can scorch stressed leaves, and too little light can cause weak, stretched growth. For succulents, increase light gradually. For ferns and prayer plants, keep light bright but filtered.
Prune only what is dead
Use clean pruning shears or scissors to remove dead or damaged foliage. Do not strip the plant bare. Removing too much at once can reduce its ability to recover because living leaves still supply energy. Yellow leaves, brown tips, and collapsed stems can be removed, but green growth should stay.
Do not fertilize immediately while the plant is stressed. Fertilizer can add pressure when the roots are already struggling. Winter can also make houseplants slow down and look tired, so recovery may take longer than it does in brighter months.
What recovery should look like
After 24 hours, a thirsty plant may look firmer, especially pothos and fittonia, which can recover within a few hours after watering. After about 2 weeks, the better sign is steadier growth, fewer new yellow leaves, and a stem that holds itself up. No change after 2 weeks means the main cause may still be active.
Common mistakes
Most rescue failures come from acting too fast or on the wrong problem. The safest order is soil, roots, pests, then repotting only if the plant truly needs it. Changing light, water, and pot size all in one day can hide the real cause.
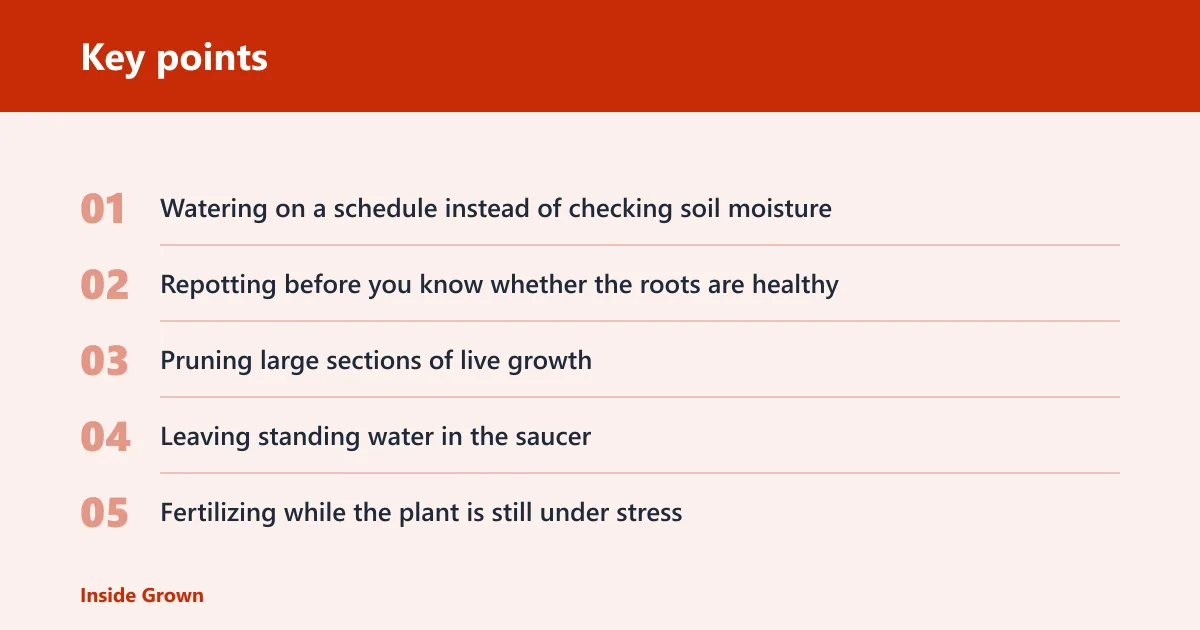
- Watering on a schedule instead of checking soil moisture
- Repotting before you know whether the roots are healthy
- Pruning large sections of live growth
- Leaving standing water in the saucer
- Fertilizing while the plant is still under stress
If that didn’t work, try this next
- Recheck the root ball and remove any mushy, dark, or foul-smelling roots.
- Move the plant closer to bright, indirect light if growth is weak and stretched.
- Isolate and treat pests again if new webbing, specks, or cottony patches appear.
- Repot into fresh, free-draining mix only if the old mix has collapsed or the roots are cramped.
A common first-timer mistake is to rescue a succulent the same way as a fern. Succulents usually need drier intervals and faster-draining mix. Ferns and prayer plants usually want more even moisture, but they still need airflow and drainage. The cause still comes first.
Frequently asked questions
How do I tell if my houseplant is overwatered or underwatered?
Use the finger test to about 2 inches deep. Wet, heavy soil points to overwatering, and a bone-dry, shrunken mix points to underwatering. Yellow leaves are a common overwatering sign. Crispy tips and limp stems more often fit underwatering, but roots can change the picture.
When should you repot a dying houseplant?
Repot when roots are cramped, roots show through the drainage holes, or the potting mix has broken down. Do not repot just because the plant looks weak. If the soil is still soggy or the cause is pests, repotting can make recovery harder.
How to revive a dead plant
If stems are fully brown and brittle, or the roots are all dark and rotten, the plant may not recover. Check for any green stem tissue or firm roots near the crown. If none remain, propagation from a healthy cutting is the better path than a full rescue.
How to revive houseplants naturally
Keep the process simple: check moisture, improve light, remove dead growth, and inspect for pests before you change the pot. Natural does not mean hands-off. It means matching the fix to the cause and avoiding extra stress, especially extra water and fertilizer.