Gardening Techniques for Spring Cleanup Without Harming Pollinators
Wait until daytime temperatures stay above 50°F for a week, then leave hollow stems, cut back only dead top growth above 12 inches, and move debris in stages. Cleanup done too early can remove nesting sites, kill overwintering larvae, and strip cover before insects are active. This guide gives a staged spring cleanup system for what to leave, what to cut, and what to move first.
Protect overwintering habitats by delaying stem removal
Early cleanup can remove shelter before pollinators have emerged. Native bees may overwinter inside hollow stems, bumblebee queens can shelter in leaf litter or shallow soil cavities, and butterflies, moths, and beneficial insects can remain hidden in debris until warm weather arrives. If you cut and bag everything at once, you can remove the very spots those insects need to finish winter safely.
That risk is highest in beds with heavy stem cover, old mulch, or leaf drifts that seem messy but still function as habitat. Hollow stems, pithy stems, and standing seed heads are not all dead waste. In many gardens, they are nesting cover, food support, and a small buffer against spring cold snaps.
Spring cleanup becomes safer after several consecutive days of mild weather, when soil and air are warming together and insects are visibly active again. Some gardeners use forsythia bloom as a rough marker, but bloom alone is better used as a cue to check the bed than as a permission slip to strip it bare.
When is your garden ready for cleanup?
Your garden is ready for cleanup when warm days stop being a one-off and become a pattern. A good cue is several consecutive days of mild weather, with temperatures around 50°F or 10°C, plus signs that soil is thawing and insects are becoming active. One sunny afternoon is not enough.
Use a stretch of mild days, not one warm afternoon
Wait for three or four consecutive days above 50°F if you need a simple rule, then check the bed before you cut anything. A single warm spell can bring brief surface activity while sheltered bees, moths, and larvae remain in stems or litter. The longer warm stretch lowers the chance that you disturb them before they leave.
Watch soil warmth and visible insect activity
Look for bees moving among early blooms, movement around bare soil, and insects using the bed instead of staying tucked in. Soil that is still cold and waterlogged means some overwintering insects may still be inactive below or beside the mulch. If the bed still feels locked in winter, cleanup should stay limited.
Read local bloom cues before you cut
Forsythia bloom can help as a rough local cue, especially where spring timing shifts from one yard to the next. Treat it as a prompt to inspect, not a command to clear. If forsythia is blooming but nights are still chilly and few insects are out, delay broad cleanup and work only on damaged material.
Spring cleanup decision table

This table gives you a quick on-site decision system. Start with the material in front of you, then choose the smallest action that fixes the problem without stripping shelter, nesting cover, or food sources all at once. If you need to act early, remove only what is diseased, broken, or blocking access.
| Garden material | Immediate action | Pollinator risk |
|---|---|---|
| Hollow stems | Leave standing at first; cut later after emergence | High if cut too early, because native bees may be nesting inside |
| Leaf litter | Move carefully in sections; reuse as mulch or compost material | High if stripped all at once, because bumblebee queens may shelter there and leaf piles can contain butterfly chrysalises and lacewing eggs |
| Seed heads | Leave in place first, then trim only where needed | Moderate, because they provide food and shelter while the bed wakes up |
| Storm debris | Remove first if it is broken, dangerous, or smothering plants | Low to moderate, depending on whether it is blocking habitat or access |
| Diseased foliage | Remove promptly by hand and dispose of it separately | Low for pollinators, but leaving it can spread disease and keep the bed too wet |
| Weeds | Pull or cut selectively where they crowd desired plants | Low to moderate if done carefully; high if the whole bed is disturbed |
| Compacted mulch | Loosen only where plants are being smothered or access is blocked | Moderate, because compacted mulch can hide insects and trap moisture |
How to use the table on-site
Move from highest-risk material to lowest-risk material only when cleanup is necessary. Disease, storm damage, and smothering debris go first. Leaf litter, hollow stems, and seed heads are left until the bed is warm enough that insects have likely moved on. That order protects habitat while still getting the bed back in shape.
What each action means for pollinator risk
“Leave standing” means do not cut to the ground yet. “Move carefully” means lift or rake in smaller sections so you do not empty the entire bed at once. “Remove promptly” means deal with the material that can spread disease, block growth, or create unsafe access before you touch the living habitat around it.
When to delay, move, or remove material
If the material is dry, intact, and sheltering insects, delay it. If it is in the way but still useful as cover, move it in sections. If it is diseased, broken, or collapsing onto new shoots, remove it first. That sequence keeps the cleanup practical without turning the whole bed into bare ground in one pass.
What should you remove first?
Start with diseased foliage, storm debris, broken stems, and anything that is smothering plants or blocking access. Those items can create disease pressure, trap moisture, or damage fresh growth. They are the safest things to clear early because they are the least likely to be serving as important overwintering habitat.
Diseased foliage
Remove affected plant parts by hand, then set them aside rather than tossing them into the main leaf pile. Hand removal keeps you from spreading visible damage through the rest of the bed. If a stem or leaf is clearly diseased, it is the first thing to move out of the way.
Storm debris and broken stems
Twisted branches, snapped stalks, and debris from wind or ice storms should come off first if they are lying across crowns, bending healthy stems, or blocking paths. If a broken stem is still standing and not causing a problem, leave it until the main cleanup pass. Safety and access come before cosmetic tidiness.
Weeds and smothering mulch
Pull weeds that are crowding desirable plants, and loosen mulch only where it has compacted into a wet mat. Dense mulch in a wet corner can keep the bed too cold and can smother crowns. Do not strip the whole surface if only one patch is causing trouble.
Picture a mixed native planting with a low, damp corner near a downspout. The standing stems are useful habitat, but the mulch there has packed into a slick layer that is pressing onto new shoots. In that spot, remove the smothering layer first, then leave the healthy stems in place until the bed warms.
What should you leave in place first?
Leave hollow stems, leaf litter, and seed heads in place at the start. These are common overwintering and shelter sites for pollinators, and they also support birds and other beneficial insects. If you remove them all early, you lose habitat before the insects using it have had a chance to emerge.
Hollow stems and pithy stems
Hollow stems should stay standing initially because native bees may be nesting inside them. Later, when insect activity is clearly underway, you can cut them back. A common rule of thumb is to leave stems standing 12 to 18 inches high at first, which keeps some structure in place while reducing the amount of dead top growth.
Leaf litter and shallow debris
Leaf litter is worth handling carefully because bumblebee queens can shelter in it or in shallow soil cavities, and leaf piles can contain butterfly chrysalises and lacewing eggs. Move the leaves in smaller sections, not one large sweep. Reuse them as mulch or compost material if they are clean and dry enough to handle that way.
Seed heads and standing stalks
Standing seed heads and stalks give food, shelter, and a little microclimate protection while the rest of the bed wakes up. They also keep some vertical structure for insects that are still moving from winter shelter into active areas. Remove them later, once the bed is warm and the active season has clearly started.
How far down should you cut stems later?

Cut stems later, after warm weather has settled in and insects are visibly active, rather than taking everything to the soil line at once. Leave stems standing about 12 to 18 inches high at first, then shorten them in stages if the bed needs more clearing. That keeps some habitat in place while you finish the job.
Leave stems standing until insect activity increases
If bees are still scarce and the weather is swinging cold at night, hold off on major cutting. The goal is not perfect neatness. It is to avoid removing nesting sites before native bees and other beneficial insects have completed emergence. Wait for the bed to show that spring is truly underway.
Cut in stages instead of to the ground
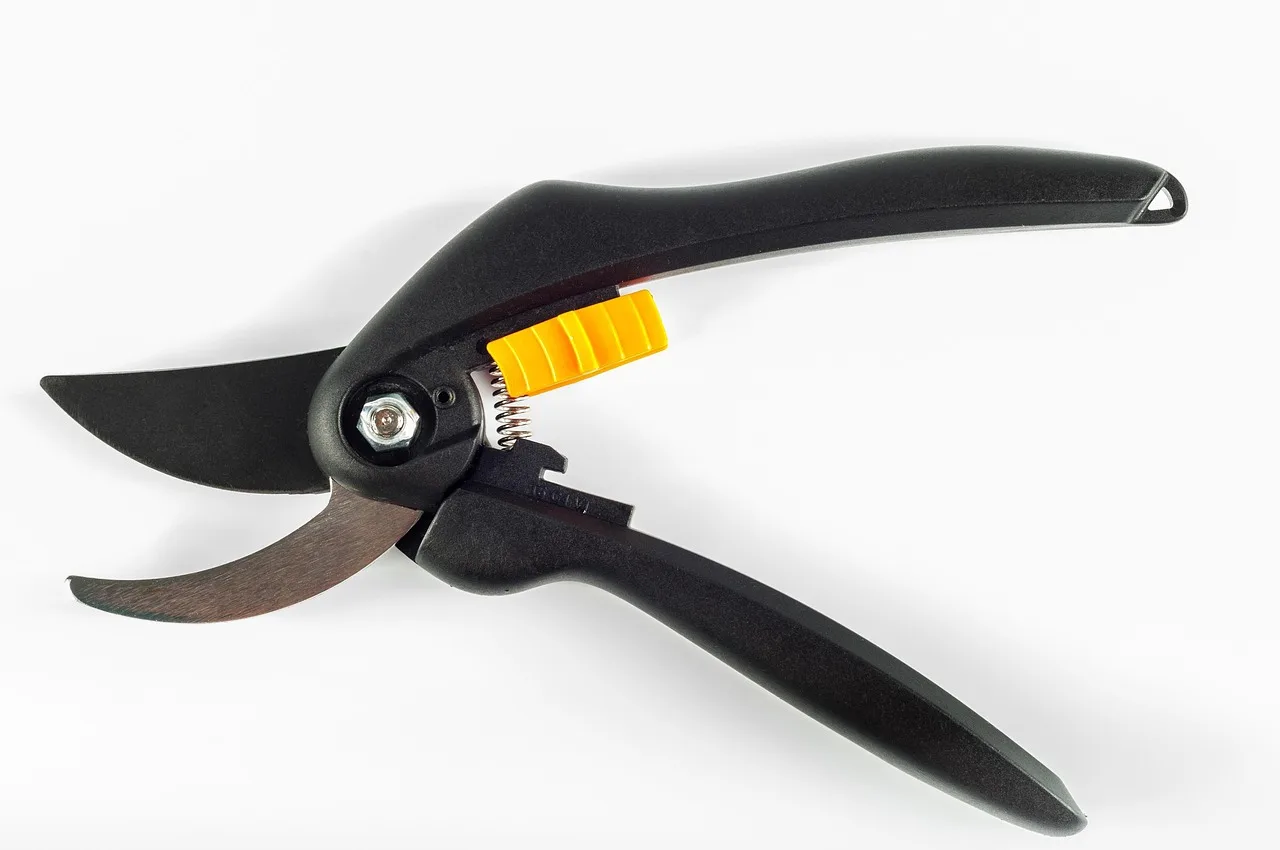
Use pruners selectively, and cut only what you need to cut on that pass. Do not clear every stem at once. A staged approach lets you preserve some shelter while opening space where new growth needs light, air, and access. It also reduces the chance that you dump all habitat into one bag.
Place cut material so habitat is not lost all at once
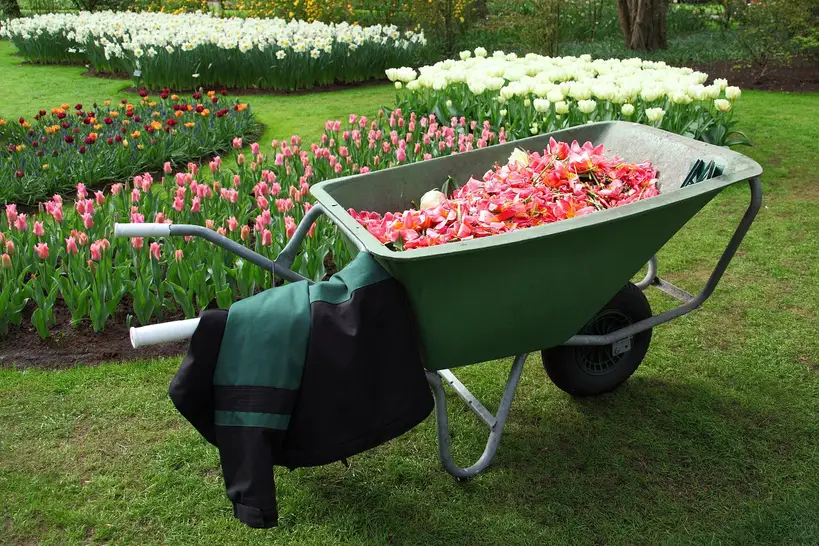
Set cut stems aside in a small, separate pile while you work through the bed. That keeps them from being crushed underfoot or mixed into heavy waste before you decide whether any can be reused. Once warm weather has held, you can compost, chip, or dispose of them as needed.
Suppose a perennial bed has a dense ring of old stems around the edge and a few dead centers in the middle. A staged cut lets you open the center first for access while leaving the edge stems standing. That way, shelter remains available until the rest of the bed is ready.
Frequently asked questions
When should I start spring cleanup so I don’t hurt pollinators?
Start when you have several consecutive days of mild weather, not after one warm afternoon. A common threshold is temperatures consistently around 50°F or 10°C, with visible insect activity and warming soil. If forsythia is blooming but nights are still cold, limit cleanup to damaged material only.
How do I clean up leaves in spring without killing bees?
Move leaf litter in sections instead of clearing every pile at once. Bumblebee queens may shelter in it, and leaf piles can hold butterfly chrysalises and lacewing eggs. Reuse clean leaves as mulch or compost material, and leave some cover until the bed is clearly active.
Should I cut down dead stems in spring or leave them for insects?
Leave dead stems standing at first if they are not diseased, broken, or in the way. Native bees may nest inside hollow stems, so early cutting can remove habitat. Later, after a stretch of warm weather and visible insect activity, cut them back in stages rather than to the ground.
What garden debris should I remove first in spring cleanup?
Remove diseased foliage, storm debris, broken stems, and anything smothering new growth first. Those materials can spread problems or block access, and they are the least useful as overwintering habitat. After that, move on to weeds and compacted mulch in the spots that really need attention.
How high should I leave stems during pollinator-friendly cleanup?
Leave stems standing 12 to 18 inches high at first. That gives you a safer starting point than cutting everything flat and helps preserve shelter while the bed warms. Once insects are active and the weather has settled, you can shorten the remaining stems where needed.
Can I clean up perennial beds before all the bees emerge?
Yes, but keep it selective. Remove only diseased or dangerous material, then leave hollow stems, leaf litter, and seed heads in place until warmer weather holds. If you clean the whole bed too early, you may remove nesting sites and shelter that native bees and bumblebee queens still need.