Can You Improve Gardening Soil That Has Had Chemicals?
Improving gardening soil that has had chemicals is not only possible but also a highly rewarding process that restores your soil’s natural health and fertility. This guide walks you through every step, from testing to treatment, so you can grow vibrant plants again with confidence.
Simply put, yes — you can improve soil that has been exposed to chemicals, but it requires time, proper testing, and the right organic amendments. The process focuses on breaking down residues, restoring microbial life, and balancing pH and nutrient levels without synthetic inputs.
Key Takeaways
- Improving gardening soil that has had chemicals is achievable with patience and a step-by-step remediation plan.
- Soil testing is the essential first step to identify residues and determine what your soil needs.
- Organic amendments like compost, biochar, and cover crops help degrade chemical residues and rebuild beneficial microbial communities.
- Recovery time ranges from 6 months to 3 years depending on the chemical type, concentration, and soil conditions.
- Growing food in previously chemically treated soil is safe once proper remediation steps are followed and verified through retesting.
What Happens to Soil After Chemical Use?
When synthetic chemicals are applied to soil, they don’t simply disappear after one growing season. Many pesticides, herbicides, and synthetic fertilizers leave behind residues that can persist for months or even years. These chemicals alter the natural composition of your soil in several key ways.
The most immediate effect is the disruption of microbial life. Beneficial bacteria and fungi that form the foundation of healthy soil are highly sensitive to synthetic compounds. According to research published by the Soil Science Society of America, repeated application of chemical fertilizers can reduce microbial biomass by up to 40% compared to organically managed soils.
How Chemicals Affect Soil Structure
Synthetic chemicals impact soil beyond just killing pests or feeding plants. They change the physical and biological properties that make soil productive.
- Microbial die-off: Beneficial bacteria and fungi are killed or suppressed, slowing down decomposition and nutrient cycling.
- pH imbalance: Many synthetic fertilizers acidify soil over time, making nutrients less available to plants.
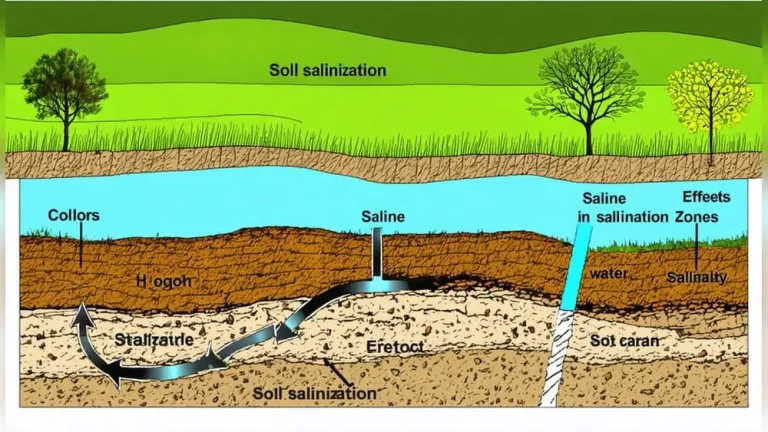
- Salt buildup: Chemical fertilizers leave behind salt residues that can burn plant roots and reduce water absorption.
- Reduced organic matter: Without microbial activity, organic matter breaks down more slowly, leading to compacted, lifeless soil.
- Bioaccumulation: Certain herbicides and pesticides bind to organic matter and can be taken up by future crops.
- Earthworm decline: Chemical residues directly harm earthworms, which are critical for aeration and nutrient mixing.
- Water repellency: Some chemical residues create a waxy layer on soil particles, reducing water infiltration.
Warning: If your soil has been treated with persistent herbicides like clopyralid or picloram, these can remain active for 2–4 years. Always test for these compounds before planting vegetables or legumes.
The good news is that none of these issues are permanent. With the right approach, you can reverse chemical damage and build healthier soil than you started with.
Signs Your Soil Has Been Damaged by Chemicals
Before you start the remediation process, you need to know whether your soil actually has chemical issues. Your plants and soil itself will often provide clear clues.
Gardeners who have used chemical products for years may notice that their soil feels different — it becomes harder to work, drains poorly, or develops a crust on the surface. These physical changes are often the first red flags.
| Sign | What It Indicates | Severity Level |
|---|---|---|
| Poor seed germination | High salt content or herbicide residue | High |
| Stunted plant growth | Nutrient imbalance or microbial die-off | Moderate |
| White crust on soil surface | Fertilizer salt accumulation | Moderate |
| Few or no earthworms | Pesticide or herbicide toxicity | High |
| Hard, compacted soil | Loss of organic matter and microbial activity | Moderate to High |
| Foul or chemical smell | Anaerobic conditions or chemical residue | High |
If you notice three or more of these signs, it is highly likely that your soil has been affected by chemical buildup. The next step is to confirm this with lab testing before you begin treatment.
How to Test Soil for Chemical Residue
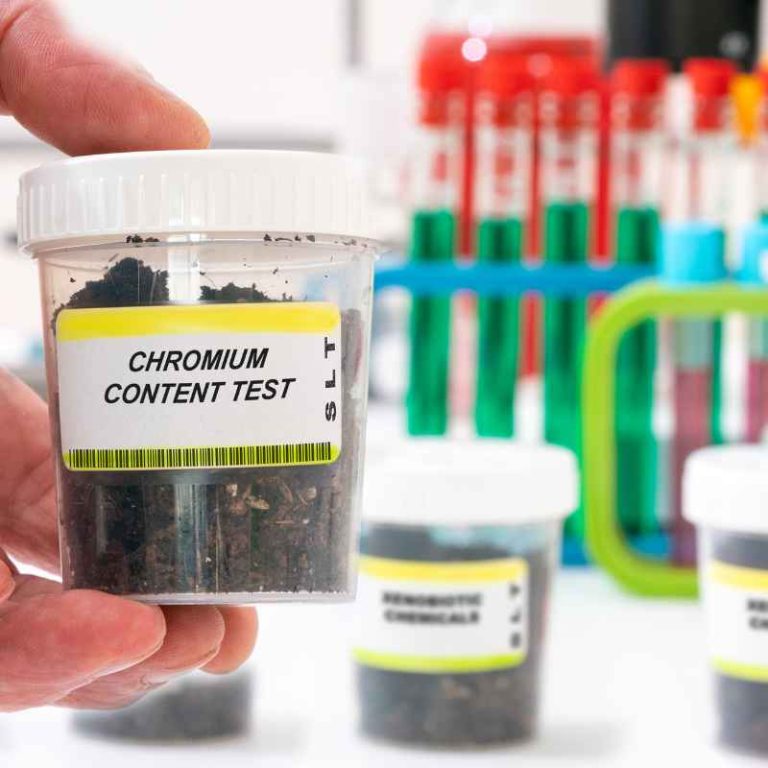
Testing is the single most important step when you want to start improving gardening soil that has had chemicals. Without a baseline measurement, you are essentially working blind. DIY home test kits are helpful for pH and basic nutrients, but they cannot detect chemical residues.
For a complete picture, you need a professional soil test from a certified agricultural lab. The University of Massachusetts Soil Lab and similar institutions across the country offer affordable testing for heavy metals, pesticide residues, and nutrient levels. Expect to pay between $30 and $80 depending on how comprehensive the analysis is.
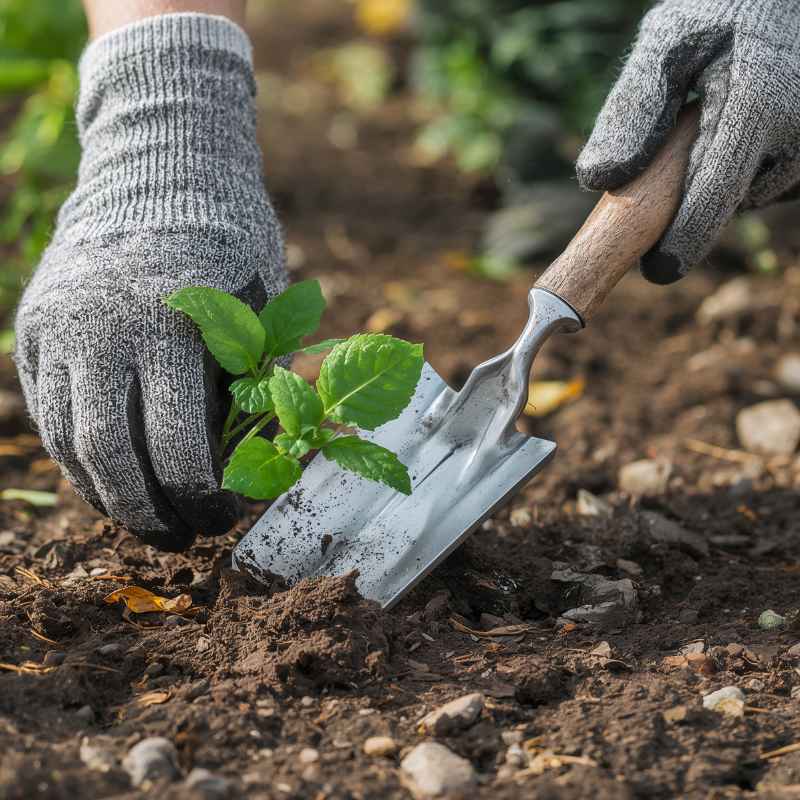
Important: When collecting a soil sample, use a clean stainless steel trowel and a glass or plastic container. Avoid using galvanized tools, which can contaminate the sample with zinc. Take samples from 6–8 inches deep at multiple spots across your garden and mix them together for a representative sample.
- Contact a certified soil testing lab in your region and request their sampling instructions.
- Collect samples from 6–8 inches deep at 5–10 random spots across your garden plot.
- Mix the samples thoroughly in a clean plastic bucket to create one composite sample.
- Air dry the composite sample on clean paper for 24–48 hours before packaging.
- Send the sample with the lab’s submission form and payment. Results typically arrive in 2–4 weeks.
- Review the results focusing on: pH, organic matter percentage, salt levels, and any detected pesticide residues.
Once you have your test results, you can make informed decisions about which amendments to add and how long the remediation will likely take. Many labs also provide recommendations specific to your soil’s needs.
How to Improve Gardening Soil That Has Had Chemicals
Once you know what you are dealing with, the actual work of improving gardening soil that has had chemicals can begin. This is a multi-phase process that relies on biological and natural methods rather than more synthetic inputs. The goal is to degrade existing residues and rebuild the soil’s natural detoxification systems.
Think of your soil as a living organism. Just as your liver detoxifies your body, beneficial microbes, fungi, and enzymes in the soil can break down chemical residues. Your job is to feed and support these organisms.
Phase 1: Stop All Chemical Inputs
The first step is obvious but often overlooked. Stop applying synthetic fertilizers, herbicides, and pesticides immediately. Switching to organic methods gives your soil a chance to recover without new chemical stress.
Phase 2: Add High-Quality Compost
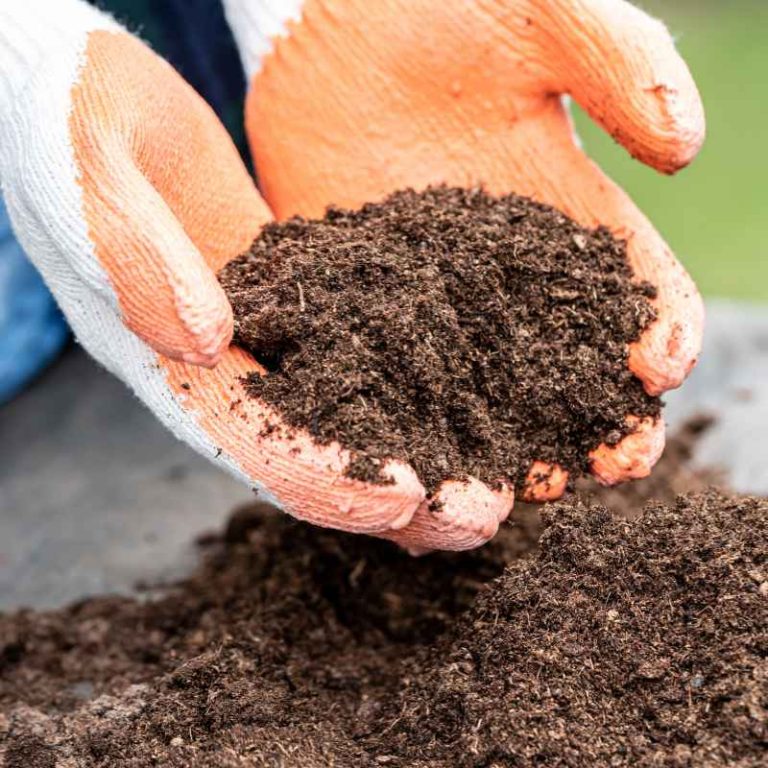
Compost is the single most effective amendment for chemically damaged soil. It introduces beneficial microbes, improves soil structure, and provides organic matter that binds to chemical residues, making them less available to plants.
- Apply 2–4 inches of well-aged compost on top of your soil and work it into the top 6 inches.
- Use compost made from diverse sources — kitchen scraps, yard waste, and aged manure — for a broader range of microbes.
- Compost tea can accelerate microbial activity when applied as a soil drench.
- Aim for organic matter levels of 5–8% for optimal remediation and plant health.
Phase 3: Plant Cover Crops
Cover crops, also called green manure, are plants grown specifically to improve soil health. Certain species are particularly effective at breaking down chemical residues.
- Buckwheat: Scavenges excess phosphorus and attracts beneficial insects.
- Annual rye grass: Deep roots break up compaction and absorb excess nutrients.
- Crimson clover: Fixes nitrogen and supports soil fungi that degrade hydrocarbons.
- Mustard greens: Biofumigants help break down certain pesticide residues.
- Sunflowers: Known to absorb heavy metals and some organic pollutants.
Tip: Plant a diverse mix of cover crops rather than a single species. A blend of grasses, legumes, and broadleaf plants supports a wider variety of soil organisms and accelerates the breakdown of different chemical compounds.
Phase 4: Incorporate Biochar
Biochar is a charcoal-like substance made from burning organic material in a low-oxygen environment. It has a porous structure that acts like a sponge for chemical residues, trapping them so they are less available to plants.
- Apply biochar at a rate of 5–10% of the soil volume (roughly 1–2 cups per square foot).
- Charge biochar with compost or compost tea before adding it to soil — raw biochar can absorb nutrients and hurt plants.
- Biochar can reduce herbicide carryover by up to 70% according to studies from the USDA.
- It also improves water retention and provides habitat for beneficial microbes.
Phase 5: Use Activated Charcoal for Severe Cases
For soils heavily contaminated with persistent herbicides, activated charcoal can be a powerful tool. It binds irreversibly to many organic chemicals, rendering them inert. Apply finely ground activated charcoal at a rate of 1–2 pounds per 100 square feet and mix thoroughly into the top 6 inches of soil.
Natural Amendments That Restore Soil Health
Beyond compost and cover crops, several other natural amendments play a key role in improving gardening soil that has had chemicals. Each one addresses a specific aspect of soil recovery, from pH correction to nutrient balancing.
The table below shows the most effective natural amendments and what they do for chemically damaged soil:
| Amendment | Primary Benefit | Application Rate | Best For |
|---|---|---|---|
| Worm castings | Introduces beneficial microbes and enzymes | 1–2 cups per square foot | All chemical types |
| Rock dust | Replenishes trace minerals | 5–10 pounds per 100 sq ft | Nutrient-depleted soil |
| Kelp meal | Provides growth hormones and 60+ trace minerals | 1–2 cups per 100 sq ft | General recovery |
| Molasses (unsulfured) | Feeds beneficial bacteria | 1 tbsp per gallon water | Microbial stimulation |
| Gypsum | Breaks up compacted clay without altering pH | 20–30 pounds per 1000 sq ft | Compacted or salty soil |
| Lignin-rich mulch | Feeds fungi that break down tough residues | 2–3 inch layer | Fungal regeneration |
Each amendment works best when combined with others. For example, applying worm castings alongside kelp meal feeds both bacteria and your plants directly. Over time, these natural inputs rebuild the complex food web that healthy soil depends on.
How Long Does It Take to Detoxify Chemical Soil?
One of the most common questions gardeners ask is how long the process takes. The honest answer is that it varies dramatically based on several factors. Your soil’s texture, the type of chemicals used, the duration of exposure, and your climate all play a role.
According to the USDA Natural Resources Conservation Service, some herbicides can persist in soil for 12–36 months, while certain insecticides break down in 3–6 months. Synthetic fertilizers typically flush out over 1–2 growing seasons once application stops, but the structural damage they caused takes longer to reverse.
Tip: Accelerate the process by keeping soil consistently moist but not waterlogged. Microbes work fastest in warm, moist conditions. Aim for soil temperatures above 60°F (15°C) and consistent moisture levels during your remediation season.
- Light chemical use (occasional fertilizer only): 6–12 months with active remediation.
- Moderate use (fertilizer + spot herbicides): 1–2 years with regular compost and cover crops.
- Heavy use (multiple synthetic products, years of application): 2–3 years with intensive remediation.
- Persistent herbicides (clopyralid, picloram, aminopyralid): 3–4 years, often requiring activated charcoal.
- Heavy metal contamination: Cannot be degraded — requires removal or immobilization with biochar or phytoremediation.
Regular retesting every 12 months helps track your progress. Many gardeners are surprised to see how quickly soil biology bounces back once given the right conditions and inputs.
Common Mistakes When Treating Chemical-Exposed Soil
Even with good intentions, many gardeners make errors that slow down or sabotage the remediation process. Being aware of these common pitfalls can save you months of wasted effort and help you stay on track with improving gardening soil that has had chemicals.
The biggest mistake is trying to rush the process. Soil biology cannot be rushed, and adding too many amendments at once can create imbalances that are worse than the original problem. Patience really is the most important tool in your remediation kit.
- Adding more chemicals to fix chemical damage. Products claiming to neutralize chemical residues often introduce their own synthetic compounds. Stick with biological and organic methods.
- Over-tilling the soil. Excessive tilling destroys fungal networks and speeds up organic matter decomposition. Use no-till or minimal-till methods during remediation.
- Ignoring pH issues first. If your pH is off, microbial activity will remain low no matter how much compost you add. Correct pH to 6.0–7.0 before focusing on biology.
- Using fresh manure. Fresh manure can introduce pathogens and excessive nitrogen. Always use well-composted manure that has aged for at least 6 months.
- Planting too soon. Growing a full crop before the soil has recovered stresses plants and can lead to disappointing harvests. Start with cover crops first.
- Forgetting to water. Dry soil goes dormant. Beneficial microbes need consistent moisture to break down chemical residues efficiently.
Warning: Never add lime and fresh manure at the same time. The combination releases ammonia gas, which can burn plants and kill soil organisms. Space these applications by at least 3–4 weeks.
By avoiding these mistakes, you keep your soil on a steady path to recovery. Each season, the improvements compound, and your soil becomes more resilient and productive than before.
Can You Grow Food in Soil That Had Chemicals?
This is the question that concerns most home gardeners. The short answer is yes, but only after you have verified that chemical residues have dropped to safe levels. The safety threshold depends on the specific chemical — each one has a maximum allowable concentration set by the Environmental Protection Agency (EPA).
For most home garden scenarios, the risk is relatively low if you follow a structured remediation plan. The highest risk comes from persistent herbicides and heavy metals, which require more aggressive treatment. Leafy greens and root vegetables tend to absorb more residues than fruiting crops like tomatoes, peppers, and squash.
| Crop Type | Residue Risk Level | Recommended Waiting Period |
|---|---|---|
| Leafy greens (lettuce, spinach) | High | 2+ years of remediation |
| Root vegetables (carrots, potatoes) | Moderate-High | 1–2 years |
| Fruiting crops (tomatoes, peppers) | Low-Moderate | 1 year |
| Herbs (basil, mint) | Moderate | 1–2 years |
| Tree fruits (apples, pears) | Low | 6 months (root zone treatment) |
Important: If you are concerned about food safety, start with a simple bioassay. Plant a small patch with bean seeds — they are highly sensitive to chemical residues. If the beans germinate and grow normally without distorted leaves, your soil is likely safe for most vegetables.
Once your soil test shows residue levels within safe limits, you can confidently grow food again. Many gardeners find that their remediated soil produces healthier, more nutrient-dense crops than before, because the biological richness they have rebuilt outperforms what chemical fertilizers ever provided.
Frequently Asked Questions
Can I use vinegar or hydrogen peroxide to neutralize chemical residues in soil?
No, household products like vinegar or hydrogen peroxide are not effective at neutralizing most chemical residues and can actually harm soil biology. They may kill beneficial microbes and alter pH. Stick with compost, biochar, and cover crops for safe, effective remediation.
Will rain wash chemicals out of my soil over time?
Rain can help flush some water-soluble chemicals, especially synthetic fertilizers, from the topsoil. However, many herbicides and pesticides bind to organic matter and clay particles, so they do not wash away easily. Leaching can also carry chemicals into groundwater, which is environmentally problematic.
Active biological remediation is far more effective than relying on rain alone.
How do I know if my soil has been contaminated by a neighbor’s chemical use?
If your neighbor uses herbicides or pesticides, chemicals can drift onto your property through wind, runoff, or shared water sources. Signs include unexplained plant damage on the side of your garden facing their property. A soil test specifically testing for common herbicides like 2,4-D and glyphosate can confirm cross-contamination.
Is it safe to use chemical soil tests from home improvement stores?
Home test kits are fine for checking pH and basic macronutrients like nitrogen, phosphorus, and potassium. However, they cannot detect chemical residues, heavy metals, or specific pesticide compounds. For a full assessment of chemical contamination, you need a certified laboratory test.
Can I speed up soil remediation with commercial microbial inoculants?
Yes, but with realistic expectations. Products containing mycorrhizal fungi and beneficial bacteria can give your soil biology a head start. However, they work best when combined with organic matter — the microbes need food to survive.
The native microbes in your own compost are often more effective because they are already adapted to your local conditions.
Final Thoughts
Restoring soil that has been exposed to chemicals is a journey that requires patience, testing, and a commitment to natural methods. By stopping synthetic inputs, feeding your soil with compost and cover crops, and supporting beneficial microbes, you can reverse years of chemical damage. The result is not just cleaner soil — it is richer, more resilient soil that grows healthier plants without relying on synthetic products.
Start with a test, trust the process, and your garden will reward you.