How to Get Seeds From a Hibiscus Plant (Simple Method)
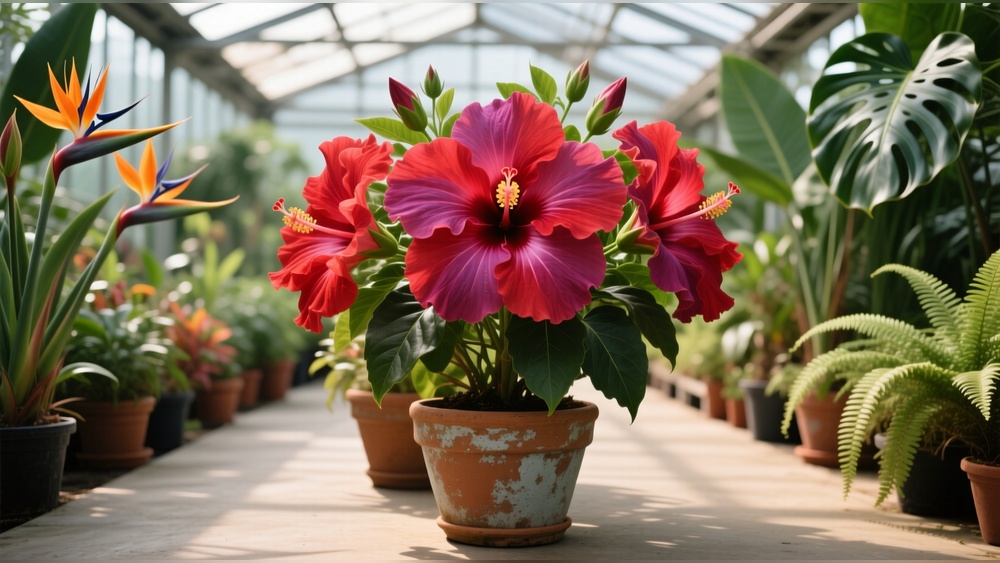
The allure of the hibiscus plant goes beyond its vibrant blooms and lush foliage. For many gardeners, the true satisfaction comes from nurturing a plant from its very beginnings—from a single seed. Harvesting hibiscus seeds is a straightforward yet rewarding process, offering the thrill of growing new plants that can brighten gardens, patios, and homes year after year.
Whether you’re an enthusiastic hobbyist or a beginner looking for a simple propagation project, learning how to get seeds from a hibiscus plant can transform your gardening journey.
In this comprehensive guide, you’ll discover an easy, reliable method for collecting, preparing, and storing hibiscus seeds. You’ll also gain insights into the science behind seed development, practical troubleshooting tips, and inspiring real-world examples. By the end, you’ll be equipped with both the know-how and confidence to propagate your own hibiscus plants, ensuring a continuous cycle of beauty in your garden.
Key Takeaways
- Harvesting hibiscus seeds is easy with the right timing and technique.
- Seed pods must be collected when mature but before splitting open to maximize viability.
- Proper drying and storage are essential for long-term seed health and successful germination.
- Growing hibiscus from seeds can yield unique new plants and is ideal for patient gardeners.
- Troubleshooting common challenges, like poor seed set or viability, is key to success.
- Real-world case studies show the method works for both home gardeners and professionals.

Credit: www.youtube.com
Understanding Hibiscus Seed Development
The Hibiscus Plant Lifecycle
The hibiscus genus comprises hundreds of species, both tropical and hardy, each following a similar lifecycle. After pollination, the vibrant flowers give way to seed pods, which develop over several weeks. These pods are the gateway to the next generation of plants.
Hibiscus plants, whether grown as ornamentals or for their edible and medicinal properties, display a remarkable lifecycle. The journey starts from a seed, which germinates and grows into a seedling. This seedling develops into a mature shrub or small tree, producing its signature showy blooms.
Once pollinated, these flowers transform into seed pods, ensuring the continuation of the species. Understanding this lifecycle is essential for gardeners hoping to harvest seeds, as it provides insight into the optimal timing for collection and the plant’s reproductive patterns.
Anatomy Of A Hibiscus Seed Pod
A typical hibiscus seed pod is a rounded or elongated capsule, usually green when immature and brown or tan when ripe. Each pod contains multiple seeds—often between 10 and 40, depending on species and flower size. The pod’s outer casing splits open naturally when fully mature, allowing seeds to disperse.
The structure of the seed pod plays a crucial role in protecting developing seeds from pests, diseases, and environmental factors such as rain and wind. As the pod matures, its outer layer becomes increasingly brittle, a natural adaptation that ensures the seeds can be released effectively when the time is right.
In some species, such as the Rose of Sharon, the pods are covered with fine hairs, which may help deter insect predation or aid in seed dispersal. Recognizing these subtle differences can help you identify the best time and method for harvesting seeds from various hibiscus types.
Pollination And Seed Production
Hibiscus flowers rely on pollinators such as bees, butterflies, or even human intervention. Not all blooms result in viable seeds, especially if pollination is incomplete. Cross-pollination between different hibiscus varieties can produce unique hybrids, making seed propagation an exciting prospect for collectors.
Pollination is a fascinating process in hibiscus. Their large, open flowers and prominent stamens make them attractive to a range of pollinators. In regions where pollinator activity is low, gardeners can use a small paintbrush or cotton swab to transfer pollen from the stamen to the stigma, increasing the chances of successful seed set.
Hybridization, whether intentional or accidental, can yield new cultivars with unique flower colors, shapes, or growth habits—a source of delight for collectors and breeders alike.
Seed Maturity Timeline
The timeline from flower pollination to seed maturity varies by species and climate:
- Tropical hibiscus (Hibiscus rosa-sinensis): ~8-10 weeks from pollination
- Hardy hibiscus (Hibiscus moscheutos): ~4-6 weeks
- Rose of Sharon (Hibiscus syriacus): ~6-8 weeks
Various factors such as temperature, soil fertility, and rainfall can influence the rate at which pods mature. For instance, prolonged periods of cool, wet weather can delay pod drying, while hot, dry conditions may accelerate maturation but increase the risk of premature pod splitting.
Careful observation of your plants over several seasons will help refine your timing for optimal seed harvesting.
Factors Affecting Seed Quality
Seed viability depends on:
- Genetic health of the parent plant
- Adequate pollination
- Weather and environmental conditions
- Timely harvesting before pod dehiscence (splitting open)
Additional factors include pest and disease pressure during the seed development period. For example, infestations of aphids or fungal pathogens can compromise seed quality. Using integrated pest management and maintaining plant health with proper watering and feeding routines contribute to the production of robust, viable seeds.
The Simple Method: Step-by-step Seed Collection
Step 1: Identifying Mature Seed Pods
Look for hibiscus pods that are:
- Turning brown or tan
- Slightly dry to the touch
- Swollen and plump, indicating mature seeds inside
Avoid pods that are green (immature) or have already split open (risk of seed loss).
The ability to identify mature pods is a skill that improves with practice. Mature pods will often feel firmer and heavier than immature ones. In some hibiscus species, the pod may also begin to show visible cracks along its seams as it approaches the point of natural opening.
Gently squeezing a pod can give a hint; if it feels hollow or light, it may have already dispersed its seeds, while a solid, full feeling indicates seeds are still inside.
Step 2: Harvesting At The Right Time
- Use clean, sharp scissors or pruning shears.
- Cut the pod with a short length of stem attached to prevent damage.
- Collect pods in the morning after dew has dried, reducing mold risk.
Timing is crucial. Pods harvested too early may contain underdeveloped seeds with low viability, while those left too long may split, scattering seeds and reducing your yield. For best results, check your plants daily during the seed pod maturation window.
If you notice birds or insects showing interest in the pods, consider harvesting a little earlier, as wildlife can quickly deplete your potential seed supply.
Step 3: Drying The Seed Pods
- Place pods on a paper towel or mesh tray in a cool, dry location.
- Allow to air-dry for 3-7 days, turning occasionally for even drying.
- Pods are ready when they feel crisp and begin to split at the seams.
Proper drying is critical to prevent mold growth, which can quickly ruin a batch of seeds. A well-ventilated room or shaded porch works well for this stage. Avoid direct sunlight, which can overheat the seeds and reduce their viability. Some gardeners use a small fan to improve air circulation, especially in humid climates.
If you live in an area with high humidity, consider drying pods inside a room with a dehumidifier for best results.
Step 4: Extracting The Seeds
- Gently open the dried pods over a clean tray or paper to catch seeds.
- Remove seeds by hand, discarding any debris or damaged seeds.
- Separate healthy seeds (firm, brown, rounded) from shriveled or moldy ones.
Take care during this step, as hibiscus seeds can be surprisingly small and may roll or bounce away if dropped. Use a shallow tray or even a large baking sheet to minimize loss. Some pods may contain a small amount of fine chaff or fibrous material; gently rubbing the seeds between your fingers can help clean them further.
If you suspect pest infestation, consider freezing the seeds for 24 hours after extraction to kill any potential insect eggs.
Step 5: Cleaning And Storing Seeds
- Brush off any remaining pod fragments.
- Store seeds in a paper envelope or breathable bag, labeled with species and date.
- Place in a cool, dry, and dark area, such as an airtight container in a refrigerator.
Careful cleaning and proper storage extend the life of your seeds. Paper envelopes are preferred for short-term storage because they allow for air exchange, reducing the risk of moisture buildup. For long-term storage, placing envelopes in a glass jar or plastic box with a silica gel packet can further protect the seeds.
Always label your containers clearly; over time, it’s easy to forget which seeds came from which plant.
Step 6: Preparing For Planting
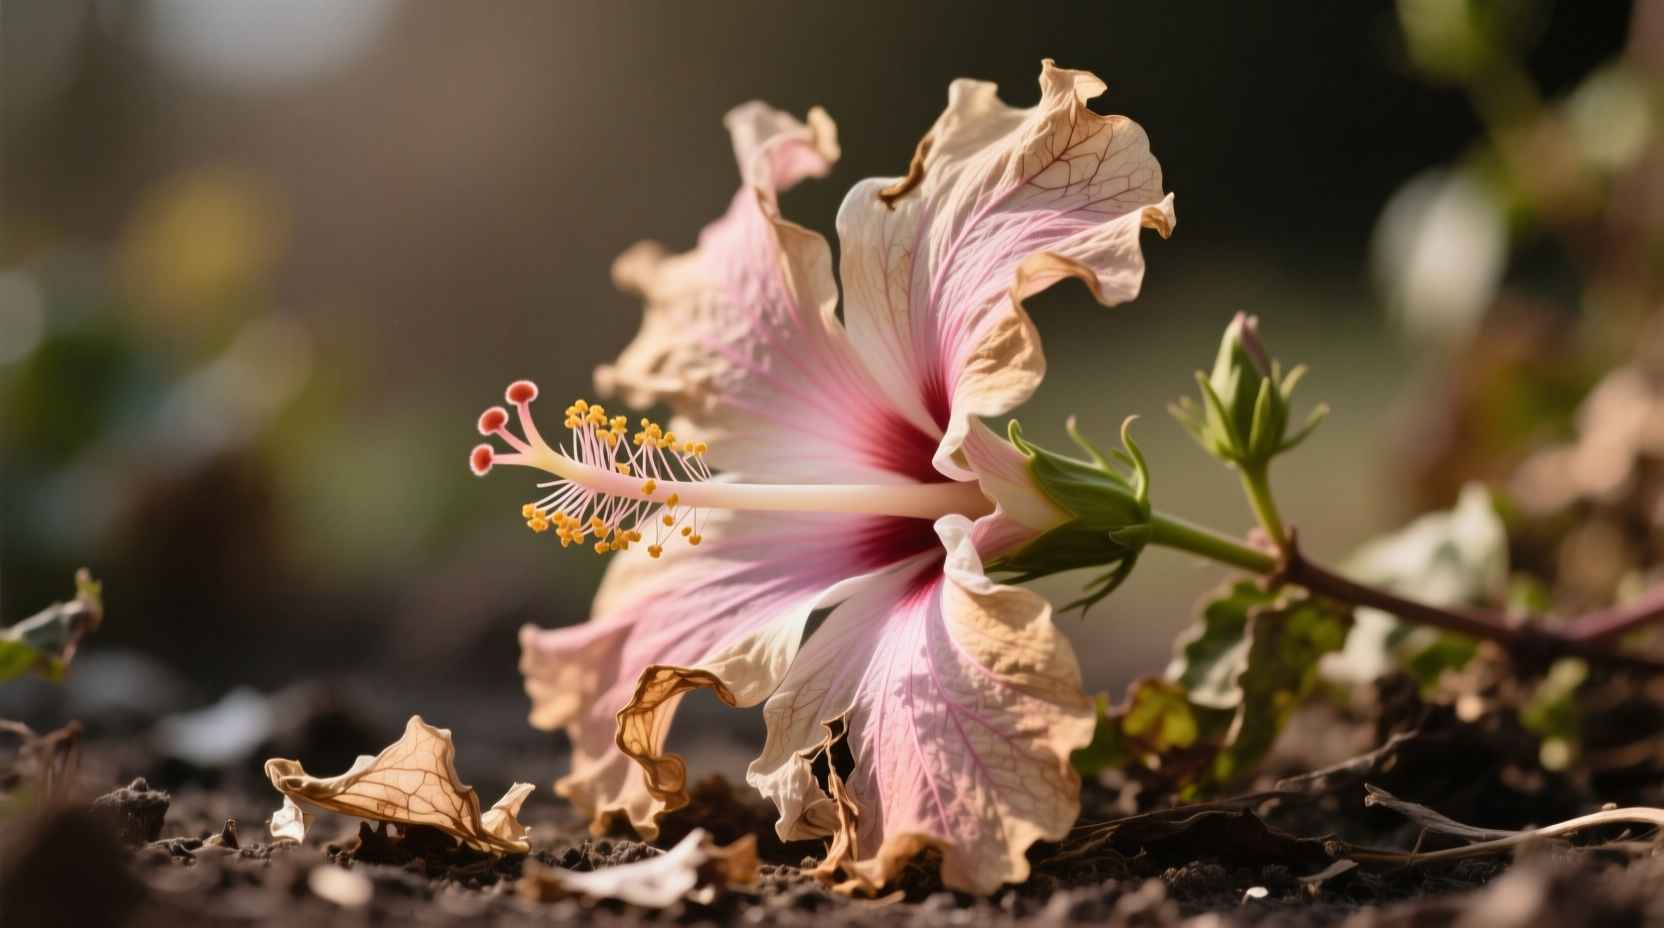
Before sowing, some gardeners scarify (lightly nick) or soak seeds for 6-24 hours to encourage faster germination. This step is optional but can improve results, especially with older or thicker-shelled seeds.
Scarification can be done with a nail file or a sharp knife, but always be gentle to avoid damaging the embryo inside. Soaking is especially useful if you notice that your seeds tend to take a long time to sprout.
Place seeds in a cup of warm (not hot) water and allow them to soak overnight. Seeds that swell are likely viable; discard any that float or remain unchanged.
Credit: lifetips.alibaba.com
Comparing Seed Harvesting Methods
While the above method is the most straightforward, gardeners sometimes use alternative approaches. The table below compares the simple method to other common strategies:
| Method | Required Tools | Time Investment | Seed Viability | Difficulty |
|---|---|---|---|---|
| Simple Air-Dry Method | Scissors, paper towel | 7-10 days | High | Easy |
| Bagging Pods On Plant | Mesh/organza bags | 3-8 weeks | Very High | Moderate |
| Artificial Ripening | Paper bag, warm location | 3-5 days | Medium | Easy |
| Water Extraction | Bowl, water, sieve | 1-2 hours | Medium | Moderate |
The simple air-dry method is ideal for most home gardeners because it requires minimal equipment, offers high seed viability, and is easy to perform.
Bagging pods on the plant is especially valuable in windy or wildlife-prone gardens, preventing seed loss before you can collect them. Artificial ripening, which involves cutting pods slightly before full maturity and allowing them to finish ripening indoors, can help save seeds when inclement weather threatens.
Water extraction is less common but can be useful if pods have become damp or moldy, as floating seeds can be separated from debris in water.
Credit: lifetips.alibaba.com
Essential Tools And Materials
Must-have Supplies
To ensure a successful seed collection process, gather the following:
- Sharp scissors or pruners for clean cuts
- Paper towels or mesh drying trays
- Envelopes or small paper bags for seed storage
- Labels and pens for record-keeping
- Airtight containers (optional, for long-term storage)
- Organza or mesh bags (optional, for bagging pods on the plant)
A small paintbrush or cotton swab is also handy if you plan to hand-pollinate flowers for hybridization. Additionally, a magnifying glass can help inspect seeds for pests or damage, and a notebook or digital spreadsheet can make record-keeping more efficient.
Safety Tips
- Always sterilize cutting tools before use to prevent disease transmission.
- Handle pods gently to avoid crushing seeds.
- Store seeds out of reach of pets and children, as some hibiscus species may be mildly toxic.
Wearing gloves can prevent skin irritation, especially with certain hardy hibiscus species whose pods may be covered in fine hairs. Make sure your work area is clean and free of contaminants that could harm the seeds.
Choosing The Right Storage Environment
Proper storage is critical for maintaining seed viability. Seeds stored in cool, dry, and dark conditions can remain viable for up to 3 years. Avoid plastic bags unless seeds are thoroughly dry, as trapped moisture can promote mold.
For gardeners in humid climates, consider using a humidity meter in your storage area. If you notice condensation or increased moisture, add extra desiccant packets or switch to a more controlled environment. Long-term seed banks often recommend storing seeds at around 40°F (4°C) and 15-20% humidity for maximum longevity.
Record-keeping Best Practices
Keep a seed log with:
- Plant variety/species
- Date harvested
- Location (if growing multiple plants)
- Any notes about pod appearance or parent plant health
This information helps track germination rates and improves future harvests.
Advanced record-keeping, such as tracking weather conditions, pollination methods, and even photographic documentation of parent plants and pods, can be invaluable for breeders and enthusiasts. Many successful gardeners find that reviewing past records helps refine their techniques and improves yields over time.
Real-world Examples And Case Studies
Example 1: Home Gardener Success
Jane, a backyard gardener in Florida, harvested seeds from her tropical hibiscus using the simple method. She collected pods after the summer bloom, dried them for five days, and stored seeds in a paper envelope. The following spring, she achieved a 75% germination rate and successfully grew six new hibiscus plants, each displaying subtle differences in flower color—a testament to the genetic diversity found in seed-grown plants.
Jane’s process also included soaking the seeds overnight before planting, which she found helped speed up germination. By documenting the appearance of each new plant, she was able to identify two unique flower shapes not present in her original collection.
She shared these new plants with friends and local gardeners, further spreading genetic diversity in her community.
Example 2: Community Garden Project
The Oak Street Community Garden in Texas organized a hibiscus seed swap. Members harvested seeds collectively using mesh bags to catch pods before they split. This method reduced seed loss to birds and wind, leading to over 200 viable seeds shared among participants. The project fostered community engagement and expanded local biodiversity.
The garden group found that by assigning teams to monitor different hibiscus varieties, they could maximize the diversity of seeds collected. They also hosted a workshop on seed cleaning and storage, empowering novice gardeners to successfully grow hibiscus from seed.
The following season, the garden boasted several new hibiscus hybrids, some with striking bicolored blooms.
Example 3: Professional Nursery Approach
At a commercial nursery in California, staff use both the simple air-dry and bagging-on-plant methods for rare hibiscus hybrids. Their records show that bagging pods increased viable seed recovery by 15%. However, for routine harvests, the simple method remains most cost-effective and efficient.
The nursery also performs germination tests on each seed batch, discarding any that show low viability. By maintaining strict hygiene and detailed records, the staff ensures that valuable hybrid seeds are preserved and available for future breeding programs.
Example 4: International Botanical Research
Researchers at the Royal Botanic Gardens, Kew conducted a comparative study, finding that hibiscus seeds dried at 15°C with 20% humidity retained over 90% viability for up to 18 months. These findings underscore the importance of controlled drying and storage conditions for seed longevity (Kew Gardens).
The Kew team also experimented with different storage containers and found that glass jars with airtight seals and desiccant packs performed best for long-term preservation. Their research supports the use of similar practices at home for gardeners wishing to store seeds from year to year.
Maximizing Seed Viability And Germination
Selecting The Best Seeds
After extraction, inspect seeds for:
- Firmness: Should feel hard, not soft or spongy.
- Color: Healthy seeds are typically tan to dark brown.
- Shape: Seeds should be plump and rounded, not shriveled.
Discard any that show signs of mold, insect damage, or deformity.
Seeds that are abnormally light or have visible holes may have been infested by weevils or other pests. If you are unsure about seed quality, consider performing a float test: place seeds in a glass of water and discard any that float, as these are often hollow or non-viable.
Seed Pre-treatment Options
Some hibiscus species benefit from pre-treatment:
- Scarification: Lightly file or nick the seed coat to improve water uptake.
- Soaking: Soak seeds in warm water for 8-24 hours to soften the shell.
Pre-treated seeds often germinate faster and more uniformly.
For particularly hard-coated seeds, a brief soak in a mild solution of hydrogen peroxide (1-2%) can help reduce fungal contamination and further enhance germination rates. However, avoid over-soaking, as this can lead to seed rot. Always plant seeds immediately after soaking for best results.
Sowing And Germination Conditions
Optimal germination requires:
- Moist, well-draining soil (seed-starting mix or peat-based substrate)
- Temperature: 70–85°F (21–29°C)
- Light: Bright, indirect sunlight or grow lights
- Humidity: Cover trays with plastic domes to retain moisture
Seeds typically germinate in 2-4 weeks, though some may take longer.
It’s important to monitor soil moisture closely; too much water can cause rot, while too little can halt germination. Using a spray bottle to mist the surface ensures even moisture without disturbing the seeds. Once seedlings emerge, gradually increase light intensity to prevent legginess.
Monitoring And Transplanting
Once seedlings have two true leaves, transplant to individual pots. Gradually acclimate to outdoor conditions before planting in the garden.
When transplanting, handle seedlings by their leaves rather than stems to prevent damage. Use a nutrient-rich potting mix for the next stage, and place pots in a sheltered location. Begin hardening off the seedlings by exposing them to outdoor conditions for a few hours each day, increasing gradually over a week or two.
Comparison: Seed Vs. Cutting Propagation
Seed propagation offers genetic diversity but is slower than cuttings. See the table below for a side-by-side comparison:
| Propagation Method | Time to Bloom | Plant Uniformity | Ease for Beginners | Genetic Variation |
|---|---|---|---|---|
| Seeds | 1-3 years | Low | Moderate | High |
| Cuttings | 6-12 months | High | Easy | Low |
Growing from seed is ideal for those seeking unique variations, while cuttings ensure identical clones of the parent plant.
Cuttings are often preferred for commercial production due to their speed and reliability. However, seeds are invaluable for plant breeding, conservation of rare varieties, and anyone seeking the excitement of discovering new traits.
Troubleshooting Common Seed Harvesting Issues
Low Seed Set Or Empty Pods
Possible causes include:
- Poor pollination: Encourage pollinators or hand-pollinate.
- Environmental stress: Heat waves, drought, or disease reduce seed development.
- Hybrid sterility: Some hybrids produce few or no viable seeds.
In cases of persistent low seed set, assess your garden’s pollinator population. Planting nectar-rich flowers nearby, providing water sources, and avoiding pesticide use can help attract more pollinators. For sterile hybrids, propagation by cuttings may be the only option.
Mold Or Rot During Drying
- Ensure pods are spaced apart and turned daily.
- Use a fan for improved air circulation.
- Avoid humid storage areas.
If you encounter recurring mold problems, try drying pods in a paper bag with several holes punched for ventilation. Silica gel packets placed nearby can also help absorb excess moisture.
Seeds Failing To Germinate
- Test a few seeds by gently squeezing; discard if soft.
- Try pre-soaking or scarification.
- Verify temperature and moisture levels during germination.
Patience is key, as some hibiscus seeds may require up to six weeks to sprout. If you notice persistent issues, experiment with different seed-starting mixes or adjust the temperature and humidity of your setup.
Unidentified Pests
Inspect pods for holes or webbing. Discard infested pods and treat plants with an appropriate, plant-safe insecticide or practice crop rotation.
Regular garden maintenance, such as removing fallen debris and monitoring for signs of infestation, reduces the risk of pest problems in future seed crops.
Viability Loss In Storage
- Store seeds in airtight containers with silica gel packets to reduce moisture.
- Keep at a consistent, low temperature (refrigerator is ideal).
- Use seeds within 1-3 years for best results.
Label containers with expiration dates to help rotate your seed stock and avoid planting old, non-viable seeds.
Advanced Tips For Seed Collectors
Hybridizing Hibiscus For Unique Seeds
- Cross-pollinate different varieties by transferring pollen with a small brush.
- Tag flowers to track cross-breeds.
- Harvest and sow seeds to discover new flower colors and forms.
For more on hibiscus hybridization, see Wikipedia: Hibiscus.
Hybridization can be as simple or as sophisticated as you wish. Advanced breeders often use controlled environments, such as greenhouses, to prevent accidental cross-pollination and ensure purity of parentage. Keeping detailed records and photographs of parent flowers helps track lineage and results.
Storing Seeds For Long-term Preservation
- Use desiccant packets in storage containers to control humidity.
- Seal envelopes inside mason jars or vacuum-sealed bags for extra protection.
- For rare or valuable seeds, consider freezing; consult seed bank protocols first.
Freezing seeds requires careful preparation to prevent damage; seeds must be thoroughly dry before freezing, and should be allowed to return to room temperature slowly when removed. For more information, consult resources from professional seed banks or horticultural societies.
Participating In Seed Swaps
Join online forums or local gardening clubs to exchange seeds and diversify your collection. Sites like the American Hibiscus Society (IHS) offer resources and community support.
Seed swaps are a great way to access rare or unusual varieties and to connect with fellow enthusiasts. Many groups host annual or seasonal events, and some even offer online exchanges with international members.
Documenting Seed Lineage
- Photograph parent plants and flowers for reference.
- Record cross-pollination attempts and outcomes.
- Share findings with other enthusiasts to contribute to the collective knowledge.
Online platforms and garden journals are invaluable for tracking and sharing information. Over time, your documentation can serve as a resource for your own breeding projects and for the broader hibiscus-growing community.
Environmental And Ethical Considerations
Supporting Biodiversity
Collecting and sharing seeds helps preserve both common and rare hibiscus varieties. By growing from seed, gardeners contribute to genetic diversity, which supports ecosystem resilience.
Participating in conservation initiatives or native plant societies amplifies your impact. Many organizations offer guidelines for responsible seed collection and distribution, ensuring rare species are protected.
Avoiding Invasive Species
Some hibiscus species can become invasive outside their native range. Always verify local regulations before distributing seeds, and avoid planting near wild habitats unless the species is native.
For a list of invasive hibiscus species, refer to the USDA PLANTS Database (USDA).
If you suspect your hibiscus variety may be invasive in your area, restrict its planting to containers or enclosed beds, and avoid sharing seeds with gardeners in sensitive regions.
Conservation Of Rare Varieties
Participate in conservation efforts by propagating and sharing rare or heirloom hibiscus. The Royal Horticultural Society (RHS) provides guidelines for ethical seed sharing.
Heirloom and wild hibiscus play important roles in maintaining the genetic pool necessary for future breeding and adaptation to changing environments. Contributing seeds to local or international seed banks is another way to support conservation.
Safe Handling And Responsible Disposal
Dispose of non-viable seeds and plant debris in compost or green waste bins. Avoid discarding viable seeds in natural areas to prevent unintended spread.
In areas where hibiscus is not native, avoid composting seeds unless you are sure your compost reaches temperatures high enough to kill them. Otherwise, dispose of seeds in household waste.
Frequently Asked Questions
How Do I Know When Hibiscus Seed Pods Are Ready To Harvest?
Hibiscus seed pods are ready when they turn brown or tan and feel dry to the touch. They should be swollen but not yet split open. If you wait too long, pods may burst and scatter seeds.
Can I Grow Hibiscus From Seeds Collected In My Garden?
Yes, you can grow hibiscus from garden-collected seeds. However, if your plant is a hybrid, new plants may differ in flower color or form due to genetic variation. Both tropical and hardy hibiscus can be grown from seed with proper care.
How Long Do Hibiscus Seeds Remain Viable?
With proper drying and storage in a cool, dry, dark place, hibiscus seeds remain viable for up to 3 years. Germination rates decline after that, so it’s best to use seeds within 1-2 years for highest success.
Do All Hibiscus Varieties Produce Seeds?
Most hibiscus species and varieties will produce seeds if flowers are pollinated. However, some hybrids are sterile or produce very few seeds. Observe your plants, and consider hand-pollination to increase seed set.
What’s The Best Way To Store Hibiscus Seeds For Long-term Use?
Store seeds in labeled paper envelopes inside an airtight container. Add a silica gel packet to control moisture, and place the container in a refrigerator. Avoid plastic bags unless seeds are fully dry to prevent mold.
The process of collecting seeds from your hibiscus plant is both simple and deeply rewarding, connecting you to the full cycle of plant life. By following the step-by-step method outlined above, you’ll ensure a high rate of seed viability and open the door to cultivating new, unique plants.
Whether you’re aiming to expand your home garden, share seeds with friends, or participate in broader conservation efforts, the knowledge and techniques gained here will serve you for seasons to come. Happy gardening—and may your hibiscus always bloom in abundance.