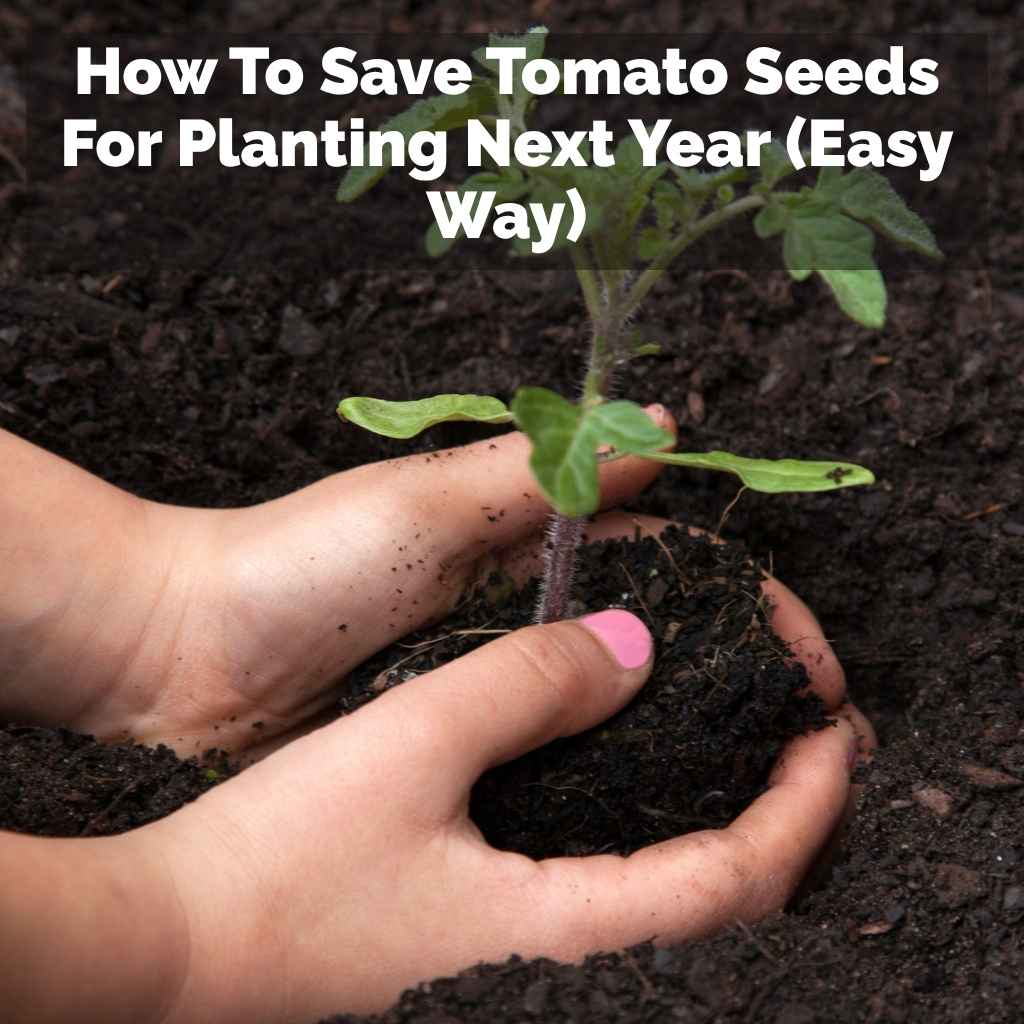
Saving tomato seeds is a simple process. You need to ferment the seeds. Then, dry them well.
Store them in a cool, dry place. This ensures you have viable seeds for next season’s garden.
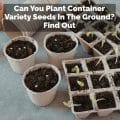
What is Tomato Seed Saving?
Tomato seed saving is collecting seeds from ripe tomatoes. You do this to plant them later. It means you can grow the same tomato plants again.
It’s like keeping a piece of your garden for next year. You don’t need fancy tools. Just a few everyday items are enough.
Why do people save tomato seeds? Many reasons exist. You might have a special tomato.
It tastes amazing. Or it grew really well for you. Saving its seeds lets you grow it again.
You can also save seeds from heirloom tomatoes. These are old varieties. They often have unique flavors and colors.
Plus, it’s a way to be more self-sufficient. You control your garden’s future.
This process also helps preserve plant diversity. Many unique tomato types are lost each year. Saving seeds from them keeps them alive.
It’s a small act with a big impact. It connects you to gardening history. You become a part of a long tradition.
My Tomato Seed Saving Story
I remember my first year trying to save seeds. I had grown a Brandywine tomato. It was huge and so sweet.
I loved that tomato. I wanted to grow it again. I looked up how to save seeds.
It seemed a bit messy. I wasn’t sure I could do it right. My friend Sarah told me about fermenting.
Sarah explained it carefully. She said the goo around the seeds is important. It stops them from sprouting too early.
You need to let them sit for a bit. This process breaks down that goo. I felt a little nervous.
The thought of mushy tomatoes was odd. But I was determined. I picked the ripest Brandywine I could find.
I scooped out the seeds and the jelly. I put them in a small jar. I added a tiny bit of water.
I covered the jar with cheesecloth. Then I waited. It smelled a little funky after a few days.
But the seeds looked clean. I washed them gently. Then I spread them out to dry.
It worked! The next year, I planted those seeds. And guess what?
I got Brandywine tomatoes again. That success made me a seed saver for life.
Tomato Seed Anatomy
Seed Coat: The outer shell. It protects the embryo.
Embryo: The baby plant inside. It needs the right conditions to grow.
Endosperm: Food source for the embryo. It helps the seedling start.
Gelatinous Pulp: This surrounds the seeds in the tomato. It has enzymes. These help the seeds break dormancy.
Fermentation breaks down this pulp.
Understanding the Fermentation Process
The key to saving tomato seeds is fermentation. This might sound fancy. But it’s really quite simple.
Think of it as nature’s way of cleaning. When you cut open a ripe tomato, you see seeds. They are covered in a jelly-like coating.
This coating is called pulp or gel.
This pulp has a purpose. It stops the seeds from germinating inside the fruit. It also protects them.
Fermentation helps remove this pulp. It also gets rid of some diseases. This is important for healthy plants later.
The pulp contains substances that inhibit sprouting. Fermentation breaks these down. This makes the seeds ready to grow when you plant them.
The process is not hard. You just need patience. And a bit of space for your jars.
Most gardeners find it quite rewarding. You are helping nature along. You are preparing for a future harvest.
It’s a cycle of growth and renewal.
Gathering Your Supplies
Before you start, get your tools ready. You don’t need much. This makes seed saving easy for anyone.
It is a great way to start gardening on a budget.
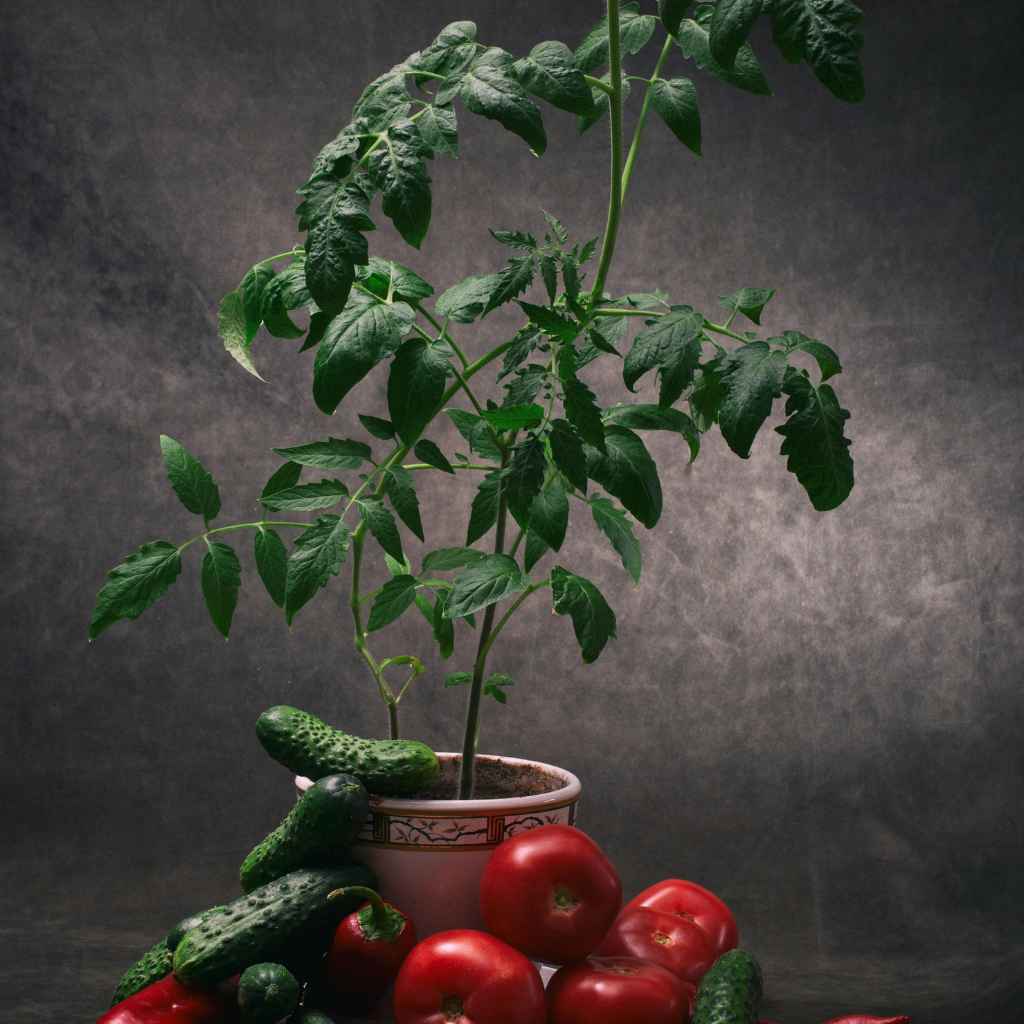
First, you need ripe tomatoes. Choose the best ones from your plants. The riper, the better.
They should be soft and full of flavor. Don’t use unripe or bruised tomatoes.
Next, you need jars. Small glass jars work well. Mason jars are perfect.
You can use old jam jars too. Make sure they are clean. You’ll also need a spoon.
A small spoon is best for scooping.
You will need water. Just a little bit. It helps the fermentation start.
You also need something to cover the jars. Cheesecloth or a coffee filter is ideal. This lets air in.
But it keeps bugs out. A rubber band will hold the cover in place. Lastly, you need a flat surface.
This is for drying your seeds. A plate or a baking sheet works. You might also want a paper towel.
Quick Supply Checklist
- Ripe Tomatoes
- Clean Glass Jars
- Small Spoon
- Water
- Cheesecloth or Coffee Filter
- Rubber Band
- Plate or Baking Sheet
- Paper Towels (optional)
Step-by-Step Tomato Seed Saving Guide
Let’s get started. Follow these simple steps. You’ll have great seeds in no time.
It’s more about patience than skill. You can do this!
Step 1: Choose and Prepare Your Tomatoes
Pick your ripest tomatoes. The skin should be a bit soft. Color should be deep.
If you are saving seeds from a hybrid tomato, know this. The seeds may not grow true. They might not have the same traits.
It’s best to save seeds from open-pollinated or heirloom varieties. These will give you plants just like the parent.
Wash the tomato gently. Just a quick rinse. You don’t want to remove any surface mold.
But you do want it clean. Have your clean jar ready. You’ll work over the jar.
Step 2: Scoop Out the Seeds
Cut the tomato in half. Or cut it into quarters. Use your spoon.
Scoop out the seeds and the jelly. Put them directly into your clean jar. Try to get as much of the jelly as you can.
This jelly is important for the next step. Don’t worry if you get a little bit of tomato flesh in there. It’s okay.
If you are saving seeds from multiple tomatoes of the same variety, you can put them all in one jar. Just make sure they are the same type. This keeps things simple.
You don’t want to mix different varieties yet.
Step 3: Add Water and Start Fermentation
Add a small amount of water to the jar. About one or two tablespoons is usually enough. This helps start the fermentation process.
Stir the seeds and jelly gently with your spoon. This mixes everything. It also helps break up the jelly a bit.
You want the seeds to be mostly covered.
Now, cover the top of the jar. Use your cheesecloth or coffee filter. Secure it with a rubber band.
This is important. It lets air circulate. This is needed for fermentation.
It also stops fruit flies. They love this stuff. Place the jar in a warm spot.
Keep it out of direct sunlight. A kitchen counter is often a good place.
Step 4: Let the Magic Happen (Fermentation Time)
This is the waiting part. You need to let the seeds ferment. This usually takes about 2 to 4 days.
Watch the jar closely. You will see changes. The jelly will start to break down.
It might get foamy. Small bubbles may appear. The smell might become a bit tangy or vinegary.
This is normal. It means the fermentation is working.
The goal is for the seeds to sink. They will separate from the pulp. The pulp will float on top.
Or it might start to mold. This is also okay. It’s part of the natural process.
Don’t be alarmed if it looks a bit weird. Most people think it looks gross. But it’s working its magic.
Fermentation Watchlist
- Day 1-2: Jelly starts to break down. May see some small bubbles. Smell might be mild.
- Day 3-4: More foam and bubbles appear. Smell becomes tangy. Good seeds start to sink. Pulp may rise or mold.
- Done: Most good seeds are at the bottom. Pulp is mostly separated.
Step 5: Wash the Seeds
Once you see the seeds sinking, it’s time to wash. Get a clean bowl. Or use another clean jar.
Pour the contents of the fermentation jar into the clean bowl. You want to rinse the seeds thoroughly. Use cool water.
Gently swish the seeds around. The floating pulp and any mold will wash away. You can pour off the dirty water.
Then add fresh water. Repeat this process several times. You want the water to run clear.
The seeds should look clean. They will be small and hard. They should have sunk to the bottom of the bowl.
This washing step is very important. It removes the last bits of pulp. It also separates the good seeds from any bad ones.
Bad seeds are often empty. They might float or be discolored. You are looking for firm, plump seeds.
They will be a light tan or yellowish color.
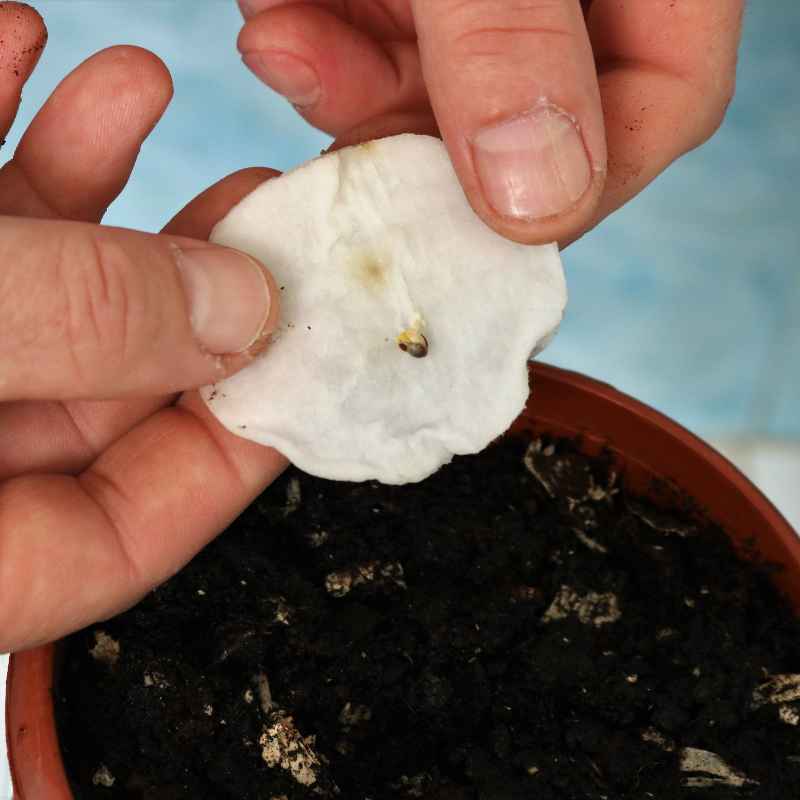
Step 6: Dry the Seeds
This is a critical step for storage. The seeds must be completely dry. If they are not dry, they will not last.
Use a plate or a baking sheet. You can line it with paper towels. Or you can use non-stick parchment paper.
Spread the clean seeds out in a single layer. Make sure they are not clumped together.
Let them air dry. Keep them in a warm, dry place. Avoid humidity.
Do not put them in direct sunlight. Sunlight can damage the seeds. It can also cook them.
This will kill them. It might take several days for them to dry completely. You can gently stir them every day.
This helps them dry evenly.
How do you know they are dry? They should feel hard. They should snap if you try to break them.
They will not feel sticky or soft. If you are unsure, let them dry for a few extra days. It’s better to be safe than sorry.
Drying Tips
- Spread seeds thinly in one layer.
- Use a non-stick surface.
- Dry in a warm, dry room.
- Keep out of direct sun.
- Stir gently each day.
- Dry for 7-14 days or until very hard.
Step 7: Store Your Seeds
Once the seeds are bone dry, it’s time to store them. Use small envelopes. Or small plastic containers with lids.
Paper envelopes are good. You can write the tomato variety on them. Also, add the date you saved the seeds.
This helps you know how old they are.
Store the envelopes or containers in a cool, dark, and dry place. A basement or a closet is often good. You can also store them in the refrigerator.
But make sure they are in an airtight container. This protects them from moisture. Good storage is key to long-term viability.
Properly stored seeds can last for many years.
I like to put my envelopes in a larger sealed bag. This adds an extra layer of protection. It keeps out any stray moisture.
I label the bag clearly with the year and varieties. It’s like my own little seed bank. It feels very satisfying to open it up in spring.
Real-World Context: Why This Method Works
This method works because it mimics nature. When a tomato falls and rots, its seeds ferment naturally. The pulp breaks down.
The good seeds sink and are protected by the soil. This process also has a protective effect against diseases. Some harmful bacteria are killed during fermentation.
This is a benefit that just scooping seeds out doesn’t offer.
The environment plays a role. Tomatoes ripen best in warm weather. This warmth also aids the fermentation.
Saving seeds in a cooler climate might take a bit longer. Or you might need to find a warmer indoor spot. The key is consistent, moderate warmth.
Not hot, not cold.
Home gardeners often use this method. It’s proven reliable for decades. It’s taught in gardening books and workshops.
It’s a standard practice for many who want to save their favorite tomato flavors. You are not inventing anything new. You are joining a long line of gardeners.
What This Means for Your Garden
Saving your own tomato seeds means a few things. First, you can grow specific varieties again. If you loved a certain tomato, you can keep it.
You are not reliant on seed catalogs. You are in control of your plant choices.
It also means you might get plants adapted to your garden. Seeds saved from plants that thrived in your soil and climate will carry those traits. Over time, these seeds can become even better suited to your specific conditions.
This is a subtle form of plant breeding.
It also means you can share seeds with friends. Imagine giving them seeds from your best tomato. It’s a wonderful gardening gift.
It spreads good plants. It also builds community. Your garden can become a source of shared bounty.
When is a Seed “Good”?
Looks: Firm, plump, uniform size and color (usually tan or yellowish).
Sinks: Good seeds will sink during the washing process.
Smell: Clean, not foul. Fermentation smell is normal, but finished seeds should smell neutral.
No Floaters: Any seeds that consistently float after washing are likely not viable.
Troubleshooting Common Seed Saving Issues
Sometimes things don’t go perfectly. Here are a few common problems and what to do.
Problem: Seeds are still slimy after washing.
Reason: Fermentation didn’t go long enough. Or the pulp was too thick.
Solution: Try fermenting for an extra day or two. Make sure to wash very thoroughly. You can also try gently scraping the seeds with your finger.
Problem: Seeds are moldy.
Reason: Too much moisture, or not enough air circulation during fermentation.
Solution: If only a little mold, wash very well. Some mold is normal. If it’s extensive, the seeds might be compromised.
Try to salvage any seeds from unaffected areas.
Problem: Seeds are not drying.
Reason: High humidity in your drying area.
Solution: Move the seeds to a warmer, drier room. You can use a fan on a low setting to circulate air. Avoid using a dehydrator or oven, as this can damage seeds.
Problem: Seeds look small and shriveled.
Reason: The tomato might not have been fully ripe. Or the seeds were not viable to begin with.
Solution: For future savings, always pick the most mature, plump tomatoes. You can test germination rates. Plant a small sample next year.
If they don’t sprout, you’ll know.
Myth vs. Reality
Myth: You have to use special equipment. Reality: Simple kitchen items are all you need.
Myth: Fermentation smells awful and is dangerous. Reality: It smells tangy, not rotten. It’s a natural process.
Myth: You can save seeds from any tomato. Reality: Stick to open-pollinated or heirloom types for predictable results.

When to Worry About Your Seeds
Most of the time, saving seeds is straightforward. But there are a few things to watch for. If your seeds look discolored, like black or very dark brown, they might be dead.
Good seeds are usually tan or light yellow. If they are mushy or soft even after drying, they are probably not viable.
When you store them, if they start to look moldy again, something is wrong. This means they weren’t dry enough. Or the storage area is too damp.
It’s better to discard them. Trying to grow moldy seeds is not worth the risk to your garden.
Also, be aware of pollination. If you grow multiple types of tomatoes close together, they can cross-pollinate. This means the seeds from one tomato might grow a different type.
This is less common with tomatoes than with other plants. But it can happen. If you want to guarantee pure seeds of a specific variety, grow only one type.
Or isolate plants.
How Long Do Tomato Seeds Last?
Properly stored tomato seeds can last a long time. Most experts say they are viable for about 4 to 10 years. Some can even last longer.
This depends on the variety. It also depends on storage conditions. Cool, dry conditions are best.
If you are unsure about the age of your seeds, you can do a germination test. Take about 10 seeds. Put them on a damp paper towel.
Fold the towel over them. Place the towel in a plastic bag. Keep it in a warm spot.
Check it every few days. After a week or two, count how many seeds have sprouted. If 7 out of 10 sprout, that’s a good germination rate (70%).
If only 1 or 2 sprout, they are likely too old.
This test helps you know if you should plant all your saved seeds. Or if you should buy some new ones. It’s a simple way to avoid disappointment.
You want your efforts to pay off.
FAQs About Saving Tomato Seeds
What is the easiest way to save tomato seeds?
The easiest way is the fermentation method. You scoop seeds and pulp into a jar, add a little water, cover it, and let it ferment for a few days. Then you wash, dry, and store the seeds.
Do I need to remove all the jelly from tomato seeds?
Yes, you need to break down the jelly. The fermentation process helps do this. Washing the seeds after fermentation removes the pulp and any remaining jelly.
Can I save seeds from store-bought tomatoes?
You can try, but it’s often not recommended. Most store-bought tomatoes are hybrids. Their seeds may not grow true to the parent plant.
Heirloom or open-pollinated tomatoes are best for seed saving.
How long does the fermentation process take?
It usually takes 2 to 4 days. You’ll know it’s done when the seeds sink and the pulp floats or molds. You may also see foam and bubbles.
What should I do if my seeds float after washing?
Floating seeds are usually not viable. They are likely empty or not healthy. You can discard them.
Focus on the seeds that sink.
Can I freeze my tomato seeds to store them?
Freezing is not recommended for tomato seeds. They need to be completely dry before storing. Freezing can damage them if there is any moisture.
Cool, dark, and dry storage is best.
How many seeds do I get from one tomato?
This varies greatly by tomato variety. Some small tomatoes have only a few seeds. Large beefsteak tomatoes can have dozens or even hundreds of seeds.
You usually get plenty to start with.
Final Thoughts on Your Seed Saving Journey
Saving tomato seeds is a rewarding skill. It connects you to your food. It allows you to preserve your favorite flavors.
This process is simple and effective. It helps you become a more self-sufficient gardener. Start with a few tomatoes.
You’ll be amazed at how easy it is. Happy seed saving!