Growing your own onions can be incredibly rewarding. Imagine slicing into a fresh onion you grew yourself, knowing exactly where it came from. But sometimes, getting those perfect onions feels like a mystery.
You might plant them, water them, and wait, only to end up with small bulbs or ones that just don’t taste right. It’s frustrating when your garden doesn’t give you the bounty you expected. This guide will help you understand the simple steps to growing bigger, better onions.
Growing onions at home means you can enjoy fresh flavor in your cooking. This guide explains everything you need to know, from picking the right spot to harvesting your best onions yet. We cover planting, watering, feeding, and keeping pests away.
You’ll learn how to get plump, tasty onions right from your garden.
Understanding Onion Growth
Onions are root vegetables. They need good soil to grow their bulbs. The bulb is actually a bundle of leaves.
These leaves store food for the plant. Sunlight helps the leaves make this food. When the leaves get big enough, the plant starts making a bulb.
This happens at the base of the plant. The more healthy leaves you have, the bigger your onion can get.
Onions need a long growing season. This means they need many days of sun. They also need the right temperature.
Some onions like cool weather. Others prefer it warm. The type of onion you choose matters.
It should fit your local climate. Knowing this helps you pick the best time to plant. It also helps you pick the right onion variety for your garden.
Most onions grow in two main stages. The first is the leaf growth stage. Here, the plant focuses on making green leaves.
This stage lasts for many weeks. The second stage is bulbing. The plant shifts its energy from leaves to making a bigger bulb.
This stage starts when day length reaches a certain point. This is why planting time is so important. It helps the plant get enough daylight for bulbing.
My Onion Gardening Adventure
I remember my first year trying to grow onions. I was so excited! I bought some onion sets, which are like tiny baby onions.
I stuck them in the ground in early spring. I watered them when the soil felt dry. I even gave them some plant food.
But weeks went by, and they just didn’t grow much. The tops looked okay, but the bulbs stayed tiny. I felt so disappointed.
I had pictured big, perfect onions for my salads and stews. Instead, I got onion-flavored shallots.
One day, I was talking to my neighbor, who has a garden that always looks amazing. She took one look at my sad little onions and smiled. She pointed out that my soil wasn’t quite right.
It was a bit too heavy, holding too much water. She also mentioned that I hadn’t given them enough space. The onion sets were too close together.
This meant they were all competing for food and light. She showed me how to loosen the soil. She also showed me how to space them out better.
It was a simple change, but it made a huge difference the next year. My onions grew much bigger and tasted so much sweeter.
Onion Planting Options
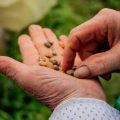
Seeds: You can start onions from tiny seeds. This takes the longest. You usually start them indoors early in the year.
It lets you grow many types of onions.
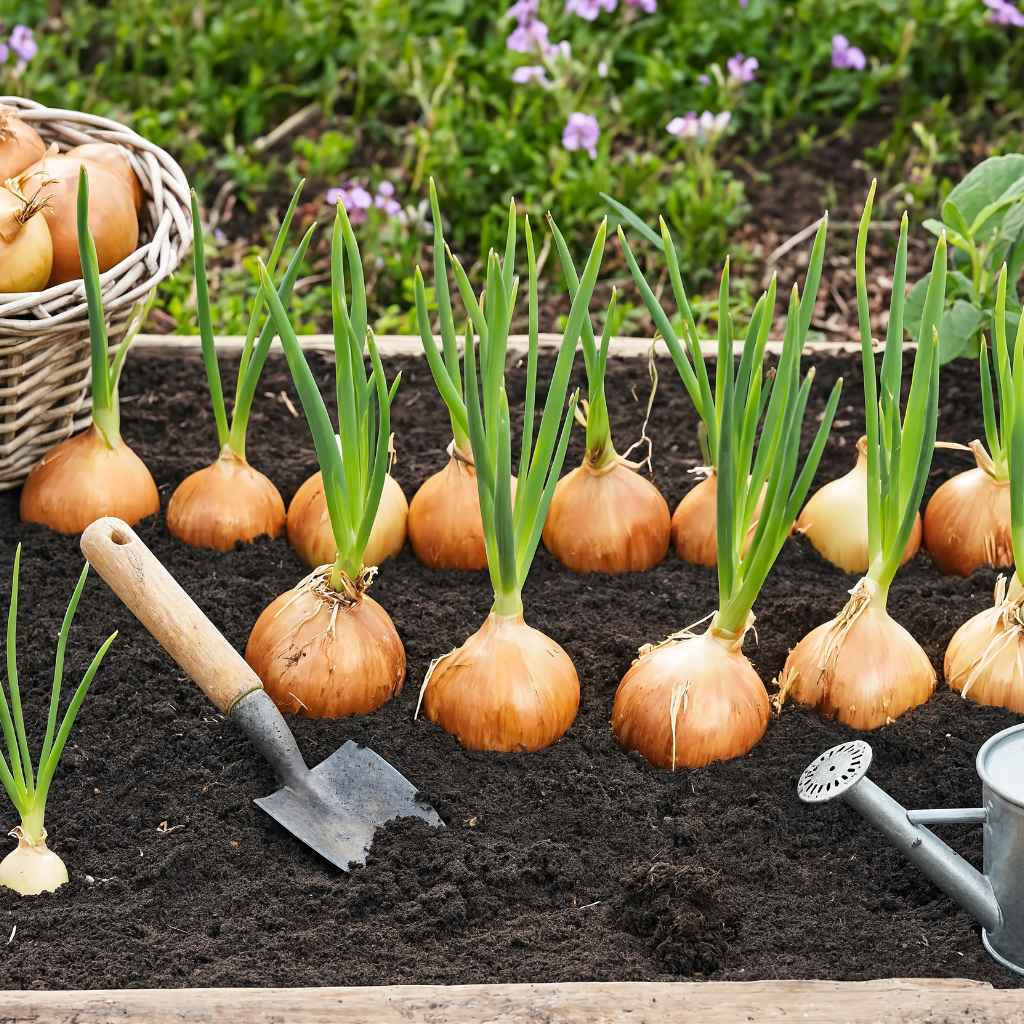
Sets: These are small bulbs grown from seed the previous year. They are easy to plant. They grow faster than seeds.
They are a popular choice for home gardeners.
Transplants: These are young onion plants. They are often started from seed by nurseries. You can buy them at garden stores.
They give you a head start.
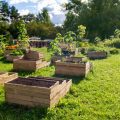
Finding the Perfect Spot
Onions need a lot of sun. They really thrive in full sun. This means at least six to eight hours of direct sunlight each day.
If your garden doesn’t get enough sun, your onions won’t grow as big. They might also be more prone to diseases. Look for the sunniest part of your yard.
That’s where your onions will be happiest.
Soil is also very important. Onions like loose, well-draining soil. Heavy clay soil can cause problems.
It holds too much water. This can make the onion bulbs rot. It also makes it hard for the bulbs to grow and swell.
You want soil that is easy to dig. It should also let water flow through it freely. Adding compost is a great way to improve your soil.
Compost makes it lighter and richer. It also adds helpful nutrients for the plants.
The soil pH level should be right too. Most onions prefer a slightly acidic to neutral soil. This means a pH level between 6.0 and 7.0.
You can test your soil pH with a simple kit. If your soil is too acidic or too alkaline, you can adjust it. Lime can raise pH.
Sulfur can lower it. Doing this simple test ensures your onions can best use the nutrients in the soil.
Soil Preparation Checklist
- Dig Deep: Loosen soil at least 8 inches down.
- Add Compost: Mix in plenty of aged compost.
- Check Drainage: After watering, does water pool? If yes, add more compost or sand.
- Test pH: Aim for 6.0 to 7.0.
Planting Your Onions
The timing of planting depends on where you live. It also depends on the type of onion. Long-day onions grow best in the northern US.
Short-day onions are better for the southern US. Intermediate-day onions work in the middle states. Knowing your daylight hours for bulbing is key.
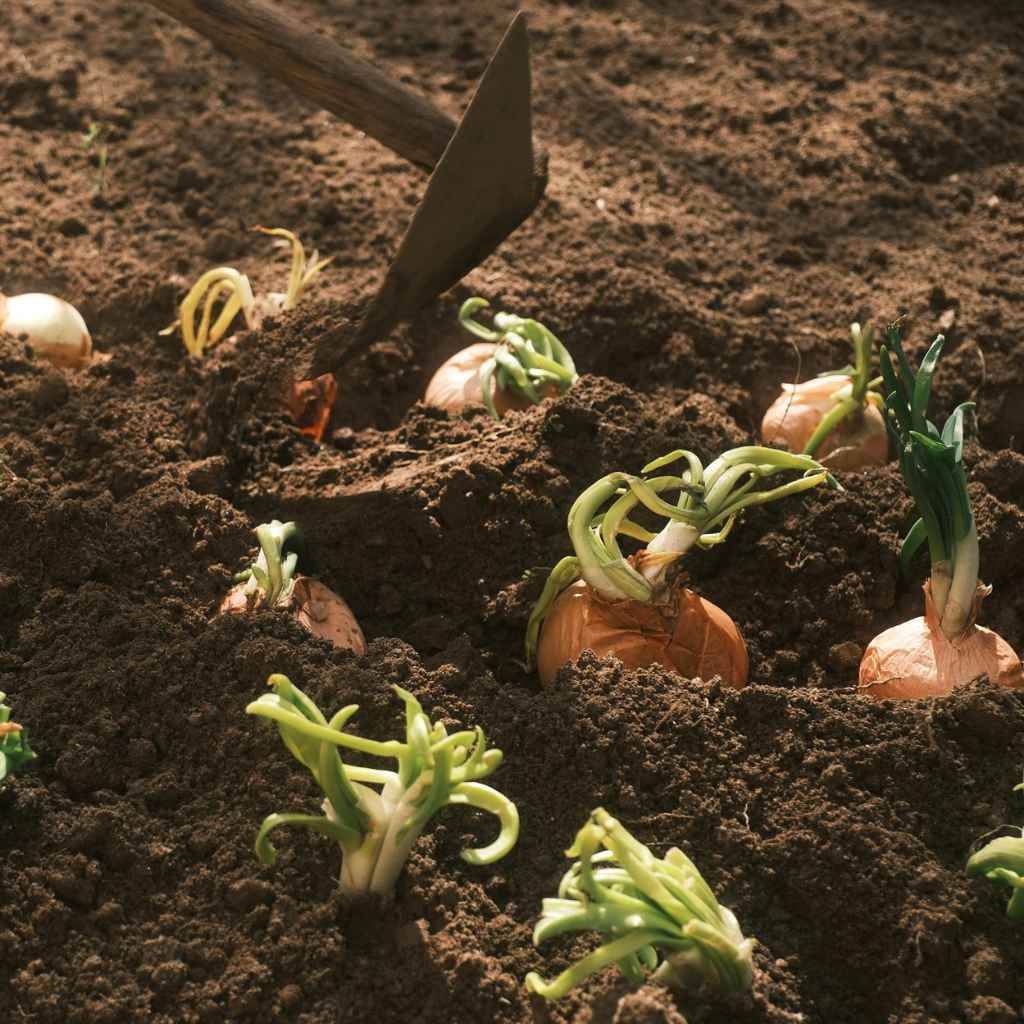
If you are planting onion sets, dig shallow trenches. They should be about 1 inch deep. Place the sets about 4 to 6 inches apart.
The pointy end should face up. Gently push them into the soil. Cover them with soil.
If you are planting seeds, follow the package directions. Usually, they go about half an inch deep. Space them about half an inch apart.
You will need to thin them later.
For transplants, dig holes about 4 inches deep. Place the transplant in the hole. The roots should spread out.
The bulb part should be just at the soil surface. Gently firm the soil around them. Space transplants about 4 to 6 inches apart.
Water everything well after planting. This helps the soil settle. It also helps the roots start to grow.
Keep an eye on weeds. Weeds compete with onions for water and food. They can also block sunlight.
It’s best to pull weeds by hand. This is especially true when the plants are young. Be careful not to disturb the onion roots.
Mulching can also help. A layer of straw or grass clippings can keep weeds down. It also helps keep the soil moist.
Planting Spacing Guide
Small Onions (Scallions/Green Onions): 1-2 inches apart.
Medium Onions (Bulbing): 4-6 inches apart.
Large Onions: 6-8 inches apart.
Watering Your Onion Plants
Consistent watering is crucial for onions. They need about 1 inch of water each week. This can come from rain or from you watering them.
During dry spells, you’ll need to water more. The best time to water is in the morning. This allows the leaves to dry off during the day.
This helps prevent diseases.
Water deeply. This encourages the roots to grow down into the soil. Shallow watering makes roots stay near the surface.
This makes the plants more likely to dry out. Water the base of the plants. Try to avoid wetting the leaves too much.
This also helps reduce disease risk.
As the onions start to form bulbs, you can water less. When the tops start to fall over, it’s time to stop watering completely. This signals that the onions are ready to be harvested.
Overwatering at this stage can cause the bulbs to rot. It can also make them not store well. Pay attention to the soil moisture.
Don’t just water on a schedule.
Feeding Your Growing Onions
Onions are heavy feeders. They need nutrients to grow big bulbs. If your soil is rich in compost, you might not need much extra fertilizer.
However, most gardeners benefit from adding some. Use a balanced fertilizer. Look for one with a good amount of nitrogen.
Nitrogen helps with leaf growth. Strong leaves are needed to make big bulbs.
You can start feeding your onions a few weeks after planting. Apply fertilizer about every four to six weeks. Follow the instructions on the fertilizer package.
Don’t use too much. Too much fertilizer can burn the roots. It can also lead to weak plants.
It’s better to feed them a little more often than to give them a huge dose all at once.
A good option is a fertilizer with a ratio like 10-10-10. This means it has equal parts nitrogen, phosphorus, and potassium. These are the three main nutrients plants need.
As the plants mature and start to form bulbs, you might want to switch to a fertilizer lower in nitrogen. This encourages bulbing instead of just leaf growth. Something like a 5-10-10 could work well.
Fertilizer Tips
- When to start: A few weeks after planting.
- How often: Every 4-6 weeks.
- Type: Balanced or slightly higher in nitrogen early on.
- Caution: Don’t over-fertilize.
Keeping Pests and Diseases Away
Onions can face a few common pests. Onion maggots are a problem. They are small white maggots that eat the roots and bulbs.
Row covers can help prevent flies from laying eggs. Another pest is the onion thrip. These tiny insects damage the leaves.
They make them look silvery. Healthy plants are less likely to have major pest problems.
Diseases can also affect onions. Downy mildew is common. It shows up as purplish spots on the leaves.
Good air circulation helps prevent this. Avoid overhead watering. Ensure your soil drains well.
Crop rotation is also wise. Don’t plant onions in the same spot year after year. This helps break disease cycles.
If you see signs of disease or pests, act fast. Remove affected plants. Try natural remedies first.
Insecticidal soap can help with thrips. For maggots, sometimes companion planting helps. Marigolds planted nearby are said to deter some pests.
Healthy soil and strong plants are your best defense.
Pest & Disease Watch List
- Onion Maggots: Larvae eat roots.
- Thrips: Tiny insects that damage leaves.
- Downy Mildew: Fungal disease causing spots on leaves.
- Prevention: Healthy soil, good drainage, row covers, crop rotation.
When and How to Harvest Onions
Knowing when to harvest is key to getting the best flavor and storage. The best sign is when the tops of the onion plants start to fall over. This usually happens in mid to late summer.
It means the onion bulb has reached its full size. The plant is now signaling that it’s done growing leaves and is ready to dry down.
When you see about half to two-thirds of the green tops have fallen over, it’s time to prepare for harvest. Gently dig around one onion. If the bulb looks large enough and firm, you can start harvesting the rest.
Avoid pulling them straight up by the tops. This can break the tops off. It also makes them harder to cure.
To harvest, use a garden fork or trowel. Carefully loosen the soil around the onion. Then, gently lift the onion out.
Don’t twist or yank. Lay the harvested onions on the ground in a dry, sunny spot. Make sure they are out of direct, harsh sun.
They need to cure for a week or two. This allows the necks and skins to dry. This is vital for storage.
During curing, the thin outer skins will become papery. The necks, where the green tops were attached, should dry out completely. If the necks are still green and moist, they won’t store well.
After curing, trim off the roots. You can also trim the dried tops. Leave about an inch of the neck attached.
Store them in a cool, dry, dark place. Good airflow is important for storage. Baskets or mesh bags work well.
Harvesting & Curing Steps
- Watch for fallen tops (half to two-thirds).
- Loosen soil gently with a fork.
- Lift onions carefully.
- Cure in a dry, airy spot for 1-2 weeks.
- Trim roots and necks (leave 1 inch).
- Store in a cool, dry, dark place with airflow.
Different Types of Onions
There are many kinds of onions. Knowing the main groups helps choose the right one for your needs. Yellow onions are the most common.
They are great for cooking. They have a strong flavor when raw but mellow nicely when cooked. They store well.
White onions have a sharper, more pungent flavor. They are often used in Mexican cooking. They are good for grilling and eating raw.
They don’t store quite as long as yellow onions.
Red onions have a milder, sweeter flavor. Their color makes them attractive in salads and sandwiches. They are also good for grilling.
They tend to have thinner skins and don’t store as long as yellow onions.
Sweet onions, like Vidalia or Walla Walla, are known for their low sulfur content. This makes them very mild and sweet. They are perfect for eating raw, like in onion rings or on burgers.
However, they have a very short storage life. They are best eaten soon after harvest.
Shallots are smaller and have a more delicate flavor. They are related to onions but have a distinct taste. They grow in clusters.
They are excellent for sauces and gourmet cooking.
Green onions, also called scallions, are harvested when young and green. They have small bulbs or no bulb at all. They are used for their fresh, mild onion flavor.
They are eaten raw in many dishes.
Onion Variety Comparison
| Type | Flavor | Best Uses | Storage Life |
|---|---|---|---|
| Yellow | Strong, mellows when cooked | Cooking, baking | Good |
| White | Sharp, pungent | Salsa, grilling, raw | Fair |
| Red | Mild, sweet | Salads, sandwiches, grilling | Fair |
| Sweet | Very mild, sweet | Raw, onion rings | Short |
| Green | Mild, fresh | Garnishes, raw dishes | Very Short |
Troubleshooting Common Onion Problems
Sometimes, even with the best care, things go wrong. If your onion tops aren’t growing much, it could be a few things. You might not have enough sun.
The soil might be too compacted. Or the plants might need more nutrients. Check these first.
Ensure they have at least 6 hours of sun.
If your onions are splitting or have multiple bulbs instead of one large one, this is often due to overwatering. It can also happen if the plants get stressed. Stress could be from inconsistent watering or too much nitrogen.
Try to keep watering steady. Avoid giving them too much nitrogen later in the season.
Bulb rot is a serious issue. It usually happens because of wet soil. Poor drainage is the main culprit.
If you see mushy, discolored bases, it’s likely rot. There’s not much you can do once it starts. It’s important to focus on prevention.
Ensure good drainage and avoid overwatering, especially as harvest nears.
Onions that stay small might not have had enough time to grow. The variety might also be wrong for your climate. For example, planting a long-day onion in a short-day region.
Or they might have faced too much competition from weeds. Thinning and weeding are very important steps.
Tips for Bigger Onion Bulbs
To grow bigger onions, focus on strong leaf growth first. The leaves are like solar panels. They make the food the bulb needs.
So, ensure plenty of sun. Feed them a balanced fertilizer early on.
Give them space. Overcrowding is a common mistake. Onions need room to spread out.
Make sure they have at least 4-6 inches between them. This lets each bulb grow to its full potential. It also helps with air circulation, reducing disease risk.
Keep weeds down. Weeds steal water, nutrients, and light. This directly impacts bulb size.
Regular weeding or mulching is essential. Healthy soil is also a big factor. If your soil is rich and loose, the bulbs can expand easily.
Adding compost each year makes a difference.
Consider your onion variety. Some varieties are naturally larger than others. Research the types that do well in your area and tend to produce large bulbs.
Following these steps can lead to some truly impressive onion harvests.
Secrets to Big Bulbs
- Sunlight: 6-8 hours daily.
- Space: 4-6 inches apart.
- Soil: Loose, rich, and well-draining.
- Water: Consistent and deep.
- Nutrients: Balanced feeding.
- Weed Control: Keep them clear.
Frequently Asked Questions About Growing Onions
Can I grow onions in pots?
Yes, you can grow onions in pots, especially smaller varieties or green onions. Use a pot that is at least 8-12 inches deep. Ensure it has drainage holes.
Fill it with good quality potting mix. Place it in a sunny spot. Keep the soil moist but not soggy.
Why are my onions not forming bulbs?
This can happen for a few reasons. Onions need enough daylight hours to start bulbing. If you planted a long-day variety in a short-day region, it won’t bulb well.
Also, too much nitrogen fertilizer can encourage leaf growth instead of bulbs. Inconsistent watering or poor soil can also prevent bulbing.
How do I know when onions are ready to harvest?
The best sign is when the green tops start to fall over. When about half to two-thirds of the tops have flopped down, they are usually ready. The bulbs should feel firm and large enough for their variety.
Don’t wait too long after the tops fall, as they can start to rot.
What is the difference between onion sets and seeds?
Onion sets are small bulbs grown the previous year. They are easy to plant and grow quickly. They offer a good harvest for beginners.
Seeds are tiny and take longer to grow. You start them indoors much earlier. They let you grow a wider variety of onions.
Seeds also tend to produce better-storing onions.
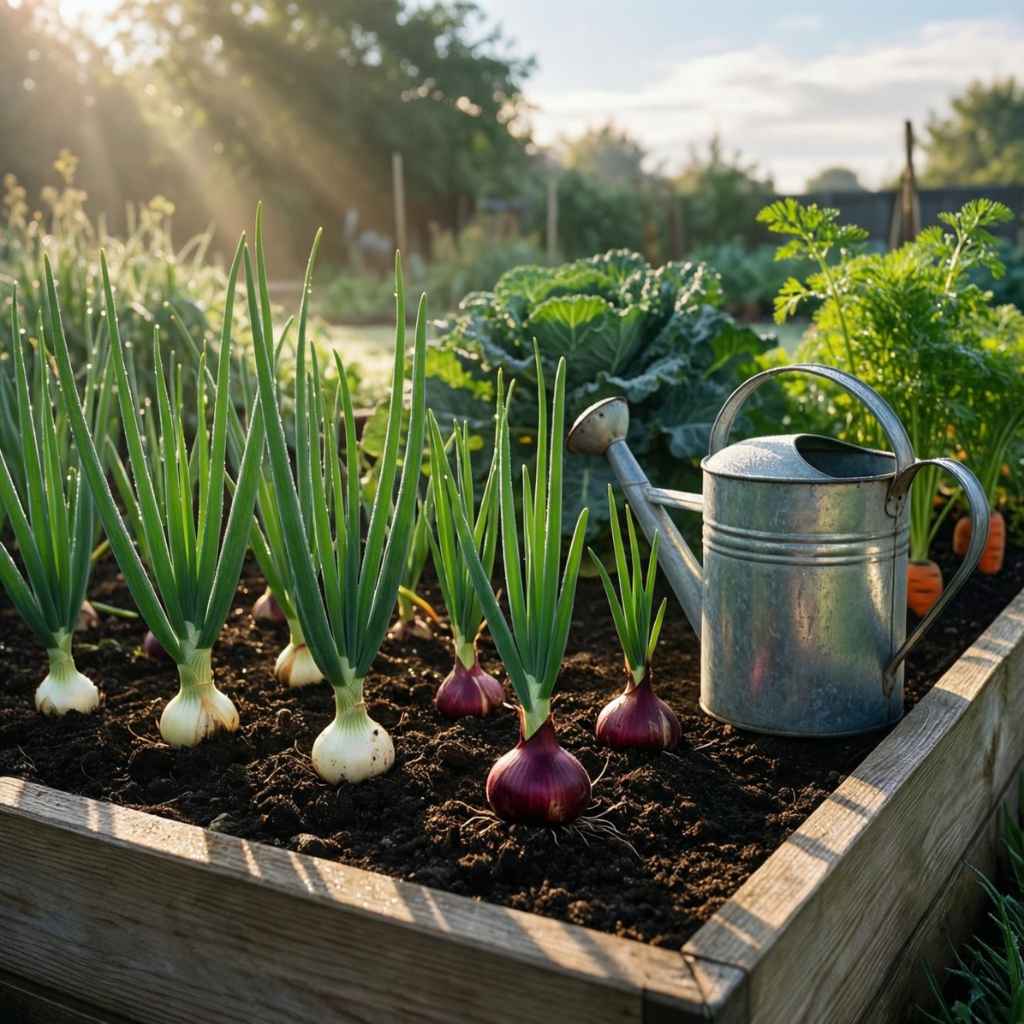
Can I plant onions near other vegetables?
Yes, onions grow well with many vegetables. They are good companions for carrots, lettuce, and spinach. They can help deter pests from these plants.
Avoid planting them too close to beans or peas. Some gardeners find they don’t grow as well together.
How long do homegrown onions last in storage?
This depends on the type of onion and how well they were cured. Yellow and white onions that are properly cured can last for several months, sometimes up to six months. Sweet onions and red onions usually don’t store as long, perhaps a few weeks to a couple of months.
Store them in a cool, dry, dark place with good airflow.
Final Thoughts on Growing Onions
Growing your own onions is a truly satisfying garden project. By understanding their basic needs for sun, soil, water, and nutrients, you can avoid common pitfalls. Pay attention to the timing of your planting and the type of onion you choose.
With a little care and patience, you’ll be enjoying delicious, homegrown onions in no time. Happy gardening!