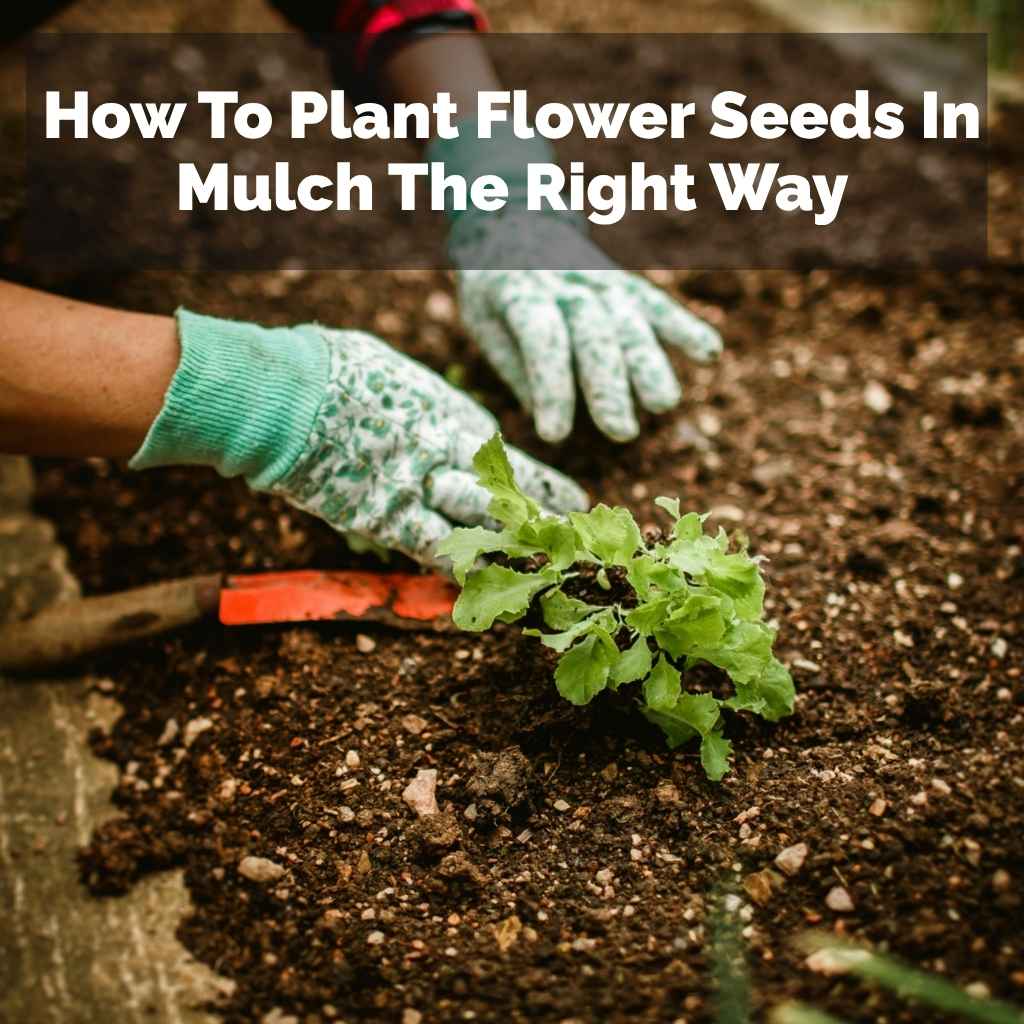
You’ve got your seeds, you’re ready to garden, but you’re looking at a layer of mulch. Planting flower seeds directly into mulch can feel a bit tricky. You might wonder if the seeds will get enough sun, or if they’ll just wash away.
It’s a common question, and one that stops many gardeners before they even start. But don’t worry! With a few simple steps, you can have beautiful flowers growing right through that protective mulch.
We’ll walk through how to make it work, from preparing the ground to watching those first sprouts appear.
Many gardeners wonder if planting flower seeds in mulch is possible or if it’s better to remove it. The truth is, with careful preparation, you can successfully sow seeds directly into mulched areas, encouraging healthy growth and vibrant blooms while still enjoying the benefits of mulch.
Understanding Planting Seeds in Mulch
Planting flower seeds in mulch is not about scattering seeds on top. It’s about working with the mulch. Mulch is great for gardens.
It keeps soil moist. It also stops weeds from growing. But for tiny seeds, mulch can be a barrier.
Seeds need to touch soil to sprout. They need warmth and moisture from the ground below. Direct sowing into thick mulch can block these things.
This is why proper technique is key. It helps seeds reach the soil. It also helps them get the sun and water they need to grow strong.
The goal is to create small pockets. These pockets let the seeds connect with the earth. The mulch then acts as a helpful blanket.
It keeps the soil around the seed at a good temperature. It also holds in moisture. And it shields the new, tender seedlings from harsh weather.
So, while you don’t plant on the mulch, you can plant through it. This is how you get the best of both worlds. You get the benefits of mulch and a beautiful flower garden.
My First Mulch Planting Oops
I remember my first garden. It was a small patch behind my apartment. I’d just moved in and was so excited.
I bought a bag of colorful wildflower seeds. I also bought a huge bag of wood chip mulch. I thought, “Mulch is good for everything, right?” So, I spread a thick, even layer of mulch everywhere.
Then, I just tossed the seeds on top. I figured the rain would do the rest. I even patted the mulch down.
I was so proud of my “easy” gardening. A week went by. Nothing.
Another week. Still nothing. I started to get worried.
I’d see weeds popping up beside my garden. But in my garden? Just mulch.
I finally dug into the mulch. The seeds were just sitting there, dry and useless. They never touched the soil.
It was a tough lesson. I learned that mulch is a helper, but it needs a little coaxing when it comes to seeds. That day taught me patience and the importance of knowing how things work, not just that they work.
Seed Prep Steps
Before you even think about planting, get your seeds ready. Check the seed packet. It tells you if seeds need special treatment.
Some seeds benefit from soaking. Others need cold stratification. This means putting them in the fridge for a bit.
Always read the packet first. It’s your best guide.
Preparing Your Mulched Area
Before you start planting, you need to get the mulch ready. If your mulch is very thick, you might need to move some of it. This is especially true if it’s been there a while.
You want to find the soil underneath. Don’t remove all the mulch. Just make clear spots.
These spots are where your seeds will go. Think of them as little seed beds within the mulch.
Use a rake or your hands to gently pull back the mulch. Create a small, clear area. This area should be about as wide as your hand.
You want to see the actual soil. This is where the magic will happen. Once you have these cleared spots, you can start planting your seeds.
Myth vs. Reality: Mulch and Seeds
Myth: You can just toss seeds on top of mulch and expect them to grow.
Reality: Seeds need to be in contact with soil. Mulch can prevent this if not prepared properly.
Myth: Mulch prevents seeds from getting enough sun.
Reality: Once seedlings emerge, mulch can help shade them from harsh sun. The initial sun needs are met by clearing small patches.
Some gardeners like to loosen the soil in these cleared spots. This is a good idea. Use a trowel or a small cultivator.
Gently turn the soil. This helps break up any hard clumps. It also makes it easier for the roots to grow later on.
You don’t need to dig deep. Just a few inches will do. This step is super helpful for tiny seeds.
They have a better chance of anchoring themselves.
Sowing the Seeds
Now for the actual planting. Take your flower seeds. Read the seed packet for depth and spacing.
This is very important. Different seeds need different depths. Some are tiny and just need to be on the surface.
Others need to be buried a little. For seeds that need to be buried, you’ll place them in the cleared soil spots. Gently press them into the soil.
If the seed packet says to plant seeds on the surface, that’s easy. Just sprinkle them in your cleared soil spot. Then, you can very lightly cover them with a tiny bit of soil.
Think of it like a dusting. Too much soil will smother them. For seeds that need to be planted deeper, dig a small hole.
Place the seed in the hole. Then, cover it back up with soil. Make sure the soil is loose.
After you’ve placed the seeds, you can gently pull some of the mulch back. You want to cover the seeds, but not too much. The goal is to have the seeds protected.
But they still need to feel the warmth and moisture from the soil. For very small seeds, you might just sprinkle a thin layer of soil over them. Then pull the mulch back.
For larger seeds, you can cover them with a bit more soil. Always check the seed packet instructions. They are your best friend here.
Quick Seed Depth Guide
Tiny Seeds (like poppies, alyssum): Sprinkle on soil surface, barely cover with soil.
Small Seeds (like marigolds, petunias): Plant about 1/8 inch deep.
Medium Seeds (like zinnias, cosmos): Plant about 1/4 inch deep.
Large Seeds (like sunflowers): Plant about 1/2 inch deep.
It’s important to not over-mulch over the seeds. A thin layer of soil is usually best. You can then gently pull the nearby mulch closer.
It should rest on the soil, not smother the seeds. This creates a protective layer. It holds moisture.
It also helps keep pests away. But it allows the seedlings to push through. It’s a delicate balance.
But once you get it, it works wonders.
Watering Your Newly Planted Seeds
Watering is crucial after planting. Use a gentle spray from a hose. Or use a watering can with a fine rose.
You don’t want to blast the seeds out of their spots. The soil needs to be kept consistently moist. Think of it like a wrung-out sponge.
It should be damp, but not soaking wet. Water often at first. This means maybe daily, depending on the weather.
Check the soil moisture. Stick your finger in about an inch deep. If it feels dry, it’s time to water.
If it feels moist, you can wait a bit. Mulch helps keep the moisture in. So, you might not need to water as often as you think.
But don’t let the soil dry out completely. This can kill the seeds. It can also prevent them from sprouting.
Consistent moisture is the key to germination.
Watering Tips for Seedlings
Gentle Watering: Use a spray nozzle or watering can with a fine rose.
Consistent Moisture: Keep soil damp, like a wrung-out sponge.
Check Daily: Feel the soil an inch down.
Water if dry.
Morning Watering: Best time to water so plants can dry before nightfall.
As the seedlings start to grow, you can adjust watering. They will need less frequent watering. But they will need more water each time.
The mulch will become more helpful now. It will keep the soil cool. It will also reduce evaporation.
This means less work for you. And happy plants for your garden. Remember, healthy seedlings start with proper watering.
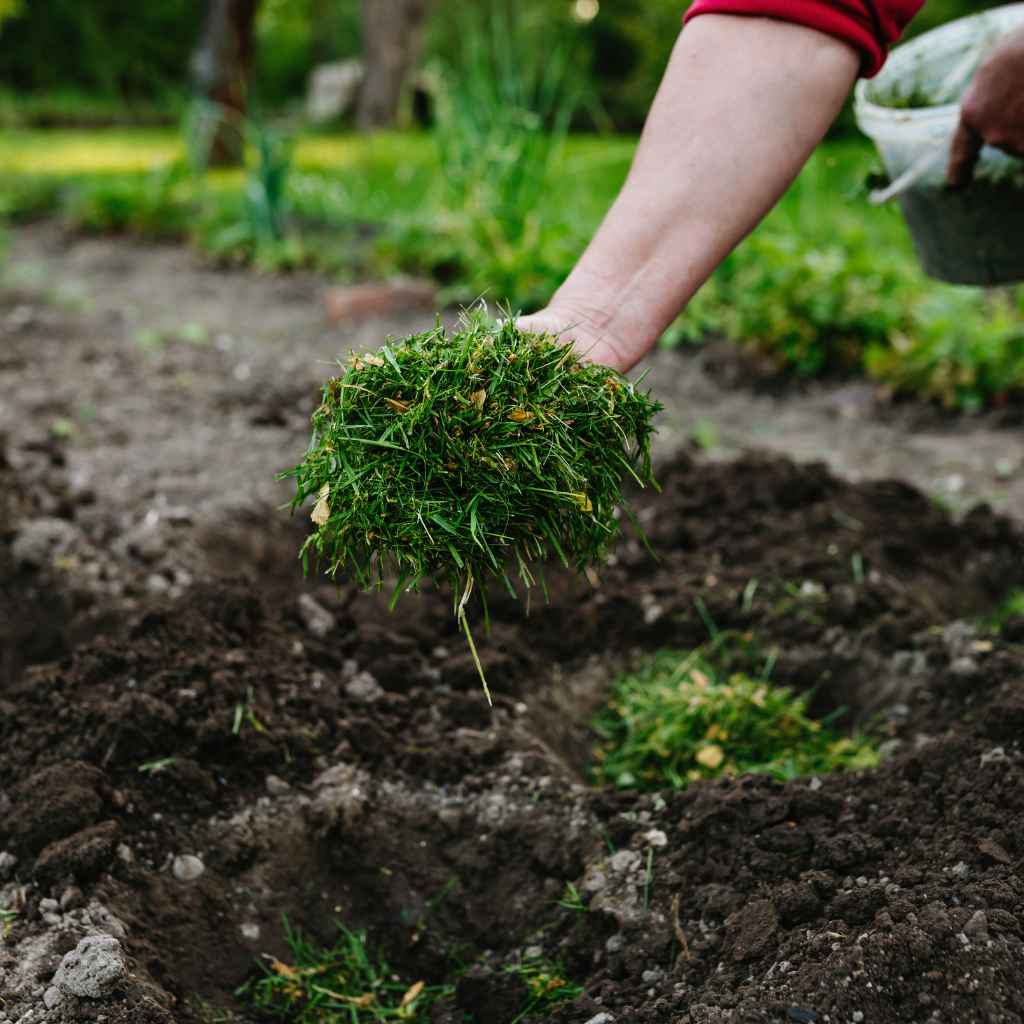
Choosing the Right Mulch
Not all mulch is created equal. For planting seeds, finer mulches are often better. Things like compost are excellent.
They are rich in nutrients. They also break down well. Shredded bark can work too.
But make sure it’s not too chunky. Large pieces can make it hard for seeds to reach the soil. Or for seedlings to push through.
Avoid fresh wood chips if possible. They can sometimes tie up nitrogen in the soil. This is needed for plant growth.
Aged wood chips or compost are much better choices. They are already broken down. They provide good soil structure.
They also add nutrients as they decompose. This makes a great environment for your flowers.
Best Mulch Types for Seeds
Compost: Nutrient-rich, breaks down well, excellent for soil.
Shredded Bark (aged): Good moisture retention, provides nutrients.
Leaf Mold: Decomposed leaves, great for soil structure and moisture.
Avoid: Fresh, chunky wood chips (can deplete nitrogen).
Coco coir is another good option. It’s made from coconut husks. It holds moisture very well.
It’s also pH neutral. This makes it good for most plants. It’s lighter than compost.
So it’s easier to spread. Whatever mulch you choose, make sure it’s clean. You don’t want to introduce pests or diseases into your garden.
Good mulch is a gardener’s best friend.
When to Plant Seeds in Mulch
The best time to plant seeds in mulch depends on your climate. Most annual flowers prefer to be planted after the last frost. This is usually in late spring.
Some hardy annuals can be planted a bit earlier. Check your local frost dates. You can find this information online.
Your local extension office is a great resource.
For fall blooming flowers, you might plant seeds in early summer. For spring blooms, you might sow seeds in late summer or fall. Some seeds need a period of cold to germinate.
This is called stratification. If your seeds need this, you’d plant them in the fall. The winter cold will do the work.
Then they’ll sprout in the spring. Always follow the seed packet’s advice on planting times.
Planting Timing Tips
Last Frost Date: Know this for your area.
Annuals: Plant after the last frost.
Hardy Annuals: Can be planted a few weeks before last frost.
Fall Planting: For spring blooms and cold-stratified seeds.
If you’re planting in an existing mulched bed, consider the current conditions. Is the soil already warming up? Is it too wet from winter snow?
Wait for the soil to be workable. You should be able to crumble a handful. If it forms a hard ball, it’s too wet.
Patience is key. Getting the timing right helps seeds sprout faster. It also leads to stronger plants.
Dealing with Weeds
One of the great things about mulch is weed control. But sometimes, weeds can still pop up. Especially in the spots where you’ve cleared the mulch to plant seeds.
If you see a tiny weed seedling, pull it out right away. It’s much easier when they are small. Don’t let them get big.
They will compete with your flowers for water and nutrients.
If you notice weeds growing through the mulch in other areas, you can gently pull them. Or you can use a hoe to carefully cut them off at the soil line. Be careful not to disturb your flower seeds or new seedlings.
A little weeding now and then keeps your garden looking its best. It also ensures your flowers get all the goodness they need to grow.
Weeding Strategies
Pull Early: Remove weed seedlings as soon as you see them.
Hoe Carefully: Cut weeds at the soil line in areas away from seedlings.
Avoid Disturbing Seeds: Be gentle when weeding near your planted areas.
Mulch Replenishment: Adding fresh mulch later can help suppress new weeds.
Sometimes, persistent weeds might grow right where you want flowers. If this happens, you might need to dig out the weed. Then, replant that spot with seeds.
It’s a bit more work. But it ensures your desired flowers have the best chance. Over time, as your flowers fill in, they will naturally outcompete many weeds.
This is one of the joys of a dense planting.
What About Perennials and Shrubs?
The advice for planting seeds is a bit different for established plants. For perennials or shrubs, you’re often planting them from pots, not seeds. When planting potted plants into mulch, the process is similar to planting in bare soil.
Dig a hole. Make sure it’s wide enough. The plant’s roots should spread out.
The hole should be as deep as the pot.
Once the plant is in the hole, fill it with soil. Gently firm it around the base. Then, you can pull the mulch back up to the base of the plant.
Make sure to leave a small gap. This gap should be right at the stem of the plant. This helps prevent rot.
It also discourages pests. Established plants benefit greatly from mulch. It keeps their roots protected and moist.
Planting Potted Perennials/Shrubs
Dig Hole: Wider than the pot, as deep as the pot.
Place Plant: Roots spread out.
Backfill: Use soil, firm gently.
Mulch Around: Leave a small gap at the plant’s stem.
For seedlings that have grown quite large, you might also transplant them. If you started seeds indoors and they got too big, you can move them outside. When transplanting into a mulched area, prepare the ground as you would for seeds.
Clear a patch of mulch. Loosen the soil. Then, carefully plant your seedling.
Water it well. The mulch will help it settle in.
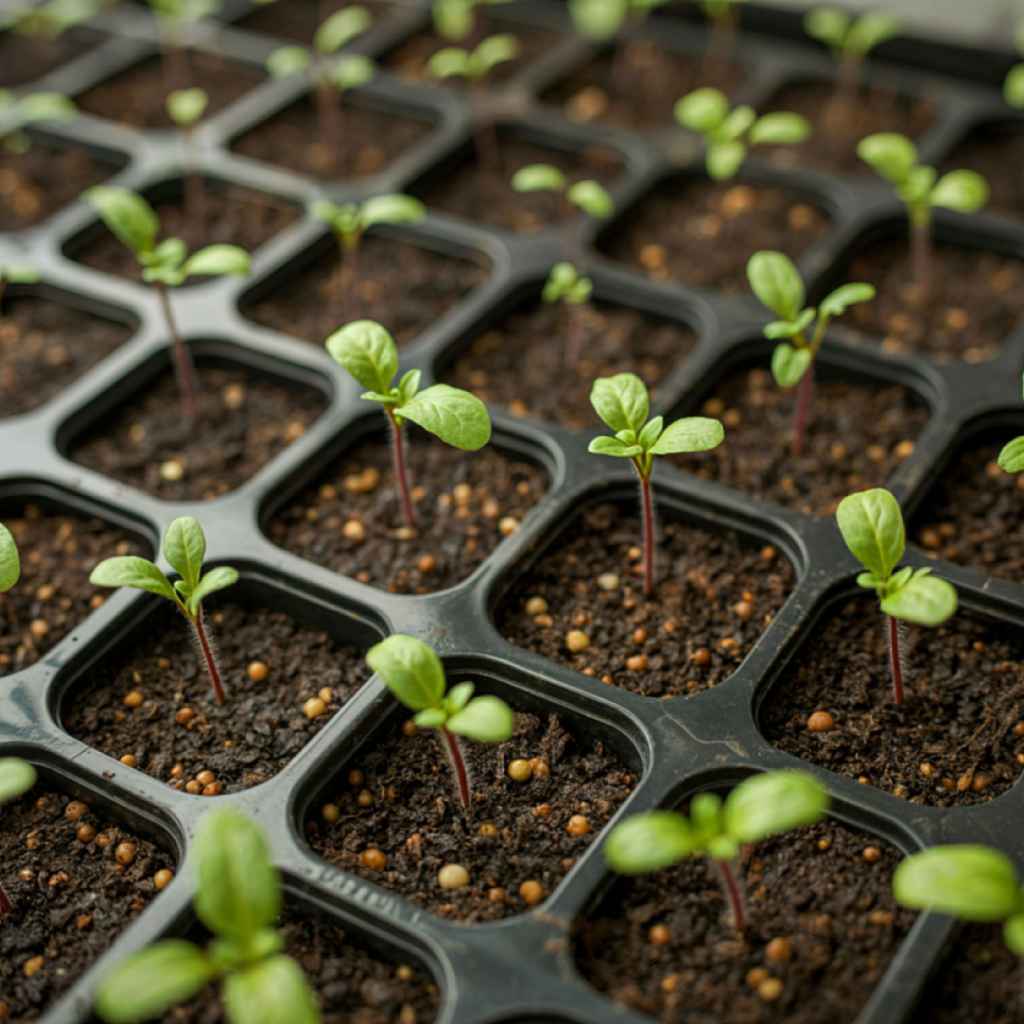
Signs of Success and Trouble
How do you know if your planting in mulch is working? Look for tiny green sprouts. These are your seedlings.
They will push up through the mulch. This is a wonderful sight. It means your effort paid off.
The first leaves that appear are called cotyledons. They look a bit like tiny leaves. Soon, true leaves will start to grow.
These look more like the adult plant’s leaves.
If you don’t see sprouts after a few weeks, something might be wrong. Check the soil. Is it too dry?
Did the seeds get washed away? Did they not reach the soil properly? You might need to gently dig up a spot.
See if the seeds are still there. Are they plump and healthy-looking, or shriveled? This can tell you if they got enough moisture or not.
Troubleshooting Your Seedlings
No Sprouts: Check soil moisture, ensure seeds touched soil, consider planting depth.
Wilting Seedlings: Likely need more water.
Yellowing Leaves: Could be too much water or poor drainage.
Pest Damage: Look for holes in leaves or visible insects.
Another sign of trouble can be pests. Slugs and snails love tender new seedlings. Keep an eye out for slimy trails.
Or holes in the leaves. Sometimes birds can eat seeds or seedlings. Covering your newly planted area with a light row cover can help.
It protects them from birds and some pests. It also keeps the soil moist and warm.
When to Add More Mulch
You don’t want to add mulch right on top of newly planted seeds. But as your flowers grow, you can maintain your mulch layer. Mulch breaks down over time.
It gets thinner. You may need to add more mulch once or twice a year. The best time is usually in spring or fall.
When you add mulch, be careful around young plants. You don’t want to bury their stems. Keep a small gap.
This is just like when you planted perennials or shrubs. About two to three inches of mulch is usually enough. Too much mulch can be bad.
It can suffocate plant roots. It can also make it hard for water to get in.
Mulch Maintenance
When to Add: When mulch layer thins (spring or fall).
How Much: 2-3 inches total depth.
Around Plants: Leave a gap at the stem.
Avoid: Piling mulch against trunks or stems.
Using a composted mulch is fantastic. As it breaks down, it feeds your soil. It adds valuable organic matter.
This makes your soil healthier. Healthier soil means healthier plants. It also means fewer problems with pests and diseases.
It’s a win-win for your garden. And it makes that gardening job a little bit easier each year.
Benefits of Planting in Mulch
Even with the extra steps, planting in mulch has big advantages. Mulch helps the soil retain moisture. This means you water less often.
This is great on hot, dry days. It also saves you time. Mulch also helps regulate soil temperature.
It keeps the soil cooler in summer. It keeps it warmer in winter. This protects plant roots from extreme changes.
Mulch is also a natural weed suppressor. It blocks sunlight. This stops weed seeds from germinating.
This means less weeding for you. It also means your flower seedlings won’t have to compete as much. As mulch breaks down, it adds nutrients to the soil.
This enriches the soil. It feeds your plants naturally. It’s like a slow-release fertilizer.
This leads to stronger, healthier flowers.
Top Mulch Benefits
Water Retention: Less watering needed.
Temperature Control: Protects roots from heat and cold.
Weed Suppression: Blocks sunlight for weed seeds.
Soil Improvement: Adds organic matter as it decomposes.
You also get a cleaner look. Mulch hides bare soil. This makes your garden beds look tidy.
It can also help prevent soil erosion. Especially on slopes or after heavy rain. The mulch acts like a protective blanket.
It holds the soil in place. It’s a simple change that makes a big difference in the health and beauty of your garden.
Common Flower Seeds That Do Well
Some flower seeds are more forgiving than others. They tend to be easier to start in mulched beds. Try seeds for plants like cosmos.
They are tall and airy. They grow well from seed. Marigolds are another great choice.
They are tough. They also bloom all summer. Sunflowers are fun and easy.
They grow fast from seed.
Zinnias are vibrant and come in many colors. They are also easy to grow from seed. Poppies can be a bit tricky sometimes.
But they are often sown directly into the ground. So they can do well with this method. Sweet peas are fragrant climbers.
They also like to be sown directly. Always check the seed packet for specific needs.
Easy-to-Grow Seeds
Cosmos: Tall, airy, vibrant colors.
Marigolds: Tough, long-blooming, pest deterrent.
Sunflowers: Fast-growing, cheerful, impressive size.
Zinnias: Wide color range, cut-and-come-again blooms.
Poppies: Delicate blooms, often self-seed.
Sweet Peas: Fragrant, climbing annual.
When planting these, remember the core rule. You need to create a space for the seed to touch the soil. Then, protect it with mulch.
It’s not about the type of seed. It’s about the method. This method allows for success across many different types of flowers.
It’s a skill that will serve you well in many garden situations.
Final Thoughts on Mulch and Seeds
Planting flower seeds in mulch might seem a little different at first. But it’s very doable. The key is to prepare the ground.
You need to make little clearings for the seeds to touch soil. Then you cover them gently. Keep them moist.
Mulch is a great garden helper. It keeps soil healthy. It keeps weeds down.
It conserves water. By using it correctly, you can have a beautiful garden.
Don’t be afraid to try. Your first attempt might not be perfect. That’s okay.
Gardening is a learning process. Each season, you learn something new. What works best in your soil.
What works best in your climate. What works best with your watering habits. Embrace the journey.
Enjoy the process. And most importantly, enjoy the beautiful flowers that will bloom.
Frequently Asked Questions
Can I plant seeds directly on top of mulch?
No, it’s not recommended. Seeds need to be in direct contact with soil to germinate. Mulch can prevent this contact, drying out the seeds and hindering their growth.
You need to create small patches of exposed soil within the mulch layer for sowing.
What kind of mulch is best for planting seeds?
Finer mulches like compost, aged shredded bark, or leaf mold are best. They break down well and provide good soil contact. Avoid very chunky or fresh wood chips, which can be less ideal for seed germination due to their structure and potential to absorb nitrogen from the soil.
How much mulch should I leave over my seeds?
After placing your seeds, you should cover them with a thin layer of soil according to the seed packet’s depth instructions. Then, you can gently pull the mulch back to cover the soil very lightly. The goal is to protect the seeds and retain moisture without smothering them.
How often should I water seeds planted in mulch?
Keep the soil consistently moist, like a wrung-out sponge. Check daily by feeling the soil an inch down. You might need to water daily at first, especially in warm weather.
Mulch helps retain moisture, so you may water less often than in bare soil, but don’t let it dry out completely.
Will mulch prevent my seeds from getting sunlight?
Initially, you’ll create small cleared areas where seeds can get sunlight. Once seedlings emerge, a light layer of mulch can actually protect them from harsh sun and wind. The key is ensuring the seeds have soil contact and initial light exposure before the mulch is fully re-established around them.
What if weeds start growing in the mulched seed bed?
Pull any weeds as soon as you see them. It’s easiest to remove them when they are very small. Be careful not to disturb your flower seeds or delicate new seedlings.
Consistent, gentle weeding will help your flowers thrive.