Seeds grow from a tiny embryo, using stored food to sprout a root and then a shoot when given water, oxygen, and warmth. Bulbs are underground storage organs containing a miniature plant that grows by using its stored energy to send up leaves and flowers when conditions are right.
Have you ever held a tiny seed or a firm bulb and wondered about the magic locked inside? It can feel like a mystery. You plant something in the dirt, wait, and hope for the best. Sometimes it works, and sometimes it doesn’t, which can be frustrating for new gardeners. But what if I told you it’s not magic, but a simple, beautiful process you can easily understand?
Don’t worry, you don’t need a special green thumb to succeed. In this guide, I’ll walk you through everything you need to know. We’ll uncover the secrets of how seeds and bulbs grow, step-by-step. Soon, you’ll be planting with confidence and watching your garden come to life.
How Do Seeds And Bulbs Grow: How a Seed Works
Think of a seed as a tiny suitcase packed for a long journey. Inside, it has everything a baby plant needs to start its life. It’s a complete package, perfectly designed by nature. Let’s look inside this amazing suitcase.
What’s Inside a Seed?
Every seed, whether it’s a giant bean or a dust-like poppy seed, has three main parts:
- The Embryo: This is the baby plant itself. It’s dormant, or sleeping, inside the seed. It has tiny, undeveloped parts that will become the first root, stem, and leaves.
- The Food Supply (Endosperm or Cotyledons): This is the packed lunch for the baby plant. It’s full of starches, proteins, and oils that provide energy for the embryo to grow until it can make its own food from sunlight.
- The Seed Coat: This is the tough outer layer, like the hard shell of the suitcase. It protects the embryo and its food supply from drying out, getting too cold, or being eaten.
The Spark of Life: Germination
For a seed to wake up and start growing, a process called germination must happen. This isn’t just one event; it’s a series of steps that bring the sleeping embryo to life. For germination to start, a seed needs three key things: water, oxygen, and the right temperature.
- Water Wakes It Up: The first step is for the seed to soak up water, like a dry sponge. This softens the seed coat and signals the embryo that it’s time to wake up.
- Oxygen Gives It Breath: Once awake, the baby plant needs to breathe, just like we do. It uses oxygen from the air pockets in the soil to convert its stored food into energy. This is why soil shouldn’t be too compacted or waterlogged.
- Warmth Gets It Moving: Most seeds have a preferred temperature for sprouting. Some like the cool soil of spring, while others need the warmth of summer. This temperature tells the seed that the season is right for it to grow safely.
Once these conditions are met, the embryo begins to grow. First, a tiny root, called the radicle, pushes its way out of the seed coat and grows downward. It anchors the new plant and starts absorbing water and nutrients from the soil. Soon after, a shoot, called the plumule, grows upward, seeking sunlight. When it breaks through the soil surface, it unfurls its first leaves and begins making its own food through photosynthesis. The journey has begun!

Your Guide to Planting Seeds Successfully
Planting seeds is one of the most rewarding parts of gardening. Following a few simple steps can make all the difference between a tray of healthy seedlings and an empty patch of dirt. Let’s get our hands dirty!
Step 1: Choose the Right Seeds
Start with fresh, high-quality seeds from a reputable source. Check the packet for the expiration date. Older seeds may not sprout as well. For beginners, I recommend starting with easy-to-grow seeds like zinnias, marigolds, sunflowers, lettuce, or radishes. They are forgiving and grow quickly, which builds confidence.
Step 2: Prepare Your Soil
Seeds need light, fluffy soil to grow. If you’re planting in pots, use a good quality seed-starting mix. It’s lightweight and holds moisture well. If you’re planting directly in the garden, loosen the soil with a garden fork and remove any weeds or large rocks. Mixing in some compost will give your seeds a great nutritional boost.
Step 3: Plant at the Correct Depth
A common mistake is planting seeds too deep. A good rule of thumb is to plant a seed about two times as deep as it is wide. For very tiny seeds, you can simply sprinkle them on the surface of the soil and gently press them down. The seed packet will usually provide specific instructions.
Step 4: Water Gently and Consistently
After planting, water the soil gently with a fine spray to avoid washing the seeds away. The soil should be kept consistently moist, like a damp sponge, but not soaking wet. Too much water can rot the seeds. Check the soil daily by touching it. If it feels dry, it’s time to water again.
Step 5: Provide Enough Light
Once your seedlings sprout, they need lots of light. If you’re growing indoors, place them on a sunny windowsill (a south-facing one is best) or use a grow light. Without enough light, seedlings will become long, pale, and weak, a condition known as being “leggy.”
The Underground Powerhouse: How a Bulb Works
Now, let’s talk about bulbs. If a seed is a suitcase with a baby plant inside, a bulb is more like a fully-stocked underground bunker. It contains not just a baby plant, but a nearly complete plant with its own huge food supply, ready to burst into action when the time is right.
What Exactly Is a Bulb?
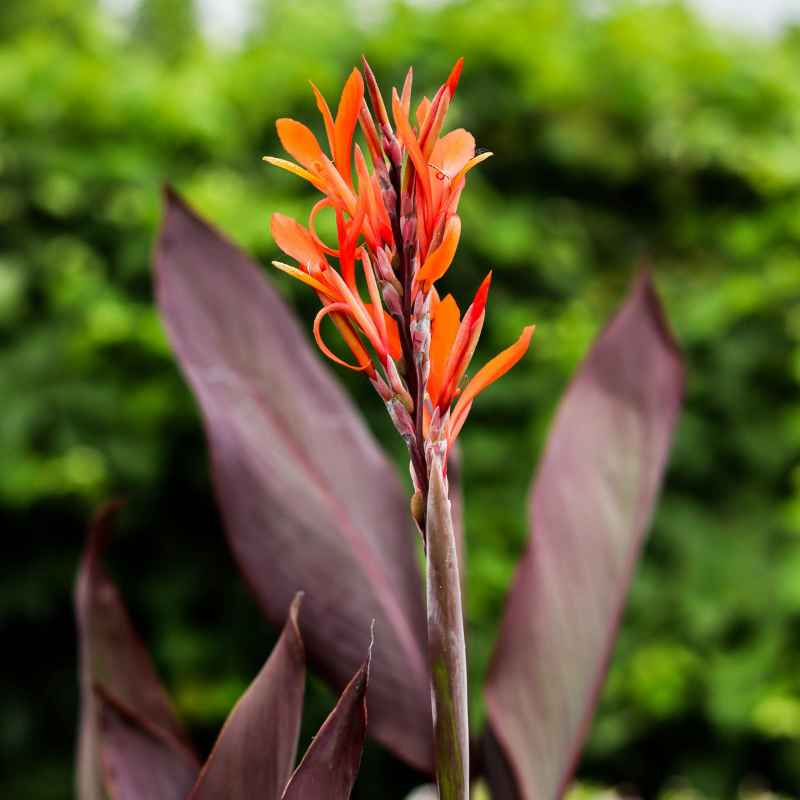
A bulb is a specialized underground storage organ. It’s essentially a short, compressed stem with fleshy, scale-like leaves that store food. Tulips, daffodils, onions, and lilies all grow from true bulbs. Let’s peel back the layers:
- The Basal Plate: This is the hard, flat bottom of the bulb where the roots grow from. It’s the foundation of the plant.
- The Fleshy Scales: These are the thick, layered parts of the bulb that look like an onion’s layers. They are modified leaves filled with stored food (carbohydrates).
- The Flower Bud: Tucked safely in the center is a tiny, perfectly formed flower bud, waiting for its cue to grow.
- The Tunic: This is the papery, skin-like outer covering that protects the bulb from drying out and getting damaged.
Waking from a Long Sleep
Bulbs are masters of survival. They grow and bloom, then enter a dormant period to survive harsh conditions like a cold winter or a hot, dry summer. Here’s how they come back to life:
- The Chilling Period: Many bulbs, like tulips and daffodils, need a period of cold temperatures to trigger their growth cycle. This tells the bulb that winter has passed and spring is on its way. This is why many bulbs are planted in the fall.
- Warming Up and Waking Up: As the soil warms up in the spring and moisture becomes available, the bulb gets the signal to wake up.
- A Burst of Growth: Using the massive amount of energy stored in its scales, the bulb quickly sends a shoot up toward the sun. Roots grow from the basal plate to absorb water. Because the flower is already formed inside, bulbs can bloom very quickly.
- Recharging the Battery: After flowering, the leaves continue to grow and soak up sunlight. Through photosynthesis, they create new food, which is sent back down to the bulb to be stored for next year’s show. This is why it’s so important to let the leaves die back naturally and not cut them off too early.
Your Guide to Planting Bulbs with Confidence
Planting bulbs is a wonderful way to guarantee beautiful spring or summer color. It’s like burying treasure in the fall and being rewarded with gold in the spring. Here’s how to do it right.
Step 1: Choose Healthy Bulbs
When you buy bulbs, give them a gentle squeeze. They should be firm and heavy for their size, not soft, mushy, or moldy. Avoid any bulbs that are shriveled or have soft spots. Bigger bulbs generally produce bigger, stronger flowers.
Step 2: Pick the Right Time and Place
Most spring-flowering bulbs (tulips, daffodils, hyacinths) are planted in the fall, before the ground freezes. Summer-flowering bulbs (dahlias, gladiolus) are planted in the spring after the danger of frost has passed. Most bulbs need a spot with plenty of sun and, most importantly, well-draining soil. Bulbs will rot if they sit in soggy soil.
Step 3: Dig to the Proper Depth
Just like with seeds, depth matters. A good rule of thumb for bulbs is to plant them two to three times as deep as the bulb is tall. So, if a bulb is 2 inches tall, you would dig a hole 4 to 6 inches deep. Check the packaging for specific instructions, as some bulbs are exceptions.
Step 4: Plant Them Pointy-Side Up
This is a crucial step! Look at your bulb. It should have a flatter, wider bottom (the basal plate) and a pointed top. The pointed end is where the shoot will emerge, so it needs to face up. If you really can’t tell which end is up, plant the bulb on its side. The plant is smart enough to find its way up to the sun.
Step 5: Cover, Water, and Wait
Place the bulb in the hole, pointy-side up. You can often plant several bulbs in one large hole for a beautiful clustered look. Cover the bulbs with soil, gently patting it down. Give them a good watering after planting to settle the soil and encourage root growth. Then, all you have to do is wait for nature to work its magic!
Seeds vs. Bulbs: A Quick Comparison
So, what’s the difference between starting with a seed versus a bulb? Both are fantastic ways to grow plants, but they have some key differences. Understanding them will help you choose the right one for your garden goals.
| Feature | Seeds | Bulbs |
|---|---|---|
| Starting Point | A tiny, sleeping embryo. The plant has yet to form. | A miniature, dormant plant with pre-formed leaves and flower. |
| Energy Source | A small packed lunch (endosperm) to start germination. | A large food supply stored in fleshy scales. |
| Time to Flower | Generally longer. Many annuals flower in one season, but perennials can take years. | Much shorter. Most will flower in their first season after planting. |
| Cost | Very inexpensive. A single packet can contain hundreds of seeds. | More expensive per plant, as you buy them individually. |
| Variety | An enormous variety of flowers, vegetables, and herbs are available. | Mostly flowering plants, but offers stunning, reliable blooms. |
| Examples | Sunflowers, tomatoes, basil, zinnias, petunias. | Tulips, daffodils, hyacinths, lilies, garlic. |
Common Mistakes and How to Avoid Them
Every gardener makes mistakes—it’s part of the learning process! But knowing about some common pitfalls can help you avoid them and find more success sooner.
For Seeds:
- Planting Too Deep: Tiny seeds don’t have enough stored energy to push through a thick layer of soil. Follow the “two times as wide” rule.
- Overwatering: Seedlings have tiny roots and can easily drown or rot in soggy soil. Let the surface of the soil dry out slightly between waterings.
- Not Enough Light: As soon as seeds sprout, they need bright light. Without it, they will stretch and become weak. According to the University of Minnesota Extension, seedlings need 14 to 16 hours of light per day.
For Bulbs:
- Planting Upside Down: The pointy end must go up! While some might still grow, they waste a lot of energy reorienting themselves.
- Poor Drainage: This is the number one killer of bulbs. If your soil is heavy clay, amend it with compost or plant bulbs in raised beds or containers to prevent rot.
- Cutting Foliage Too Soon: Remember, the leaves are the factory that recharges the bulb for next year. Let them turn yellow and die back completely before removing them.
Here is a helpful table for common planting depths to get you started:
| Plant Type | Example | Recommended Planting Depth |
|---|---|---|
| Large Bulb | Daffodil, Tulip | 6-8 inches deep |
| Small Bulb | Crocus, Grape Hyacinth | 3-4 inches deep |
| Large Seed | Bean, Sunflower | 1-2 inches deep |
| Medium Seed | Zinnia, Radish | 1/4 – 1/2 inch deep |
| Tiny Seed | Lettuce, Poppy | Sprinkle on surface and press lightly |

Frequently Asked Questions (FAQ)
What are the easiest seeds to grow for a beginner?
Some of the easiest and most rewarding seeds for beginners are sunflowers, zinnias, marigolds, nasturtiums, bush beans, and lettuce. They germinate quickly and don’t require a lot of special care.
Do I need to soak seeds before planting them?
Soaking is not necessary for most seeds, but it can help speed up germination for some seeds with hard coats, like peas, beans, and morning glories. Soaking them in water overnight can soften the seed coat and help them sprout faster.
Why didn’t my bulbs come up?
There are a few common reasons. They might have been planted in poorly draining soil and rotted, they could have been eaten by pests like squirrels or voles, they may have been planted too shallow or too deep, or they didn’t get the cold period they needed to bloom.
Can I save seeds from my own plants?
Absolutely! Saving seeds is a fun and sustainable practice. Let the flower or fruit fully mature and dry on the plant. Then, collect the seeds, make sure they are completely dry, and store them in a cool, dark, and dry place until you are ready to plant them next season.
Do bulbs multiply?
Yes, many bulbs do! Healthy bulbs will produce small offset bulbs, or “bulblets,” around the base of the main bulb. Over time, these will grow into full-sized bulbs, creating a larger and more beautiful display. You can dig them up every few years to separate and replant them.
What does “full sun” mean on a seed packet?
“Full sun” means the plant needs at least 6 to 8 hours of direct, unfiltered sunlight per day. “Part sun” or “part shade” usually means about 4 to 6 hours of sun, preferably in the morning when it’s less intense.
When is the best time to fertilize my plants?
For seedlings, wait until they have developed their first set of “true leaves” (the second set of leaves that appear) before giving them a very diluted liquid fertilizer. For bulbs, you can mix a balanced, slow-release fertilizer into the soil at planting time. You can also fertilize them in the spring as soon as their shoots appear.
Your Gardening Adventure Awaits
Understanding how seeds and bulbs grow is like learning the first few words of a new language—the language of your garden. It’s not about memorizing complicated rules, but about appreciating the simple, powerful processes that turn a tiny, dormant speck into a beautiful flower or a delicious vegetable.
You now know that a seed is a self-contained beginning, needing just water, warmth, and oxygen to start its journey. You also know that a bulb is an underground powerhouse, patiently waiting with a fully formed flower to spring to life. With this knowledge, you are no longer just guessing; you are gardening with purpose and understanding.
The best way to learn is by doing. So pick up a packet of seeds or a bag of bulbs. Feel the soil in your hands. Plant that potential and watch it grow. There will be successes and there will be lessons, but every single plant you grow will connect you more deeply to the natural world. Happy gardening!