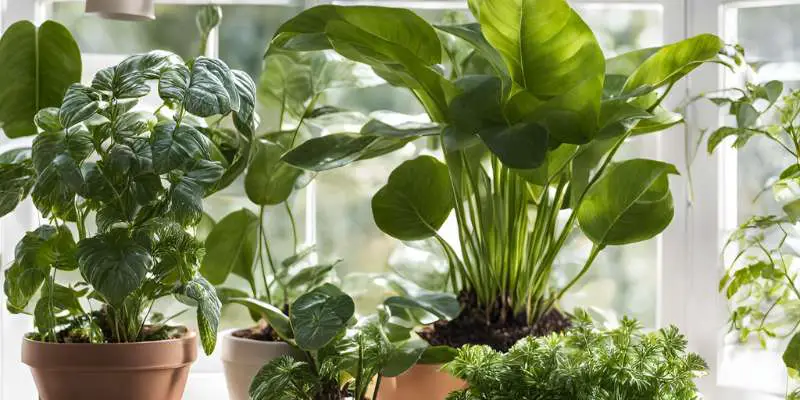
A good time to repot houseplants is during spring or early summer. Plants show active growth during these periods.
Repotting houseplants is essential for their health and growth. Over time, plants outgrow their containers, leading to root bound conditions. This restricts their ability to absorb nutrients and water. Fresh soil provides new nutrients, promoting vigorous growth. Spring and early summer offer ideal conditions, with longer daylight and optimal temperatures.
These factors support plant recovery and adaptation to new pots. Ensure the new container is slightly larger than the old one. Proper drainage holes are crucial to prevent waterlogging. Regularly check your plants for signs of stress, like yellowing leaves or stunted growth. These are indicators that repotting might be necessary.
Signs Your Plant Needs Repotting
Houseplants grow happily in their pots, but they need repotting sometimes. Knowing when to repot is key to keeping plants healthy. Here are clear signs your plant needs a new home.
Root Bound Issues
One major sign is root bound issues. Roots grow tightly around the pot. This restricts water and nutrient intake. Check if roots peek out from drainage holes. Another way to see root bound issues is to gently lift the plant. If the roots form a dense mass, it’s time to repot. Root bound plants may also push up from the soil surface.
Stunted Growth
Plants show stunted growth when the pot is too small. They stop growing or grow very slowly. Leaves may also become smaller. New leaves might be pale or unhealthy. Stunted growth happens because roots lack space to expand. They can’t absorb enough nutrients or water. Older leaves may also yellow and drop off.
Credit: www.thesill.com
Best Seasons For Repotting
Repotting houseplants is essential for their health and growth. Choosing the right season is crucial. Each season offers unique benefits and considerations. Below, we explore the best seasons for repotting your houseplants.
Springtime Benefits
Spring is often considered the best time for repotting. Plants wake up from winter dormancy. They start new growth, making them more resilient. Repotting in spring gives plants a fresh start. They get new soil and more space for roots.
- New Growth: Plants are actively growing.
- Less Stress: Plants handle repotting stress better.
- Optimal Conditions: Spring has mild temperatures.
During spring, plants absorb nutrients faster. This leads to healthier growth and vibrant leaves. Repotting in spring maximizes these benefits. Ensure you use fresh, nutrient-rich soil.
Summer Considerations
Repotting in summer can be successful. It requires careful attention. The heat can stress plants. Make sure to water them well.
- Watering: Increase watering after repotting.
- Shade: Keep plants in shaded areas initially.
- Cooler Times: Repot during cooler parts of the day.
Summer is good for tropical plants. They thrive in warm conditions. Repotting them in summer can boost their growth. Always monitor your plants for signs of stress. Adjust care routines as needed.
| Season | Benefits | Considerations |
|---|---|---|
| Spring | New growth, less stress, optimal conditions | Use fresh soil, monitor new growth |
| Summer | Good for tropical plants | Increased watering, shaded areas |
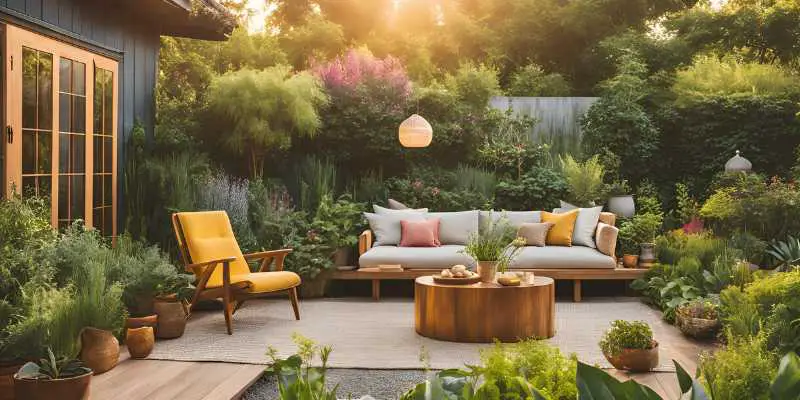
Choosing The Right Pot
Picking the correct pot for your houseplant is crucial. It ensures your plant stays healthy and grows well. Here, we discuss important factors to consider.
Size Matters
Choosing the right size pot is essential. If the pot is too small, roots get cramped. This can stunt growth. If the pot is too large, soil stays wet for too long. This leads to root rot.
- Small pots: Good for young or small plants.
- Medium pots: Suitable for medium-sized plants.
- Large pots: Best for big or fast-growing plants.
| Pot Size | Best For |
|---|---|
| 4-6 inches | Succulents, cacti |
| 8-10 inches | Ferns, ivy |
| 12 inches or more | Fiddle leaf fig, rubber plant |
Material Choices
The material of the pot impacts plant health. Different materials have different benefits.
Terracotta pots are great for plants that need good drainage. They are porous and allow air to reach roots. But they can dry out quickly.
Plastic pots are lightweight and retain moisture well. They are less likely to break and come in many colors. But they might not breathe as well as terracotta.
Ceramic pots can be heavy and decorative. They retain moisture and are stable. But they can be more expensive and breakable.
- Terracotta: Good for cacti, succulents.
- Plastic: Ideal for moisture-loving plants.
- Ceramic: Great for decorative purposes.
Preparing The New Pot
Repotting houseplants requires careful preparation. The new pot must be ready. This ensures the plant thrives in its new home.
Cleaning And Sterilizing
Always start by cleaning the new pot. Use warm water and mild soap. Scrub thoroughly to remove dirt and residue. Rinse it well to ensure no soap remains.
Next, sterilize the pot to kill any harmful bacteria or pests. You can do this with a solution of one part bleach to nine parts water. Let the pot soak for at least 10 minutes. Rinse it well and let it dry completely.
Drainage Importance
Proper drainage is crucial for healthy houseplants. Ensure your new pot has drainage holes. This prevents water from sitting at the bottom and causing root rot.
If the pot does not have drainage holes, consider adding them. Use a drill to create several small holes at the bottom.
| Pot Size | Ideal Number of Holes |
|---|---|
| Small (6 inches or less) | 2-3 |
| Medium (6-12 inches) | 3-4 |
| Large (12 inches or more) | 5 or more |
Place a layer of small rocks or broken pottery at the bottom. This improves drainage and prevents soil from clogging the holes.
- Use clean pots to avoid disease.
- Sterilize to kill pests and bacteria.
- Ensure proper drainage to prevent root rot.
These steps ensure your houseplant has a healthy start in its new home.
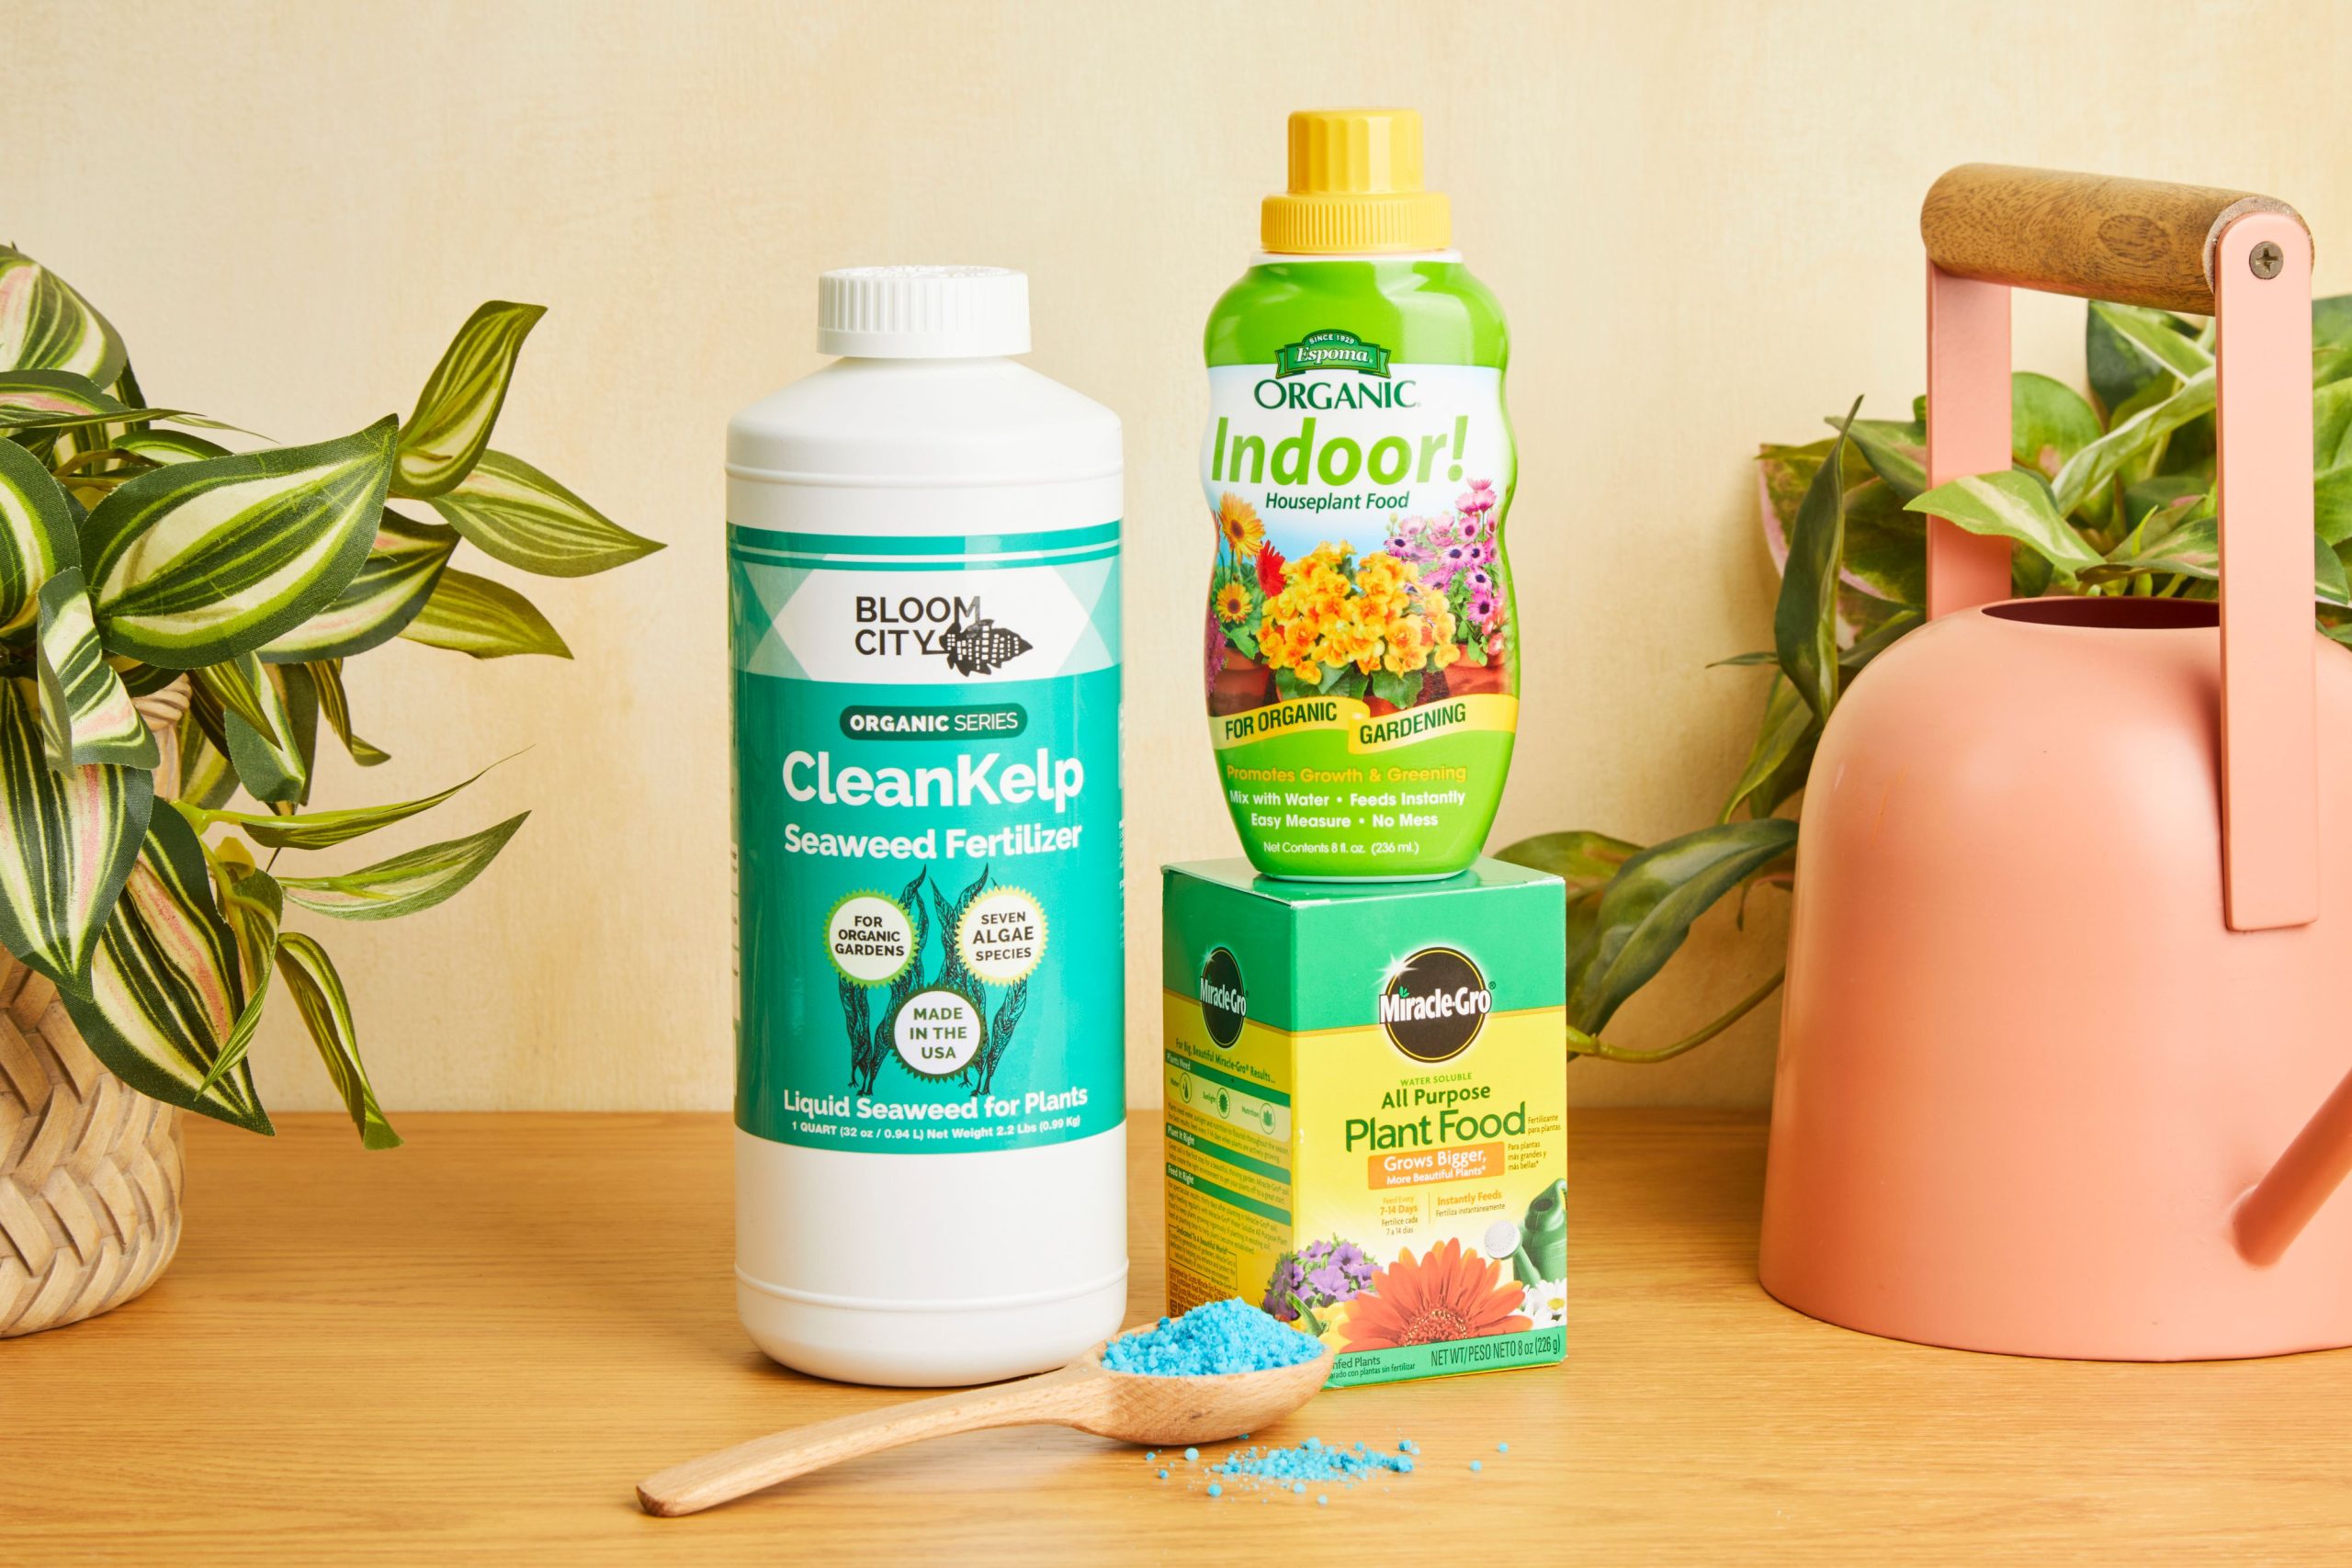
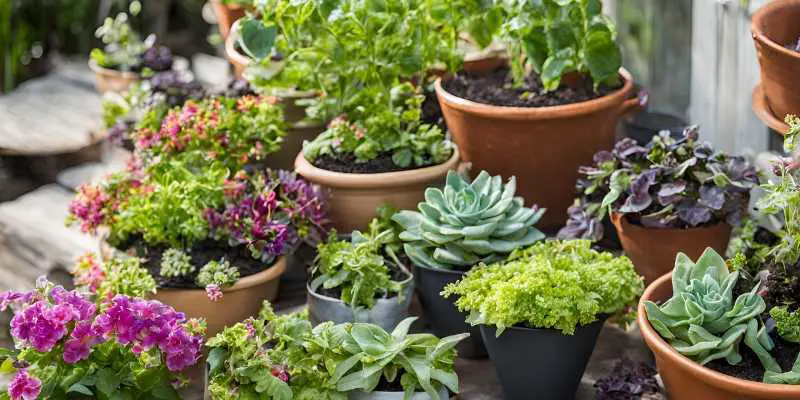
Soil Selection Tips
Choosing the right soil is crucial for healthy houseplants. The right soil provides nutrients and proper drainage. Poor soil can cause plant stress and stunted growth. Below are tips for selecting the best soil for your houseplants.
Nutrient-rich Mixes
Houseplants need a nutrient-rich soil mix. A good mix contains organic matter. Compost, peat moss, and worm castings are excellent. These ingredients provide essential nutrients.
Look for a mix that includes perlite or vermiculite. These help with aeration and water retention. Avoid heavy garden soil, which lacks nutrients and drains poorly.
Avoiding Compaction
Soil compaction restricts root growth and water absorption. To prevent this, use light and airy soil. This allows roots to breathe and grow freely.
Perlite and sand are good additives. These materials keep the soil loose. Check the soil regularly. If it feels hard, it may need replacing.
| Ingredient | Benefit |
|---|---|
| Compost | Provides nutrients |
| Peat Moss | Retains moisture |
| Perlite | Improves aeration |
| Vermiculite | Helps with water retention |
- Choose soil with organic matter.
- Include perlite or vermiculite for aeration.
- Avoid heavy garden soil.
- Prevent compaction with light additives.
Credit: plantperfect.com
Step-by-step Repotting Guide
Repotting houseplants can seem daunting, but it’s a simple process. Follow this guide for healthy and happy plants. Let’s break it down into easy steps.
Removing The Plant
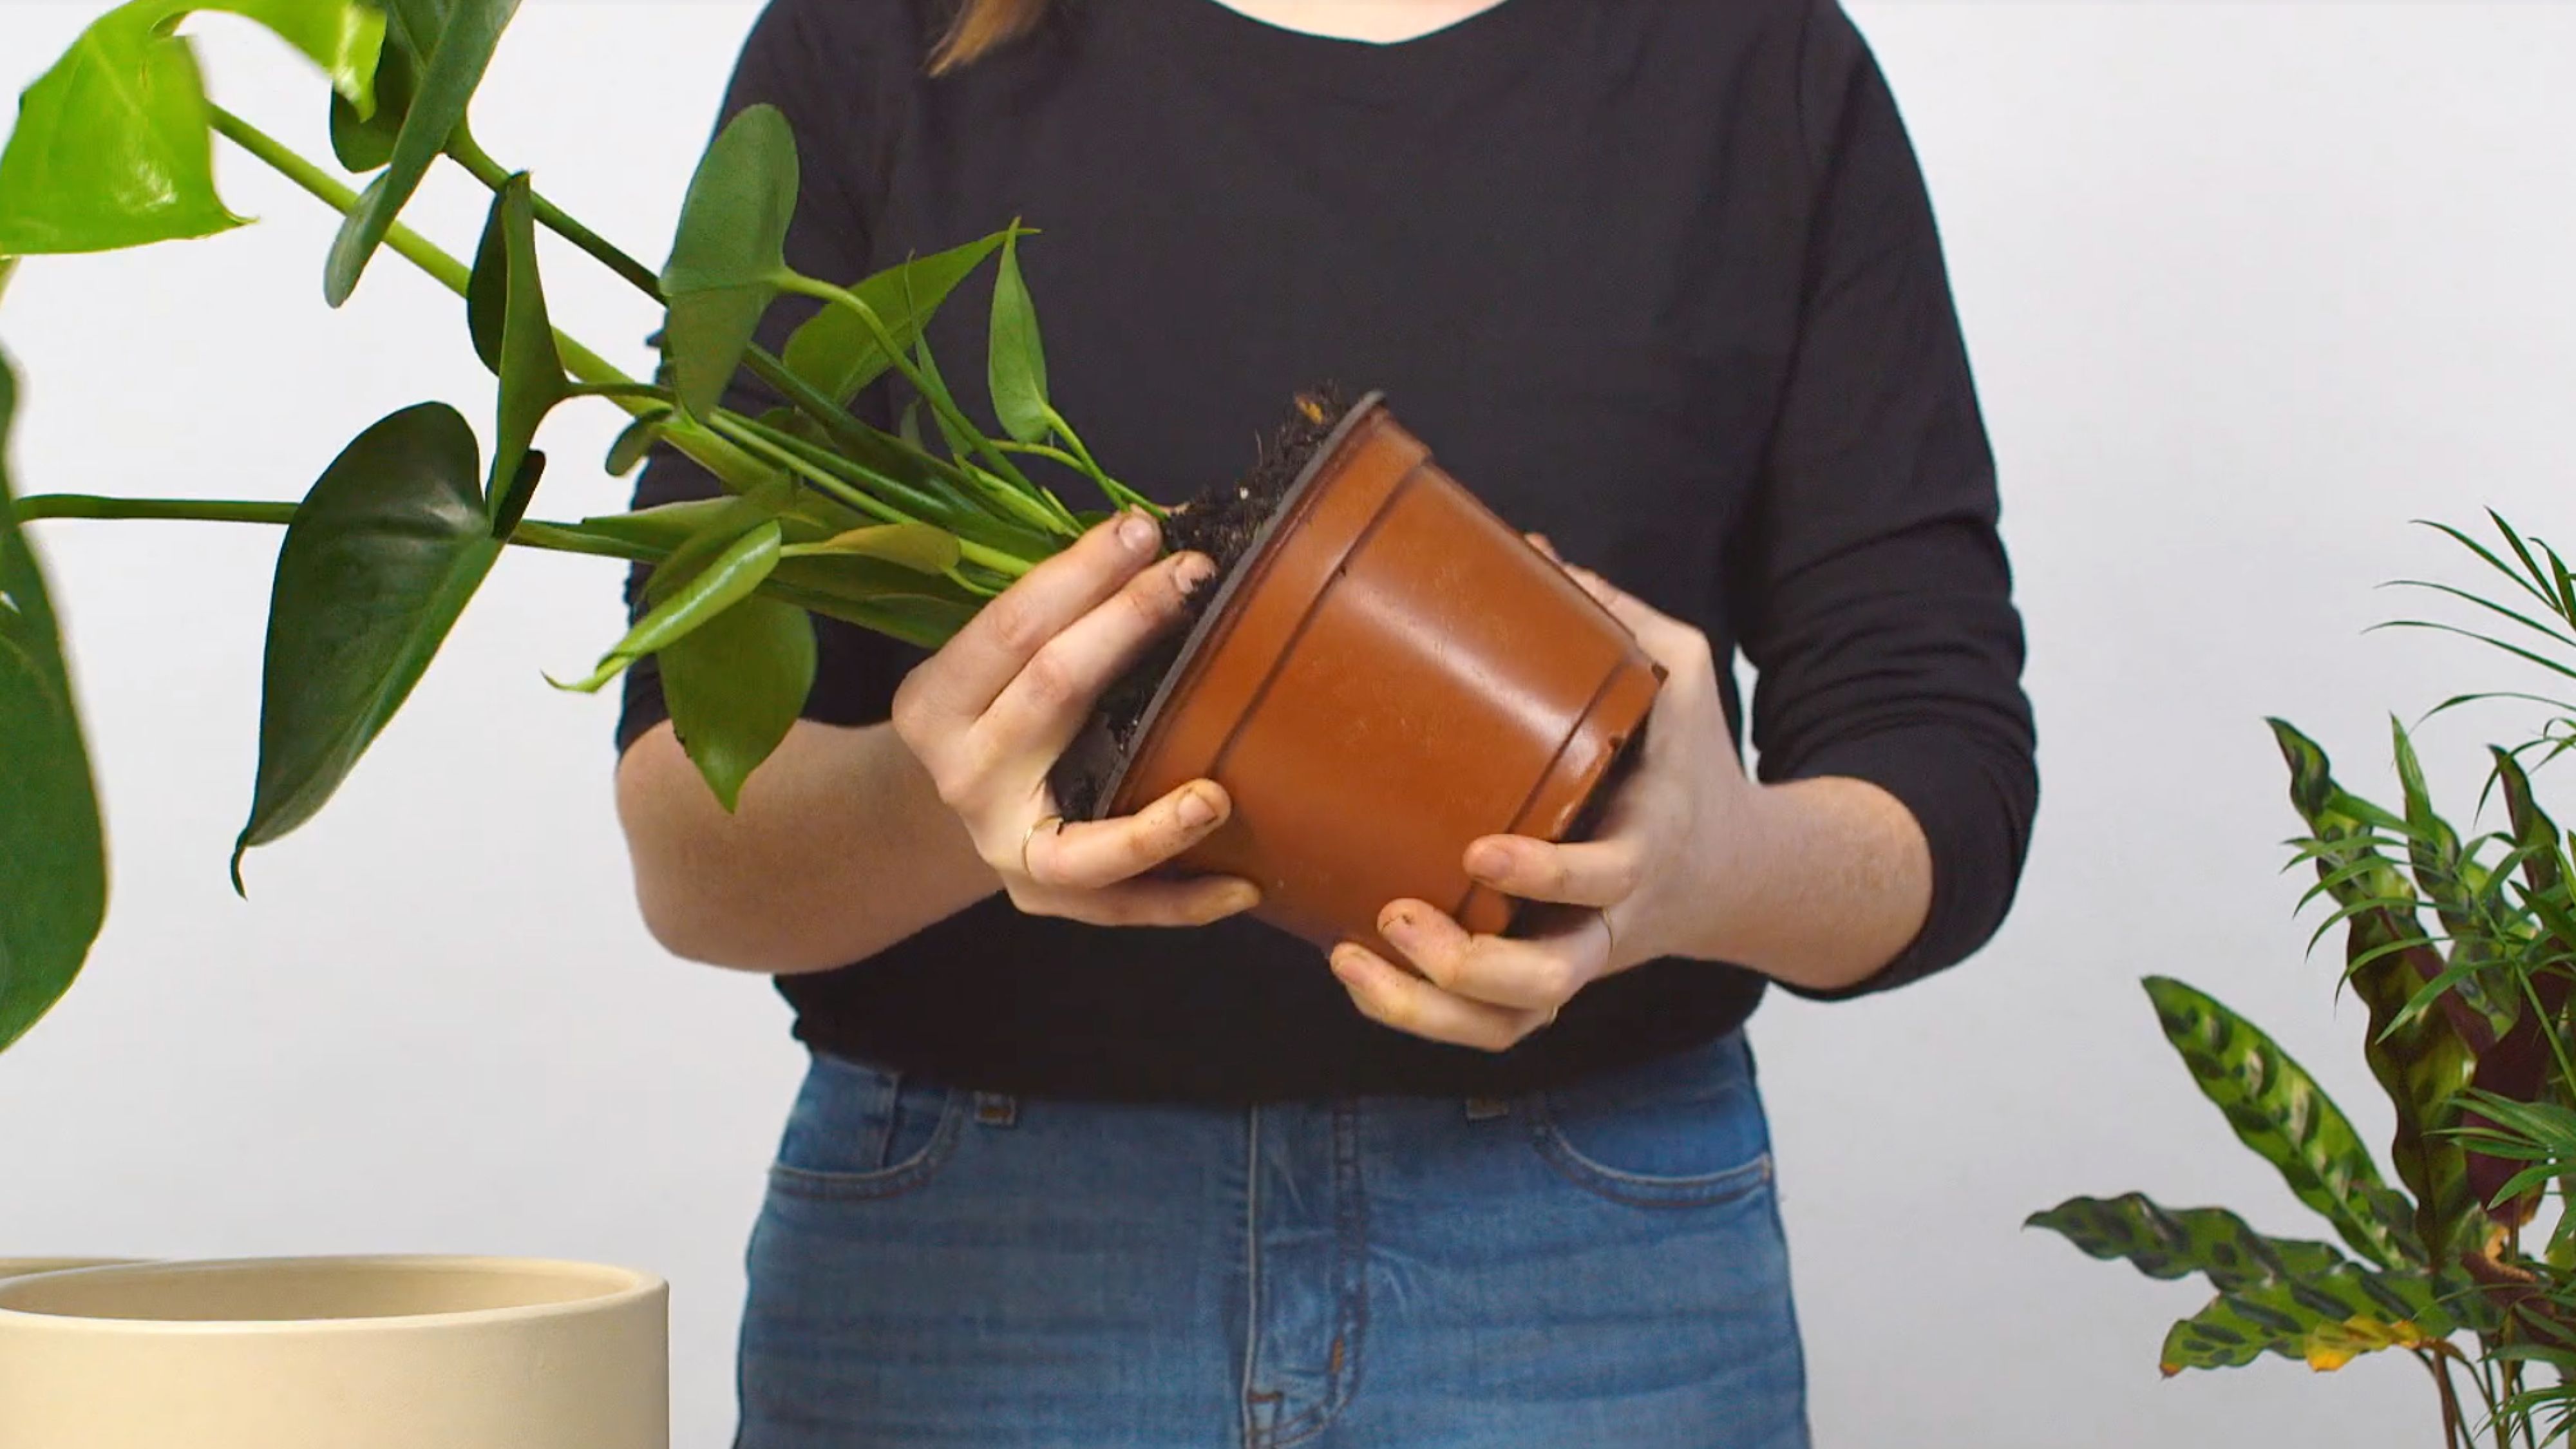
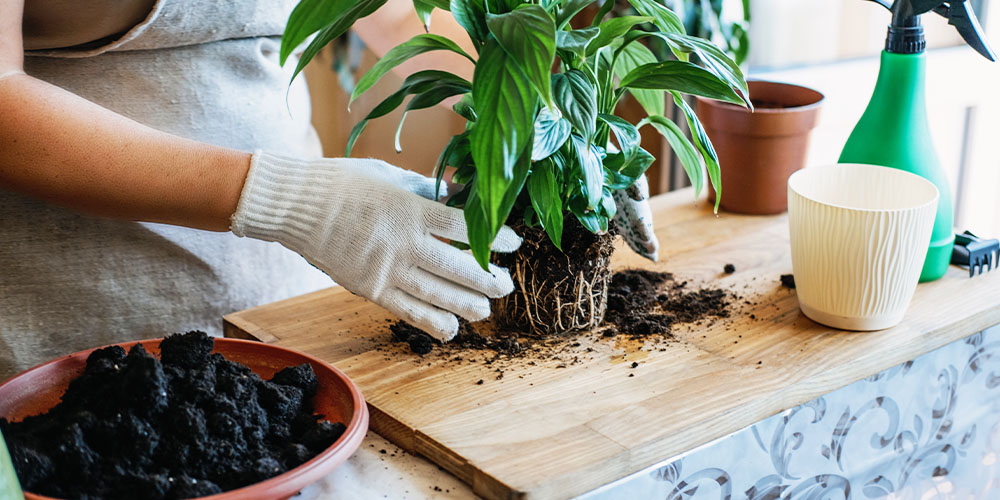
First, water the plant a day before repotting. This softens the soil. Next, gently tilt the pot sideways. Hold the plant’s base. Carefully, tap the pot to loosen the soil. Slowly slide the plant out.
If the plant sticks, use a knife. Run it around the pot’s edge. Be gentle to avoid root damage. Inspect the roots. Trim any dead or rotting parts with clean scissors.
Transferring To New Pot
Choose a pot slightly larger than the old one. Ensure it has drainage holes. Fill the bottom with fresh potting mix. Place the plant in the center. Add more soil around the roots. Press lightly to remove air pockets.
Water the plant thoroughly. Let excess water drain out. Place the pot in indirect sunlight. Avoid direct sunlight for a few days. This helps the plant adjust.
| Step | Action |
|---|---|
| 1 | Water plant a day before |
| 2 | Gently remove plant from old pot |
| 3 | Inspect and trim roots |
| 4 | Place plant in new pot |
| 5 | Water thoroughly and let drain |
- Tip: Use a potting mix suited for your plant type.
- Tip: Avoid repotting during extreme temperatures.
Follow these steps to repot your houseplants. Your plants will thrive in their new home.
Post-repotting Care
Repotting houseplants is a crucial step in their growth cycle. Yet, proper post-repotting care ensures they thrive in their new environment. This section covers essential aspects of caring for your houseplants after repotting.
Watering Techniques
Proper watering is vital after repotting your houseplants. Initially, water the plant thoroughly. This helps settle the soil and removes any air pockets.
Follow these steps:
- Check soil moisture daily for the first week.
- Water only when the top inch of soil feels dry.
- Avoid overwatering to prevent root rot.
Remember, different plants have different needs. Adjust watering frequency based on your plant type.
Adjusting Light Exposure
Light exposure is another key factor in post-repotting care. Initially, place the plant in indirect sunlight. This reduces stress and promotes recovery.
Consider these tips:
- Gradually increase light exposure over a few days.
- Monitor the plant for signs of light stress.
- Avoid direct sunlight until the plant adjusts.
Use the table below to understand light needs for common houseplants:
| Plant Type | Light Requirement |
|---|---|
| Succulents | Bright, indirect light |
| Ferns | Low to medium light |
| Orchids | Medium to bright, indirect light |
Adjust light levels based on specific plant needs for optimal growth.
Common Repotting Mistakes
Repotting houseplants can be tricky. Many people make common mistakes that harm their plants. Understanding these mistakes helps keep your plants healthy and thriving.
Overwatering Risks
One common mistake is overwatering. When you repot, the soil retains water differently. Fresh soil holds more water. This can easily lead to overwatering.
Overwatered plants show signs like yellowing leaves, root rot, and mold. These symptoms indicate your plant is not happy. It’s crucial to adjust your watering habits after repotting.
Consider using a moisture meter. This tool helps you avoid overwatering. Always check the soil before adding more water.
Ignoring Root Health
Another mistake is ignoring root health. Roots are vital for plant growth. When repotting, inspect the roots closely.
Healthy roots are white and firm. If you see black or mushy roots, trim them. Use clean, sharp scissors to avoid damage.
Also, avoid planting in a pot that’s too big. A large pot can lead to poor root development. Choose a pot just one size bigger than the current one.
| Mistake | Solution |
|---|---|
| Overwatering | Use a moisture meter |
| Ignoring Root Health | Inspect and trim roots |
Credit: www.swansonsnursery.com
Frequently Asked Questions
What Month Can You Repot Houseplants?
Repot houseplants in early spring, typically March or April. This allows them to adjust before the growing season.
Is It Okay To Repot Houseplants In Winter?
Repotting houseplants in winter is not ideal. Plants are dormant and may struggle to adapt. Best to wait until spring.
How Do I Know If My Houseplant Needs Repotting?
Your houseplant needs repotting if roots are visible through drainage holes or it’s growing slower. Soil drying quickly is another sign.
How Do You Know When A Plant Is Ready To Repot?
A plant is ready to repot when roots grow out of the drainage holes. Soil dries out quickly. Growth slows down.
Conclusion
Repotting houseplants is essential for their growth and health. Choose spring or early summer for the best results. Look for signs like root-bound pots and slow growth. Proper timing ensures your plants thrive and flourish. Happy repotting and enjoy your vibrant, healthy houseplants!

My mission is to help you bring the beauty of nature indoors with expert advice, detailed plant care guides, and creative design ideas.
Leave a Reply