
You can safely put most indoor plants outside when nighttime temperatures consistently stay above 50-55°F (10-13°C) and all danger of frost has passed. Always acclimate your plants to the new environment gradually over 7-14 days to prevent shock from the intense sun, wind, and temperature changes.
Hello, fellow plant lovers! It’s Md Saiful Islam, and I’m here to help you grow with confidence. One of the most common questions I hear is, “When can I give my indoor plants a summer vacation outside?” It’s a fantastic question! Moving your plants outdoors can help them thrive, but doing it at the wrong time or in the wrong way can cause serious stress or even damage.
Don’t worry, though. The process is simple when you know the secrets. Think of it like helping a friend adjust to a new place—you do it with care and patience. In this guide, I’ll walk you through everything you need to know, step by step. We’ll cover the right time, the right way, and how to keep your green friends happy all summer long.
Why Move Your Houseplants Outside for the Summer?
You might wonder if it’s worth the effort to move your houseplants. The answer is a big YES! A little time in the great outdoors is like a spa retreat for your plants. They get to experience conditions that we can only try to replicate indoors. This change of scenery can boost their health, color, and overall growth in ways that will make you smile.
The Benefits of a Summer Vacation for Your Plants
Giving your plants a summer holiday isn’t just a nice idea; it provides real, tangible benefits that lead to stronger, more beautiful plants. Here’s what they get to enjoy:
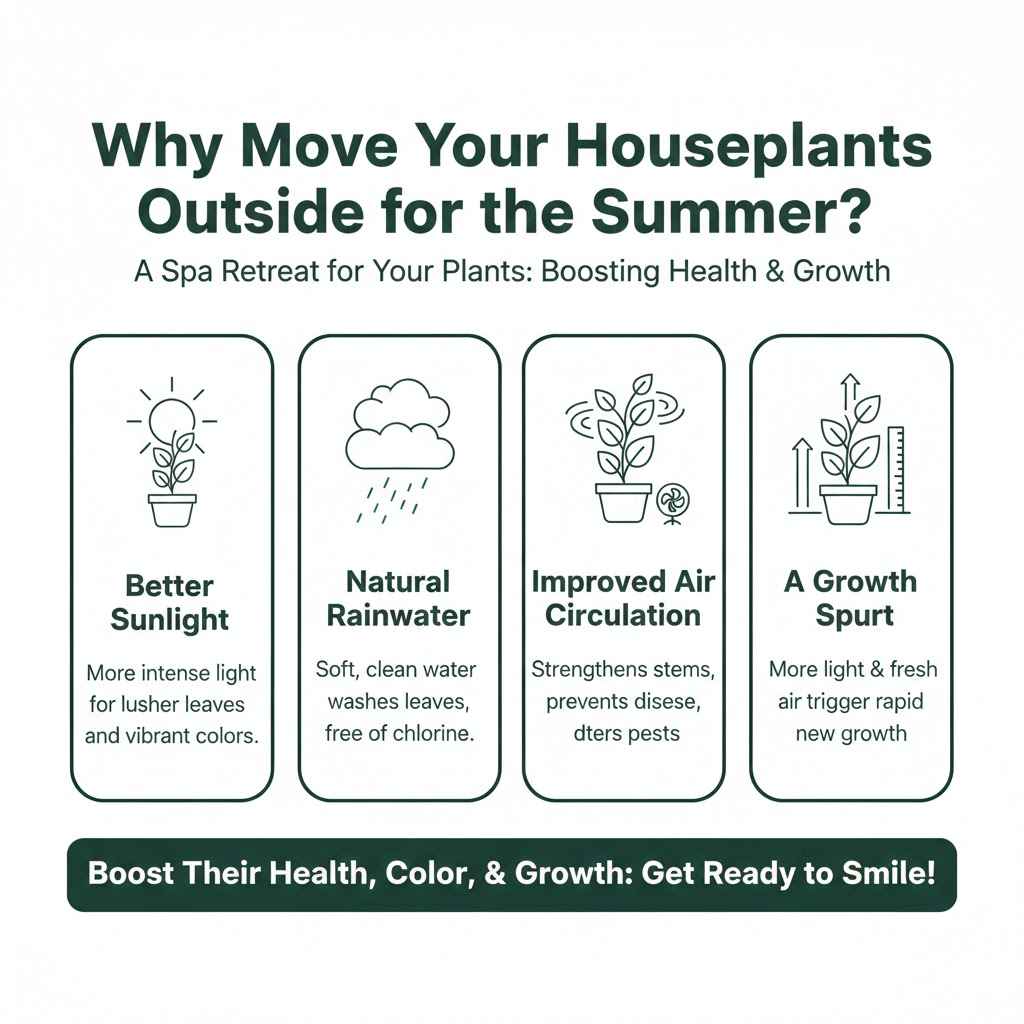
- Better Sunlight: Even the shadiest spot outside offers more intense and broader-spectrum light than most indoor windowsills. This helps your plants create more food through photosynthesis, leading to lusher leaves and more vibrant colors.
- Natural Rainwater: Rain is the best water for your plants. It’s naturally soft, slightly acidic, and free of the chlorine and minerals often found in tap water. It also helps to wash dust and pests off the leaves.
- Improved Air Circulation: A gentle breeze is great for plants! It strengthens stems, helps prevent fungal diseases that thrive in stagnant air, and can deter pests like spider mites and gnats.
- A Growth Spurt: The combination of more light, fresh air, and natural humidity often triggers a period of rapid growth. You might see new leaves unfurl faster than ever before.
- Natural Pest Control: The outdoors is full of beneficial insects like ladybugs and lacewings that love to feast on common houseplant pests like aphids and mealybugs.
The Golden Rule: When is it Safe to Move Plants Outside?
Timing is everything. Moving your plants out too early can be a fatal mistake, while waiting too long means they miss out on the best part of the growing season. Luckily, there are a few simple rules to follow that make timing easy.
Temperature is Key
The most important factor is the temperature, especially at night. Most tropical houseplants, which make up the majority of what we grow indoors, are not built for the cold. A sudden dip in temperature can shock their system.
The golden rule is to wait until the nighttime temperatures are consistently above 50°F (10°C). Some more sensitive tropicals, like Calathea or Alocasia, prefer it even warmer, so waiting until nights are reliably over 55-60°F (13-15°C) is even safer. Don’t just look at one day’s forecast; check the 10-day forecast to make sure a cold snap isn’t on the horizon.
The Danger of Frost
Frost is the number one enemy of your tender indoor plants. A single late frost can damage or kill a plant that has been pampered indoors all winter. The water inside the plant’s cells freezes and expands, bursting the cell walls and causing the leaves to turn black and mushy.
Before you even think about moving plants outside, you need to know your area’s last average frost date. You can find this information easily online. A great resource is the Old Farmer’s Almanac frost date calculator. As a safe bet, wait at least one to two weeks after your last expected frost date before starting the moving process.
Which Indoor Plants Love Being Outside?
While many houseplants will thank you for a summer vacation, not all are suited for the outdoors. Some are just too delicate to handle the fluctuating conditions. Knowing which plants to move and which to leave behind is crucial for success.
Tougher, sun-loving plants often make the best candidates. Think of plants with waxy, thick, or sturdy leaves. Delicate plants with thin, papery leaves are often more sensitive to sun and wind.
Plants That Thrive Outdoors
Here are some popular houseplants that generally love spending the summer on a patio, balcony, or deck. Remember to acclimate them slowly, no matter how tough they seem!
| Plant Name | Ideal Outdoor Spot | Helpful Notes |
|---|---|---|
| Snake Plant (Sansevieria) | Shade to partial sun | Very forgiving, but direct afternoon sun can scorch its leaves. |
| Succulents & Cacti | Full sun (after acclimation) | Let them dry out completely between waterings. Protect from excessive rain. |
| Croton | Bright, indirect light or morning sun | The extra light will make its vibrant leaf colors even more intense. |
| Hibiscus | Full sun | Loves the heat and sun, and will reward you with beautiful blooms. |
| Ponytail Palm | Full sun | This desert native will soak up the rays. It’s very drought-tolerant. |
| Bird of Paradise | Bright, indirect light to full sun | Can handle more sun as it matures. Protect its large leaves from strong winds. |
Plants to Keep Indoors
Some plants are just happier inside, where the environment is stable and predictable. Moving them outside can cause more harm than good.
- African Violets: Their fuzzy leaves are sensitive to water and direct sun, which can cause spotting and scorching. They prefer the stable conditions indoors.
- Phalaenopsis Orchids: These popular orchids are very sensitive to temperature swings and direct sunlight. They thrive in consistent, indoor environments.
- Prayer Plants (Maranta, Calathea): These plants require high humidity and are very prone to leaf scorch in direct sun and wind. They are much safer and happier indoors.
- Some Ferns: While some ferns are tough, delicate ones like the Maidenhair Fern will quickly crisp up in the wind and sun.
The Step-by-Step Guide to Acclimating Your Plants (Hardening Off)
You can’t just take your plant from the living room and plop it in the sunny backyard. That’s like going from a dark room straight into bright sunshine—it’s a shock! We need to introduce our plants to their new environment gradually. This process is called “hardening off,” and it’s the most important step for success.
The goal is to slowly get the plant used to more light, wind, and temperature changes over a week or two. Patience is your best friend here!
- Day 1-2: Start in Full Shade. Find a protected spot on a porch, under a large tree, or on the shady side of your house. Leave the plants out for just 1-2 hours, then bring them back inside.
- Day 3-4: A Little More Time. Increase their time outside to 3-4 hours, still in a shady, protected spot. The goal is to get them used to the air and temperature fluctuations.
- Day 5-6: Introduce Gentle Morning Sun. Move the plants to a spot where they will get about an hour of gentle, direct morning sun. The rest of the time should be in the shade. Keep them out for about 5-6 hours total.
- Day 7-9: Increase Sun Exposure. Gradually increase the amount of direct sun they receive by an hour each day. Always aim for morning sun, as the afternoon sun is much hotter and more intense.
- Day 10-14: The Final Stretch. Once your plants can handle several hours of direct morning sun without wilting or showing signs of stress, you can start leaving them in their final summer spot. After a day or two of being out all day, and if nighttime temperatures are safely above 55°F (13°C), you can leave them out overnight.
A Sample Hardening-Off Schedule
Every plant is different, so watch yours closely for signs of stress like wilting or pale leaves. This schedule is just a guideline—feel free to take it even slower if needed!
| Day | Location | Duration |
|---|---|---|
| Day 1 & 2 | Full, protected shade (e.g., covered porch) | 2 hours |
| Day 3 & 4 | Full shade, maybe some dappled light | 4 hours |
| Day 5 & 6 | Spot with 1 hour of direct morning sun | 5-6 hours |
| Day 7 & 8 | Spot with 2-3 hours of direct morning sun | All day, bring in at night |
| Day 9 & 10 | Final desired location | All day, bring in at night |
| Day 11+ | Final desired location | All day and all night (if temps allow) |
Choosing the Perfect Outdoor Spot
Where you place your plant outdoors is just as important as when you move it. The perfect spot will protect your plant from the harshest elements while giving it everything it needs to thrive.
Light Considerations: Sun vs. Shade
Outdoor light is much, much stronger than indoor light. A spot inside that you consider “bright, indirect light” is equivalent to deep shade outdoors. A common mistake is moving a plant from an east-facing window to a spot with direct afternoon sun, which will quickly lead to sunburn.
- Sunburn Signs: Look for white, yellow, or brown patches on the leaves. Unfortunately, sunburned spots will not heal, so prevention is key.
- Read the Label: Check your plant’s light requirements. “Full sun” plants need at least 6 hours of direct sun. “Part sun” or “part shade” plants do best with gentle morning sun and protection from the harsh afternoon rays.
- Good Spots: A porch with an overhang, under the dappled light of a leafy tree, or on the east side of your house are often perfect locations for many houseplants.
Protection from the Elements
Sun isn’t the only thing to worry about. Wind and rain can also cause problems.
- Wind: Strong winds can shred large leaves (like those on a Bird of Paradise) and dry out plants very quickly. Place plants near a wall, fence, or among other plants to create a windbreak.
- Heavy Rain: While rainwater is great, a torrential downpour can flood pots without good drainage, leading to root rot. If a big storm is coming, consider moving your plants to a covered area temporarily.
- Afternoon Sun: The sun between 12 PM and 4 PM is the most intense. For most tropical houseplants, this is too much. A spot that gets morning sun and afternoon shade is the ideal compromise.
Caring for Your Plants Once They’re Outside
Once your plants are happily settled in their summer homes, their care routine will need to change. They are now exposed to more light, heat, and air movement, which affects their needs for water and food.
Watering Adjustments
Your number one job will be to monitor watering. Plants outside dry out much faster than they do indoors.
- Check Daily: In the heat of summer, you may need to water your potted plants every day. The best way to know is to use the “finger test.” Stick your finger about an inch or two into the soil. If it feels dry, it’s time to water. If it’s still damp, check again the next day.
- Water Thoroughly: When you do water, do it deeply. Pour water over the soil until it runs freely from the drainage holes at the bottom of the pot. This ensures the entire root ball gets a good drink.
- Container Matters: Plants in porous terracotta pots will dry out much faster than those in plastic or glazed ceramic pots. Small pots also dry out faster than large ones.
Pest Patrol
The great outdoors is full of life, including bugs that might find your houseplants delicious. It’s important to keep an eye out for pests so you can deal with them before they become a big problem.
- Inspect Regularly: At least once a week, take a close look at your plants. Check the tops and undersides of leaves, as well as the stems, for common pests like aphids, spider mites, and mealybugs.
- Act Quickly: If you see pests, a strong spray of water from the hose can often knock them off. For more stubborn infestations, an organic insecticidal soap or neem oil solution is a safe and effective option. For more information on managing pests with minimal environmental impact, the Environmental Protection Agency provides great resources on Integrated Pest Management (IPM).
To Fertilize or Not to Fertilize?
With all the extra light and energy, your plants will be in active growth mode, which means they’ll be hungry. This is a good time to feed them.
- Follow a Schedule: Use a balanced, all-purpose houseplant fertilizer. Follow the directions on the package, but it’s often a good idea to dilute it to half-strength to avoid burning the roots, especially at first.
- Don’t Overdo It: Fertilizing every 2-4 weeks during the summer growing season is usually plenty for most plants. Too much fertilizer can be more harmful than not enough.
Bringing Your Plants Back Inside for the Winter
All good things must come to an end, and that includes your plant’s summer vacation. Just as you moved them out slowly, you’ll need to prepare them for their return indoors before the cold weather arrives.
Start thinking about this process when nighttime temperatures begin to dip back down toward 55°F (13°C). You want to have them all safely inside well before the first frost is even a remote possibility.
The Reverse Hardening-Off Process
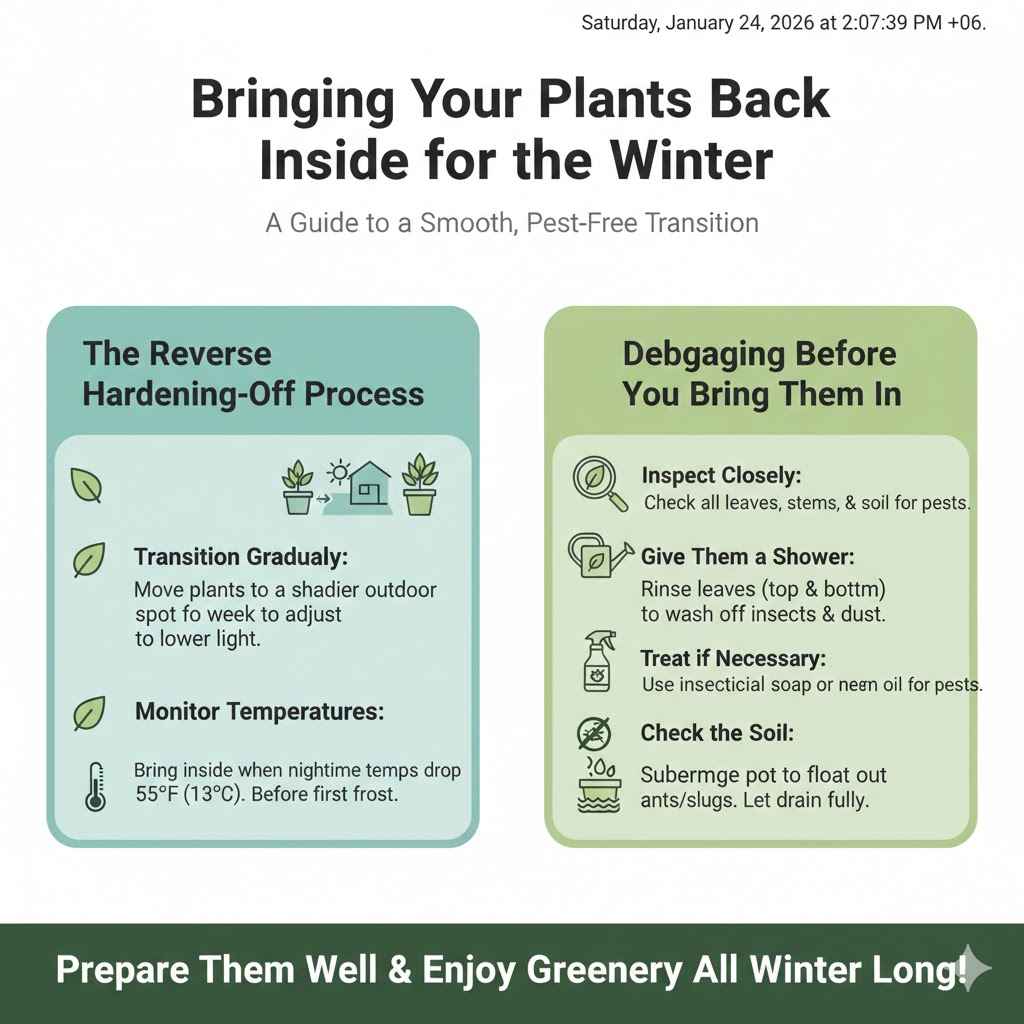
Bringing plants from a bright, outdoor environment straight into a dimmer, indoor one can also cause shock, leading to leaf drop. To ease the transition, start by moving the plants into a shadier spot outdoors for a week before bringing them in. This helps them begin to adjust to lower light levels.
Debugging Before You Bring Them In
This is a critical step! You do not want to bring outdoor pests into your home, where they can spread to your other indoor plants. Give each plant a thorough spa treatment before it crosses the threshold.
- Inspect Closely: Check every leaf, stem, and nook for any signs of pests. Pay close attention to the soil surface as well.
- Give Them a Shower: Use a hose to give the plant a good rinse. Spray the tops and bottoms of the leaves to wash off any freeloading insects or dust.
- Treat if Necessary: If you see any pests, treat the plant with insecticidal soap or neem oil. It’s a good idea to do this preventatively even if you don’t see any bugs.
- Check the Soil: Sometimes pests like ants or slugs can make a home in the pot. If you suspect this, you can submerge the entire pot in a bucket of water for about 15-20 minutes. Any critters will float to the top. Afterwards, let the pot drain completely.
Once your plants are clean and pest-free, they are ready to come back inside to brighten your home through the winter.
Frequently Asked Questions (FAQ)
What is the lowest temperature my houseplants can tolerate outside?
For most common tropical houseplants, the absolute lowest nighttime temperature they can handle is around 50°F (10°C). Any colder, and you risk shocking or damaging the plant. It’s always safer to bring them in when temperatures are forecast to drop into the low 50s.
Can I put my snake plant outside in the summer?
Yes, snake plants do very well outside in the summer! They are tough and appreciate the extra light. Just be sure to acclimate them slowly. While they can handle some direct sun, they do best in a spot with bright, indirect light or gentle morning sun to prevent their leaves from scorching.
My plant’s leaves are turning yellow or white after moving it outside. What’s wrong?
This is a classic sign of sunburn. It happens when a plant is moved into direct sunlight too quickly without being properly acclimated. The cells in the leaf are damaged by the intense UV rays. Move the plant back into a shadier spot immediately. The burned leaves won’t recover, but the plant will produce new, healthy ones.
How do I know if my plant is getting too much sun?
Besides sunburn (white or brown patches), signs of too much sun include faded or pale leaves, wilting during the hottest part of the day (even if the soil is moist), and crispy brown edges on the leaves. If you see these signs, move your plant to a location with more shade.
Do I need to water my plants more often when they are outside?
Absolutely. The combination of more sun, higher temperatures, and wind causes water to evaporate from the soil and leaves much faster. You will likely need to water your outdoor plants far more frequently than your indoor ones. Check the soil every day, especially during hot, dry weather.
What happens if I move my plants outside too quickly?
Moving a plant outside too quickly without acclimating it can cause “transplant shock.” Symptoms include severe wilting, sunburned leaves, and significant leaf drop. The plant is simply overwhelmed by the sudden, drastic change in its environment. This is why the slow, gradual hardening-off process is so important.
How do I prevent bugs from coming inside with my plants?
Before bringing plants indoors for the winter, inspect them thoroughly. Check under leaves and in the crevices where stems meet. Give the entire plant a good rinse with a hose. For extra security, you can spray it with a preventative treatment of insecticidal soap or neem oil. It’s also wise to keep the returning plants isolated from your other houseplants for a week or two to make sure no pests have hitched a ride.
Your Plants Will Thank You
Moving your indoor plants outside for the summer might seem like a lot of work, but the rewards are well worth it. By following these simple steps—waiting for the right temperatures, acclimating them slowly, and adjusting your care routine—you can give your plants the best summer vacation ever. They will return indoors in the fall stronger, healthier, and more beautiful than before.
Don’t be afraid to try it! Gardening is all about learning and experimenting. Watch your plants, listen to what they’re telling you, and enjoy the process. Happy growing!