Place your new plant in quarantine for a week. Inspect it for pests and diseases during this period.
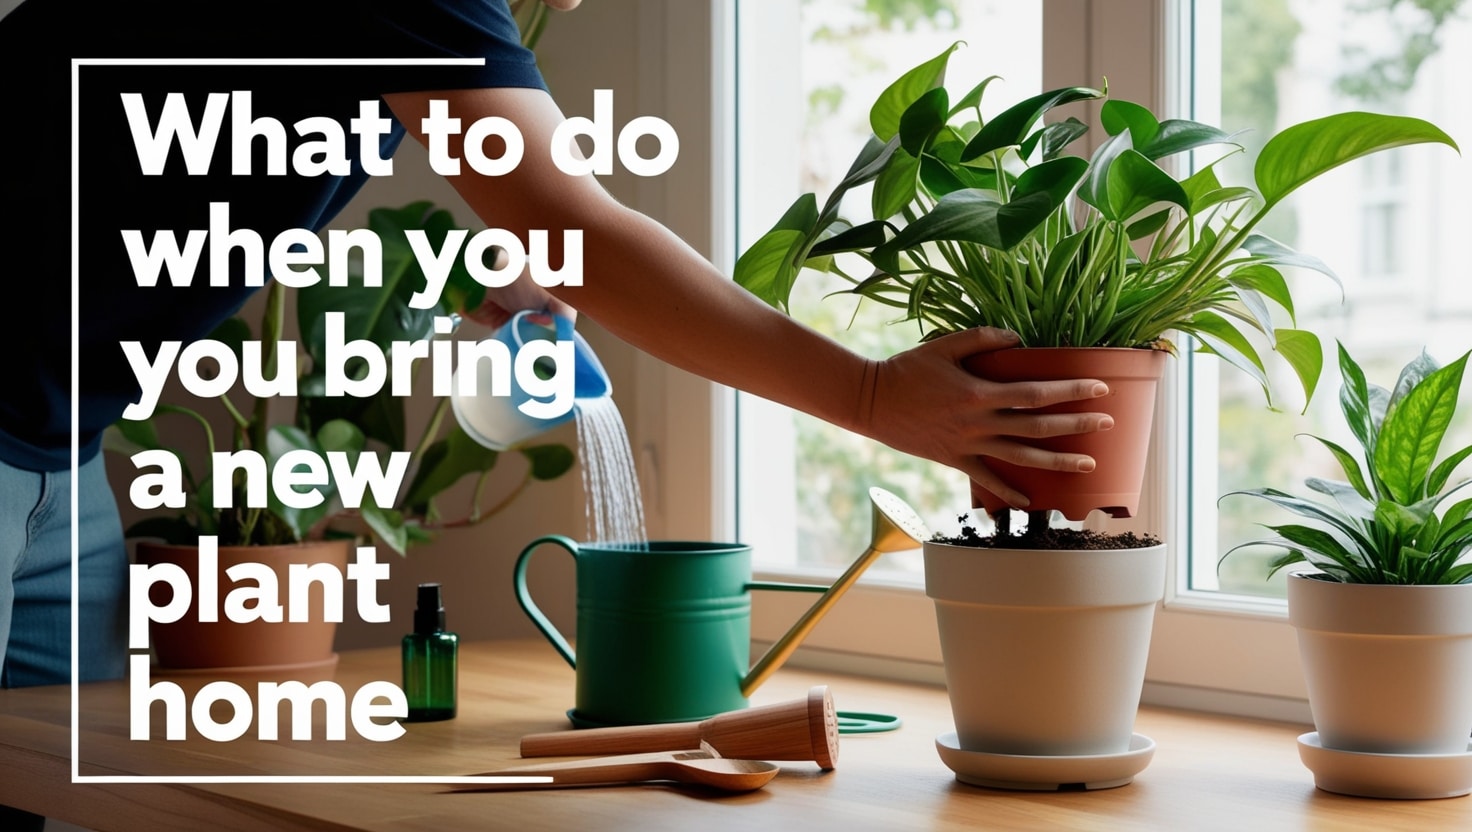
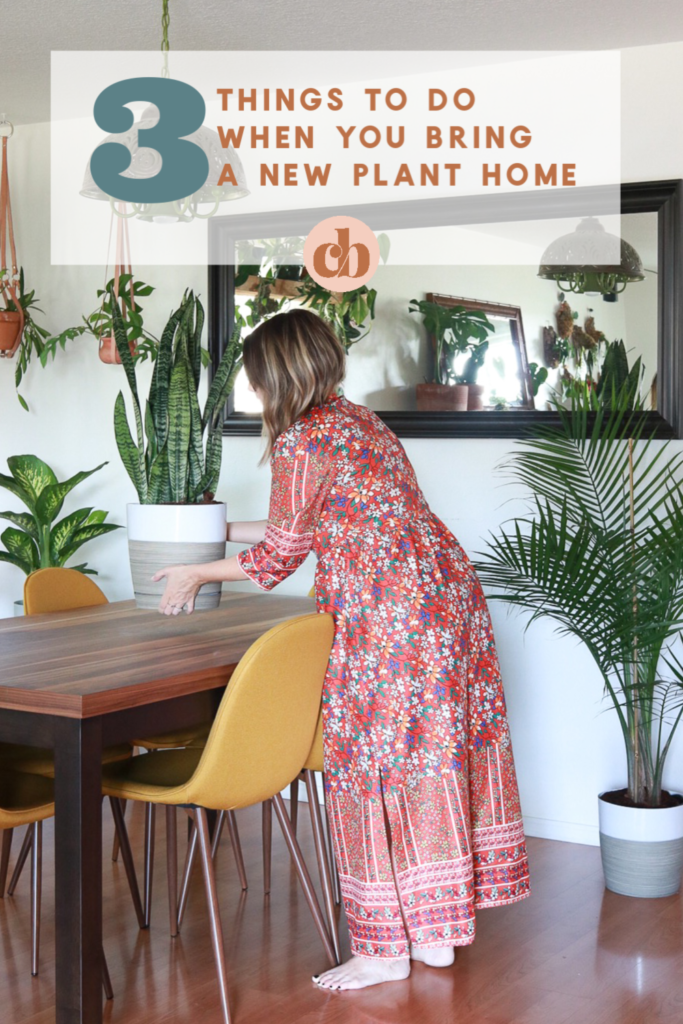
Bringing a new plant home is an exciting event for any plant enthusiast. Ensuring the plant’s health and well-being is crucial for its growth. Start by placing the new plant in quarantine, away from other plants, to prevent potential pest or disease spread.
During this week-long period, check the plant daily for any signs of pests or diseases. Regular inspection helps identify issues early, making treatment easier. After quarantine, gradually acclimate the plant to its new environment. Proper care from the start sets a strong foundation for your plant’s future growth and vitality. Remember, a healthy plant begins with careful attention and observation.
Choosing The Right Plant
Bringing a new plant home can be exciting. But, choosing the right plant is crucial. You want a plant that fits your space and thrives under your care. Here are some important factors to consider.

Credit: www.youtube.com
Assessing Your Space
First, assess the space where you plan to place the plant. Is it big or small? Does it have enough room for the plant to grow?
- Small spaces: Choose compact plants like succulents or herbs.
- Large spaces: Opt for bigger plants like ferns or small trees.
Think about how the plant will fit in with your decor. A plant can add charm, but it should not overwhelm the space.
Considering Light Conditions
Light is essential for a plant’s growth. Different plants need different light conditions.
| Light Condition | Suitable Plants |
|---|---|
| Low Light | Snake Plant, ZZ Plant |
| Medium Light | Spider Plant, Pothos |
| Bright Light | Succulents, Fiddle Leaf Fig |
Place low-light plants in rooms with little sunlight. Medium-light plants do well in indirect sunlight. Bright-light plants need direct sunlight for a few hours a day.
Observing the light conditions in your home will help you make the best choice.
Preparing The Space
Bringing a new plant home is exciting. To ensure your plant thrives, you need to prepare its new space properly. This involves cleaning the area and selecting the right pot. Follow these steps to create a perfect home for your plant.
Cleaning The Area
Before placing your new plant, make sure the area is clean. This helps prevent pests and diseases. Start by wiping down surfaces with a damp cloth. Remove any dust or debris. If you use shelves, clean them thoroughly. Keep the space free from clutter. This allows for proper air circulation around the plant.
- Wipe surfaces with a damp cloth.
- Remove dust and debris.
- Clean shelves thoroughly.
- Keep the area clutter-free.
Selecting The Pot
Choosing the right pot is crucial for plant health. Ensure the pot has good drainage. This prevents water from sitting at the bottom. Use a pot with drainage holes. Choose a pot size that matches the plant’s root system. If the pot is too big, the soil may retain too much water. If it’s too small, the roots may become cramped.
| Pot Feature | Importance |
|---|---|
| Drainage Holes | Prevents waterlogging |
| Proper Size | Ensures root growth |
| Material | Affects moisture retention |
Consider the material of the pot. Clay pots are porous and allow for better air circulation. Plastic pots retain moisture longer. Choose according to your plant’s needs.
- Ensure good drainage.
- Select the correct size.
- Consider pot material.
Initial Plant Inspection
Bringing a new plant home is exciting. The first step is to inspect it. This ensures your plant thrives and stays healthy.
Checking For Pests
Inspect the plant leaves and stems closely. Look for small insects or webs. Use a magnifying glass if needed. Common pests include aphids, spider mites, and mealybugs. Remove any pests you find right away. You can use a soft cloth or a mild insecticidal soap.
| Pest | Appearance | Action |
|---|---|---|
| Aphids | Small, green or black bugs | Spray with water |
| Spider Mites | Tiny red or black dots | Use insecticidal soap |
| Mealybugs | White, cotton-like masses | Wipe with alcohol |
Assessing Plant Health
Check the leaves for any yellowing or wilting. Healthy leaves are firm and green. Inspect the soil; it should be moist but not soggy. Smell the soil to check for any foul odor. A bad smell can indicate rot or disease. Remove any dead or damaged leaves. This helps the plant focus on new growth.
- Firm green leaves are a good sign.
- Moist soil is ideal.
- Avoid plants with a foul soil odor.
Watering Guidelines
Watering is crucial for a new plant’s health. Correct watering ensures growth and prevents diseases. Follow these guidelines to keep your plant happy and healthy.
First Watering
After bringing a new plant home, it’s important to water it properly. Start by checking the soil moisture. Insert your finger into the soil up to the first knuckle.
- If the soil feels dry, it’s time to water.
- If the soil is moist, wait a day or two before watering.
Use room temperature water. Cold or hot water can shock the plant. Pour water until it drains from the bottom. This ensures the roots get enough moisture. Let the plant sit in the drained water for about 10 minutes.
Regular Watering Schedule
Establish a regular watering schedule based on the plant type. Most houseplants prefer to dry out slightly between waterings.
| Plant Type | Watering Frequency |
|---|---|
| Succulents | Once every 2-3 weeks |
| Tropical plants | Once a week |
| Ferns | Twice a week |
Check soil moisture before each watering. Overwatering is a common mistake. It can lead to root rot and other problems.
- Touch the soil surface to check dryness.
- Water if the soil feels dry.
- Avoid watering if the soil is still wet.
Remember to adjust the watering schedule during different seasons. Plants may need more water in summer and less in winter.
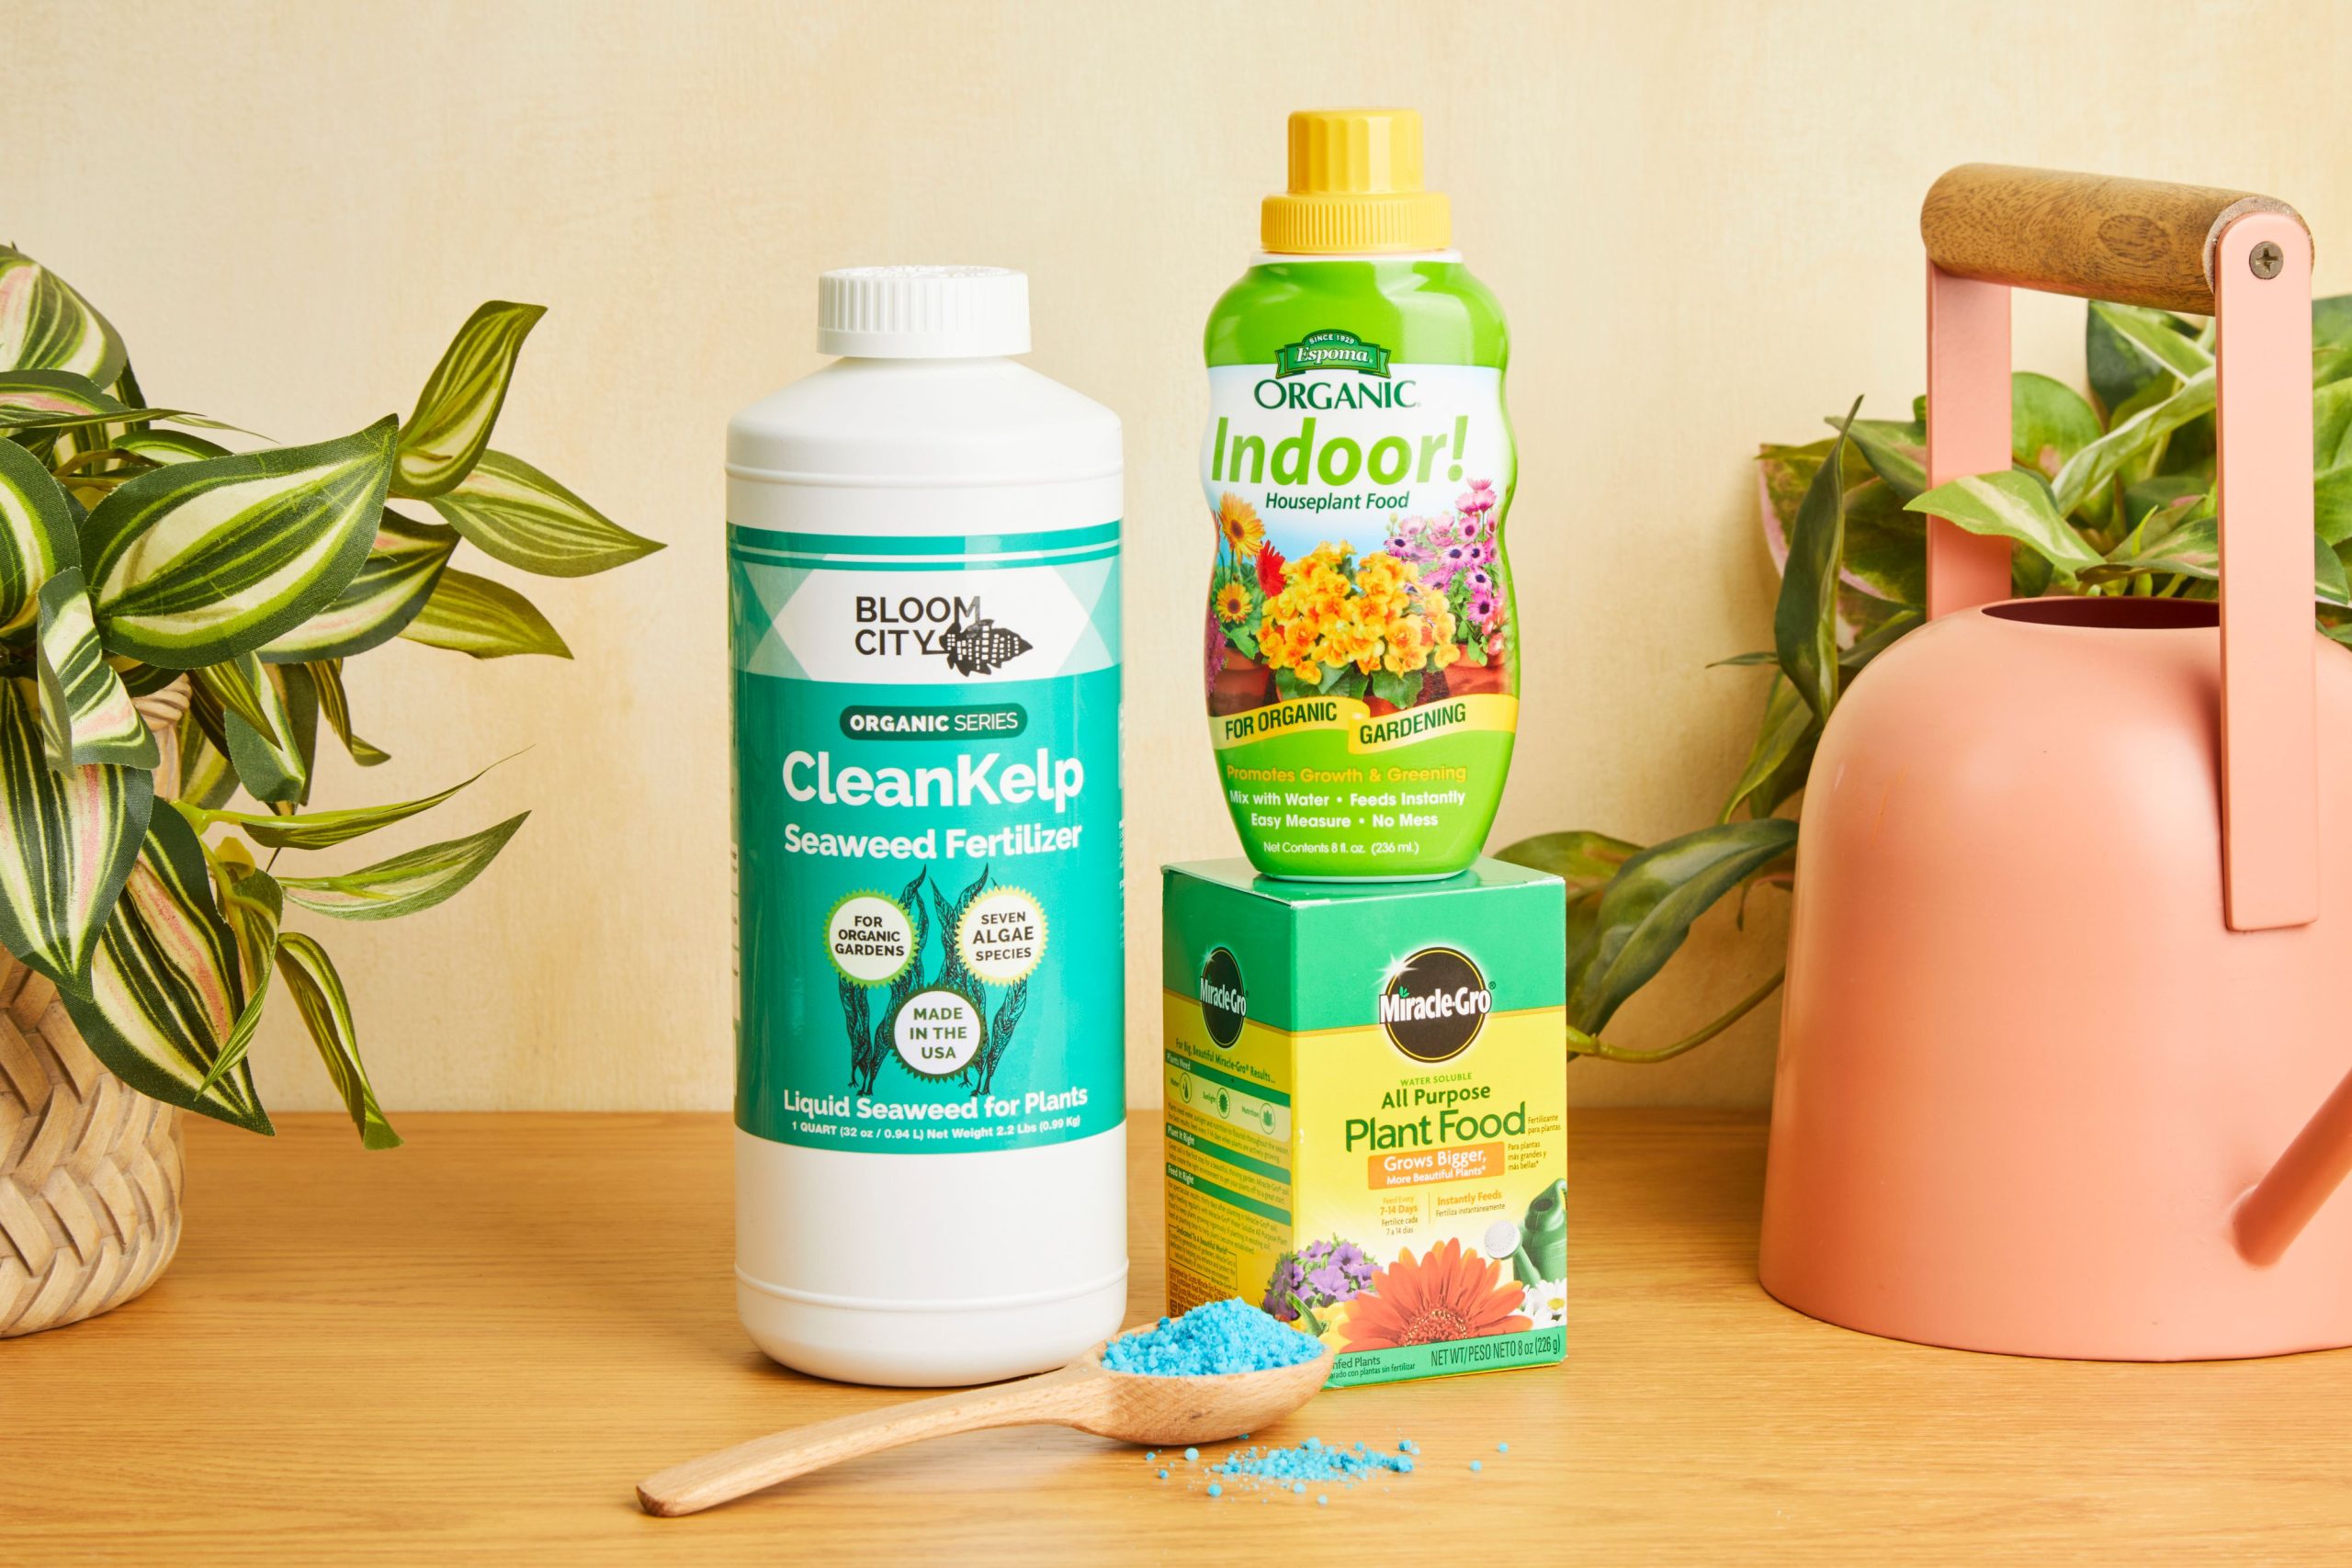
Soil And Fertilizer
Bringing a new plant home is exciting. Soil and fertilizer are vital for your plant’s health. Selecting the right soil and using proper fertilizer can make a big difference.
Choosing The Right Soil
Choosing the right soil is the first step. Each plant has different needs. Some plants need well-draining soil. Others need moisture-retaining soil.
Here’s a simple table to help you choose:
| Plant Type | Soil Type |
|---|---|
| Cacti | Sandy, well-draining soil |
| Ferns | Moisture-retaining soil |
| Succulents | Gritty, well-draining soil |
| Orchids | Bark-based, airy soil |
Always check your plant’s specific soil needs. This ensures your plant stays healthy and happy.
Using Fertilizer
Using fertilizer is key for plant growth. Fertilizers provide essential nutrients. These nutrients help plants grow strong and vibrant.
There are two main types of fertilizers:
- Organic Fertilizers: Made from natural sources.
- Inorganic Fertilizers: Made from synthetic chemicals.
Organic fertilizers are safe and eco-friendly. Inorganic fertilizers are quick and effective. Choose the type that suits your plant best.
Follow these steps to fertilize your plant:
- Check the fertilizer instructions.
- Measure the correct amount.
- Mix the fertilizer with water.
- Apply to the soil around the plant.
Fertilize your plant every few weeks. This ensures it gets the nutrients it needs.
Remember, too much fertilizer can harm your plant. Always follow the instructions.

Credit: www.familyhandyman.com
Light Requirements
Understanding the light requirements of your new plant is crucial. Without proper light, plants cannot thrive. This section will guide you on ensuring your plant gets the light it needs.
Natural Light
Most plants prefer natural light. Place your plant near a window. South-facing windows provide the most sunlight. East and west-facing windows also work well. North-facing windows offer less light, suitable for low-light plants.
- South-facing windows: Bright, direct sunlight
- East-facing windows: Morning sunlight, gentle and less intense
- West-facing windows: Afternoon sunlight, stronger than morning light
- North-facing windows: Low light, good for shade-tolerant plants
Rotate your plant weekly. This ensures even light exposure. Avoid placing plants in direct sunlight for too long. This may cause leaf burn.
Supplementing With Grow Lights
Not all homes have perfect natural light. Grow lights can help. They mimic natural sunlight. This aids plant growth.
| Type of Grow Light | Best For |
|---|---|
| Fluorescent Lights | Seedlings and low-light plants |
| LED Lights | All types of plants |
| Incandescent Lights | Flowering plants |
Position grow lights 6-12 inches above the plant. Keep them on for 12-16 hours daily. Use a timer to make this easier.
Remember, light is food for your plant. Ensuring the right light will make your plant happy and healthy.
Temperature And Humidity
Bringing a new plant home can be exciting. To ensure your plant thrives, you must understand temperature and humidity. These factors are crucial for your plant’s health and growth.
Optimal Temperature
Your plant’s well-being depends on maintaining the right temperature. Most houseplants prefer temperatures between 65°F and 75°F (18°C to 24°C). Here is a simple table to help you:
| Plant Type | Optimal Temperature Range |
|---|---|
| Tropical Plants | 65°F – 75°F (18°C – 24°C) |
| Succulents | 60°F – 80°F (15°C – 27°C) |
| Ferns | 60°F – 75°F (15°C – 24°C) |
Keep your plant away from drafts and sudden temperature changes. Avoid placing it near windows in winter or air conditioning vents in summer.
Managing Humidity Levels
Humidity is another key factor for plant health. Most houseplants thrive with 40% to 60% humidity. Here are some tips to manage humidity:
- Use a humidifier to add moisture to the air.
- Place a tray of water near your plant.
- Mist your plant with water using a spray bottle.
- Group plants together to create a humid microclimate.
Monitoring humidity is essential, especially in winter when indoor air can be dry. Use a hygrometer to measure humidity levels in your home.
Credit: cleverbloom.com
Routine Plant Care
Taking care of your new plant can be fun. Routine plant care ensures your plant thrives. Regular attention keeps it healthy and happy. Follow these simple steps to maintain your plant’s health.
Pruning And Trimming
Pruning and trimming are essential for plant health. Remove dead or yellow leaves. This helps the plant grow better. Use clean scissors for cutting. Cut just above a leaf node. This encourages new growth. Do not over-prune, as this can harm the plant.
| Step | Description |
|---|---|
| 1 | Identify dead leaves |
| 2 | Use clean scissors |
| 3 | Cut above leaf node |
| 4 | Avoid over-pruning |
Monitoring Plant Health
Checking your plant’s health is crucial. Look for signs of pests or disease. Check the soil for moisture. Ensure the plant gets enough light. Look at the leaves. Healthy leaves are green and firm. Yellow or brown leaves indicate problems.
- Inspect leaves for spots.
- Check soil moisture level.
- Ensure adequate light exposure.
- Remove pests if seen.
Keep a close eye on your plant. Early detection of problems prevents damage. Routine care helps your plant thrive.
Frequently Asked Questions
What To Do With A Plant When You Bring It Home?
Place the plant in indirect sunlight. Water it thoroughly. Check for pests. Repot if necessary. Follow care instructions for the specific plant.
What To Do With Plants When You First Get Them?
Place your new plants in suitable light. Water them thoroughly. Check for pests. Repot if necessary. Monitor their growth.
What Is The First Thing You Do When You Buy An Indoor Plant?
Check the plant for pests, then place it in appropriate light. Water it as needed and ensure proper drainage.
How Long Should You Isolate A New Plant?
Isolate a new plant for 2-4 weeks. This helps detect pests or diseases before introducing it to other plants.
Conclusion
Welcoming a new plant into your home can be a joyful experience. Remember to research its specific needs. Ensure proper sunlight, watering, and soil conditions. Regularly check for signs of pests or diseases. With consistent care, your new plant will thrive and enhance your living space.
Happy gardening!

My mission is to help you bring the beauty of nature indoors with expert advice, detailed plant care guides, and creative design ideas.