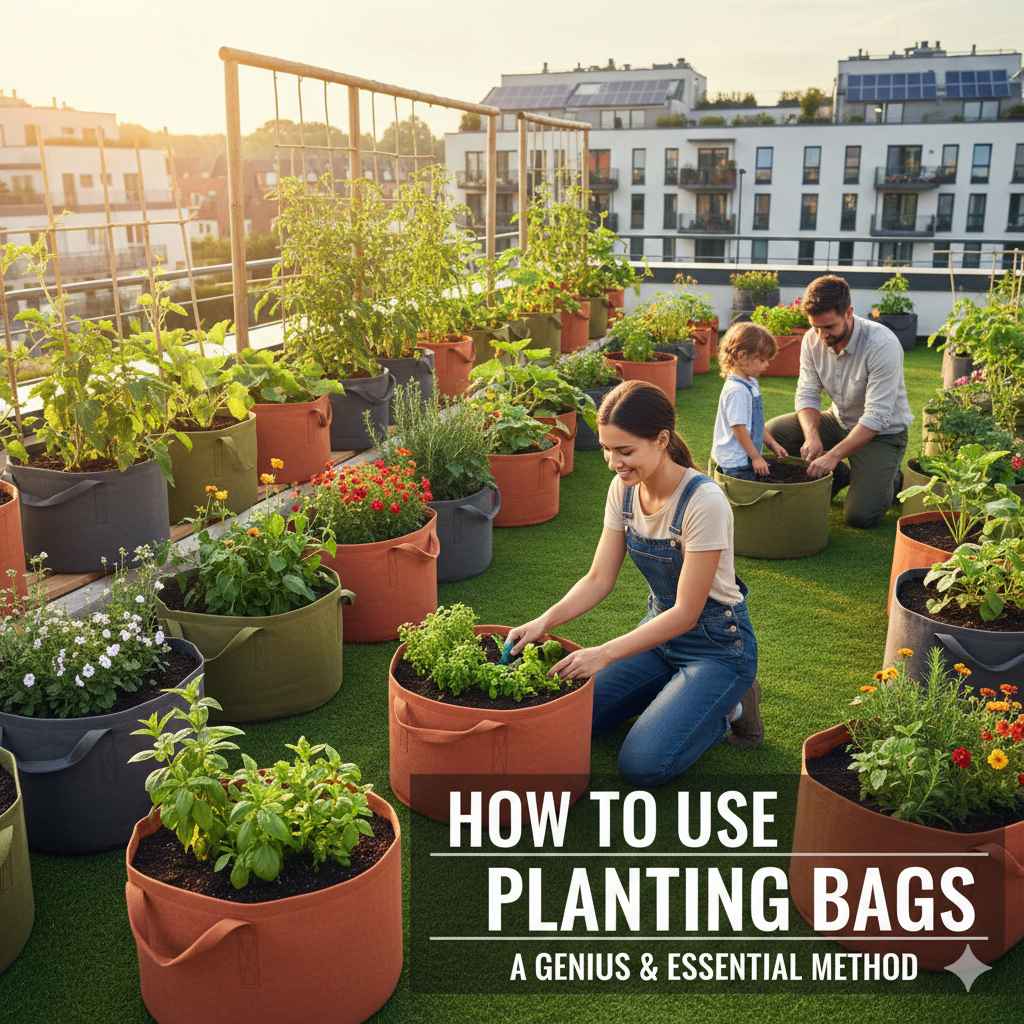
To use planting bags, simply unfold the bag, fill it with a quality potting mix, and plant your seeds or seedlings. Water thoroughly and place the bag in a location with adequate sunlight. The breathable fabric design promotes healthy root growth, making it an easy and effective method for container gardening.
Hello, fellow garden lovers! It’s Md Saiful Islam here. Have you ever wanted to start a garden but felt held back by a lack of space? Maybe you have a small patio, a balcony, or just poor soil in your yard. It can feel frustrating when you want to grow fresh vegetables or beautiful flowers. Well, I have a wonderful solution for you: planting bags! These simple, portable containers make gardening possible for everyone, everywhere. In this guide, I’ll show you exactly how to use them, step by step. Let’s get growing together!
What Are Planting Bags (And Why Are They So Great)?
Planting bags, often called grow bags or fabric pots, are containers made from a breathable, fabric-like material. Think of them as a flexible, lightweight alternative to traditional plastic or clay pots. They were originally used by commercial growers, but they’ve become incredibly popular with home gardeners for good reason. They solve many common gardening problems and help your plants grow healthier and stronger.
Unlike hard-sided pots that can cause roots to circle around the inside (a problem called “root-bound”), the fabric material of planting bags allows roots to breathe. When a root reaches the side of the bag, it is exposed to air, which naturally stops it from growing in that direction. This process is called “air pruning.” Instead of a few long, circling roots, the plant develops a dense, fibrous root system with many smaller feeder roots. A better root system means a healthier plant that can absorb more water and nutrients.

The Amazing Benefits of Using Planting Bags
If you’re still wondering if planting bags are right for you, let’s look at the incredible advantages they offer. They truly are a game-changer, especially for beginners or those with limited space.
- Superior Root Health: As we just discussed, air pruning is the number one benefit. It prevents roots from becoming pot-bound and encourages a strong, healthy root structure. This leads to bigger, more productive plants.
- Excellent Drainage: The porous fabric allows excess water to drain away easily. This is a huge help for beginner gardeners who might accidentally overwater. It prevents waterlogged soil and root rot, one of the most common plant killers.
- Temperature Control: Traditional plastic pots can get very hot in the summer sun, literally cooking your plant’s roots. Fabric bags allow heat to escape, keeping the soil and roots cooler and healthier.
- Easy to Move and Store: Planting bags are lightweight and almost always have sturdy handles. You can easily move your plants to follow the sun, bring them indoors during a frost, or rearrange your garden layout. When the season is over, just empty, clean, and fold them flat for storage. No more stacks of empty pots!
- Versatility: You can use them anywhere! On a deck, patio, balcony, or even right on top of poor soil in your yard. They are perfect for urban gardening and renters who can’t dig up the ground.
- Eco-Friendly Options: Many grow bags are made from recycled materials and are reusable for several seasons, making them a more sustainable choice than single-use plastic pots.
Choosing the Perfect Planting Bag for Your Needs
Planting bags come in various sizes and materials. Choosing the right one depends on what you plan to grow. Bigger plants need bigger bags to give their roots enough room to thrive. Here is a simple guide to help you pick the right size.
| Bag Size (Gallons) | Best For Growing | Examples |
|---|---|---|
| 3-5 Gallons | Small vegetables, herbs, and flowers | Lettuce, spinach, basil, mint, marigolds, pansies |
| 7-10 Gallons | Medium-sized vegetables and larger flowers | Peppers, bush beans, small tomatoes (determinate), cucumbers, zinnias |
| 15-20 Gallons | Large vegetables and small shrubs | Large tomatoes (indeterminate), potatoes, zucchini, eggplant, blueberries |
| 25+ Gallons | Root vegetables and small trees | Carrots, sweet potatoes, dwarf fruit trees, large shrubs |
A Note on Materials
Most planting bags are made from a thick, non-woven fabric. This is the best choice for breathability and durability. Some bags are made from PE (polyethylene), which is more like a heavy-duty tarp. While they are very durable, they don’t offer the same air-pruning benefits as fabric bags. For the best results, I always recommend sticking with high-quality fabric grow bags.
Gather Your Supplies: What You’ll Need
Getting started is incredibly simple. You don’t need a lot of fancy tools. Here is a basic checklist to get you ready to plant.
- Planting Bags: Choose the right size for your plants.
- Potting Mix: A high-quality potting mix is essential. Do not use garden soil, as it is too heavy and will compact in the bag.
- Plants or Seeds: Choose what you want to grow!
- Small Trowel: For moving soil and digging small holes.
- Watering Can or Hose: To give your new plants a good drink.
- A Sunny Spot: Most vegetables and flowers need at least 6-8 hours of direct sunlight per day.
How to Use Planting Bags: A Simple 5-Step Guide
You’ve chosen your bags and gathered your supplies. Now for the fun part! Follow these simple steps, and you’ll have a thriving container garden in no time.
Step 1: Unfold and Prepare Your Bag
Your planting bags will likely arrive folded flat. Open them up and shape them into a cylinder. If they are a bit creased, don’t worry. The soil will fill them out. For larger bags, it can be helpful to roll down the top edges a few inches, like cuffing a sleeve. This makes the bag more stable and easier to fill without it flopping over.
Step 2: Fill the Bag with Soil
This is the most important step for success. Use a high-quality potting mix designed for containers. These mixes are lightweight and contain ingredients like peat moss, coir, or compost to retain moisture while still allowing for good drainage. According to the University of New Hampshire Extension, using soil straight from your garden is not recommended because it becomes hard and compacted in containers. Fill your bag about two-thirds full, gently shaking it to help the soil settle.
Step 3: Plant Your Seedlings or Seeds
Dig a small hole in the center of the potting mix that is about the size of your seedling’s root ball. Gently remove the seedling from its nursery pot, loosen the roots slightly with your fingers, and place it in the hole. Add more soil around the plant until the root ball is covered and the bag is filled to about an inch from the top. If planting seeds, follow the depth instructions on the seed packet.
Step 4: Water Thoroughly
The first watering is very important. Water your newly planted bag slowly and deeply until you see water starting to seep out from the bottom fabric. This ensures that all the soil is evenly moist and helps the roots make good contact with their new home. The water will also help the soil settle completely.
Step 5: Place in a Sunny Location
Finally, use the sturdy handles to move your planting bag to its new home. For most vegetables and flowering plants, this means a spot that gets at least six hours of direct sunlight each day. Check your plant’s specific light requirements to find the perfect location. Now, stand back and admire your work!
What Can You Grow in Planting Bags?
The short answer is: almost anything! Their versatility is one of their greatest strengths. Here are some of my favorite plants to grow in them:
Vegetables
- Salad Greens: Lettuce, spinach, and arugula grow quickly in smaller bags (3-5 gallons).
- Tomatoes: Determinate (bush) varieties do well in 7-10 gallon bags, while larger indeterminate (vining) types need at least a 15-20 gallon bag and a stake or cage for support.
- Peppers & Eggplant: A 5-7 gallon bag is perfect for one plant.
- Potatoes: Special potato grow bags with a side flap for harvesting are fantastic, but any deep bag (10+ gallons) will work.
- Herbs: Almost any herb thrives in a grow bag. You can even create a mixed herb garden in a single 10-gallon bag.
Fruits
- Strawberries: Perfect for grow bags, especially tiered or hanging varieties.
- Blueberries: These acid-loving plants do well in bags where you can easily control the soil pH.
- Dwarf Fruit Trees: A 25-30 gallon bag can be a permanent home for a dwarf citrus, apple, or fig tree.
Caring for Your Plants in Grow Bags
Growing in fabric bags is very similar to traditional container gardening, but there are a few key things to keep in mind for happy, healthy plants.
Watering
Because planting bags are so breathable, they dry out faster than plastic pots, especially on hot, windy days. This is great for preventing root rot, but it means you need to check the soil moisture daily. The best way to check is to stick your finger about two inches into the soil. If it feels dry, it’s time to water. Water deeply until it runs out the bottom. In the peak of summer, you may need to water every day.
Feeding
Nutrients can also leach out of the bag more quickly with frequent watering. To keep your plants well-fed and productive, you’ll need to provide them with fertilizer. You can mix a slow-release granular fertilizer into your potting mix at planting time. Alternatively, you can feed them with a water-soluble liquid fertilizer every 2-4 weeks throughout the growing season. Always follow the instructions on the fertilizer package.
Support
For vining plants like tomatoes, cucumbers, or pole beans, you will need to provide support. You can insert a stake, trellis, or tomato cage directly into the grow bag at the time of planting. The wide, stable base of most grow bags provides excellent support for these structures.
Common Mistakes to Avoid
Even with a simple method like this, a few common pitfalls can trip up new gardeners. Here’s how to steer clear of them.
| Mistake | How to Avoid It |
|---|---|
| Using Garden Soil | Garden soil is too dense and will not drain properly in a bag. Always use a light, fluffy potting mix specifically designed for containers. |
| Underfilling the Bag | Fill the bag to within an inch or two of the top. An underfilled bag reduces the amount of soil available to the roots and can make watering difficult as the sides flop over. |
| Forgetting to Water | The breathability of fabric bags is a huge benefit, but it means they dry out fast. Check the soil moisture daily, especially during hot weather. |
| Choosing the Wrong Size | Putting a large plant like a tomato in a small 3-gallon bag will stunt its growth. Give your plants plenty of root space by choosing a bag size appropriate for the mature plant. |

Frequently Asked Questions (FAQ)
1. How many seasons do planting bags last?
With proper care, high-quality fabric planting bags can last for 3 to 5 seasons, and sometimes even longer. To extend their life, empty, wash, and store them dry over the winter.
2. Can I reuse the soil in my planting bags?
It’s best to start with fresh potting mix each year to prevent the buildup of soil-borne diseases. However, you can refresh old soil by mixing it with about 50% new compost and a granular all-purpose fertilizer.
3. Do I need to put rocks in the bottom of the bag for drainage?
No, this is a common gardening myth. The fabric material of the bag provides excellent drainage on its own. Adding rocks actually takes up valuable space that the roots could be using.
4. Can I place planting bags directly on my wooden deck?
Yes, but be aware that the bottom of the bag will be damp after watering. To protect your deck, you can place the bag on a large saucer or a set of “pot feet” to allow for airflow underneath.
5. Are fabric planting bags safe for growing food?
Absolutely. Reputable brands make their bags from inert, BPA-free, non-woven fabric that does not leach chemicals into the soil. They are perfectly safe for growing organic vegetables and fruits.
6. How do I clean my planting bags at the end of the season?
First, empty out all the soil and old plant roots. Then, let the bags dry completely. You can brush off any remaining dirt. For a deeper clean, you can wash them with a mild soap and water solution, rinse thoroughly, and let them air dry completely before folding and storing.
Your Gardening Journey Starts Now!
There you have it—everything you need to know to start using planting bags with confidence. This simple, effective method opens up a world of gardening possibilities, no matter how much space you have. You can grow your own fresh herbs, delicious vegetables, or stunning flowers right on your patio, balcony, or doorstep.
The beauty of planting bags lies in their simplicity and their ability to create the perfect growing environment for your plants. By promoting healthy roots, providing excellent drainage, and offering unmatched convenience, they take the guesswork out of container gardening. So go ahead, grab a few bags, some good soil, and your favorite plants. You’ll be amazed at what you can grow.