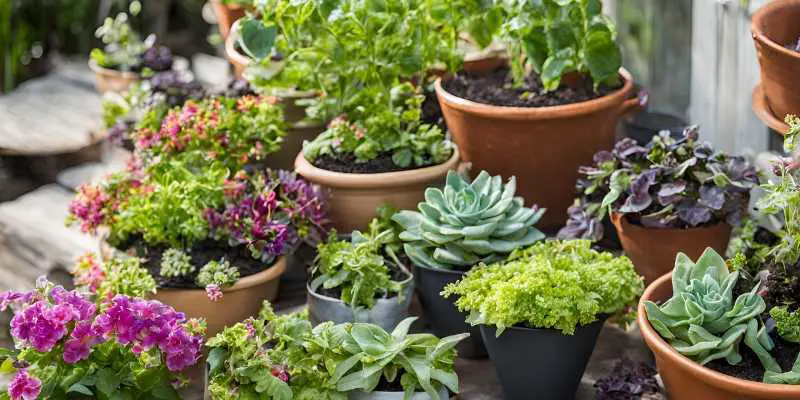
Garden edging can transform your outdoor space. It adds structure and beauty.
Creating well-defined edges for your garden not only enhances its appearance but also helps in maintaining a neat and organized look. Proper garden edging prevents weeds from spreading, keeps mulch in place, and makes mowing easier. Whether you are an experienced gardener or a beginner, finding the best way to put in garden edging can be a rewarding project.
In this guide, we will explore various techniques and materials that will help you achieve clean, professional-looking garden edges. Let’s dive into the best methods to enhance your garden’s appeal with effective edging.
Credit: www.homedepot.com
Choosing The Right Edging Material
Garden edging comes in many materials. Wood is popular. It looks natural but can rot. Metal is strong. It lasts long but can rust. Plastic is cheap. It is easy to use but may break. Stone is beautiful. It is durable but heavy.
| Material | Pros | Cons |
|---|---|---|
| Wood | Natural look, easy to cut | Can rot, needs treatment |
| Metal | Strong, long-lasting | Can rust, costly |
| Plastic | Cheap, easy to install | Can break, not eco-friendly |
| Stone | Beautiful, very durable | Heavy, hard to move |
Planning Your Garden Edging
First, measure the length and width of the garden. Use a tape measure for accuracy. Write down the measurements. This helps in buying the right amount of materials. Also, mark the spots where you want the edging. Use stakes and string to create a guide. This will make the job easier.
Think about the shape of your garden. Straight lines look neat. Curved lines add a natural feel. Choose a style that fits your space. The material is also important. Wood, stone, and metal are common. Pick one that matches your garden. Budget is also a factor. Plan ahead to avoid extra costs.
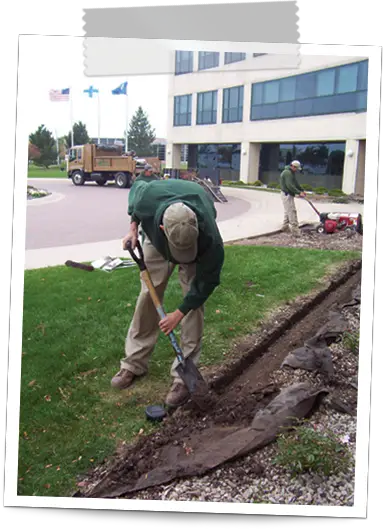
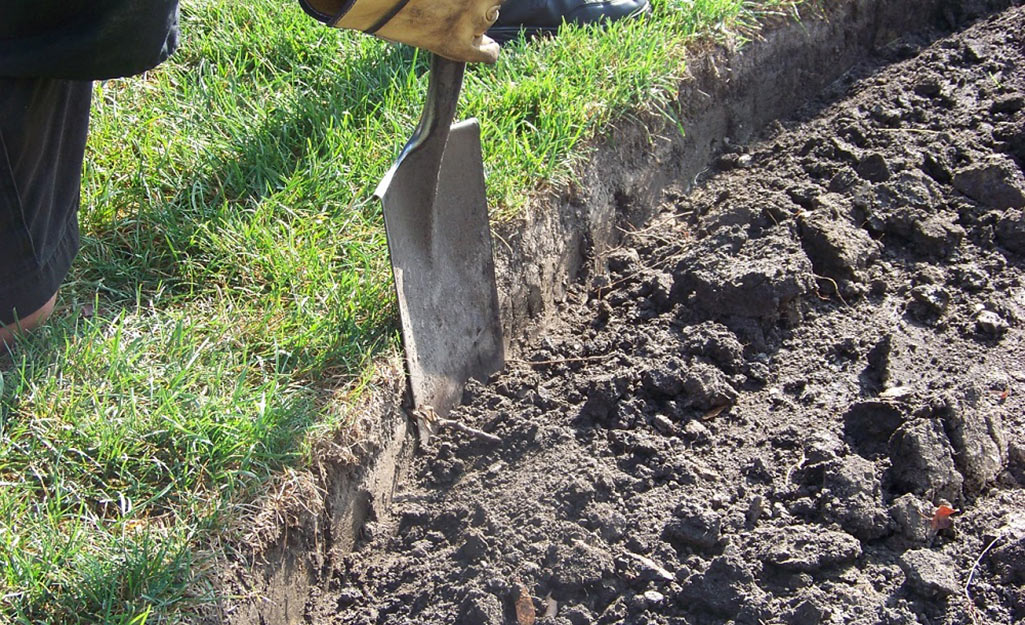
Preparing The Ground
Preparing the ground ensures a neat and durable garden edge. Dig a shallow trench and remove any roots or rocks.
Clearing The Area
First, remove all weeds and debris from the area. Use a rake to clear leaves and small branches. Pull out any roots that may be in the way. Ensure the soil is free from any rocks or large stones. This makes the ground smooth for the edging.
Leveling The Ground
Next, check if the ground is level. Use a spirit level for better accuracy. If the ground is uneven, add or remove soil to create a flat surface. Pat the soil down with your hands or a tamper tool. This helps to make the edging stable.

Credit: www.wikihow.com
Installing Stone Edging
First, dig a trench where the stones will go. The trench should be deep enough for the stones to sit at the right height. Lay the stones in the trench, making sure they are straight and even. Use a level to check. If a stone is too low, add some sand or soil under it. If a stone is too high, remove some of the soil.
Once all stones are in place, fill the gaps with soil or sand. This helps to keep them steady. Pack the soil or sand tightly around each stone. Water the area to help the soil settle. Check the stones again to make sure they are level. Add more soil if needed. Now your stones should stay in place.
Installing Metal Edging
Install metal edging for a neat garden boundary. This edging keeps soil and mulch in place. Choose durable metal for long-lasting results.
Cutting And Shaping
Metal edging needs to be cut and shaped to fit your garden. Use tin snips or a hacksaw. Make sure to wear gloves for safety. Measure carefully before cutting. Double-check your measurements to avoid mistakes. Mark the metal where you need to cut. Cut slowly and follow your marks. This will help you get a clean edge.
Anchoring The Edging
Place the metal edging into the trench. Make sure it stands straight. Use a mallet to gently tap it into the ground. Secure the edging with metal stakes. Space the stakes evenly. Push them into the ground firmly. Check that the edging is level. Adjust if needed. Fill the trench with soil to hold the edging in place. Press the soil down to make it firm.
:max_bytes(150000):strip_icc()/SPR-how-to-install-lawn-edging-2132808-hero2-5271cc13751c490ab05732d47dfc8199.jpg)
Credit: www.thespruce.com
Installing Plastic Edging
Plastic edging needs to bend easily. Use warm water to soften it. This makes bending simple. Lay the edging along your garden line. Make sure it fits the shape you want.
Press it down firmly. Ensure it touches the ground. Then, check if it looks straight. Adjust if needed. This step is crucial for a neat look.
Staking keeps the edging in place. Use stakes that come with the edging. First, place a stake at each end. Next, put stakes every few feet along the edging.
Push the stakes deep into the ground. This helps the edging stay firm. Check if the edging is tight and secure. If loose, add more stakes. Proper staking ensures a long-lasting garden border.
Maintaining Your Garden Edging
Seasonal care is crucial for garden edging. In spring, check for damage from winter. Replace any broken parts. During summer, keep the edges free from weeds. Trim the grass along the edge. In fall, remove fallen leaves. This prevents decay. Winter preparation is also important. Protect the edges from snow and ice. Cover with a tarp if needed. Regular maintenance keeps your garden neat.
Damage repair is necessary for garden edging. Inspect the edges often. Look for cracks or breaks. Replace damaged sections. Use the same material. Clean the area before repairing. This ensures a strong bond. If wood, treat it to prevent rot. Metal edges may need repainting. Keep a repair kit handy. Regular checks make repairs easier.
Enhancing Your Yard With Edging
Plants add life to your garden edges. Use small bushes or flowers. Arrange them in rows. Make sure they get enough sun and water. Choose plants that fit your climate. Avoid plants that grow too big. They can take over the garden space.
Decorative elements make your garden unique. Use stones or pebbles. Place them along the edges. Try using garden statues or small fountains. These items add charm. Keep the decorations simple. Too many can look messy.
Frequently Asked Questions
What Is The Best Material For Garden Edging?
The best material depends on your garden style and budget. Popular options include plastic, metal, and stone. Each material offers different benefits and aesthetics.
How Deep Should Garden Edging Be?
Garden edging should be at least 4-6 inches deep. This depth helps prevent grass and weeds from invading your garden.
Can I Install Garden Edging Myself?
Yes, you can install garden edging yourself. It’s a simple DIY project that requires basic tools and materials.
How Do I Maintain Garden Edging?
Regularly check for damage and clean the edging. Replace or repair broken sections. Trim grass and weeds around the edging to keep it tidy.
Conclusion
Creating a beautiful garden edging can be simple and fun. Start with a clear plan. Pick materials that suit your garden style. Use a spade to dig a trench. Place the edging material in the trench. Ensure the edging is level.
Fill gaps with soil. Water the area to settle the soil. Regular maintenance keeps your edging neat. Enjoy the improved look of your garden. A well-edged garden adds charm and structure. Happy gardening!

My mission is to help you bring the beauty of nature indoors with expert advice, detailed plant care guides, and creative design ideas.
Leave a Reply