First, stop watering the plant immediately. Next, ensure proper drainage to help dry the soil.
Overwatering indoor plants can lead to root rot and other issues. It’s crucial to recognize signs of excess moisture and take immediate action. Ensure your pot has drainage holes and consider repotting in fresh, dry soil if necessary. Elevate the pot to improve air circulation around the roots.
Using a moisture meter can help monitor soil dampness. Avoid placing plants in poorly lit or humid areas to prevent excess moisture retention. Regularly check the soil before watering to maintain optimal moisture levels. This proactive approach ensures healthy, thriving indoor plants.
Credit: www.reddit.com
Recognizing Overwatered Soil
Indoor plants need the right balance of water. Too much water can harm them. Recognizing overwatered soil is crucial for plant health. Learn the signs and impacts of excess moisture.
Signs Of Excess Moisture
Knowing the signs of excess moisture helps you take action early. Look for these symptoms:
- Mushy soil: Soil feels squishy and wet.
- Yellow leaves: Leaves turn yellow and fall off.
- Mold growth: Mold appears on the soil surface.
- Foul smell: Soil emits a bad odor.
- Slow growth: Plant growth becomes very slow.
Impact On Plant Health
Excess water can severely affect plant health. The following table shows common impacts:
| Impact | Description |
|---|---|
| Root rot | Roots decay due to lack of oxygen. |
| Fungal infections | Fungi thrive in wet conditions, causing disease. |
| Leaf drop | Plants shed leaves to reduce water intake. |
| Stunted growth | Plants grow slowly or stop growing. |
By identifying these signs and understanding their impact, you can save your plants. Keep an eye on soil moisture to ensure healthy indoor plants.
Immediate Steps To Mitigate Water Damage
If your indoor plant soil is too wet, act quickly. Excess water can harm your plants. It can cause root rot and other problems. Here are steps to reduce water damage:
Removing Surface Water
First, check the soil’s surface. If you see water, remove it. Use a clean cloth or paper towel. Gently dab the water away. Do not disturb the soil too much.
Another option is to use a turkey baster. Suck up the extra water from the soil. This tool is very handy for small plants.
Adjusting Watering Practices
Next, review your watering routine. Overwatering is a common mistake. Water your plants only when the soil is dry.
Feel the soil with your finger. If it feels dry, water the plant. If it feels moist, wait a few days.
Consider using a watering schedule. Mark the days you water your plants. This helps you avoid overwatering.
Here is a simple table to help you:
| Day | Watering Status |
|---|---|
| Monday | Check soil and water if dry |
| Wednesday | Check soil and water if dry |
| Friday | Check soil and water if dry |
Using a watering can with a narrow spout is helpful. It lets you control the water flow. This prevents adding too much water at once.
Lastly, ensure your pots have drainage holes. Good drainage prevents water from pooling. This reduces the risk of root rot.
Soil Aeration Techniques
Indoor plant soil can sometimes get too wet. This can harm your plants. Soil aeration helps dry the soil and adds oxygen. Here are some simple and effective soil aeration techniques.
Using A Fork Or Stick
One easy way to aerate the soil is with a fork or stick. Insert the tool into the soil gently. Move it around to create small holes. These holes allow air to reach the roots. This helps the soil dry faster. Be careful not to damage the roots.
Aerating Tools And Gadgets
Special aerating tools can make the job easier. These tools are designed to create holes in the soil. Some popular options include:
- Soil aerator shoes
- Hand-held aerators
- Soil probes
Soil aerator shoes have spikes on the bottom. Wear these shoes and walk on the soil. This will create many small holes. Hand-held aerators and soil probes work similarly. They make holes in the soil, allowing air to get in.
Using these tools regularly can keep the soil healthy. Your plants will thank you!
Credit: www.gardeningknowhow.com
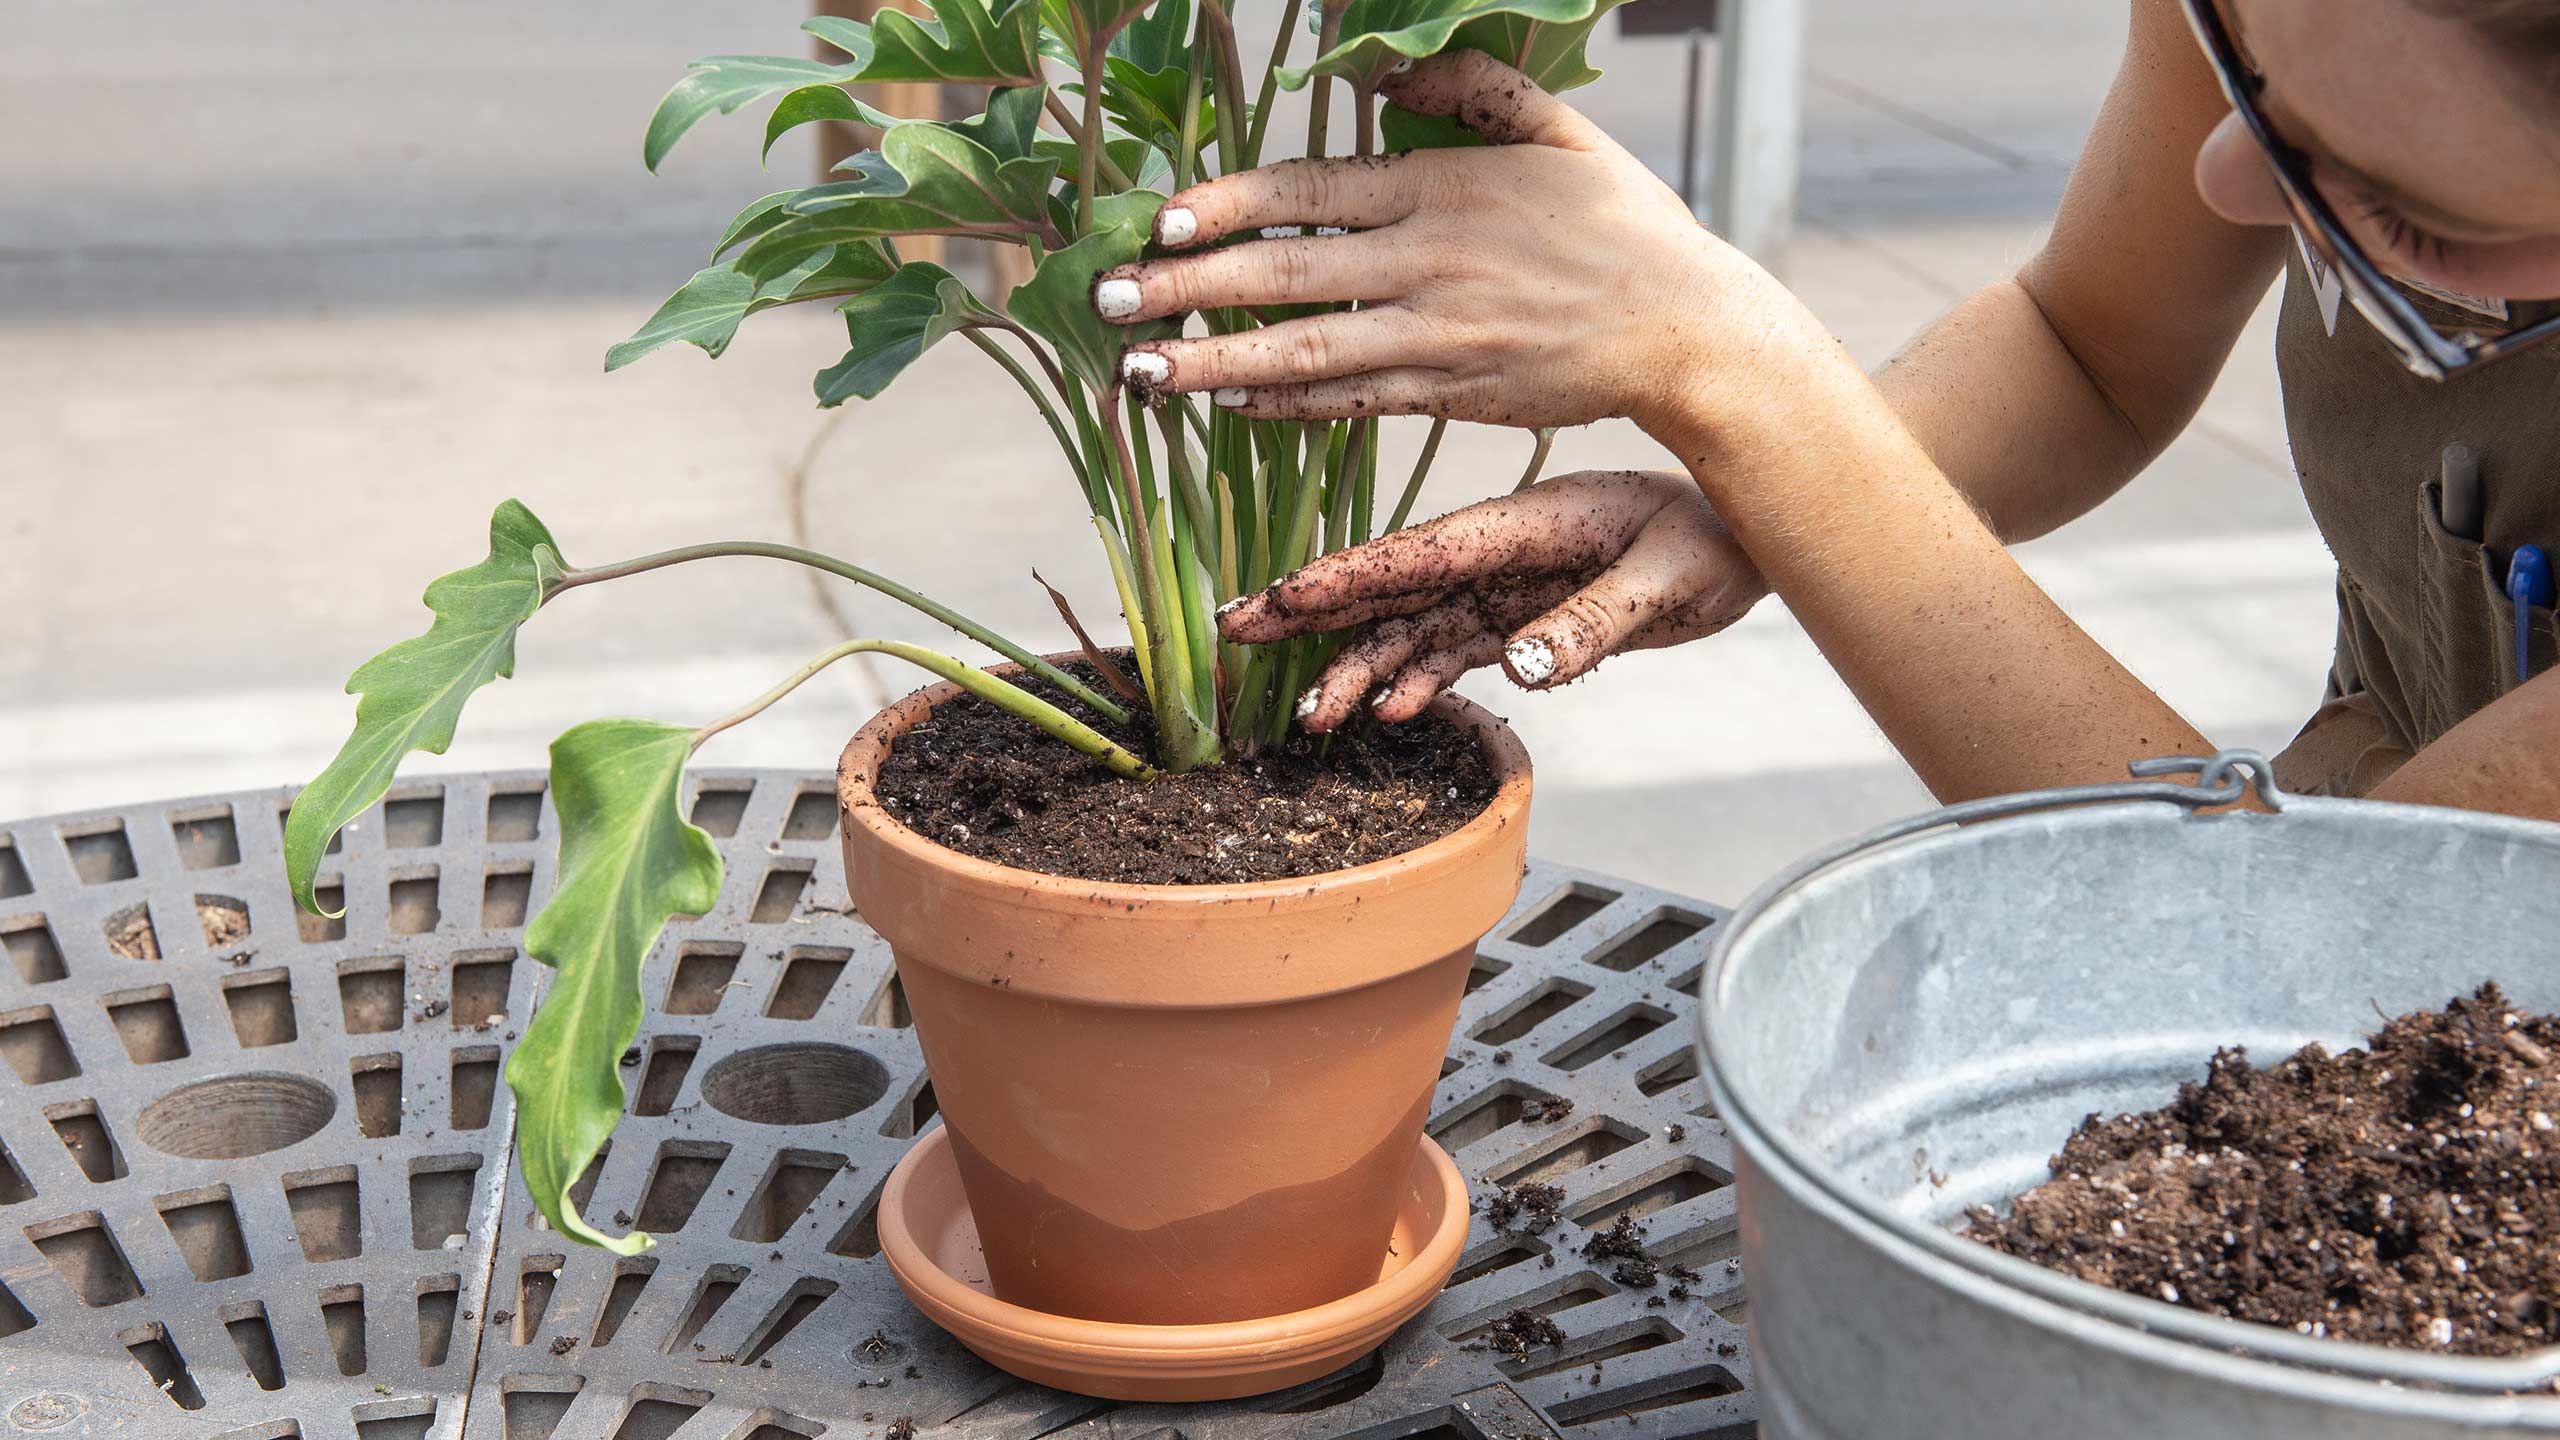
Repotting Your Plant
If your indoor plant soil is too wet, repotting can help. Excess moisture can harm plant roots and cause rot. Repotting your plant into a fresh, well-draining environment is essential. This section will guide you through the process of repotting. Follow these steps to ensure a healthy home for your plant.
Choosing The Right Pot
Start by selecting the right pot for your plant. The pot should have drainage holes. This allows excess water to escape. Avoid pots that are too big. A pot that is too large can hold too much water. Choose a pot that matches the plant’s size. This helps in maintaining proper moisture levels.
| Pot Material | Pros | Cons |
|---|---|---|
| Terracotta | Breathable, prevents root rot | Heavy, can break easily |
| Plastic | Lightweight, inexpensive | Less breathable, retains moisture |
| Ceramic | Decorative, sturdy | Heavy, no natural drainage |
Selecting Appropriate Soil Mix
Choosing the right soil mix is crucial. The soil should drain well and provide nutrients. Avoid heavy, dense soils that retain water. A well-draining soil mix includes:
- Perlite
- Sand
- Peat moss
- Coco coir
These components help the soil stay light and airy. They allow excess water to drain quickly. This prevents root rot and keeps the plant healthy. Mix these components to create a balanced soil mix for your plant. Use a ratio of one part perlite to two parts peat moss. Add a small amount of sand for extra drainage.
Creating An Optimal Drainage System
Indoor plants thrive in well-draining soil. If the soil is too wet, the roots can rot. Creating an optimal drainage system helps keep the soil just right. Proper drainage ensures your plants stay healthy and happy. Let’s dive into how to set up a perfect drainage system.
Adding Drainage Layers
Start by adding drainage layers to your plant pots. These layers help water escape quickly. Use materials like pebbles, gravel, or broken terracotta pieces. Place a layer at the bottom of the pot. This layer keeps soil from blocking drainage holes.
- Put 1-2 inches of pebbles or gravel.
- Cover the pebbles with a layer of sand.
- Add a thin layer of activated charcoal.
Activated charcoal absorbs excess moisture. It also prevents mold and bacteria. These layers create space for water to flow through. This prevents water from pooling at the bottom.
Improving Hole Drainage
Ensure your pots have drainage holes. If not, you need to make some. Use a drill or a nail to create holes. The size of the hole matters. Make sure the hole is not too big. It should be around 1/4 inch in diameter.
Check the placement of the holes. Ideally, they should be at the bottom. Some pots may have holes on the sides. These are helpful too. If your pot is large, add more holes. This allows water to drain evenly.
| Pot Size | Number of Holes |
|---|---|
| Small (4-6 inches) | 1-2 holes |
| Medium (7-12 inches) | 3-4 holes |
| Large (13+ inches) | 5-6 holes |
Cover the holes with mesh or a coffee filter. This prevents soil from falling out. It keeps the drainage system working efficiently. With these steps, your indoor plant soil will stay perfectly moist, not too wet.
Monitoring Moisture Levels
Indoor plants can suffer if their soil is too wet. Monitoring moisture levels is crucial for healthy growth. Here’s how you can do it:
Using A Moisture Meter
A moisture meter is a handy tool. It measures the soil’s water content. Simply insert the meter into the soil. The reading will indicate if the soil is too wet.
- Insert the probe into the soil about halfway down.
- Check the reading on the meter. A reading between 1-3 means dry, 4-7 means moist, and 8-10 means wet.
Use the meter in different parts of the pot. This ensures accurate moisture levels.
The Finger Test Method
The finger test method is simple and effective. Stick your finger into the soil up to the second knuckle. If the soil feels wet, it’s too moist. If it feels dry, it’s time to water.
- Wash your hands before and after the test.
- Insert your finger into the soil.
- Feel the soil’s moisture level.
Repeat this test in different areas of the pot. This helps to get an accurate reading.
Monitoring soil moisture is vital. It ensures your indoor plants thrive.
Adjusting Environmental Conditions
Sometimes, your indoor plant soil may be too wet. This can lead to root rot and other problems. Adjusting environmental conditions can help. Here are some tips to regulate humidity, optimize light, and maintain the right temperature.
Regulating Humidity
High humidity can keep soil too wet. To reduce humidity, use a dehumidifier. Place it near your plants. You can also move plants to a less humid room. Good air circulation helps too. Use a fan to improve air flow. This can dry the soil faster.
Optimizing Light And Temperature
Light and temperature affect soil moisture. Plants need proper light. Low light can keep soil wet longer. Place plants near windows for more light. Use grow lights if natural light is low.
Temperature also matters. Warm temperatures help dry soil. Keep the room warm but not hot. Avoid placing plants near heaters or vents. Extreme heat can harm plants.
| Factor | Adjustment |
|---|---|
| Humidity | Use a dehumidifier, improve air circulation |
| Light | Place near windows, use grow lights |
| Temperature | Keep room warm, avoid extreme heat |
Follow these steps to adjust environmental conditions. Your plants will thrive with the right care.
Credit: mulhalls.com
Preventive Measures For The Future
Preventing overwatering and maintaining healthy indoor plant soil is essential. This section will discuss future preventive measures. These tips will ensure your plants thrive and avoid soggy soil.
Watering Schedule And Techniques
Establishing a consistent watering schedule is crucial. Water your plants based on their specific needs. Use the following tips:
- Check soil moisture before watering.
- Use a moisture meter for accuracy.
- Water in the morning for better absorption.
Proper watering techniques also play a key role. Follow these steps:
- Water the soil, not the leaves.
- Ensure water reaches the roots.
- Avoid letting plants sit in water.
Choosing The Right Planters
Selecting the right planters helps prevent waterlogged soil. Consider these factors:
| Factor | Description |
|---|---|
| Drainage | Choose pots with drainage holes. |
| Material | Use breathable materials like terracotta. |
| Size | Ensure pots are appropriately sized. |
By following these preventive measures, your indoor plants will thrive. Healthy soil means happy plants!
Understanding Plant-specific Water Needs
Understanding the specific water needs of your indoor plants is crucial. Different plants have different water requirements. Overwatering or underwatering can harm your plants. Knowing the right balance helps in keeping your plants healthy.
Researching Plant Species
Researching the type of plant you have is the first step. Some plants prefer moist soil, while others thrive in dry conditions. For instance, succulents need less water compared to ferns. Knowing the specific water needs of your plant is essential.
Here is a simple table to help you:
| Plant Type | Water Needs |
|---|---|
| Succulents | Low |
| Ferns | High |
| Spider Plant | Moderate |
Observing Plant Responses
Observing your plant is key to understanding its water needs. Look for signs of overwatering or underwatering. Yellow leaves, moldy soil, and root rot are signs of too much water. Wilting and dry soil indicate a need for more water.
Here are some tips to help:
- Check the soil moisture level with your finger.
- Ensure the pot has drainage holes.
- Adjust your watering schedule based on the plant’s response.
Use these tips to keep your plants healthy and thriving. Remember, each plant is unique and requires special care. Understanding their needs helps you provide the best environment for growth.
When To Seek Professional Help
Dealing with indoor plant soil that is too wet can be tricky. Sometimes, the problem persists despite your efforts. Seeking professional help can save your plant.
Signs Of Persistent Problems
Identifying persistent issues is crucial. Here are signs your plant needs expert care:
- Yellowing leaves
- Wilting despite watering adjustments
- Mold growth on soil
- Foul odor from the pot
- Slow or no growth
Consulting A Horticulturist
A horticulturist can diagnose and treat your plant problems. They can help with:
- Identifying the exact issue
- Recommending the right soil mix
- Providing repotting techniques
- Suggesting proper watering schedules
- Offering pest and disease control tips
Below is a simple table showing what to expect from a horticulturist:
| Service | Benefit |
|---|---|
| Soil Analysis | Determines the best soil type |
| Watering Advice | Prevents overwatering and underwatering |
| Repotting Service | Ensures proper root space |
Remember, seeking help can be a game-changer. Don’t let your plant suffer.
Frequently Asked Questions
How To Dry Out An Overwatered Indoor Plant?
To dry out an overwatered indoor plant, remove it from its pot. Gently shake off excess soil. Let roots air dry. Repot with fresh, well-draining soil. Reduce watering frequency.
How Do You Fix Overly Wet Soil?
Fix overly wet soil by improving drainage. Add organic matter like compost. Use raised beds or containers. Aerate the soil. Ensure proper watering techniques.
Can A Plant Recover From Overwatering?
Yes, a plant can recover from overwatering. Allow the soil to dry out completely. Ensure proper drainage. Trim any damaged roots.
What If Potting Soil Holds Too Much Water?
Too much water in potting soil can lead to root rot. Ensure proper drainage by adding perlite or sand. Avoid overwatering plants.
Conclusion
Ensuring your indoor plant soil is not too wet is crucial. Proper watering techniques and drainage are key. Monitor soil moisture regularly to prevent root rot. Remember to adjust watering frequency based on plant type and environment. Healthy plants thrive with well-balanced moisture levels.
Keep your indoor garden flourishing by maintaining optimal soil conditions.

My mission is to help you bring the beauty of nature indoors with expert advice, detailed plant care guides, and creative design ideas.
Leave a Reply