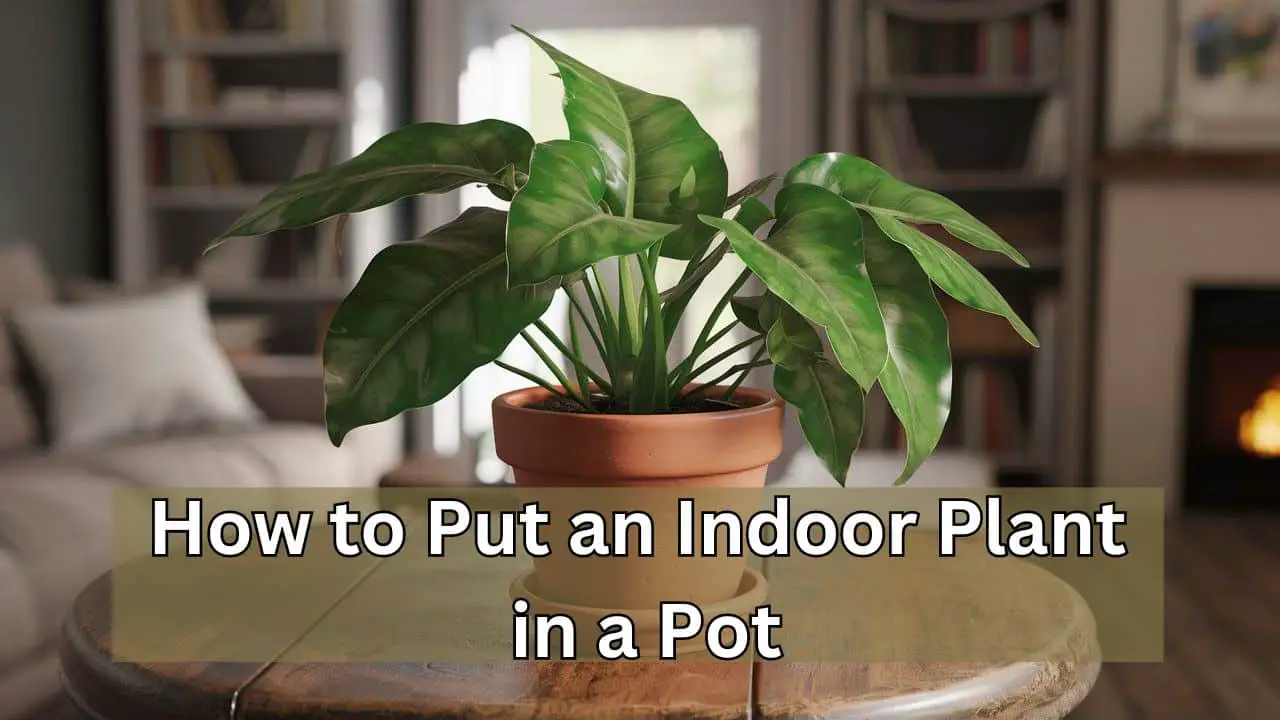
To put an indoor plant in a pot, first, choose the right pot size. Then, fill it with appropriate potting soil.
Indoor plants can enhance your living space with beauty and fresh air. Choosing the right pot and soil is crucial for the plant’s health. Ensure the pot has drainage holes to prevent root rot. Gently remove the plant from its current container, being careful not to damage the roots.
Place the plant in the new pot and fill in around it with fresh soil. Water the plant thoroughly and place it in a suitable location with adequate light. Regular care and attention will help your indoor plant thrive, adding a touch of nature to your home.
Choosing The Right Pot
Choosing the right pot is crucial for your indoor plant’s health. The pot affects root growth, water drainage, and overall plant stability. Let’s explore key factors to consider when selecting the perfect pot for your indoor plant.
Size Considerations
The pot size greatly impacts your plant’s growth. A pot that’s too small can restrict root expansion, leading to poor health. Conversely, a pot that’s too large can hold excess water, causing root rot.
- Small Pots: Ideal for young plants or slow-growing species.
- Medium Pots: Suitable for mid-sized plants that require moderate root space.
- Large Pots: Best for mature plants or those with extensive root systems.
Ensure your pot has drainage holes to avoid waterlogging. This feature helps in maintaining the right moisture level in the soil.
Material Options
Different materials offer various benefits and aesthetics. The choice of material impacts the pot’s weight, durability, and water retention.
| Material | Benefits | Considerations |
|---|---|---|
| Plastic | Lightweight, affordable, available in many colors. | Less breathable, can overheat roots in sunlight. |
| Ceramic | Attractive, sturdy, good for indoor decor. | Heavy, can break easily, generally no drainage holes. |
| Terracotta | Porous, helps with soil aeration, classic look. | Can dry out quickly, heavy, may crack in cold weather. |
| Metal | Modern look, very durable, reusable. | Can rust, may heat up roots, often no drainage holes. |
Select a material that complements your home decor and meets your plant’s needs. Consider the weight and whether you’ll need to move the plant often.

Credit: homesteadgardens.com
Selecting The Perfect Plant
Choosing the right plant for your indoor space is essential. The perfect plant can enhance the beauty and atmosphere of your home. Let’s explore how to select the ideal plant with a focus on Plant Types and Health Indicators.
Plant Types
Different plants have different needs. It’s important to choose a plant that suits your living conditions and lifestyle. Here are some common types:
- Succulents: These plants store water in their leaves. They require minimal watering.
- Ferns: Ferns love humidity and indirect sunlight. Perfect for bathrooms.
- Orchids: These are elegant and require specific care. They need filtered light and regular watering.
- Herbs: Great for kitchens, they need a sunny spot and regular watering.
Health Indicators
A healthy plant will thrive and grow well indoors. Look for these signs to ensure you pick a healthy plant:
| Indicator | Signs of Health |
|---|---|
| Leaves | Bright, green, and free from spots or holes. |
| Roots | Firm, white, and not overcrowded in the pot. |
| Stems | Strong and upright, without any sign of wilting. |
| New Growth | Look for fresh, new leaves or shoots. This indicates health. |
By paying attention to these indicators, you can ensure your chosen plant will be a great addition to your home.
Preparing The Pot
Putting an indoor plant in a pot involves several steps. The first step is preparing the pot. This ensures your plant will thrive. Follow these simple steps to prepare your pot.
Cleaning The Pot
First, clean the pot thoroughly. This removes any dirt or bacteria. Use warm water and mild soap. Scrub the inside and outside of the pot. Rinse well and let it dry completely.
Adding Drainage
Next, add drainage to your pot. This prevents water from sitting at the bottom. Stagnant water can cause root rot. Place small stones or pebbles at the bottom. You can also use broken pottery pieces.
Another option is using a drainage mesh. Cut the mesh to fit the bottom of your pot. This allows water to pass but keeps soil in place.
| Drainage Material | Benefits |
|---|---|
| Small Stones | Easy to find, helps water flow |
| Broken Pottery | Reuses old materials, excellent drainage |
| Drainage Mesh | Keeps soil in place, good water flow |
Proper drainage is essential for healthy plants. Make sure the pot has drainage holes at the bottom. If not, drill some holes carefully.
Preparing The Plant
Before placing your indoor plant in a pot, it’s essential to prepare it properly. This ensures the plant will thrive in its new environment. The key steps include root inspection and trimming and pruning. Let’s dive into these steps.
Root Inspection
First, take the plant out of its current pot. Gently remove excess soil from the roots. Look for healthy roots, which are firm and white. If you see any dark or mushy roots, they are likely rotten. Cut these off carefully using a clean pair of scissors. Healthy roots ensure the plant will grow well in its new pot.
Trimming And Pruning
Next, focus on the plant’s leaves and stems. Pruning helps the plant focus energy on new growth. Use sharp, clean scissors to cut away any dead or yellowing leaves. Trim any overly long stems to keep the plant balanced. This step also helps in removing any pests or diseases.
| Steps | Description |
|---|---|
| Root Inspection | Check for healthy and rotten roots |
| Trimming and Pruning | Remove dead leaves and trim stems |
Planting Process
Putting an indoor plant in a pot may seem tricky. But with the right steps, it’s simple. Follow this guide to ensure your plant thrives in its new home.
Placing The Plant
First, choose a pot that has drainage holes. These holes help prevent water from pooling. Next, place a small layer of pebbles at the bottom. This layer improves drainage.
Gently remove the plant from its current container. Hold the plant by the base and not by the leaves. Place it in the new pot. Ensure the roots are spread out evenly. The plant should be centered and upright.
Filling With Soil
After placing the plant, fill the pot with soil. Use a high-quality potting mix. Avoid packing the soil too tightly. Leave some space at the top for watering.
Water the plant immediately after potting. This helps the soil settle around the roots. Make sure the water drains out of the bottom.
Check the soil regularly. Keep it moist but not soggy. Your plant needs the right balance to grow well.
| Steps | Details |
|---|---|
| Select a pot | Choose one with drainage holes |
| Add pebbles | Place a layer at the bottom |
| Position the plant | Center it in the pot |
| Fill with soil | Use high-quality potting mix |
| Water | Ensure proper drainage |

Credit: www.pinterest.com
Watering Techniques
Watering your indoor plant correctly is crucial for its health. Proper techniques ensure your plant thrives and looks vibrant. Below, we’ll explore the best practices for initial watering and setting up an ongoing schedule.
Initial Watering
After placing your plant in its new pot, it needs an initial watering. This step is essential to help the roots settle and start absorbing nutrients.
Steps for Initial Watering:
- Fill the pot with soil, leaving space at the top.
- Place the plant in the center and add more soil around it.
- Water the plant thoroughly until water drains from the bottom.
- Ensure the soil is evenly moist but not waterlogged.
Ongoing Schedule
Setting up a regular watering schedule keeps your plant healthy. Different plants have different needs, so it’s important to adjust accordingly.
Factors to Consider:
- Plant type: Some need more water than others.
- Season: Water more in summer and less in winter.
- Pot size: Smaller pots dry out faster.
- Soil type: Well-draining soil needs more frequent watering.
General Guidelines:
| Plant Type | Watering Frequency |
|---|---|
| Cacti and Succulents | Every 2-3 weeks |
| Ferns | Every 4-5 days |
| Foliage Plants | Once a week |
Always check the soil before watering. Stick your finger into the soil up to the first knuckle. If the soil feels dry, it’s time to water. This simple technique prevents overwatering and root rot.
Positioning The Plant
Positioning your indoor plant properly is crucial for its growth. The right position ensures the plant receives adequate light and maintains its health. Let’s explore the key factors to consider.
Light Requirements
Plants need light to grow and stay healthy. Ensure your plant gets the right amount of light.
- Bright Light: Place near a window facing south or west.
- Indirect Light: Position near an east-facing window or use sheer curtains.
- Low Light: Keep in rooms with north-facing windows or shaded corners.
Use a grow light if natural light is insufficient. Rotate the plant weekly for even growth.
Temperature Considerations
Temperature affects plant health. Maintain an even temperature for your indoor plant.
- Ideal Temperature: Most plants thrive between 65°F and 75°F (18°C – 24°C).
- Avoid Drafts: Keep plants away from windows and doors.
- Humidity: Some plants need higher humidity. Use a humidifier if needed.
Temperature fluctuations can stress the plant. Avoid placing plants near heating or cooling vents.

Credit: www.lovethatleaf.co.nz
Maintenance Tips
Ensuring your indoor plants thrive requires proper maintenance. This section covers essential tips to keep your plants healthy and vibrant. Follow these simple guidelines to make sure your plants grow strong and beautiful.
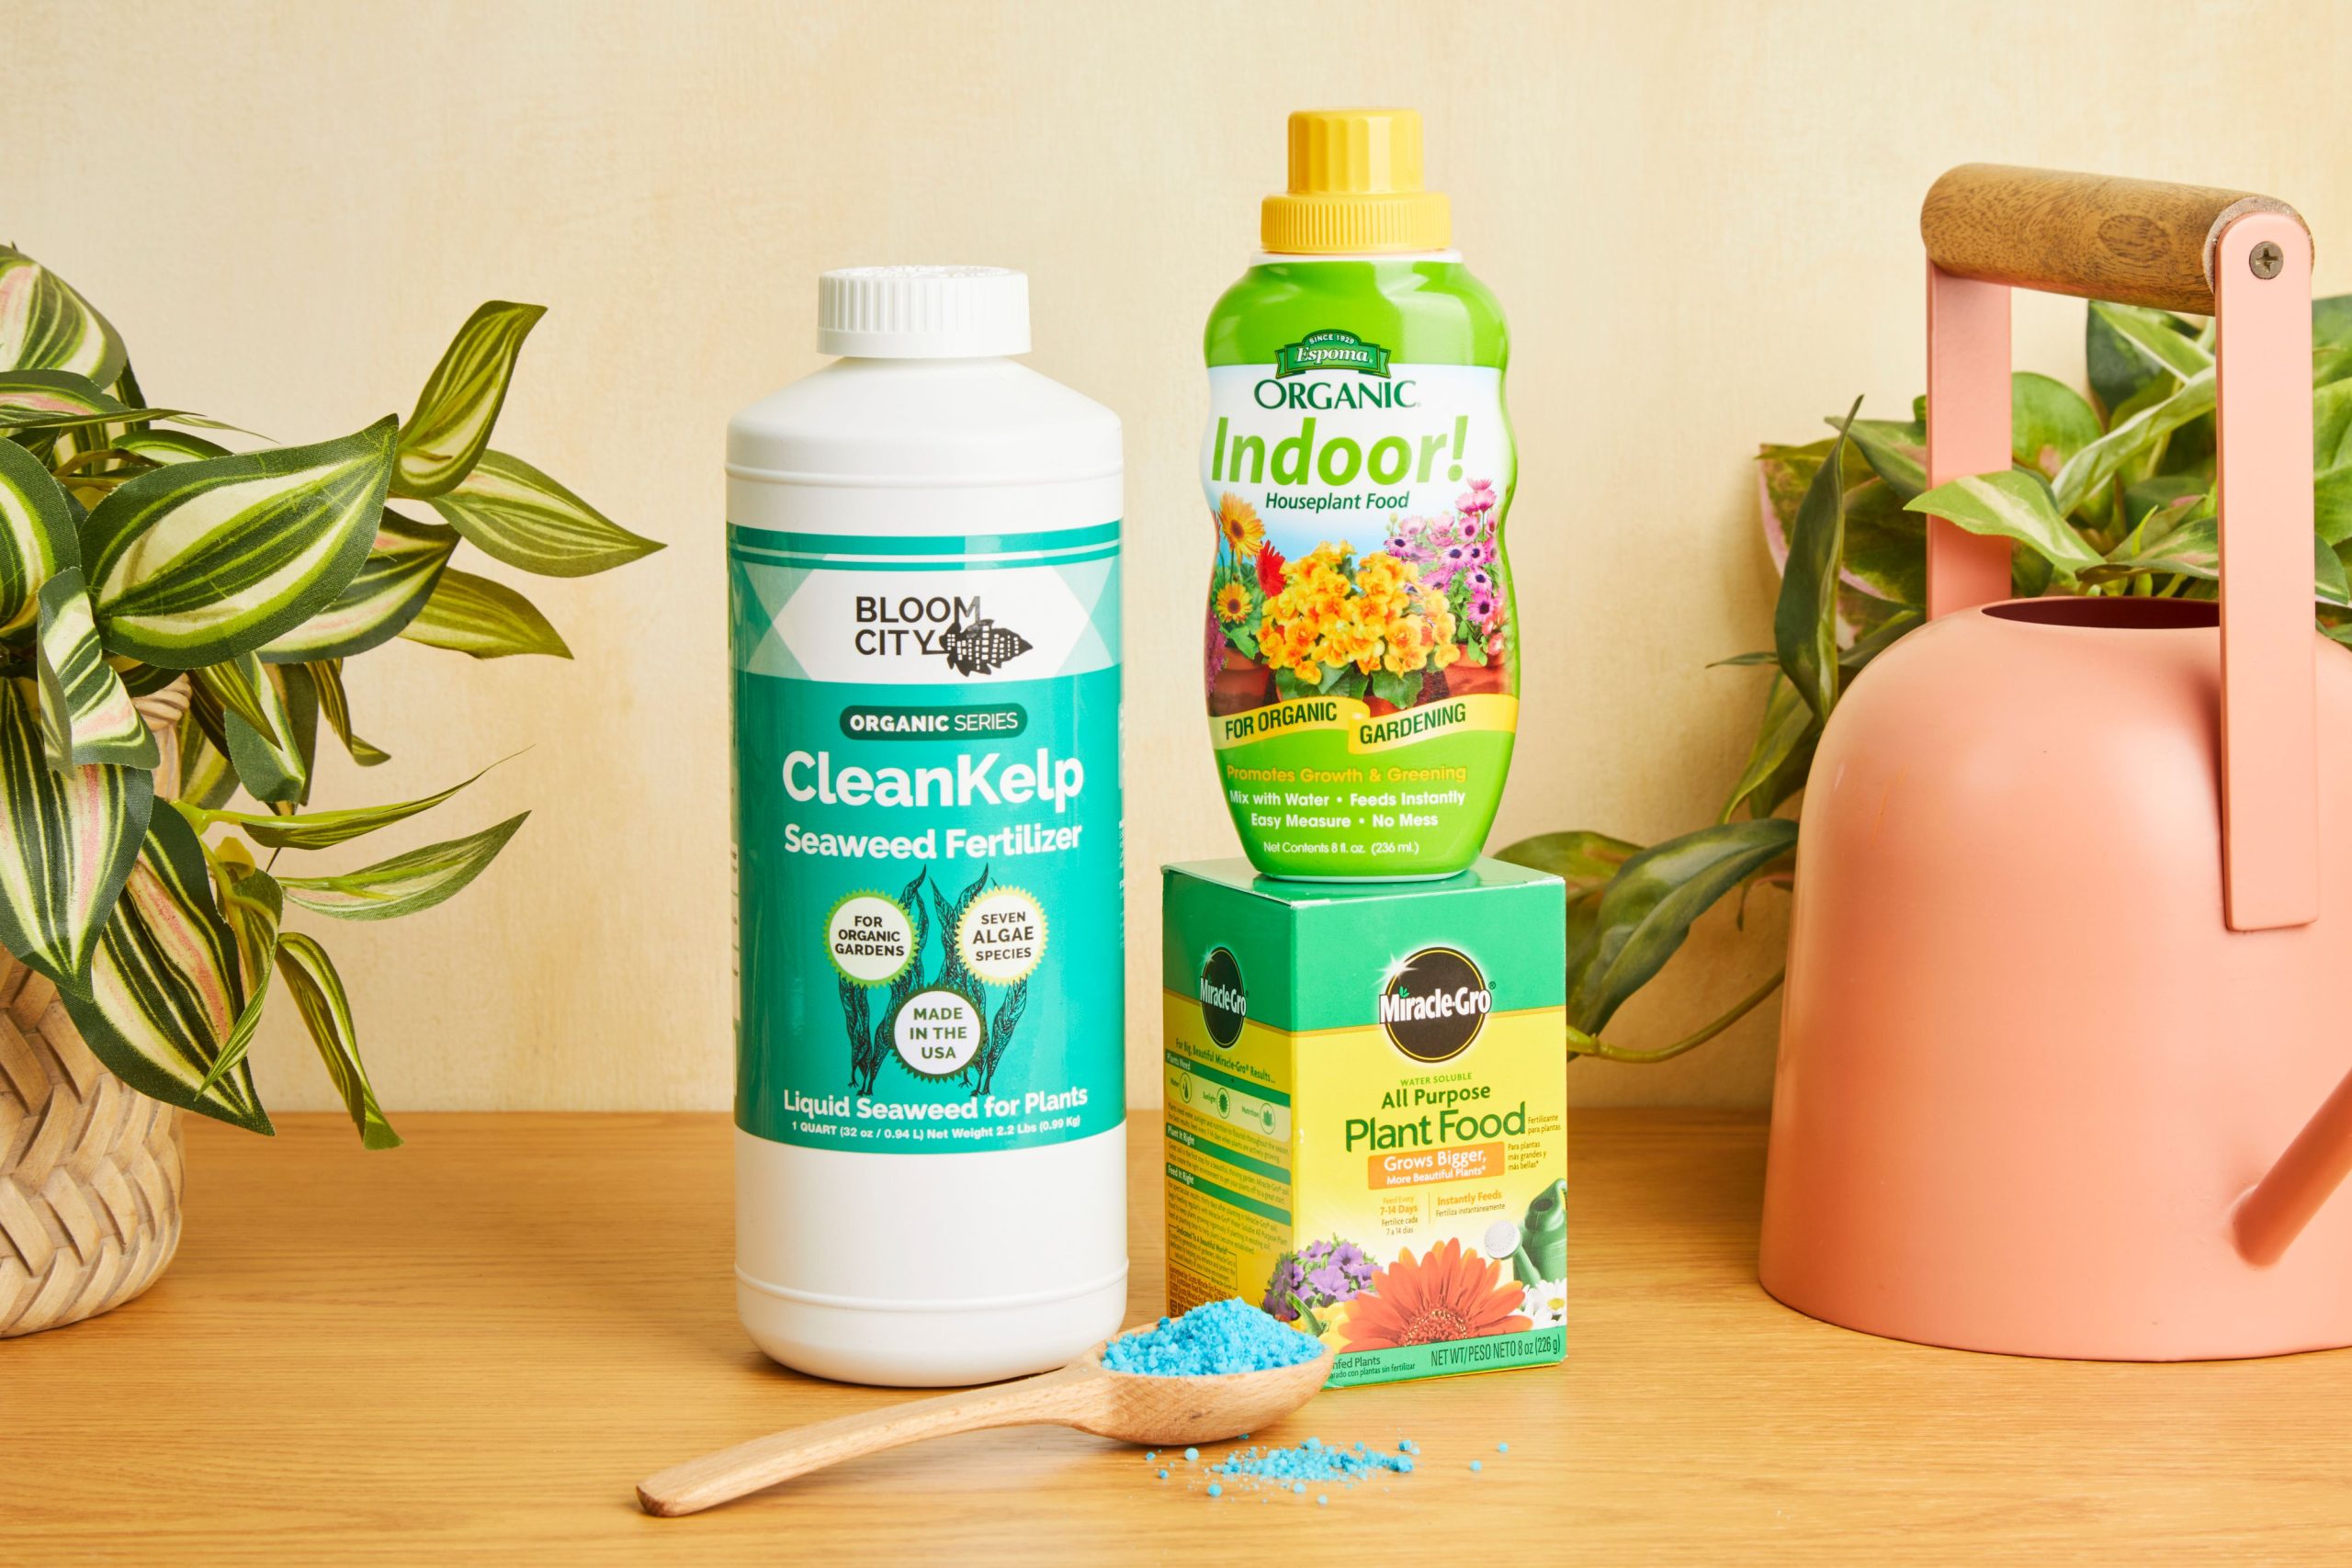
Fertilizing
Fertilizing your indoor plants is vital for their growth. Use a balanced fertilizer every month during the growing season. Look for a fertilizer with equal parts nitrogen, phosphorus, and potassium. This helps your plants get the nutrients they need.
- Use liquid fertilizer for easy application.
- Follow the instructions on the fertilizer package.
- Avoid over-fertilizing to prevent root damage.
| Season | Frequency |
|---|---|
| Spring | Monthly |
| Summer | Monthly |
| Fall | Every two months |
| Winter | Every two months |
Pest Control
Pests can harm your indoor plants. Regularly check your plants for signs of pests. Common pests include aphids, spider mites, and mealybugs.
- Inspect leaves and stems weekly.
- Remove any visible pests by hand.
- Use a mild soap solution to wash the leaves.
- Consider natural predators like ladybugs for pest control.
If pests persist, use an organic pesticide. Always follow the instructions on the pesticide label. Keep your plants healthy to make them less attractive to pests.
Frequently Asked Questions
How To Put Indoor Plants In Pots?
Choose the right pot with drainage holes. Place a layer of gravel at the bottom. Add potting mix, then position the plant. Fill with more soil, pressing gently. Water thoroughly.
What Do You Put At The Bottom Of An Indoor Planter?
Place small rocks, gravel, or broken pottery at the bottom of an indoor planter. This ensures proper drainage.
Can You Plant House Plants Straight Into Pots?
Yes, you can plant house plants directly into pots. Ensure the pot has proper drainage and use suitable potting soil.
Can You Take A Plant From The Ground And Put It In A Pot?
Yes, you can transplant a plant from the ground to a pot. Ensure the pot has good drainage.
Conclusion
Caring for indoor plants can be a rewarding experience. Follow these simple steps to pot your plant correctly. Ensure proper drainage and choose the right soil. With a little attention, your indoor plants will thrive, adding beauty to your home.
Happy planting!

My mission is to help you bring the beauty of nature indoors with expert advice, detailed plant care guides, and creative design ideas.